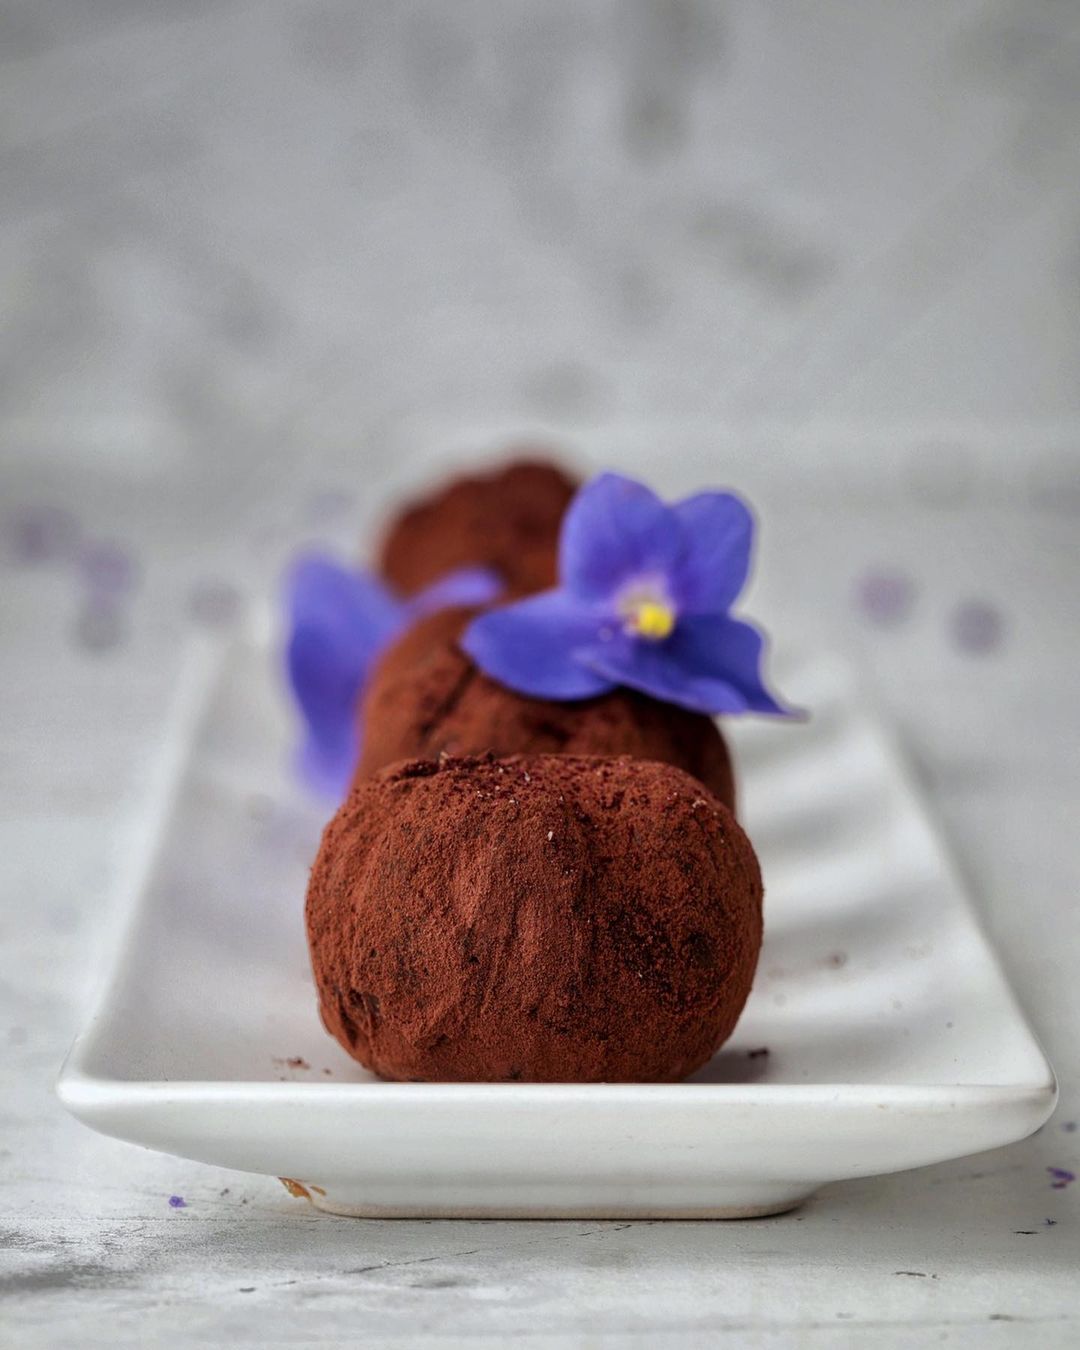
Ingredients

The dough

  • 2pc eggs
  • 200 grams (7.1 ounces) sugar
  • 60 grams (2.1 ounces) honey
  • 70 grams (2.5 ounces) butter
  • 450 grams (15.9 ounces) flour
  • 30 grams (1.1 ounces) cocoa powder
  • pinch of salt
  • 6 grams (0.2 ounces) baking soda
  • 150 grams (5.3 ounces) toasted walnuts

The cream

  • 2pc egg yolks
  • 50 grams (1.8 ounces) sugar
  • 35 grams (1.2 ounces) cornstarch
  • 300 milliliters (1.3 cups) milk
  • vanilla sugar (or vanilla paste) to taste
  • 150 grams (5.3 ounces) white chocolate
  • 300 grams (10.6 ounces) mascarpone

Equipment

  • Mixing Bowl

    Essential for combining all your ingredients smoothly. Make sure it's large enough to accommodate all components without spilling.

  • Whisk

    Critical for combining your wet ingredients and ensuring a lump-free batter.

  • Blender

    Helps in making the custard base silky and smooth.

  • Parchment Paper

    A must-have for easy rolling and baking, preventing any sticking.

  • Baking Sheet

    Use this to bake your layers evenly. Opt for a sturdy, non-stick sheet to get the best results.

  • Cooling Rack

    Perfect for cooling your baked layers before assembly.

Instructions

Step 1

1. In a small saucepan, combine the eggs, salt, sugar, honey, and butter. Place over low heat and stir until the sugar and butter are completely dissolved. Make sure not to let the mixture boil. Stir constantly to prevent the eggs from curdling. Add the baking soda and continue stirring until the mixture starts to foam slightly. Remove from heat.

Step 2

2. Gradually add the cocoa powder and mix until you achieve a very soft dough. Finally, incorporate the toasted walnuts. Divide the dough into four equal portions.

Step 3

3. Roll each portion out onto parchment paper into a thin 25x25 cm (10x10 inch) square. Place onto a baking sheet and bake in a preheated oven at 356F (180C) for 7-9 minutes until slightly crispy. Use a rolling pin to ensure an even thickness. Let the cake layers cool, then cut each layer in half to form 8 pieces in total.

Step 4

4. For the cream, mix the egg yolks with the sugar and cornstarch in a medium bowl. Gradually whisk in the hot milk. Transfer the mixture to a saucepan and cook over medium heat, stirring constantly, until thickened. A thick, smooth custard indicates it's ready. Remove from heat.

Step 5

5. Add the white chocolate and vanilla sugar (or vanilla paste) to the custard. Stir until fully melted and combined. Using a blender or food processor, blend until smooth. Cover with cling film to prevent a skin from forming, and let cool completely.

Step 6

6. Once cooled, beat the custard base together with the mascarpone until fluffy. Make sure the mascarpone is at room temperature for easier mixing.

Step 7

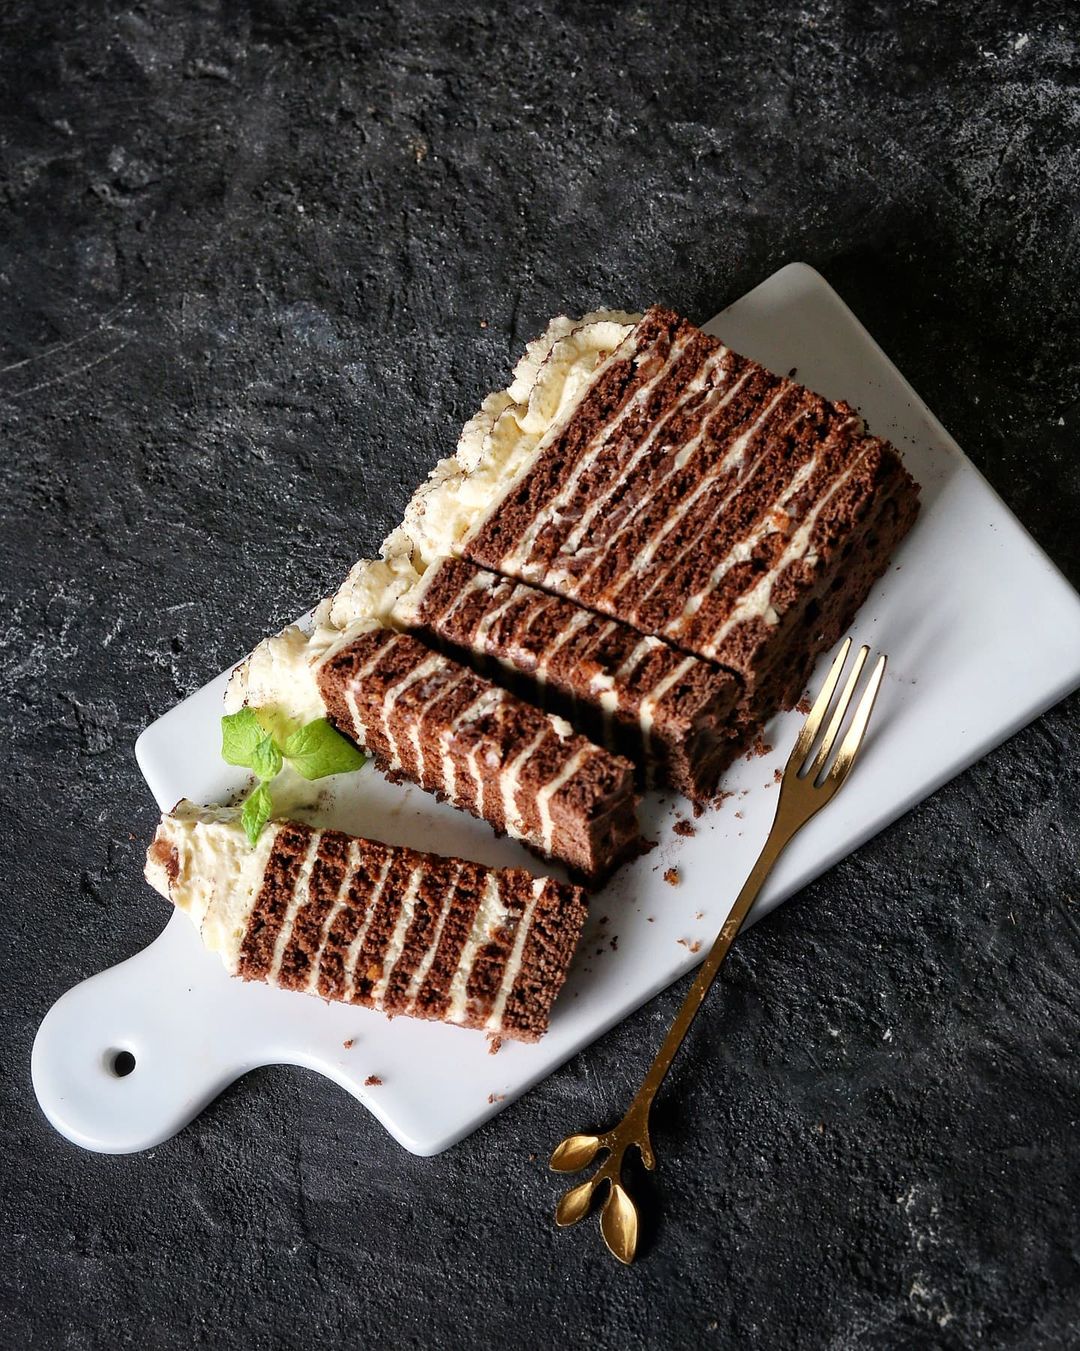
7. Assemble the cake by alternating layers of pastry and cream. Reserve some cream for garnish. Leave the top layer without cream and place a board with a weight on top. Let it sit at room temperature for a couple of hours to firm up. Afterwards, remove the weight and spread a final layer of cream on top of the cake. Refrigerate until set.

Step 8

8. Before serving, decorate the cake with the reserved cream and a light dusting of cocoa powder for a professional finish. Add some toasted walnut pieces on top for extra texture and presentation.

Servings

Serving this Chocolate Walnut Pastry is a delight in itself! 🌟

For an elegant dinner party, slice the pastry into squares and serve on a beautiful platter, sprinkled with extra cocoa and a few whole walnuts for that gourmet touch. Add a touch of gold leaf to each piece to wow your guests!

If you're enjoying this pastry for a cozy family gathering, pair it with a warm cup of coffee or an indulgent mug of hot cocoa topped with whipped cream for an ultimate layered decadence. πŸ°β˜•

For a sensational dessert buffet, present the pastry in individual mini portions, each topped with a swirl of cream and a sprinkle of crushed walnuts to keep guests coming back for more. Don't forget to place some fresh berries around for a burst of color and extra flavor! πŸ“

Variations

Making this recipe gluten-free is a breeze! 🌾 Simply swap the regular flour for an equal amount of your favorite gluten-free flour blend. Make sure to check that your baking soda is gluten-free too.

For a vegan version, replace the eggs with flax eggs (1 egg = 1 tbsp flaxseed meal + 2.5 tbsp water, mixed and rested for 5 minutes). Use vegan butter instead of regular butter, almond milk or any plant-based milk in place of dairy milk, and vegan mascarpone. Opt for dark chocolate that is dairy-free to keep that rich flavor intact! 🌱

Faq

  • How can I prevent my dough from sticking to the rolling pin?

    Generously dust both the parchment paper and your rolling pin with flour to keep things smooth and stick-free.

  • Why did my pastry layers turn out too thick?

    Ensure you're rolling the dough very thinly (aim for about 1/8 inch or 3mm), as the dough will rise slightly when baking.

  • Can I make the pastry layers ahead of time?

    Absolutely! You can store baked layers in an airtight container for up to 2 days or freeze them for up to a month.

  • How do I know my cream is thick enough?

    The cream should coat the back of a spoon and leave a defined trail when you run your finger through it.

  • What’s the best way to achieve smooth cream without lumps?

    Use a blender or immersion blender to fully integrate the custard base and mascarpone, yielding a silky texture.

  • Any tips for achieving professional-looking decorations?

    Use a piping bag with a star tip to create elegant swirls and garnish with finely grated chocolate for a polished finish.

Nutrition facts

Chocolate & nut honey cake
Recipe Yield:8 servings
Calories:Per serving
Calories (Min - Max):450 - 550
Total Fat:22g
Saturated Fat:12g
Protein:8g
Total Carbohydrate:54g
Total Sugars:36g