Ingredients
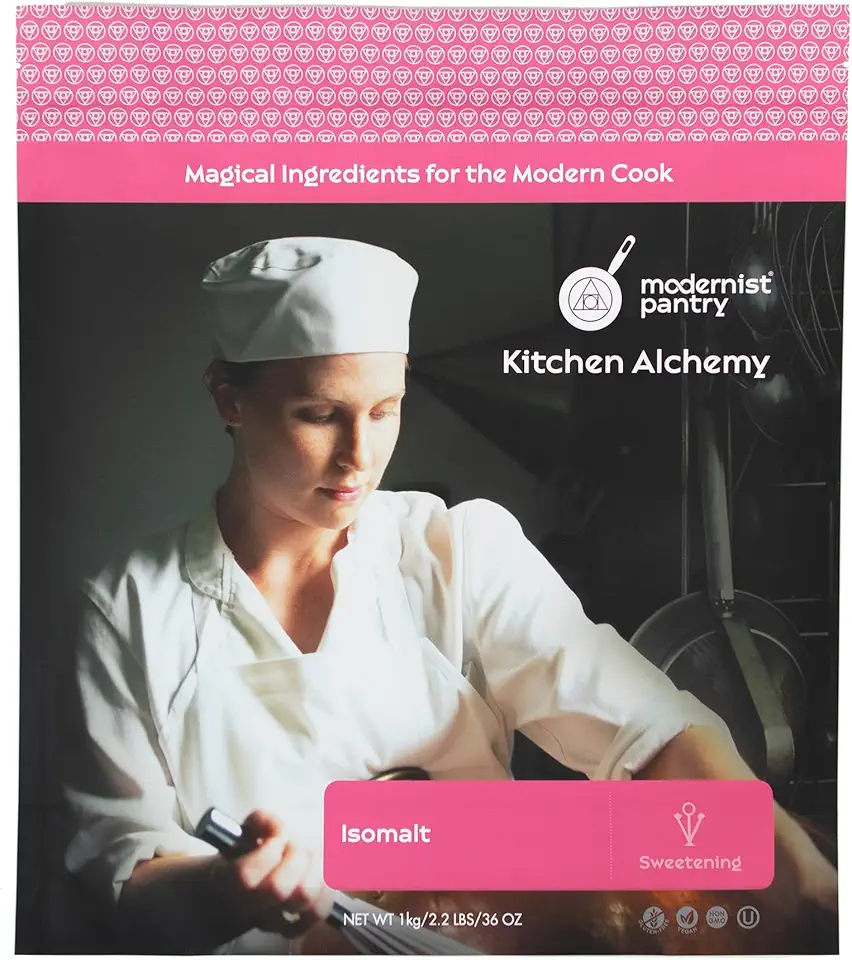
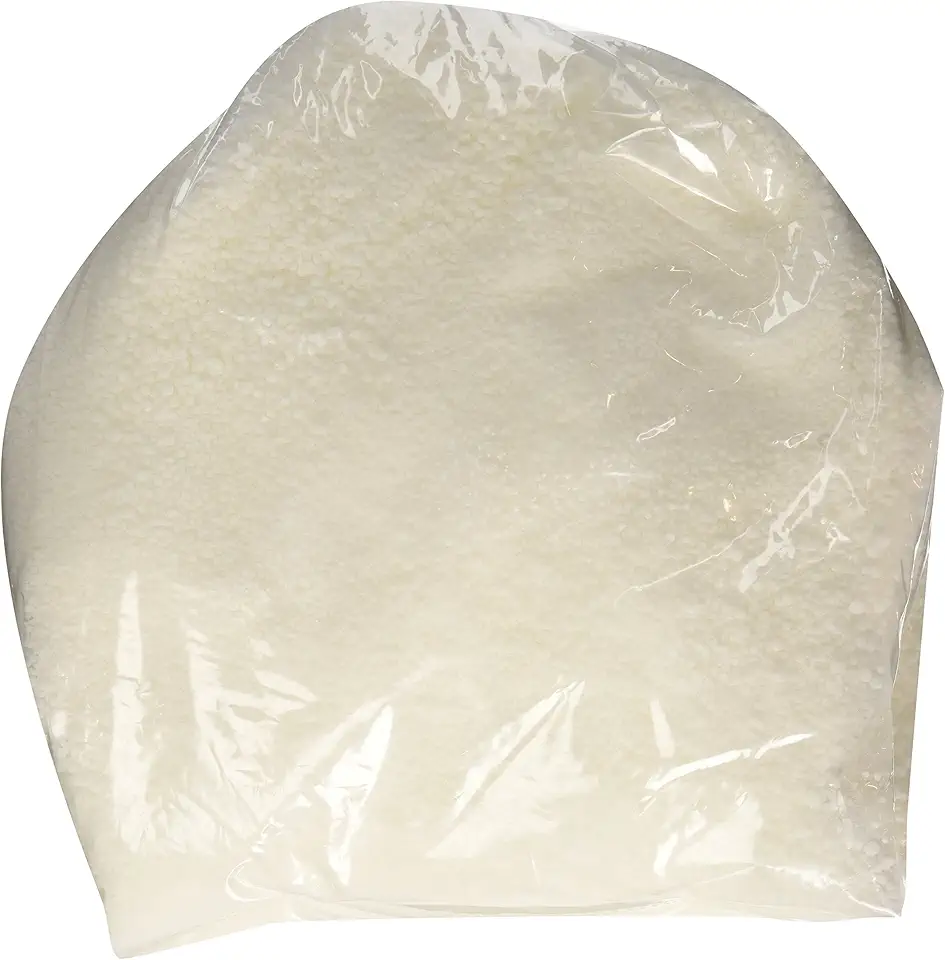
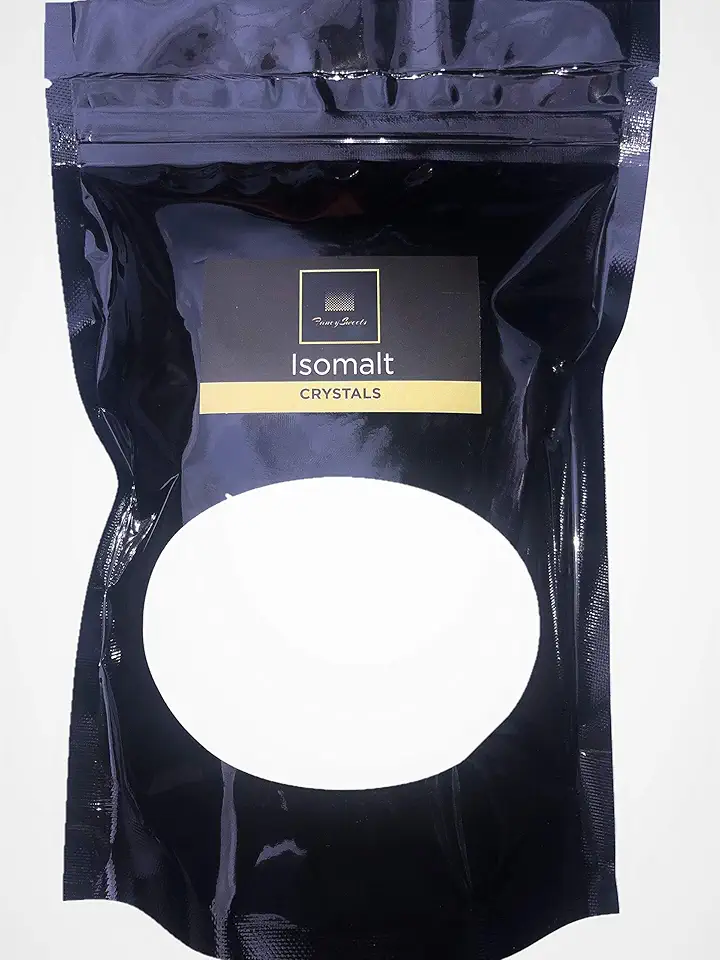
Isomalt Ingredients
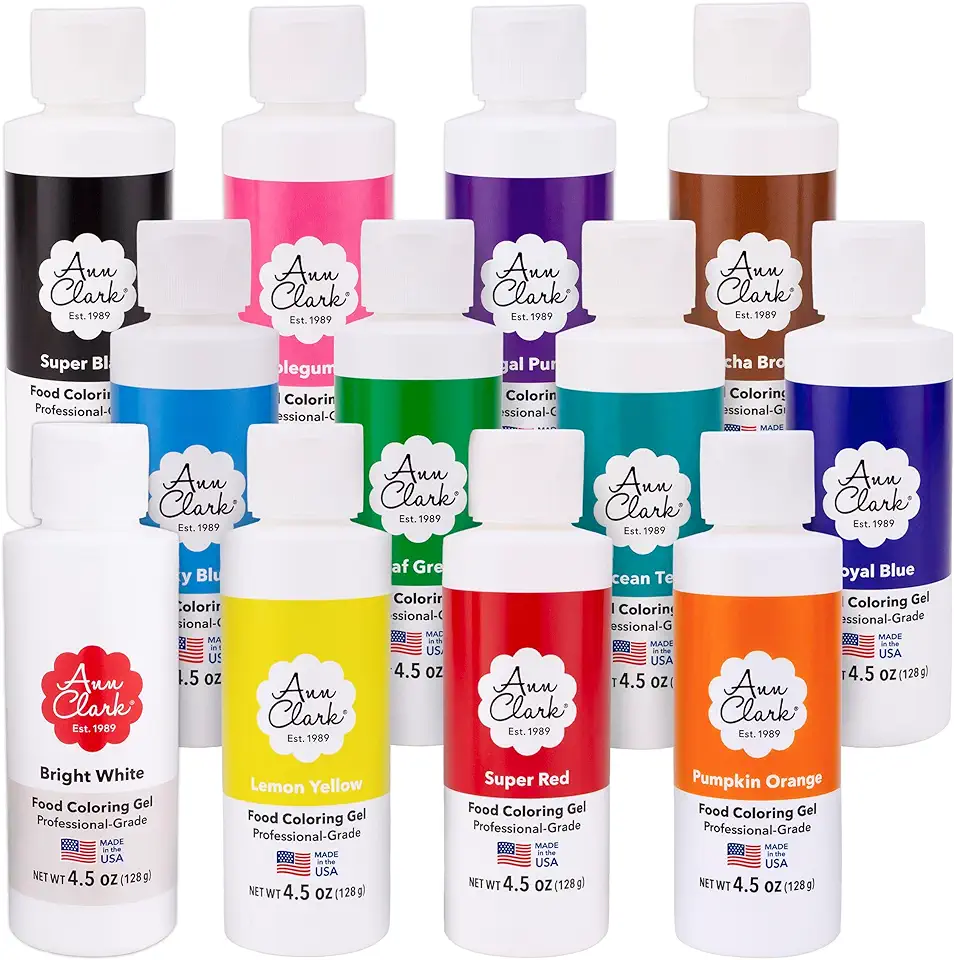 Ann Clark Professional Grade Food Coloring Gel Large 4.5 oz Bottles 12 Color Set Made in USA
$74.99
View details
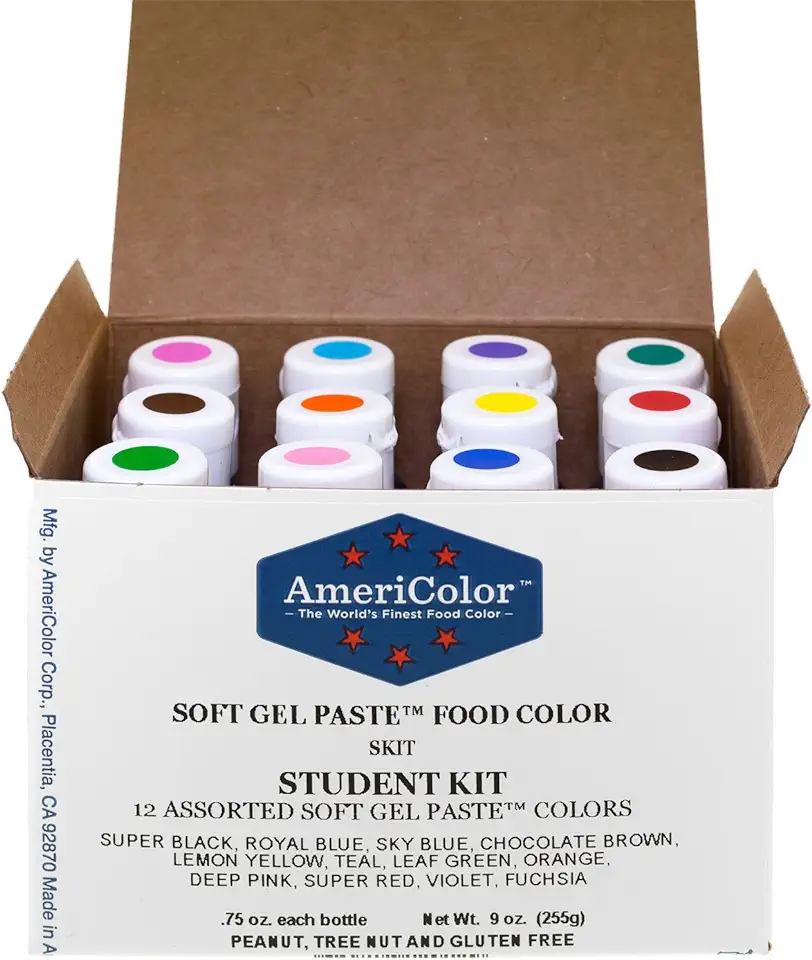 Food Coloring AmeriColor Student - Kit 12 .75 Ounce Bottles Soft Gel Paste Colors
$32.25
View details
Prime
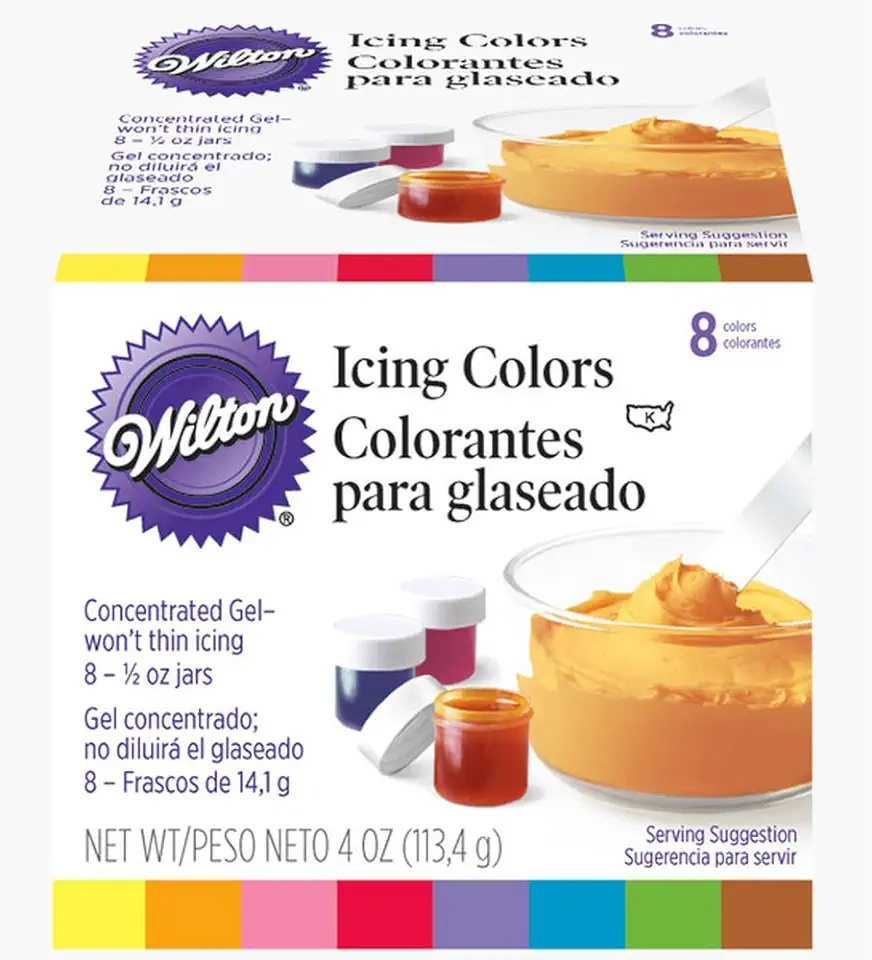 Wilton 8-Count Icing Colors for Cakes & Cupcakes, Gel-Based Colors for Frosting - Note that Packaging May Vary
$12.75
View details
Decoration Tools
Instructions
Step 1
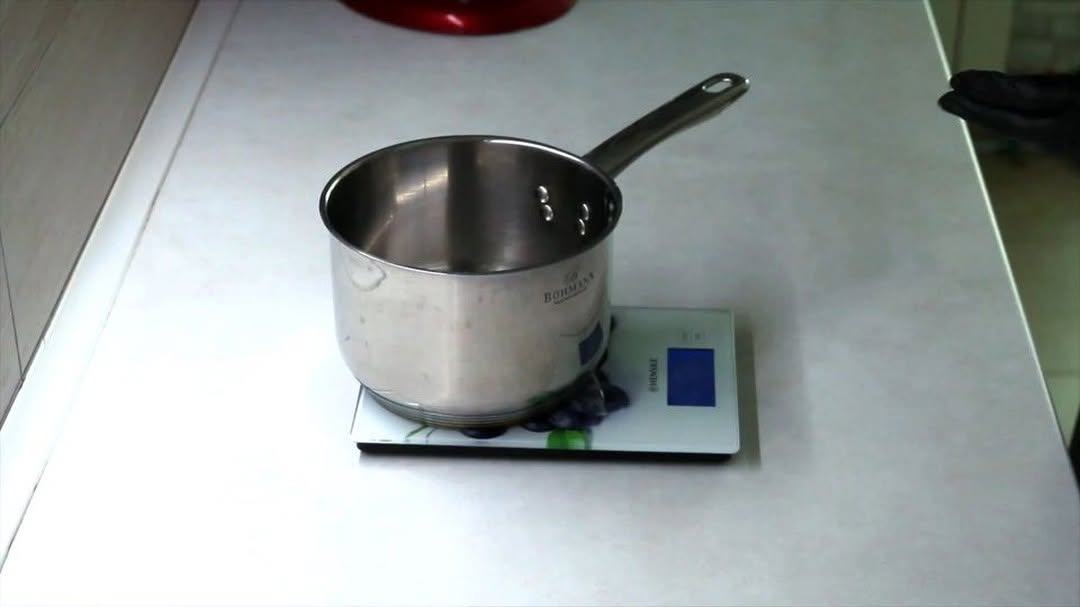
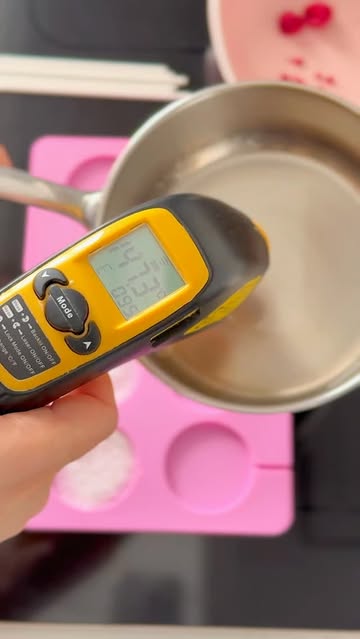
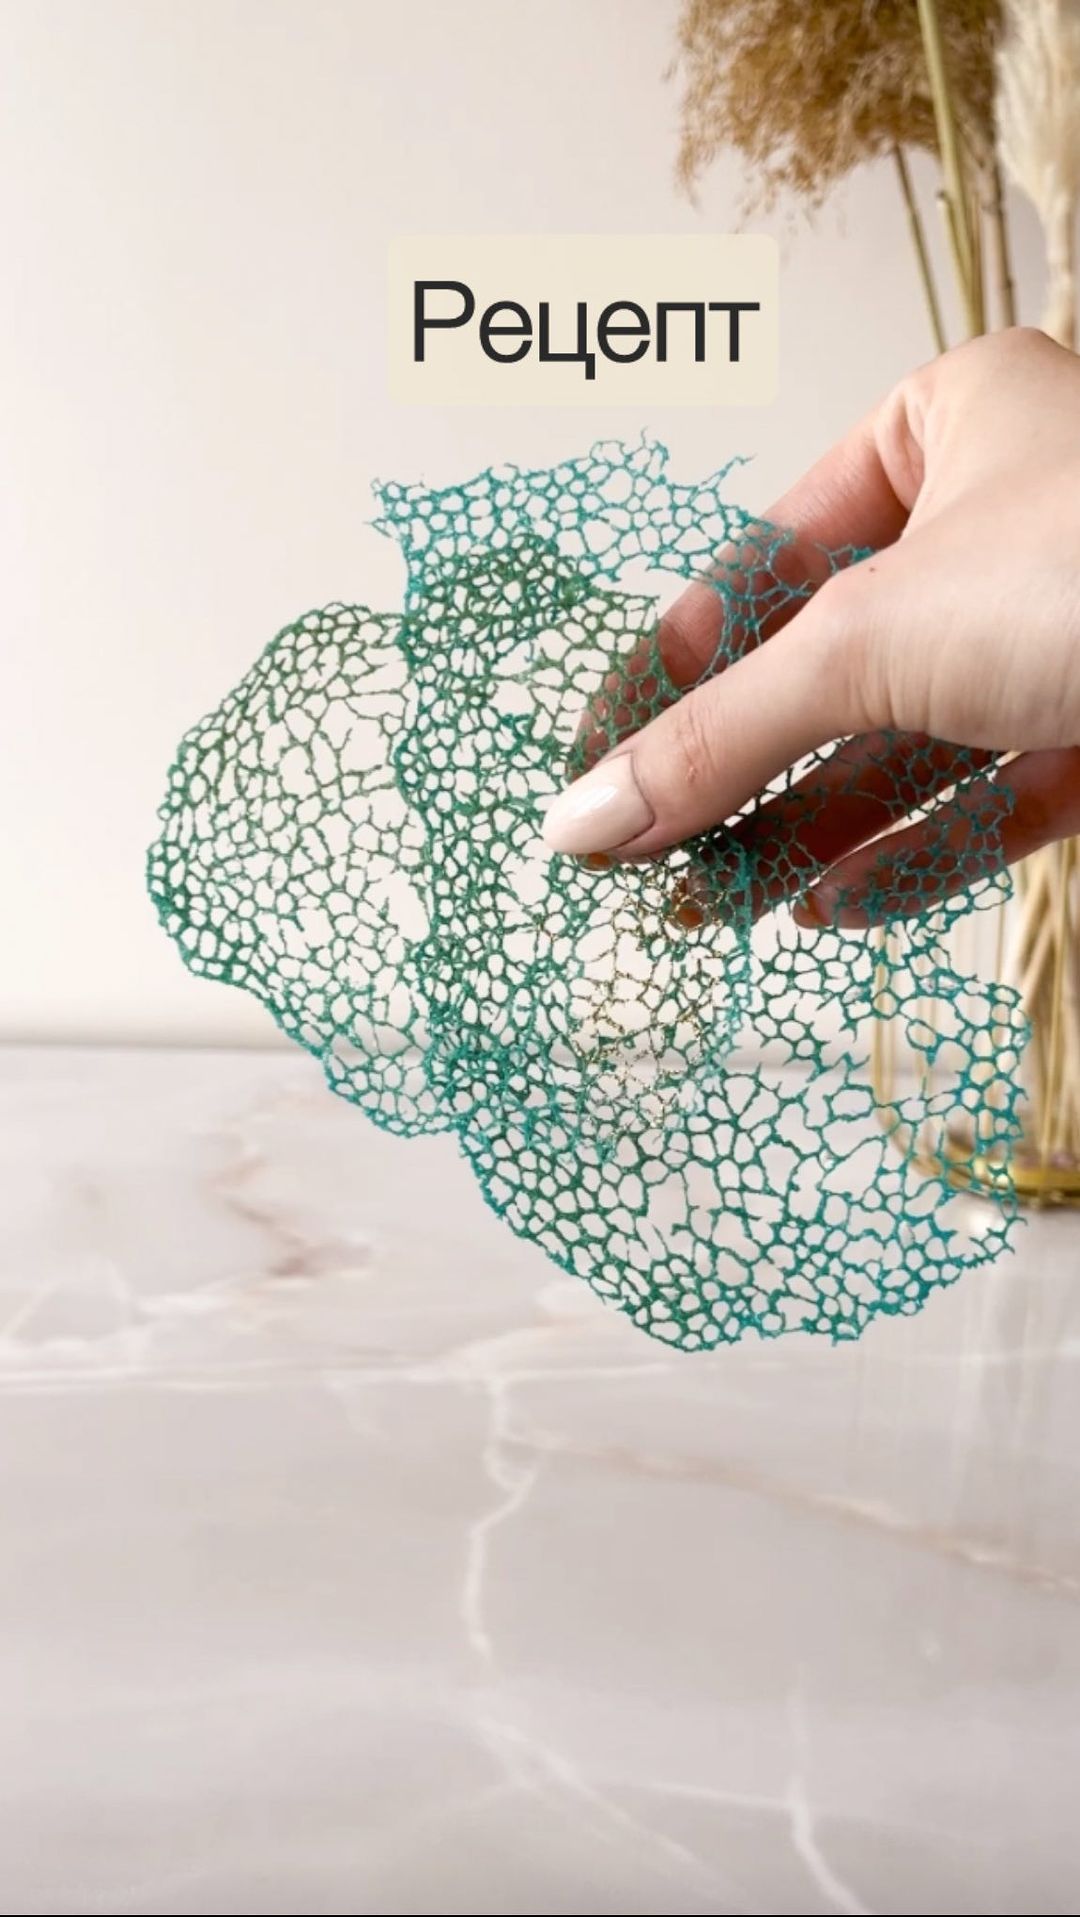
Begin by placing **3 tablespoons of isomalt** into a heavy-bottomed saucepan. It's important to use **Italian IRCA isomalt**, as it melts quickly and efficiently, taking only a few moments to heat up.
Next, add a few drops of **food coloring** to the saucepan. Stir constantly to ensure that the coloring is evenly mixed into the isomalt as it melts. This step is crucial, so don't skip it!
Step 2
Once the isomalt reaches a slightly viscous consistency, sprinkle your **flexible silicone mat** with some **luster dust** (also known as kandurin). After that, carefully pour the melted isomalt onto the mat, ensuring it's not too liquid.
If you wish to use multiple colors, prepare separate containers for each color of isomalt. This will allow you to create a beautiful patterned decoration.
Step 3
As the isomalt cools on the mat, you can start mixing the colors directly on the silicone mat. Be sure to **cool it down** enough so that it doesn’t drip away. This is a key part of the process to achieve the desired shape and form.
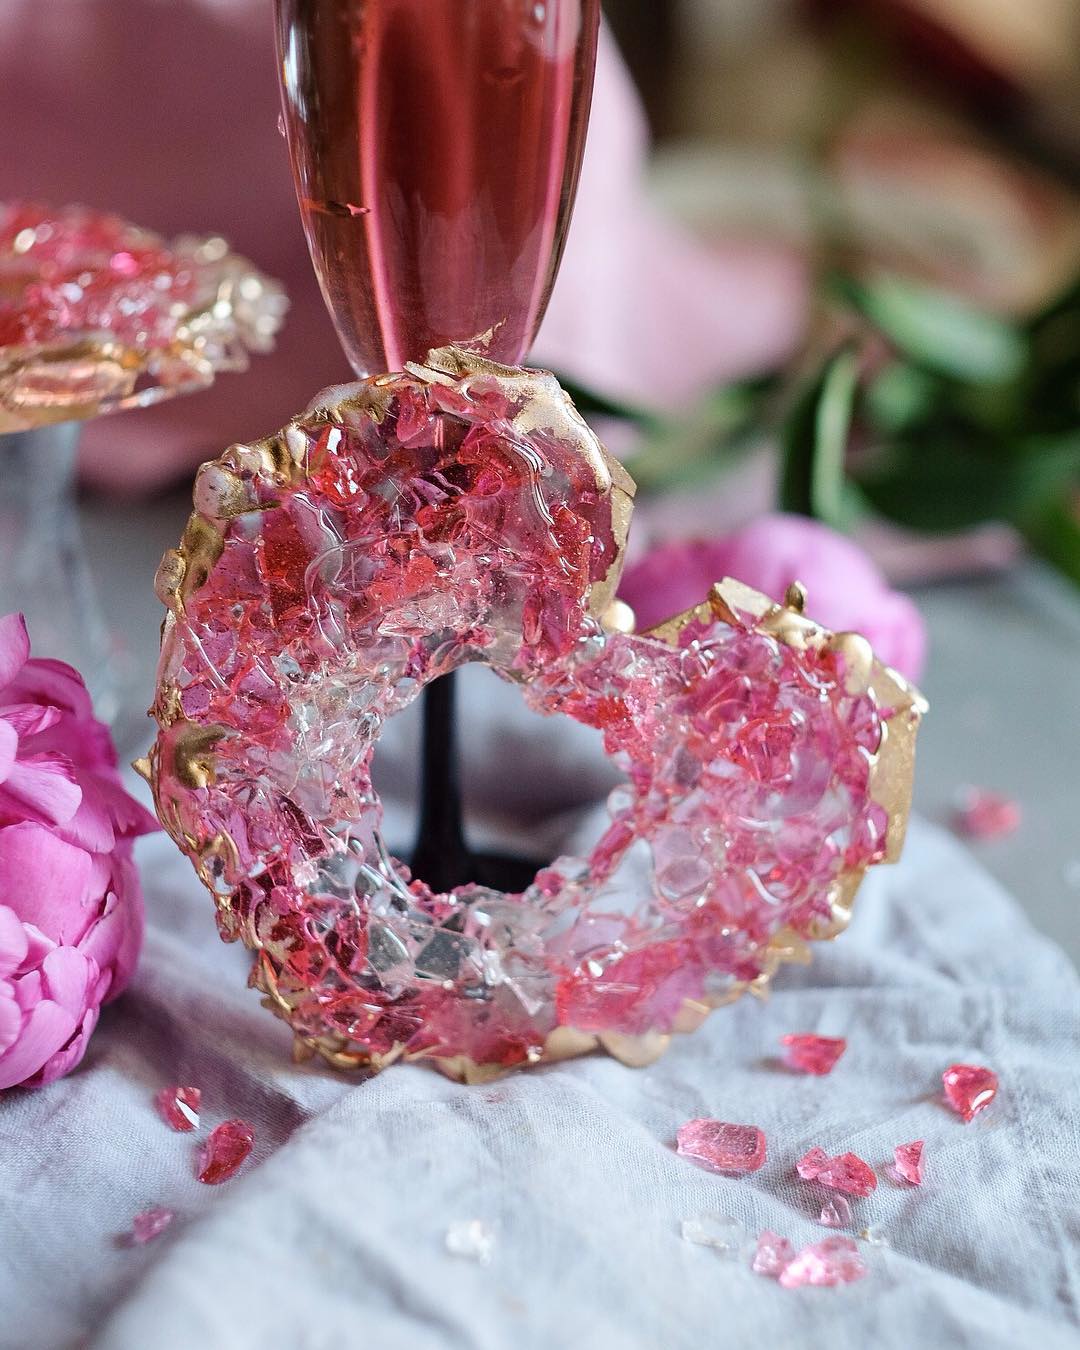
Once you're satisfied with the color mix, position the mat over a glass and secure it with **clips** at various points to hold it in place. This will help in shaping your isomalt into stylish forms.
Step 4
Allow the isomalt to cool completely before removing it from the mat. Once cooled, you can add additional color or gloss by using an **emulsion** made of vodka and kandurin for an extra shiny finish.
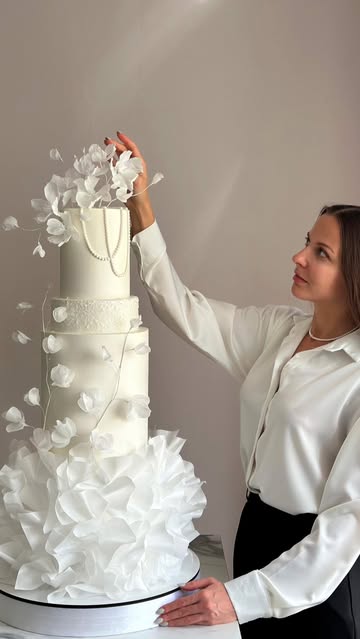
Your colorful isomalt decorations are now ready to adorn your cakes! They are not just delightful to look at but will elevate the aesthetic of any dessert, akin to a fine glass of wine beside you!
Servings
Equipment
Ensure even heating to prevent burning your isomalt. A thick pot distributes heat better, making it easier to melt without scorching.
This non-stick mat allows for easy release of your isomalt creations. It’s perfect for shaping and cooling your decorations.
Use these to secure the silicone mat while working. They keep everything in place and help you achieve the perfect shape.
Choose gel colors for vibrant and rich hues. A little goes a long way, so start with a small amount and adjust as needed.
Variations
Worried about dietary restrictions? No problem! Isomalt is naturally gluten-free and vegan, making it a perfect choice for almost any gathering. Keep your decorations clean and pure by checking your food coloring ingredients, ensuring they align with your dietary needs. 🌱✨
Faq
- What is isomalt, and where can I buy it?
Isomalt is a sugar substitute derived from beet sugar, perfect for sugar art. You can find it in specialty baking stores or online.
- How do I store leftover isomalt?
Once cooled, you can store isomalt pieces in an airtight container at room temperature to keep them fresh and shiny.
- Can I reuse isomalt once melted?
Yes! You can reheat and reshape isomalt when it cools down, but ensure it’s melted properly to avoid moisture contamination.
- How can I add sparkle to my isomalt decorations?
For a metallic shine, dust your decorations with edible luster dust or spray with edible glitter! Shine bright like your desserts! 🌟
- What do I do if my isomalt starts crystallizing?
Keep the mixture on low heat and stir gently. If crystallization occurs, add a few drops of water and continue heating until it’s smooth again.
- How do I create different shapes with isomalt?
You can pour the isomalt onto different molds or shapes on a silicone mat. Experiment with layering colors for multi-dimensional designs!

