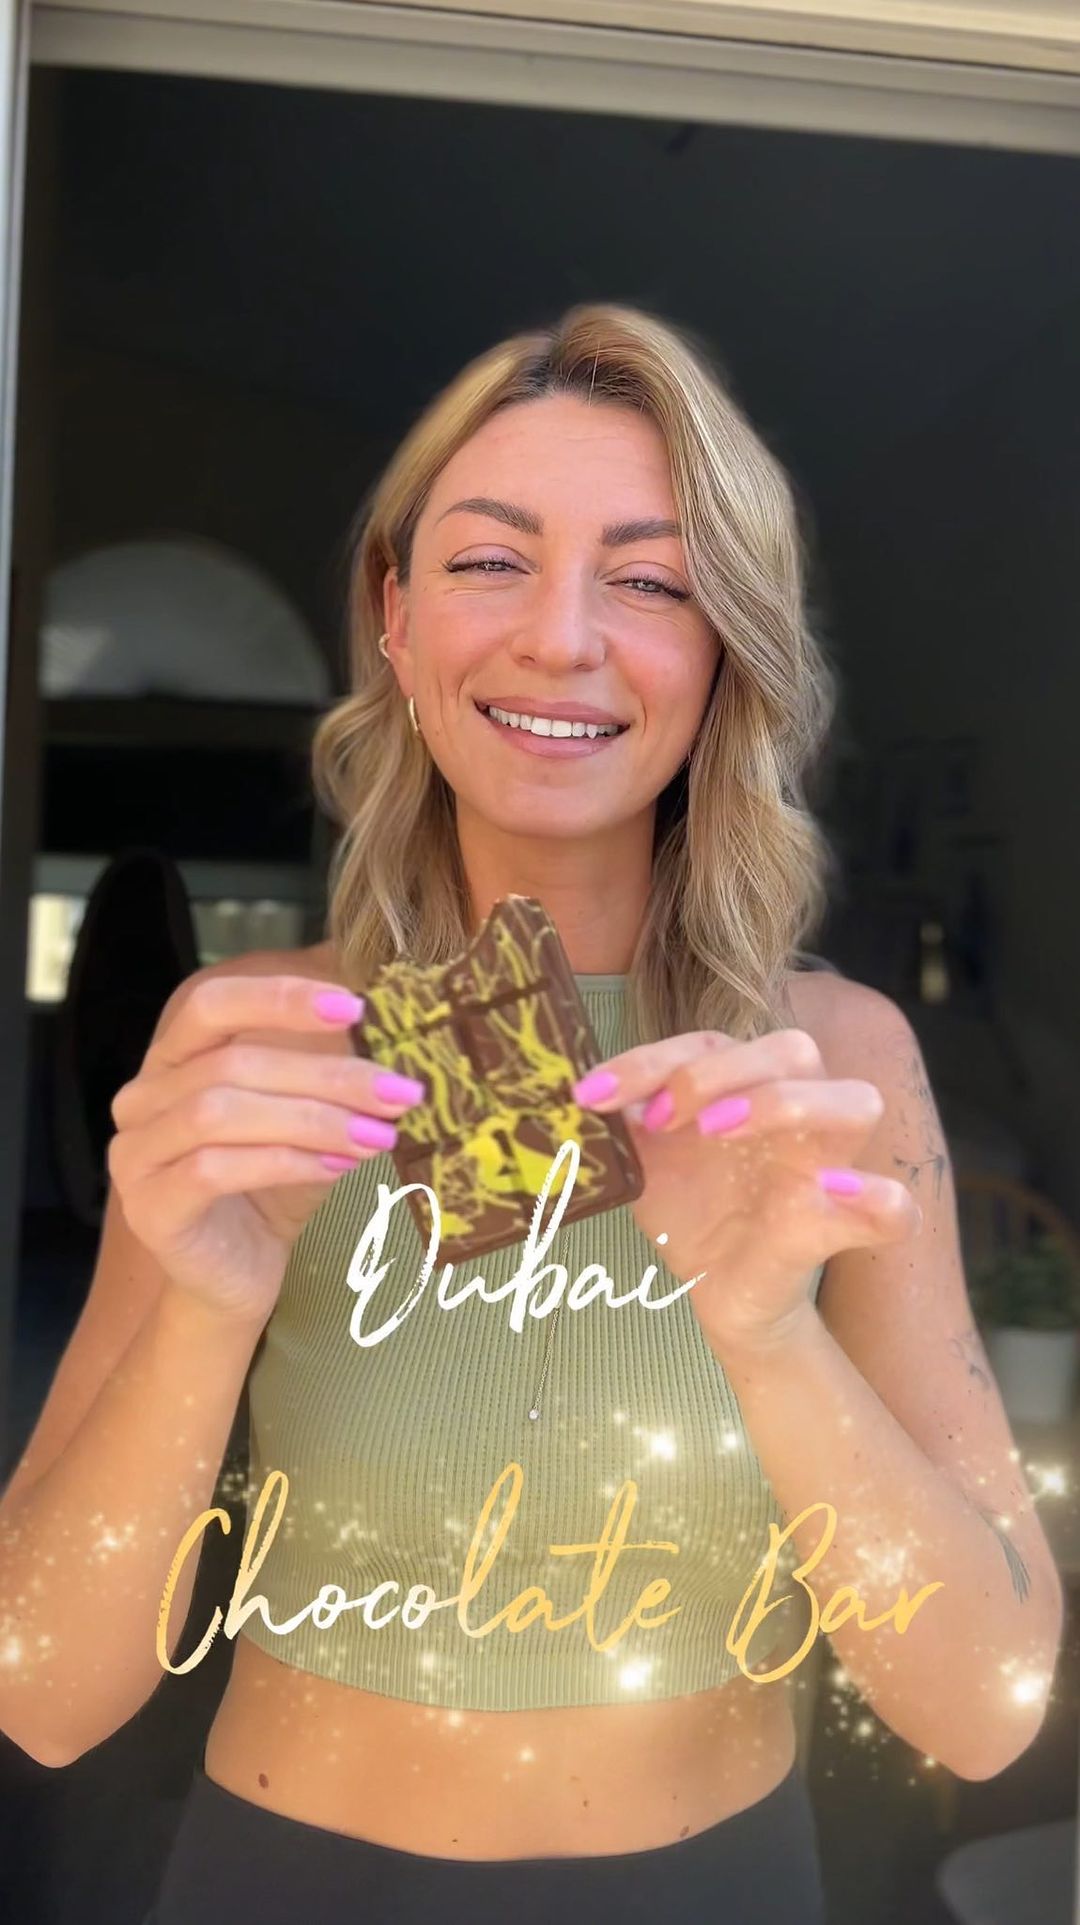
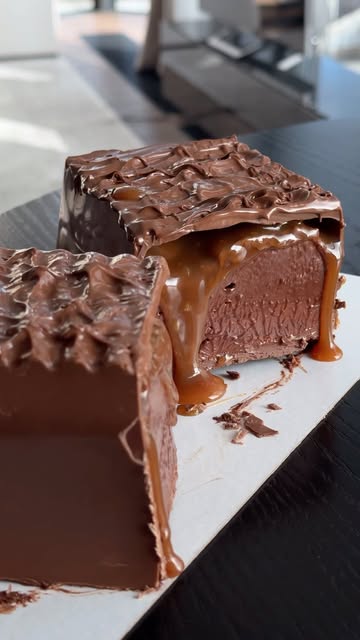
Ingredients
Chocolate Bar Ingredients
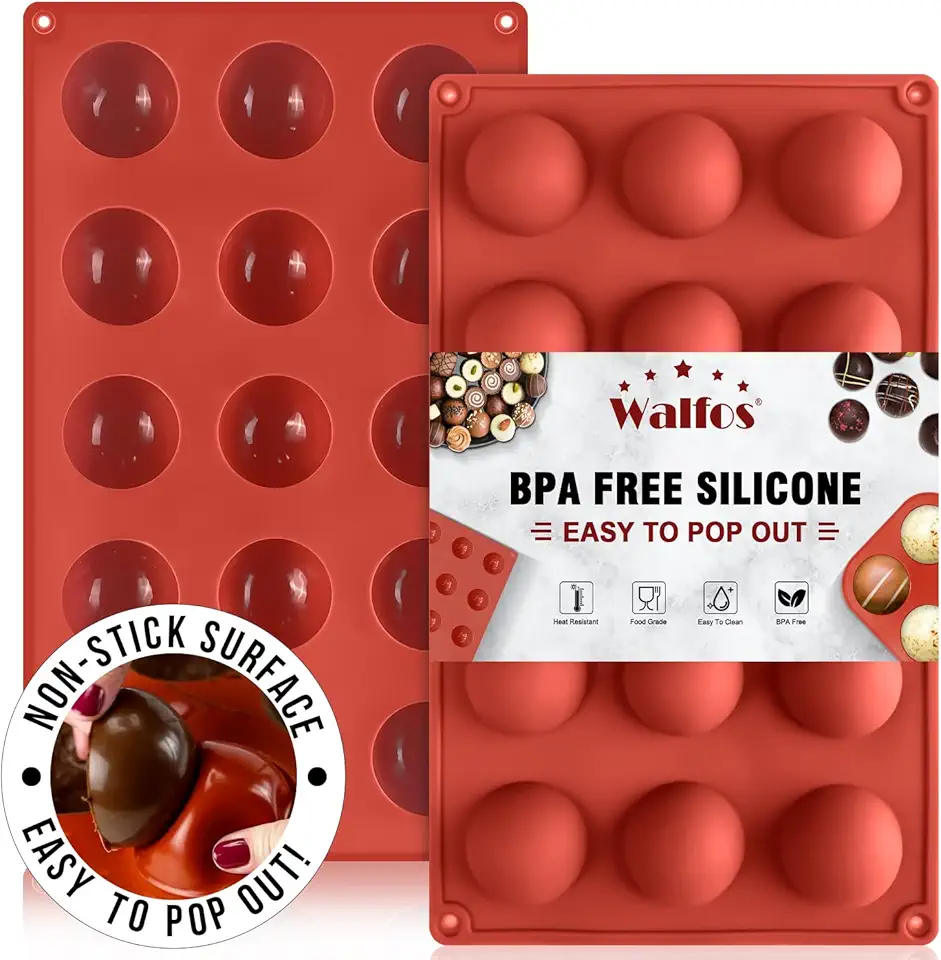 Small 15-Cavity Semi Circular Silicone Mold, 2 Packs Half Sphere Silicone Baking Molds for Making Jelly, Chocolates and Cake
$9.99
View details
Prime
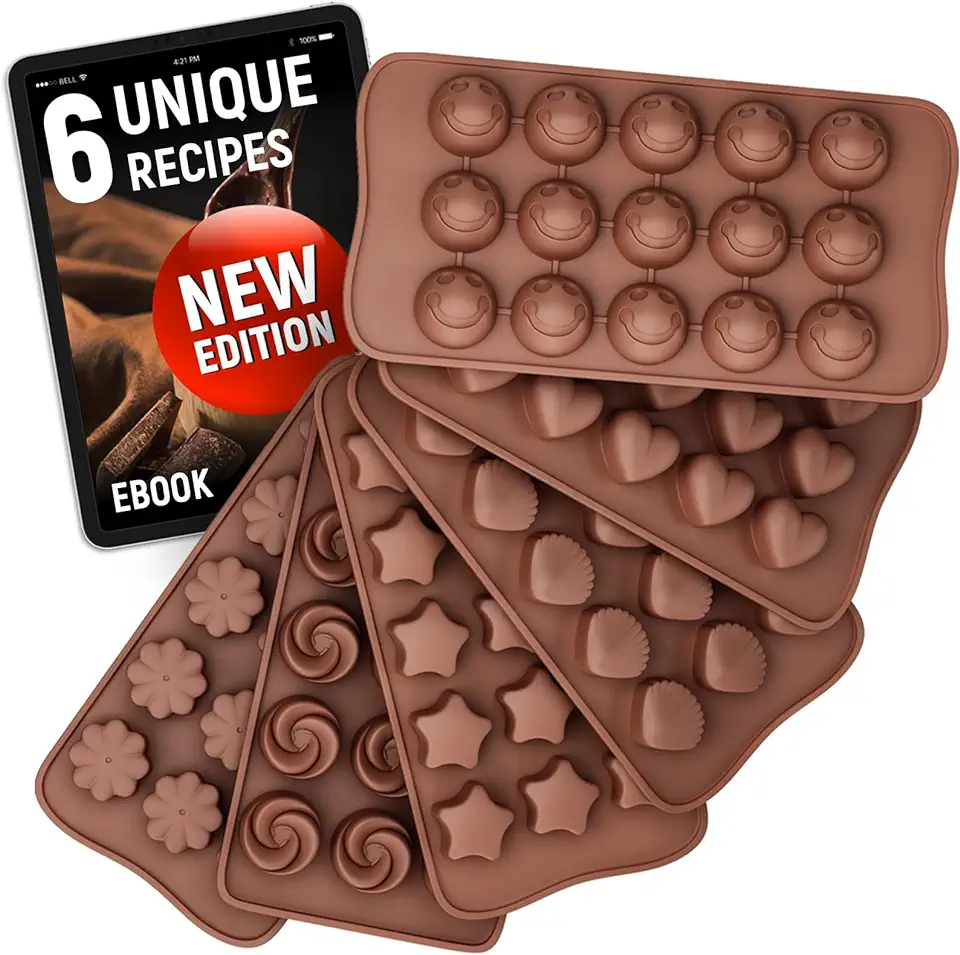 Chocolate Molds Silicone - Set of 6 +Free Recipes eBook - Non-Stick Candy Molds Silicone - Food Grade Silicone Molds for Chocolate Candies
$9.99
$13.99
View details
Prime
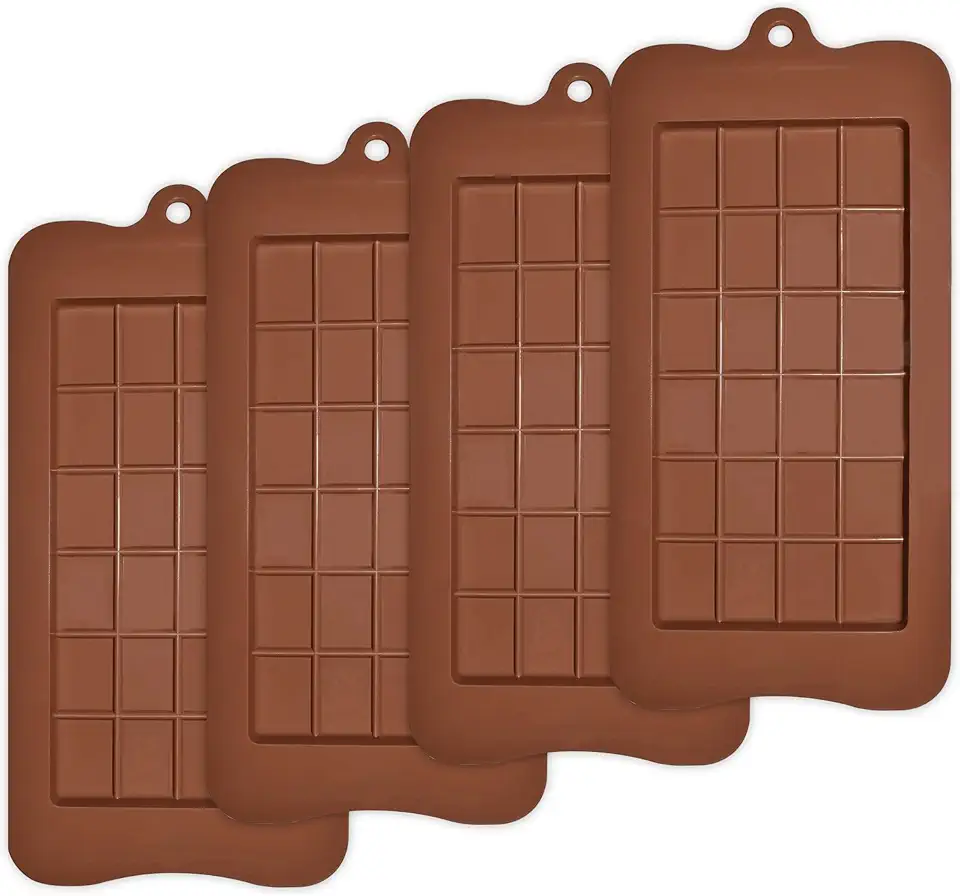 homEdge Break-Apart Chocolate Molds, Set of 4 Packs Food Grade Non-Stick Silicone Protein and Energy Bar Molds
$7.99
$15.99
View details
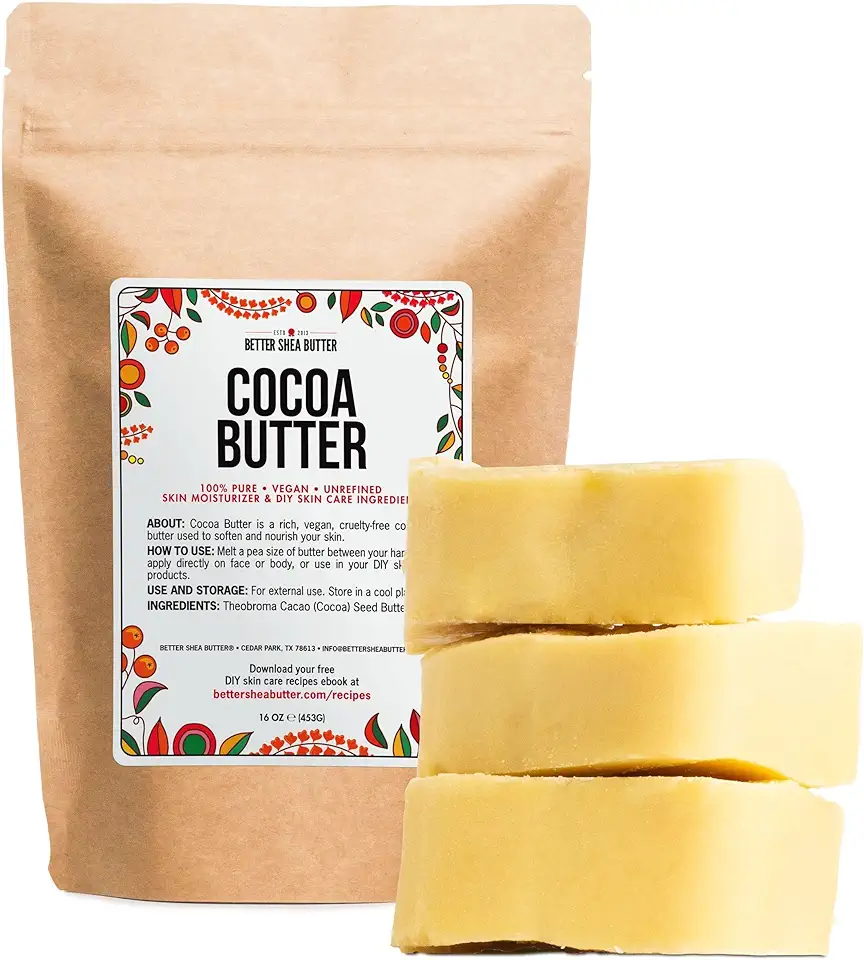 Better Shea Butter Raw Cocoa Butter - Unrefined, 100% Pure, Food Grade - Use for Cocoa Lip Balm, Stretch Marks Cream, Cacao Butter Cream, Scars Oil, Whipped Lotion - Skin & Hair Moisturizer 1LB Block
$49.50
View details
Prime
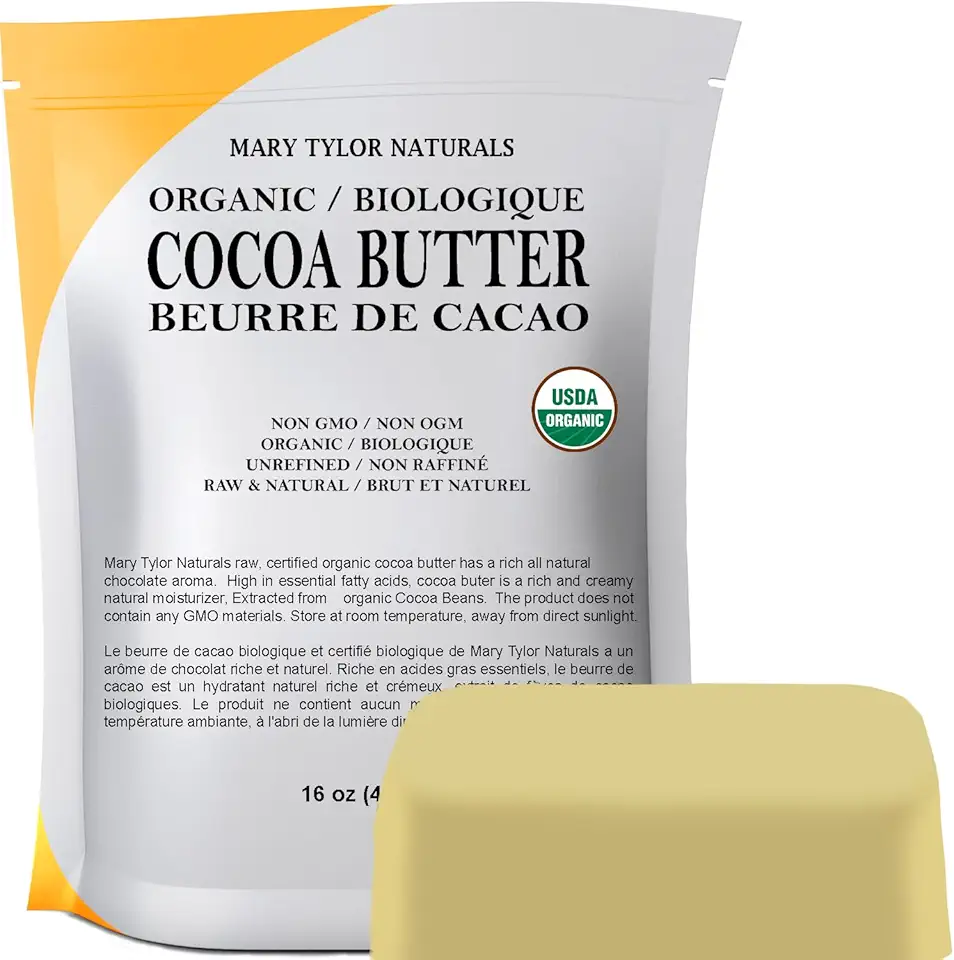 Mary Tylor Naturals Organic Cocoa Butter 1 lb — USDA Certified Raw Unrefined, Non-Deodorized, Rich In Antioxidants — for DIY Recipes, Lip Balms, Lotions, Creams, Stretch Marks
$27.95
View details
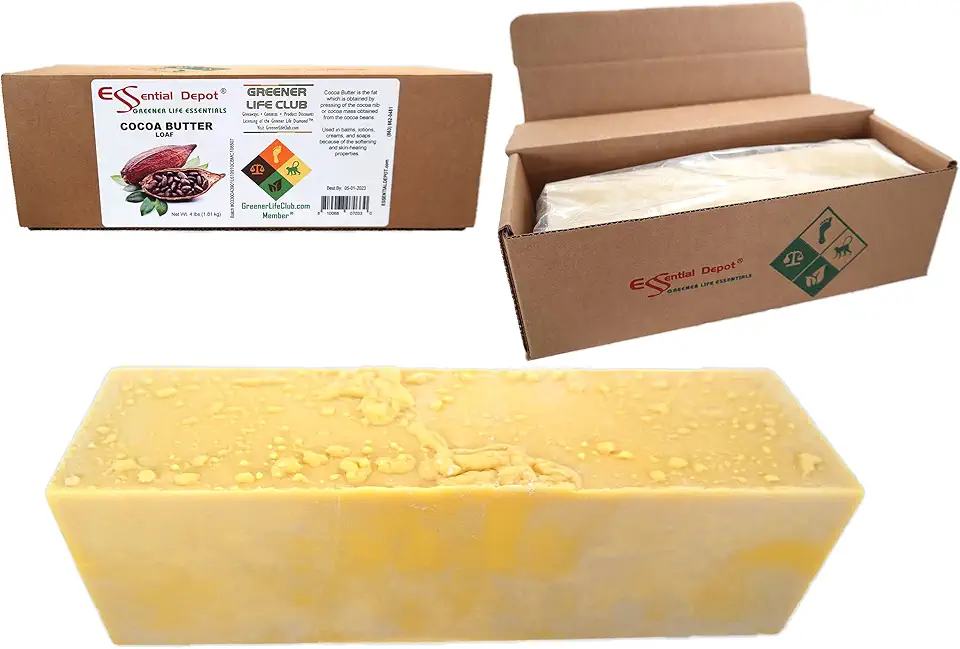 Essential Depot Cocoa Butter - Raw - Unrefined - 100% Pure - Natural Cocoa Scent - 4 lbs - Used in Creams, Lotion Bars and Sticks, Lip Balms, Body Butters and many other skin care products
$64.97
View details
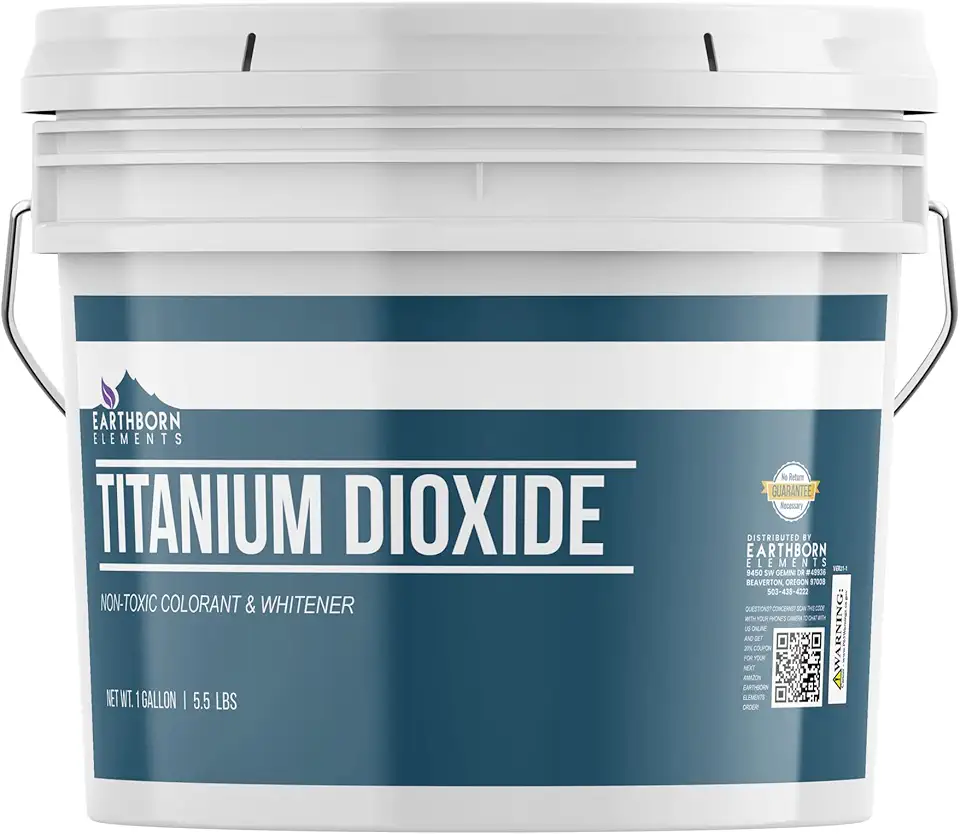 Earthborn Elements Titanium Dioxide (1 Gallon), DIY Essential, Resealable Bucket
$56.99
View details
Prime
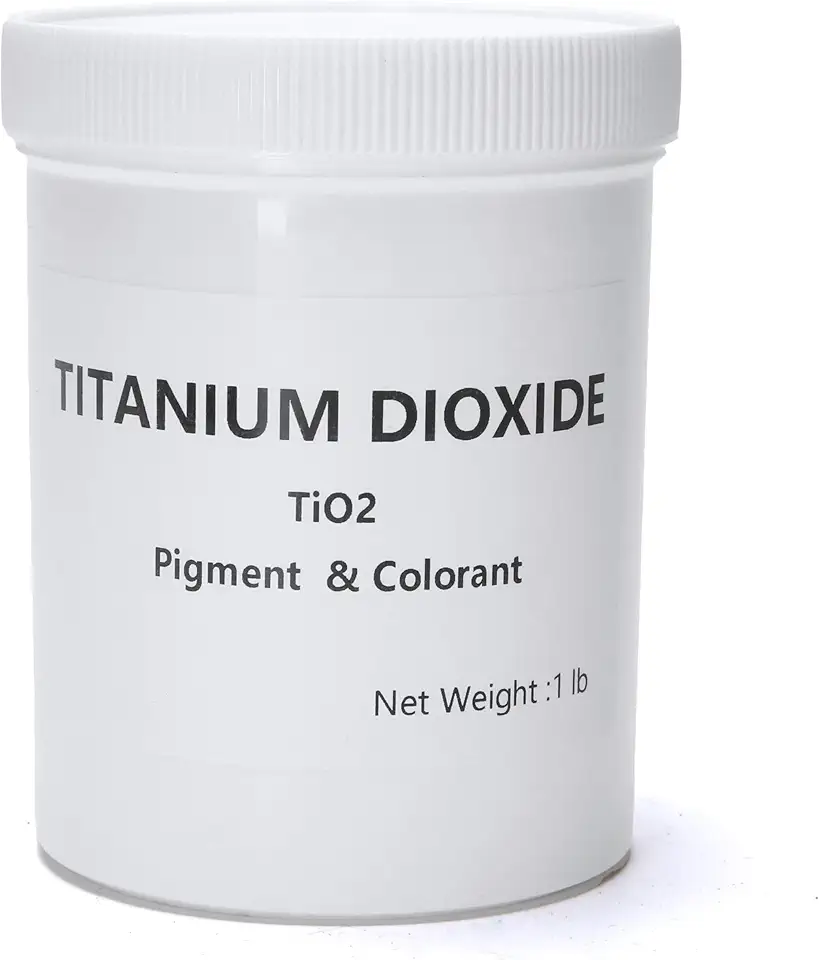 PT-248 TiO2 Titanium Dioxide powder (1 lb) | Handmade Soap & Pigment Colorants | Reusable | Naturally Occurring, white
$16.99
View details
Prime
 PT-248 TiO2 Titanium Dioxide powder (1 lb) | Handmade Soap & Pigment Colorants | Reusable | Naturally Occurring, white
$16.99
View details
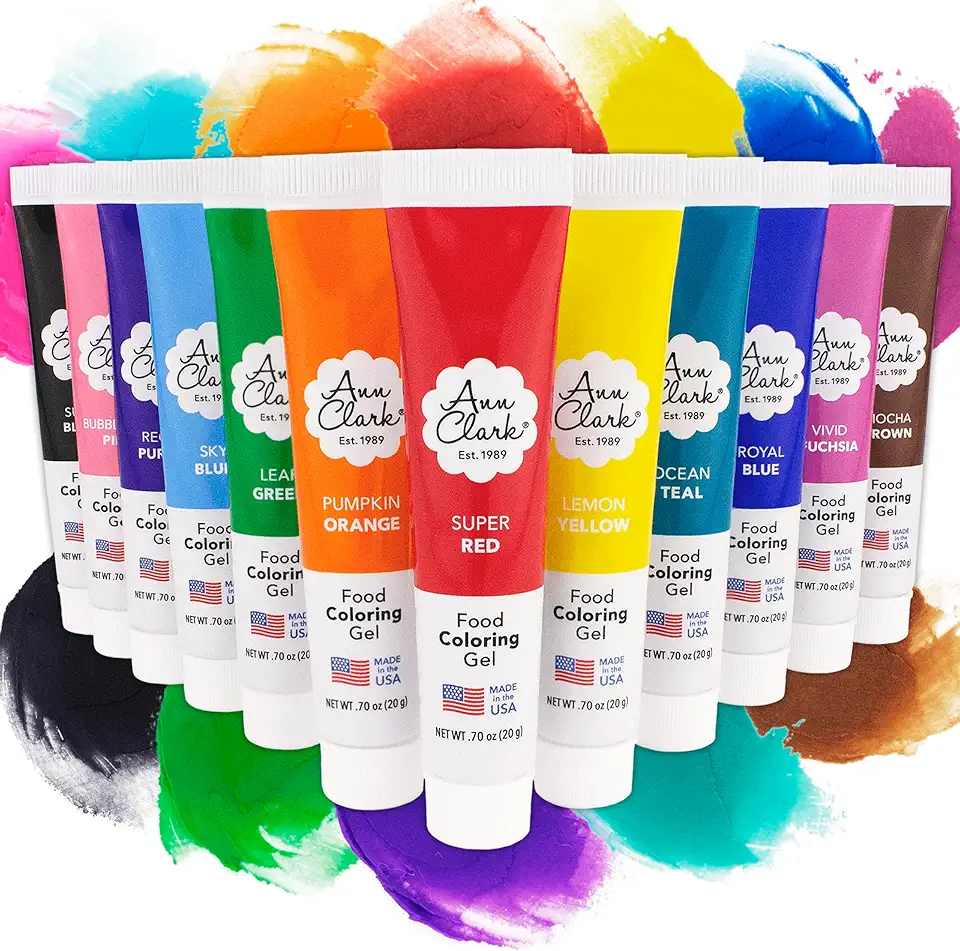 Ann Clark Professional-Grade Gel Food Coloring Made in USA .7 oz, 12 Colors
$24.99
View details
Prime
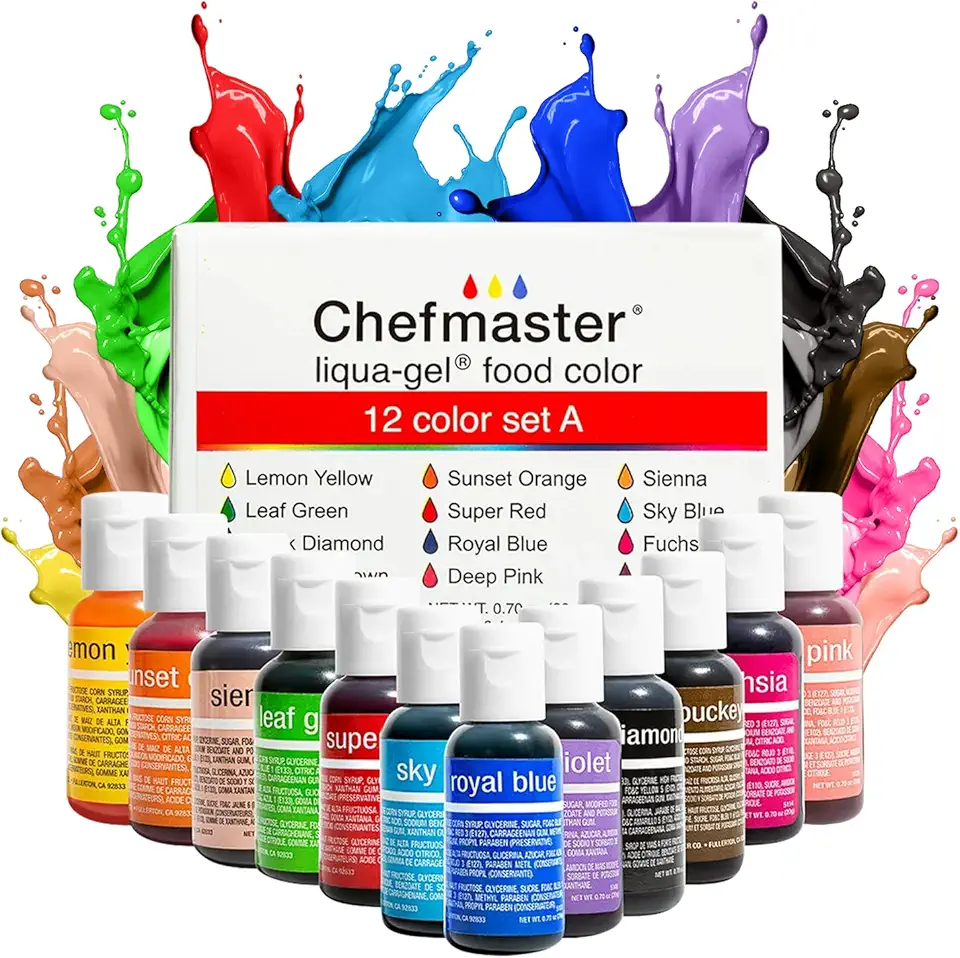 Chefmaster - Liqua-Gel Food Coloring - Fade Resistant Food Coloring - 12 Pack - Vibrant, Eye-Catching Colors, Easy-To-Blend Formula, Fade-Resistant
$22.00
View details
Prime
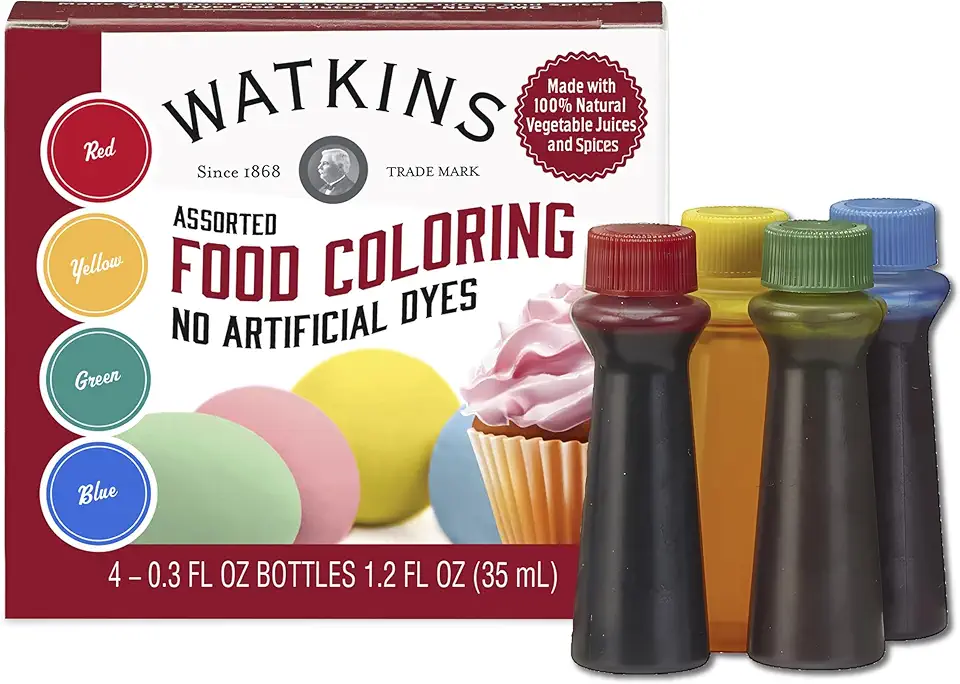 Watkins Assorted Food Coloring, 1 Each Red, Yellow, Green, Blue, Total Four .3 oz bottles
$6.99
$12.99
View details
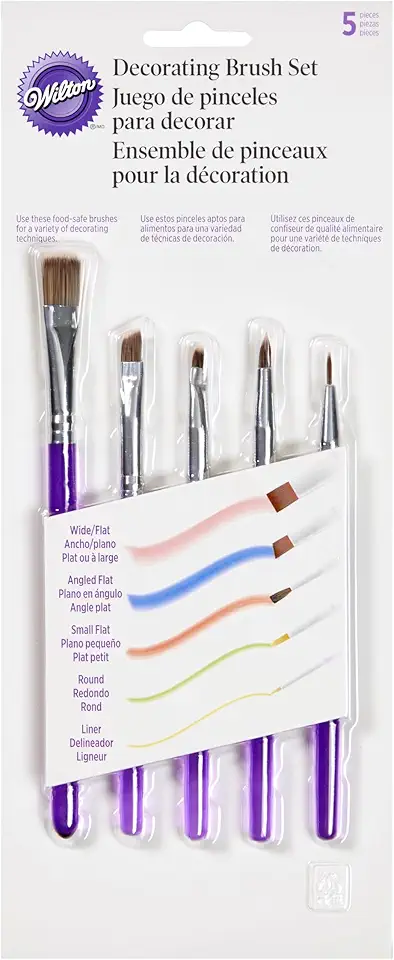 Wilton 5-Piece Decorating Brush Set - Food Safe Decorating Brushes for Dusting Edible Glitter and Painting with Edible Color on Treats, Synthetic Bristles
$8.39
$10.07
View details
Prime
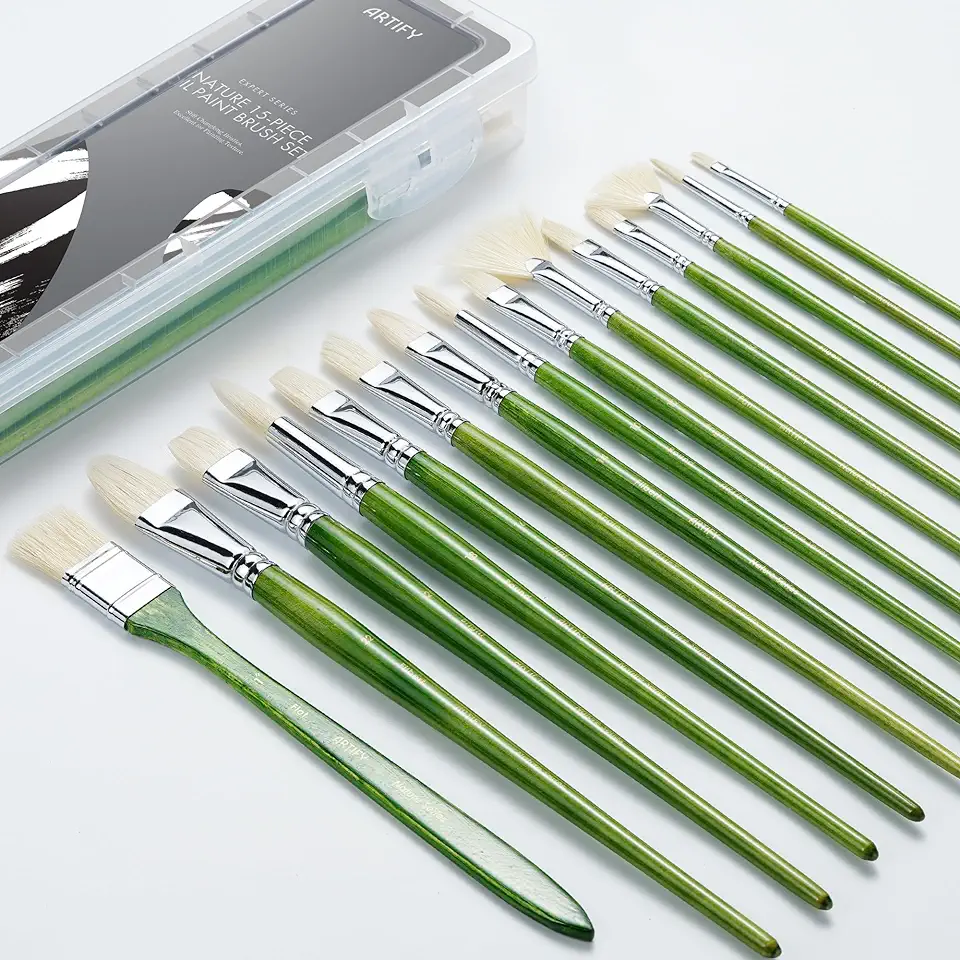 ARTIFY Professional Oil Paint Brushes Set, Acrylic Paint Brushes, 15 Pcs Chungking Bristle Paintbrush Set with Long and Heavy Handle for Oil and Acrylic Gouache Painting, Green
$35.99
$37.90
View details
Prime
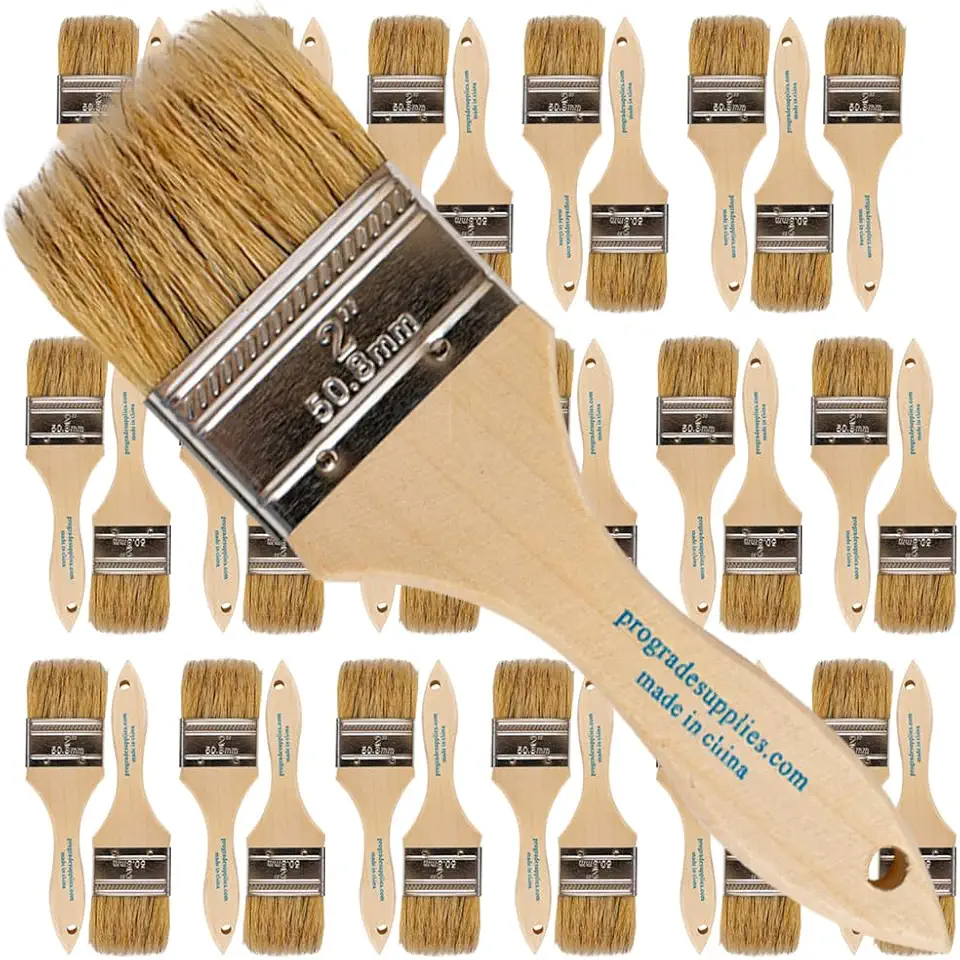 Pro Grade - Chip Paint Brushes - 36-Pack - 2 Inch Chip Brush for Paints, Stains, Varnishes, Glues, & Gesso
$17.99
$24.99
View details
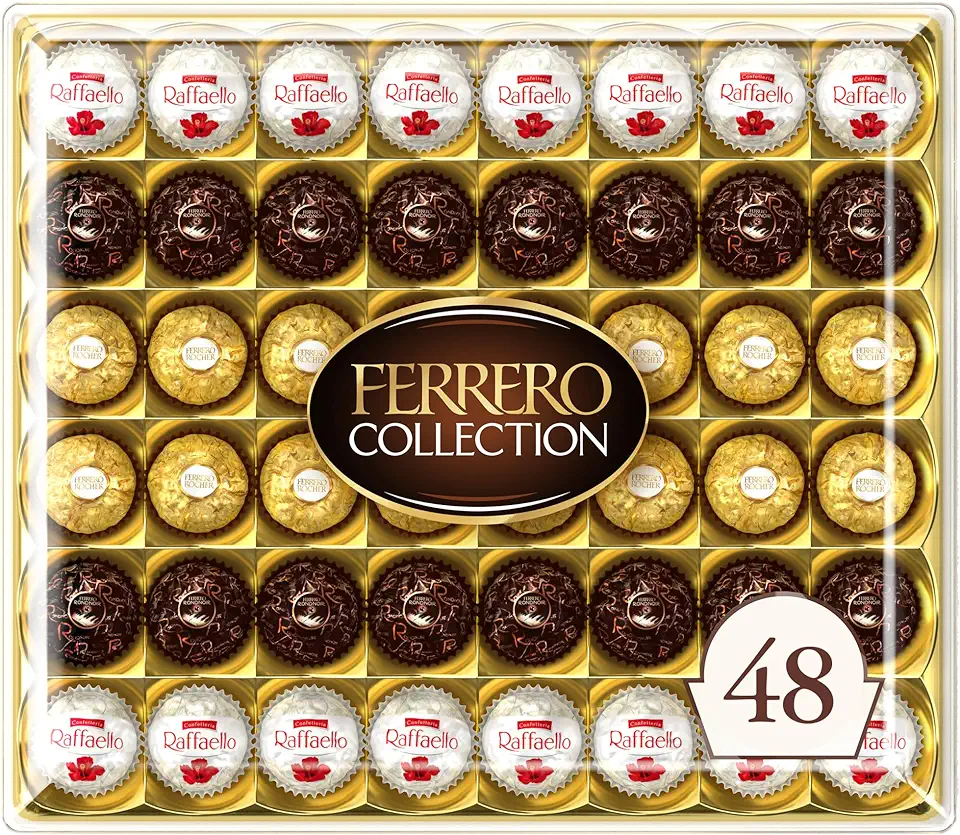 Ferrero Collection, 48 Count, Premium Gourmet Assorted Hazelnut Milk Chocolate, Dark Chocolate and Coconut, 18.2 oz
$23.94
View details
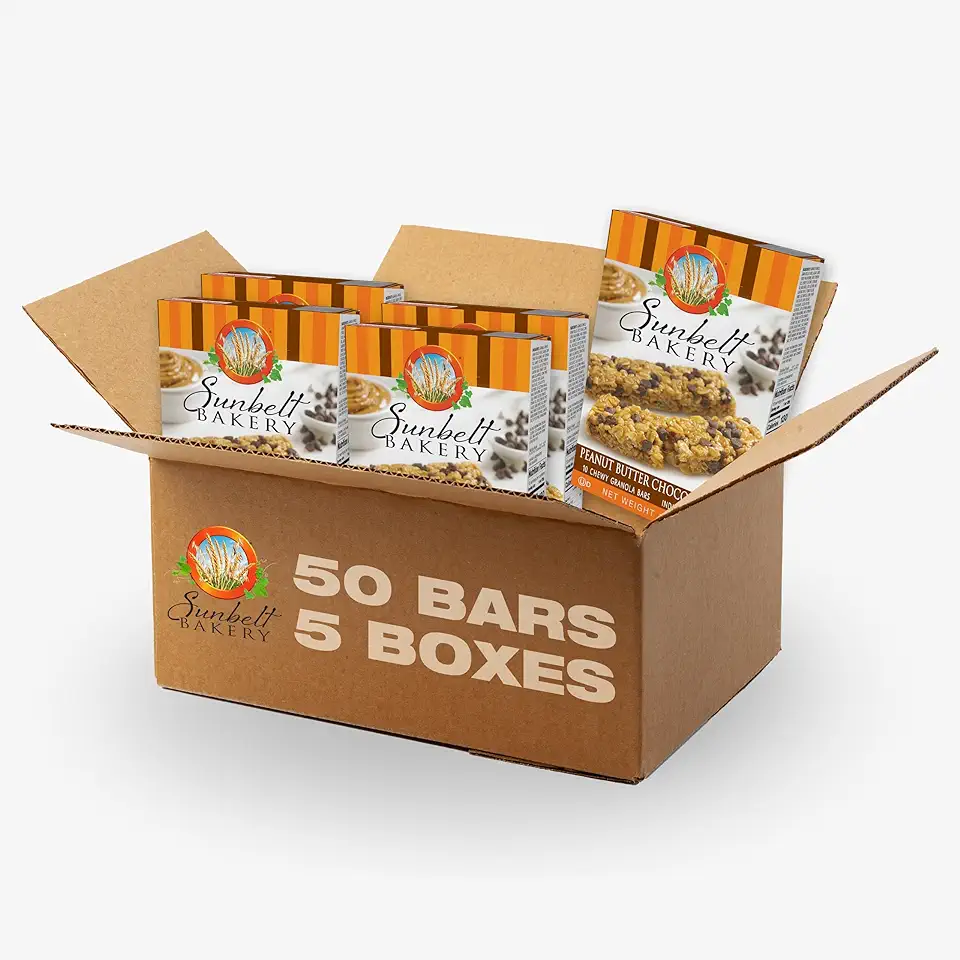 Sunbelt Bakery Peanut Butter Chocolate Chip Chewy Granola Bars, 50-1.0 OZ Bars (5 Boxes)
$26.40
View details
Prime
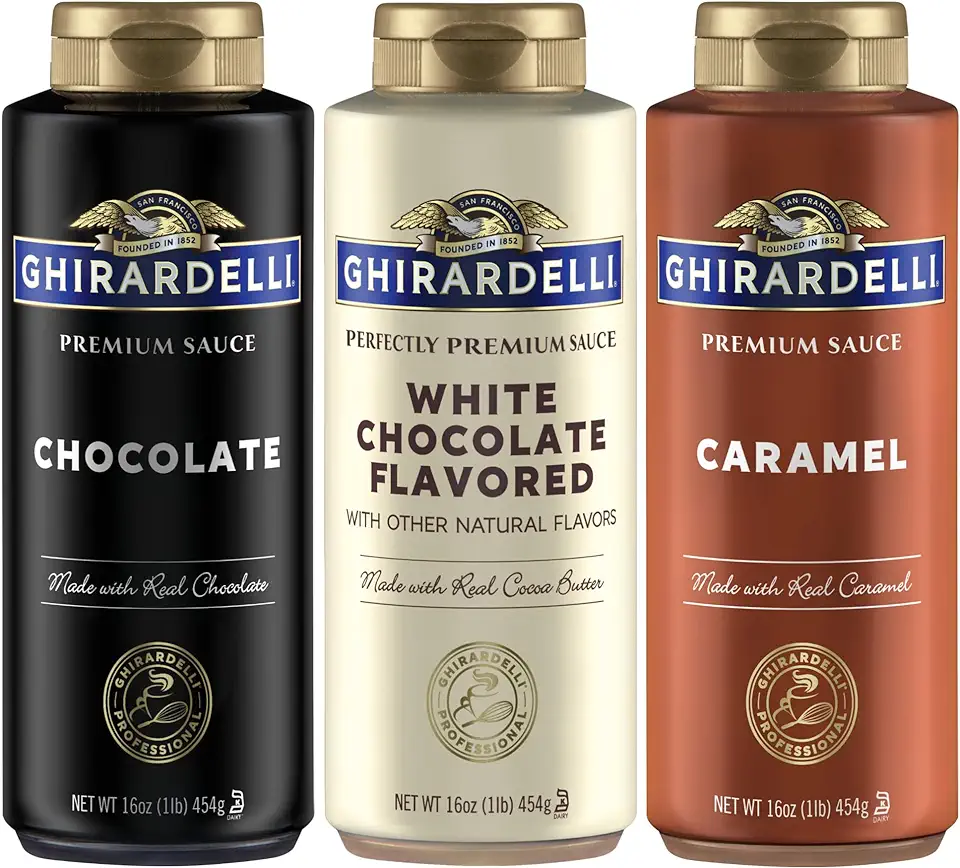 Ghirardelli Squeeze Bottles - Caramel, Chocolate & White Chocolate - Set of 3
$24.85
View details
Instructions
Step 1
Start by *melting the cocoa butter* and let it cool slightly. Mix with titanium dioxide to ensure the colors are vivid and rich. You will use this mixture as your base palette for coloring.
Step 2
Begin painting the mold in layers. *Visualize your final product* and think about what you want to see in the first layer, second layer, and so on. Work patiently, ensure each layer stabilizes before moving to the next.
Step 3
Make sure your workspace is at a suitable temperature, not exceeding *20 degrees Celsius* (68 degrees Fahrenheit) to expedite stabilization. If your area is warmer, allow more time for stabilization.
Step 4
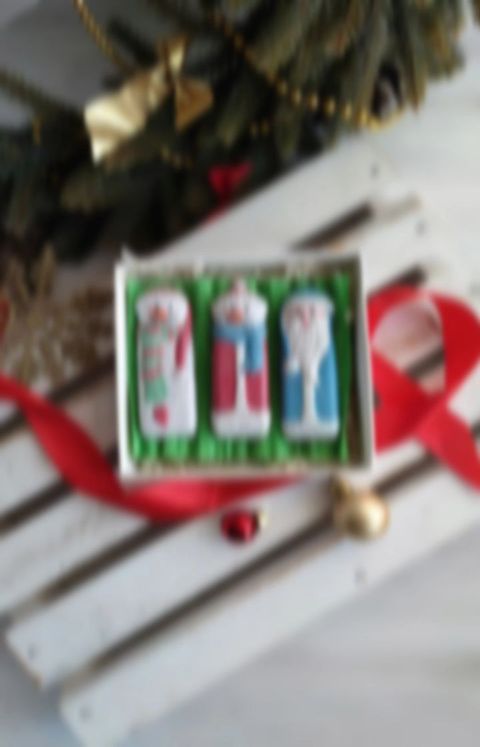
Add details like *eyes, noses, and hearts* in the first layer. Then, apply the main colors for faces, and clothing in subsequent layers. If you notice small imperfections, don’t worry! Once stabilized, reapply color to cover gaps.
Step 5
If the cocoa butter mixture starts to harden, put it in the microwave for *10-15 seconds*. Continue this process to keep it workable.
Step 6
Finish with thin layers to prevent a thick crust of color. Allow the form to fully stabilize by covering it with a film to avoid moisture contact. Ideally, leave it to stabilize *overnight*.
Step 7
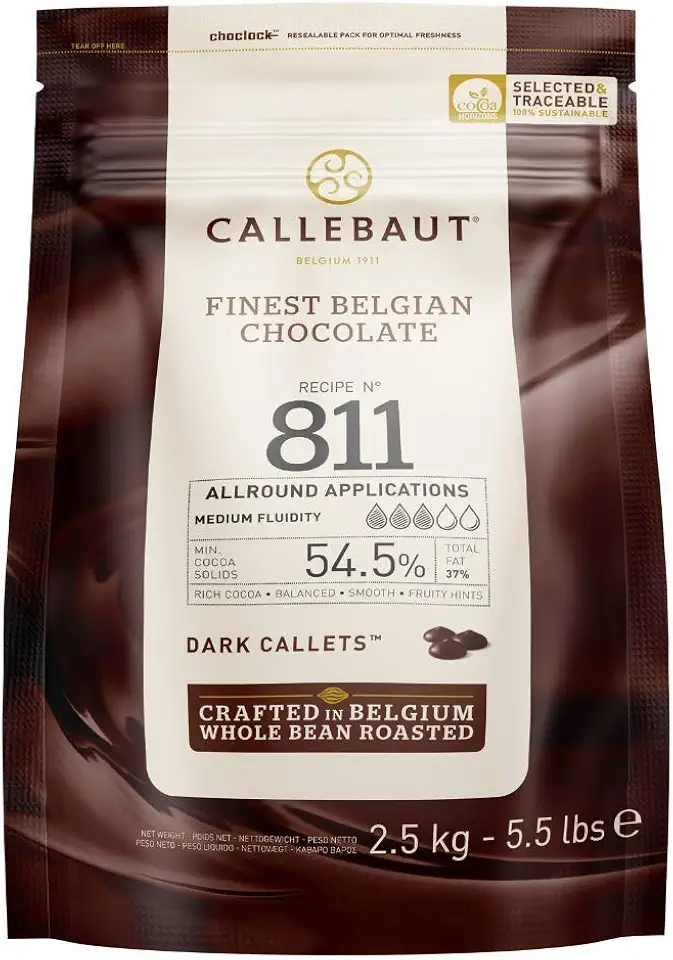
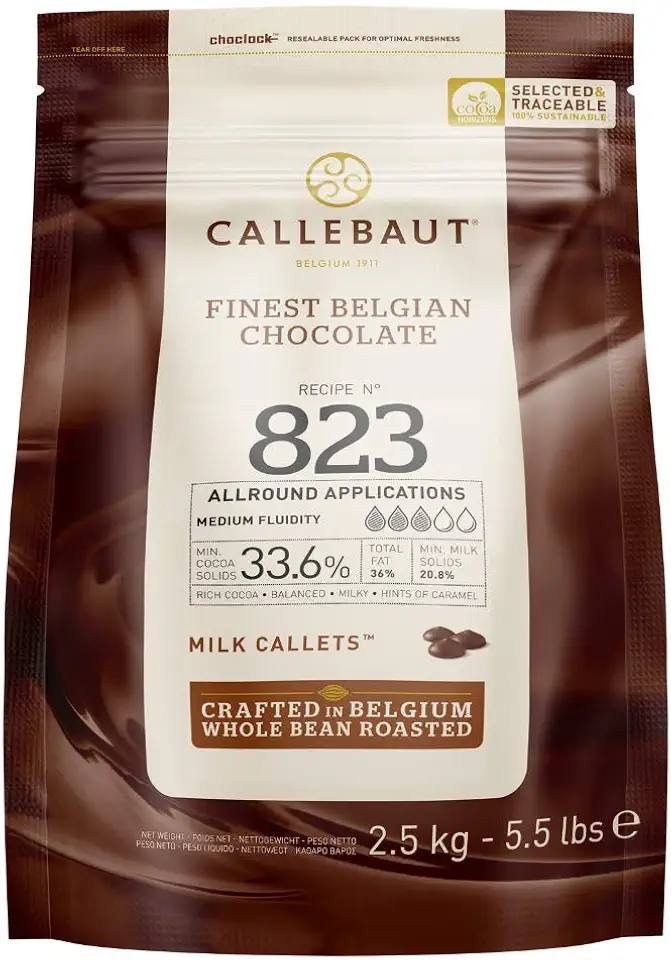
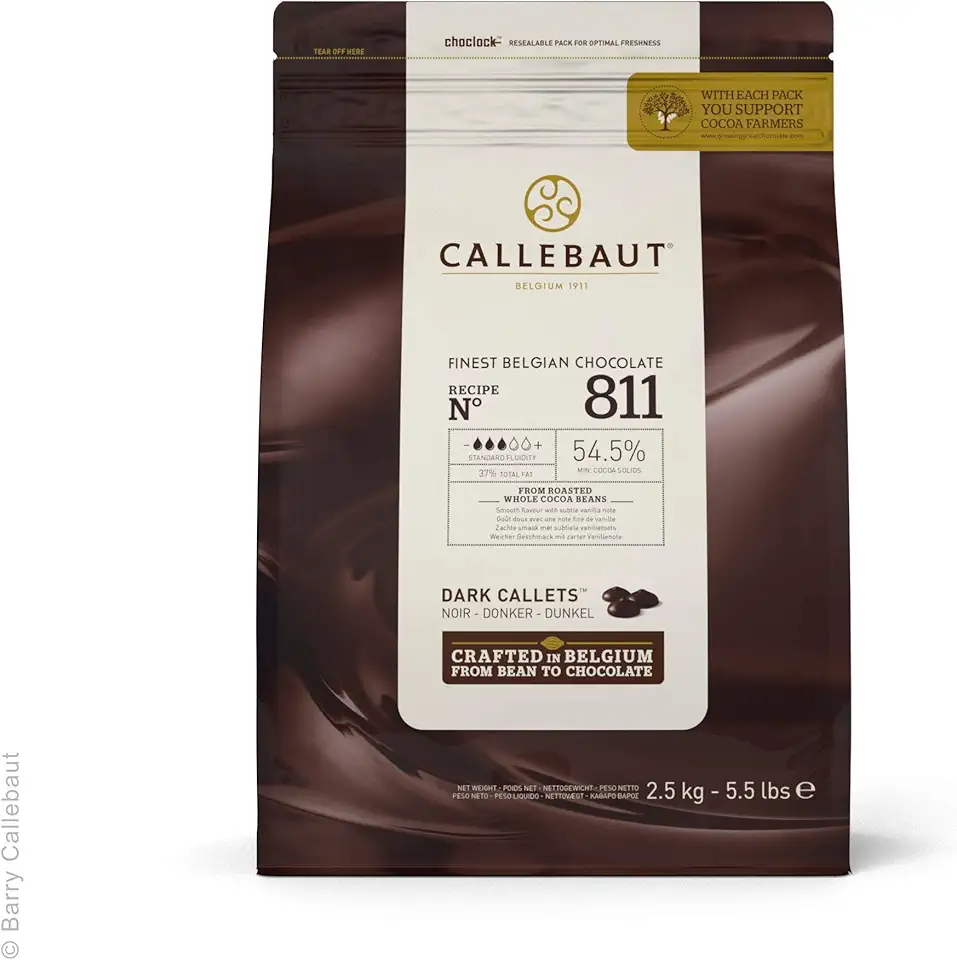
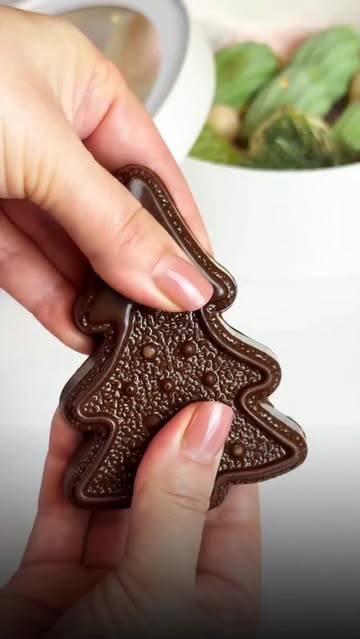
*Temper the chocolate* according to a suitable schedule and pour it into the decorated mold. Add your choice of toppings and allow it to stabilize completely.
Servings
Decorated chocolates are perfect for *gift giving*. **Each piece becomes a personal token** of appreciation, especially when tailored to the preferences of your friends and family. 🎁
Consider incorporating your chocolates into a dessert platter. Mix different shapes and designs with fresh fruits and nuts to create an eye-catching display that is as delightful to look at as it is to eat. 🍇🥜
For a unique twist, pair your chocolates with wines that complement their flavors. The right wine can elevate your chocolate experience to something truly memorable. 🍷🍫
Equipment
Ensure they are clean and dry before use to get a smooth finish on the chocolates.
 Small 15-Cavity Semi Circular Silicone Mold, 2 Packs Half Sphere Silicone Baking Molds for Making Jelly, Chocolates and Cake
$9.99
View details
Prime
 Chocolate Molds Silicone - Set of 6 +Free Recipes eBook - Non-Stick Candy Molds Silicone - Food Grade Silicone Molds for Chocolate Candies
$9.99
$13.99
View details
Prime
 homEdge Break-Apart Chocolate Molds, Set of 4 Packs Food Grade Non-Stick Silicone Protein and Energy Bar Molds
$7.99
$15.99
View details
Using food-grade cocoa butter is essential for creating vibrant designs.
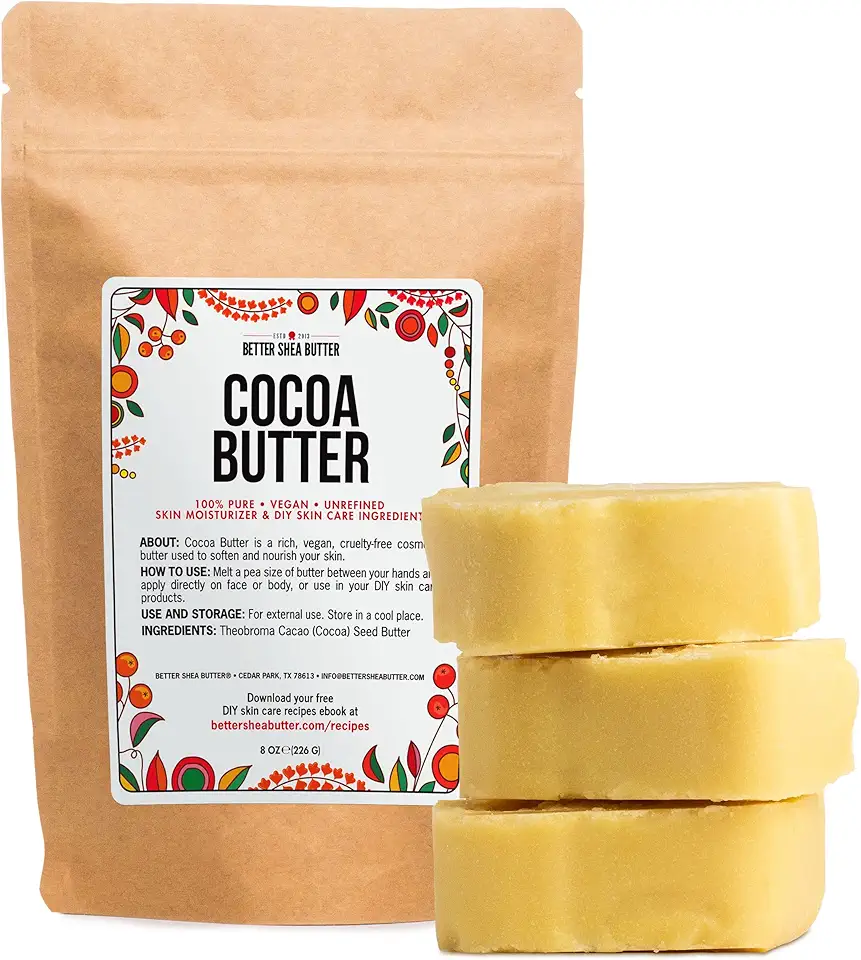 Better Shea Butter Cocoa Butter - 8 oz Block, Deeply Moisturizes Skin, Diminishes Scars, Stretch Marks, Soothes Dry Skin
$32.00
View details
Prime
 Palmer's Cocoa Butter Formula Daily Skin Therapy Solid Lotion with Vitamin E, Body Moisturizer for Extremely Dry Skin, Softens and Soothes, 7.25 Ounces, (Pack of 1)
$7.68
$9.99
View details
Prime
 Palmer's Cocoa Butter Bonus Size Jar, 9.5 Ounce
$13.45
$14.37
View details
Adds opacity to your colors, enhancing their vibrancy.
 PT-248 TiO2 Titanium Dioxide powder (1 lb) | Handmade Soap & Pigment Colorants | Reusable | Naturally Occurring, white
$16.99
View details
Prime
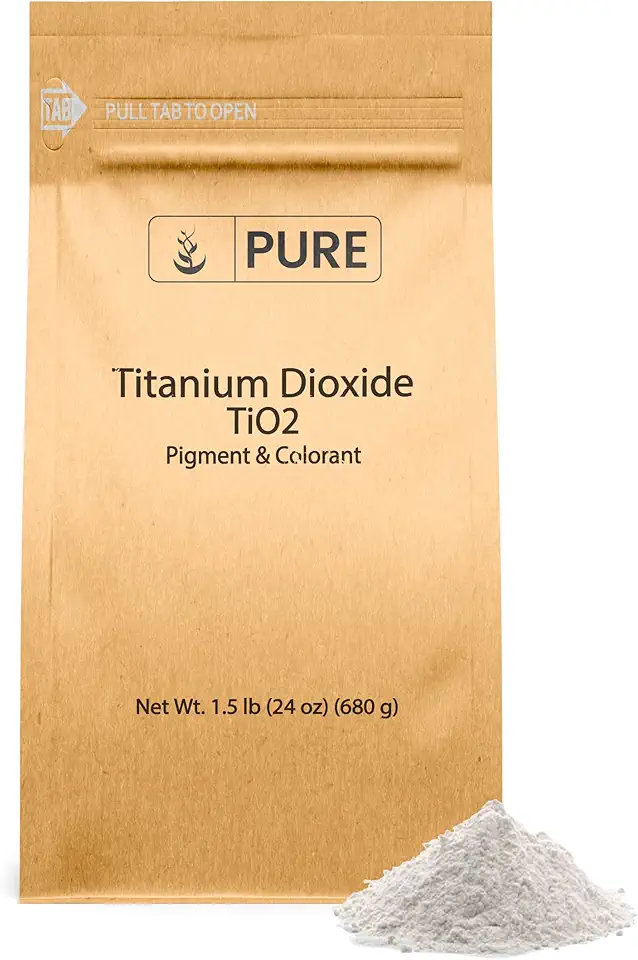 Pure Original Ingredients Titanium Dioxide (1.5 lb) Naturally Occurring, Pigment & Colorant
$21.99
$25.99
View details
Prime
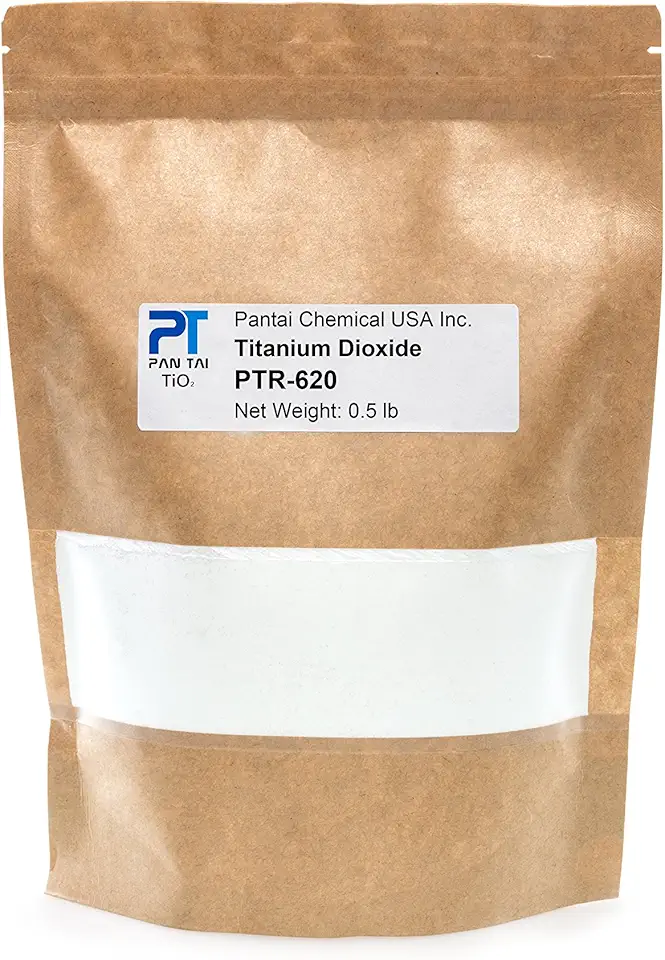 PTR-620 Titanium Dioxide Reagent Grade TiO2 -Pure,Fine, White Pigment Colorant for Soap Making, Candle Making, Crafts, Paints, Coating, Tiles, Plastic -Resealable Pouch 16oz 8oz 4oz (0.5 lb/8 oz)
$11.98
View details
Perfect for adding bold hues that won't seize when mixed with cocoa butter.
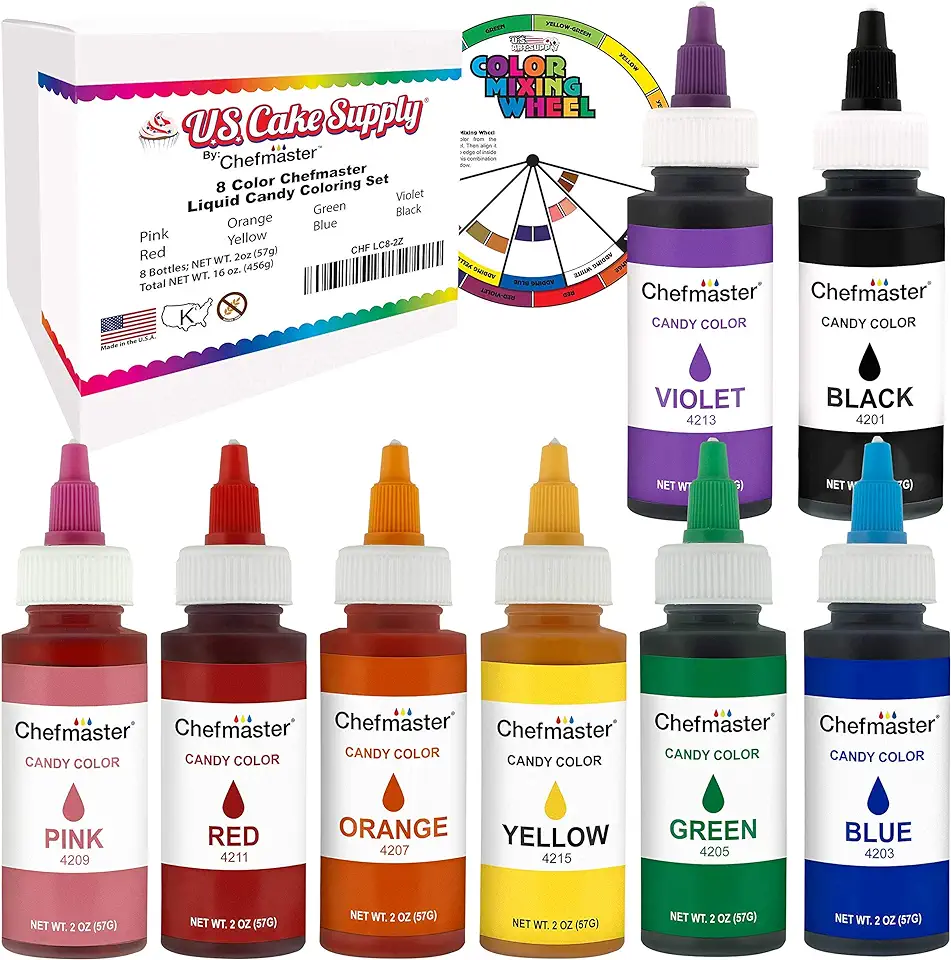 U.S. Cake Supply Large 2-ounce Bottles of each Liquid Candy Food Color 8 Bottle Kit with Mixing Wheel for Chocolate and Candy Coloring
$47.99
View details
Prime
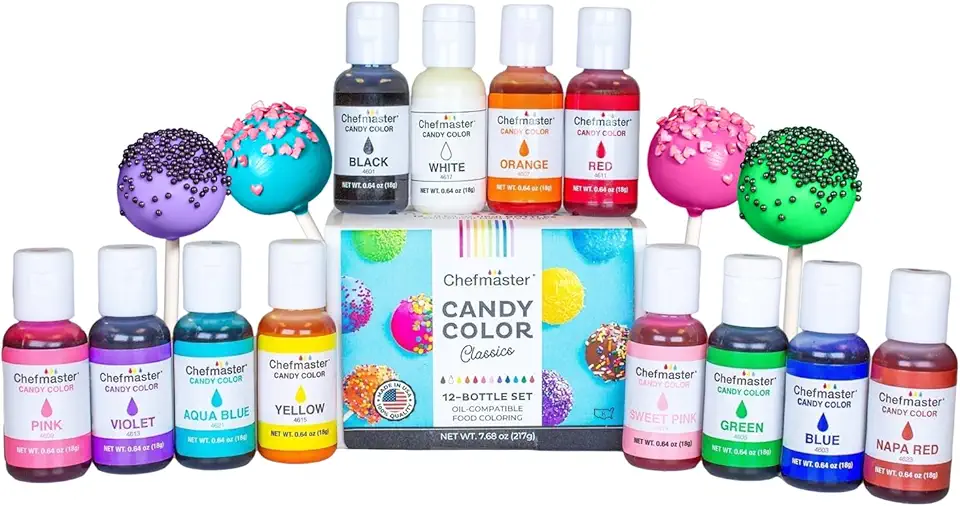 Chefmaster 12 Bottle Set of Candy Colors, True-Tone Shades, Oil-Based, Professional-Grade Dye, Chocolate, Strawberries, Cake Pops, Decorating, Easy-to-Use, Manufactured in the USA, 0.64 oz Each
$36.00
View details
Prime
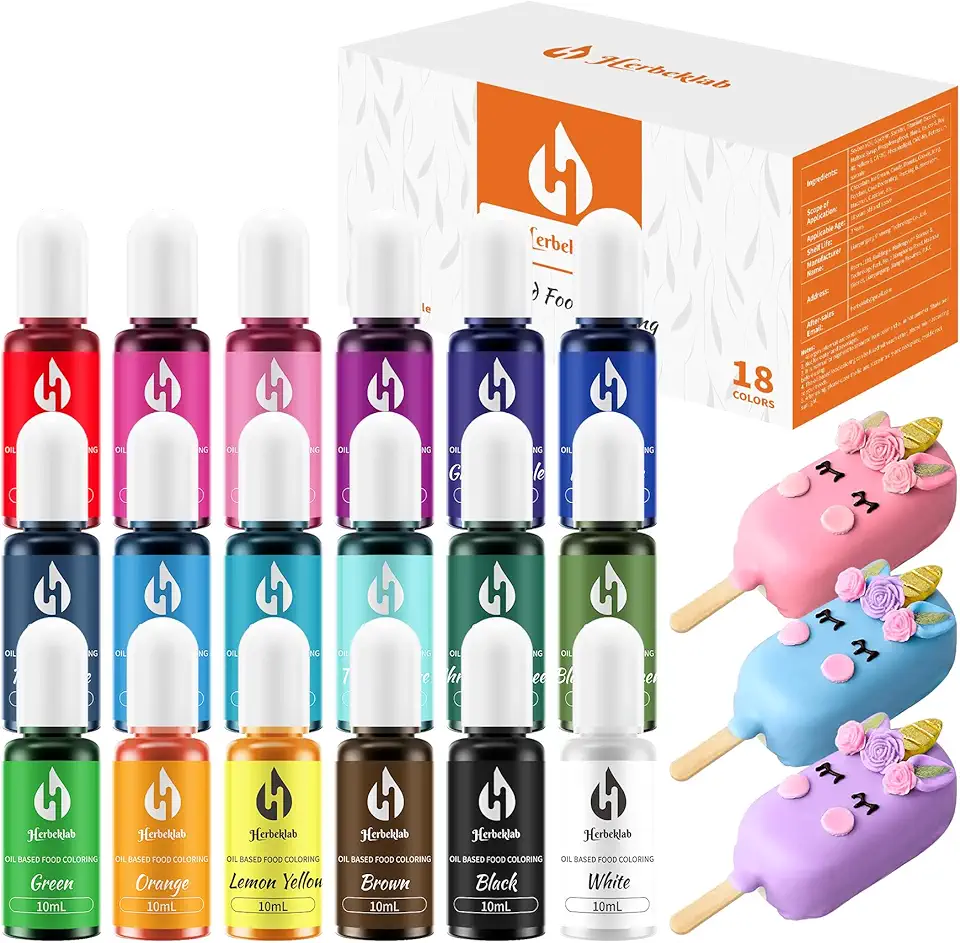 Oil Based Food Coloring for Chocolate Oil Food Dye for Baking 18 Colors x 10 ml Oil Based Food Coloring Concentrated Food Color for Melting Chocolate Candy Melts Cake Pops
$29.99
View details
Various sizes will allow for intricate detailing and broader strokes.
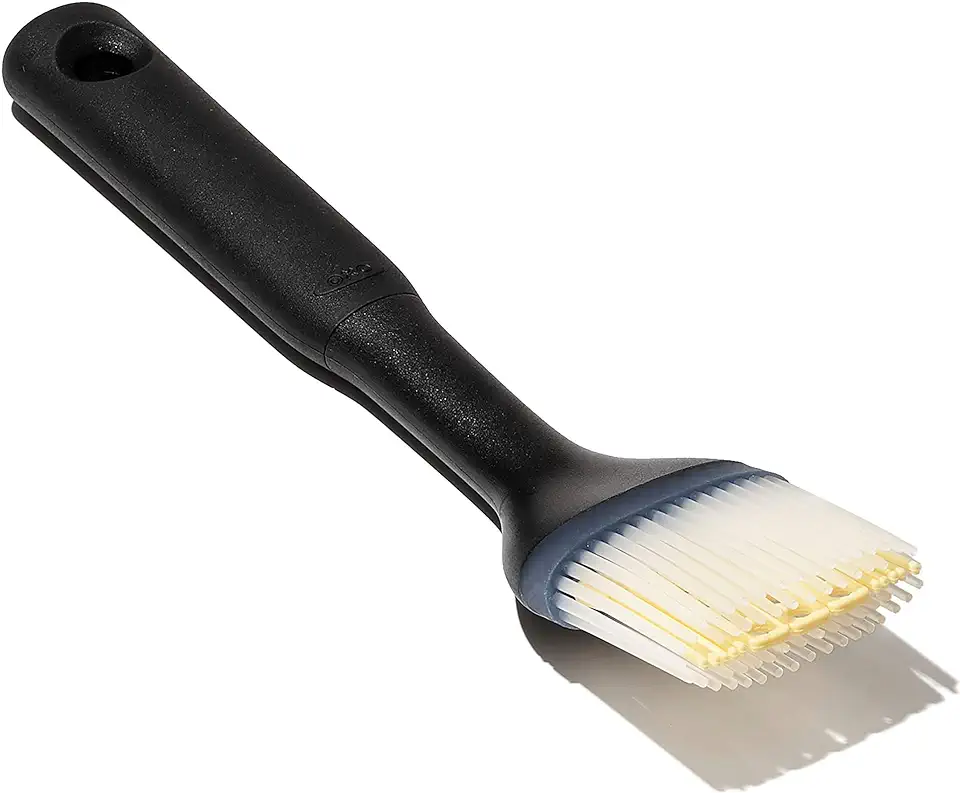 OXO Good Grips Silicone Basting & Pastry Brush - Small
$10.99
$13.81
View details
Prime
best seller
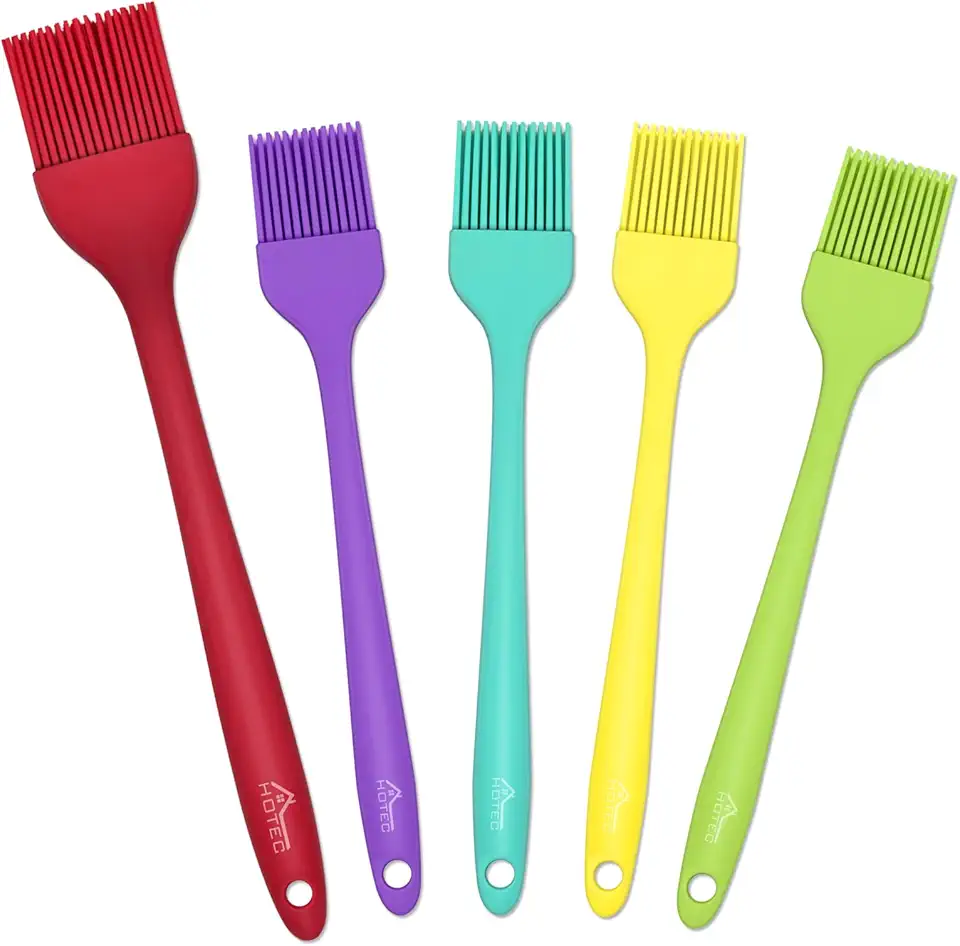 HOTEC Silicone Heat Resistant Marinading Meat Grill Basting Pastry Brush for Oil Butter Sauce Sausages Desserts Turkey Baster Grill Barbecue, Multicolor
$9.99
View details
Prime
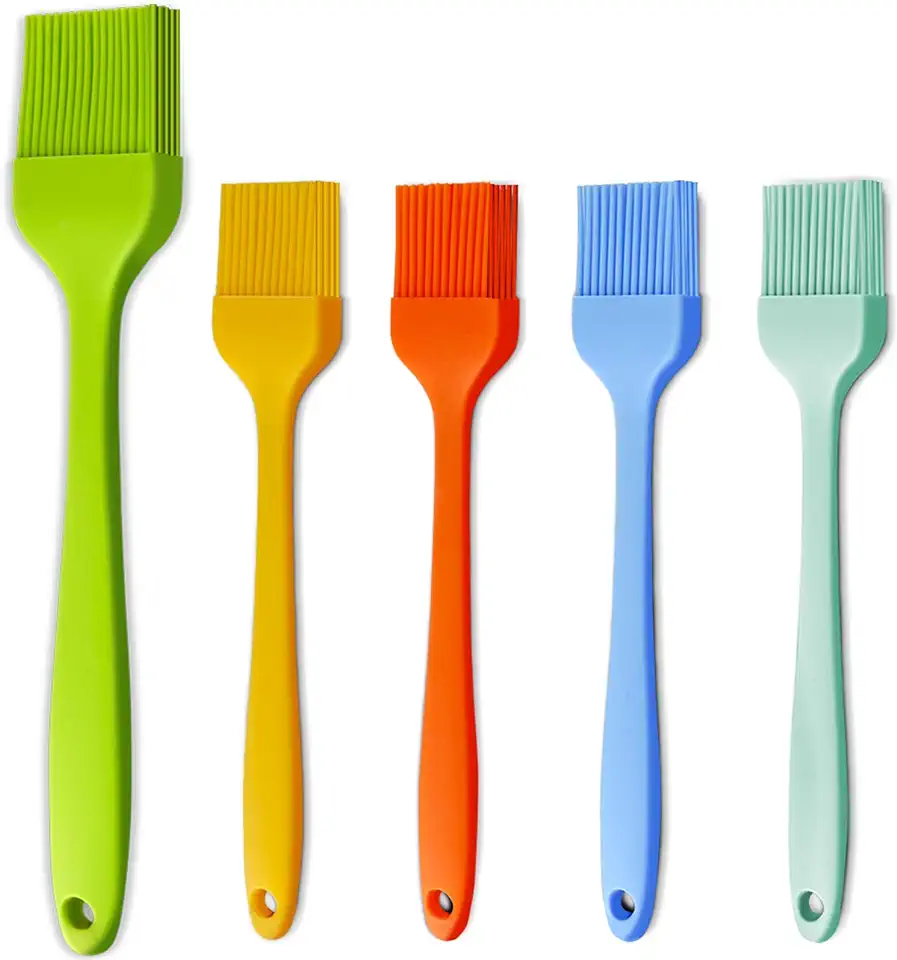 Silicone Basting Pastry Brush - Cooking Brush for Oil Sauce Butter Marinades, Food Brushes for BBQ Grill Kitchen Baking, Baster Brushes Baste Pastries Cakes Meat Desserts, Food Grade, Dishwasher Safe
$8.99
View details
Convenient for gently reheating cocoa butter if it hardens during the process.
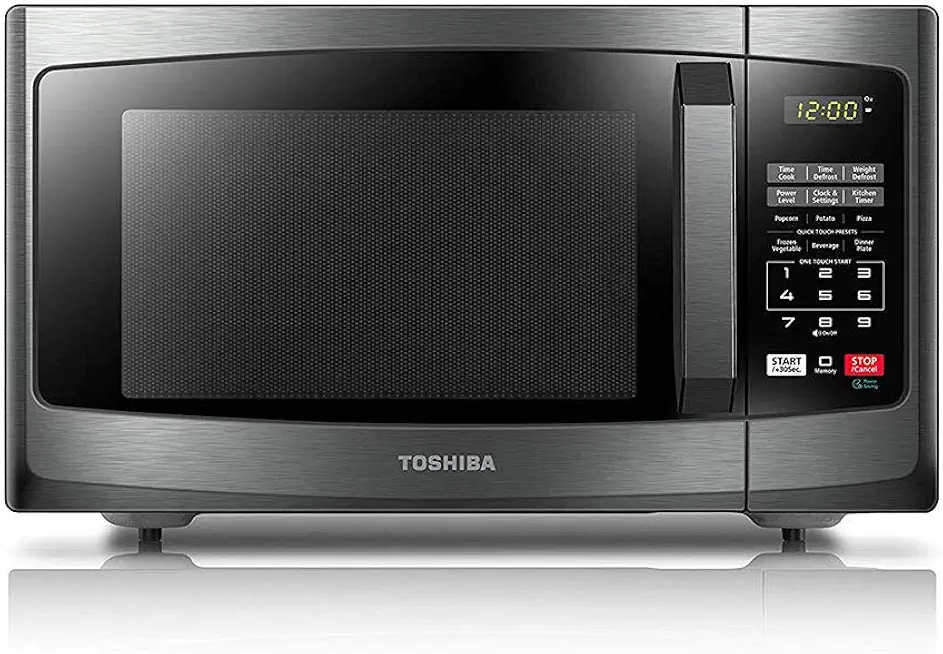 TOSHIBA EM925A5A-BS Countertop Microwave Oven, 0.9 Cu Ft With 10.6 Inch Removable Turntable, 900W, 6 Auto Menus, Mute Function & ECO Mode, Child Lock, LED Lighting, Black Stainless Steel
$104.99
$114.99
View details
Prime
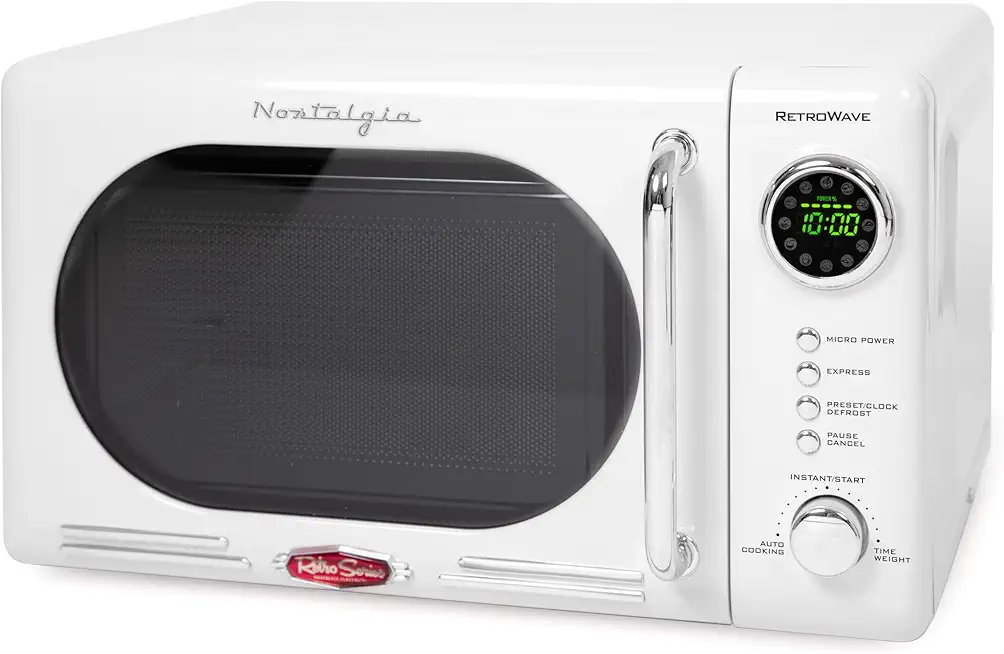 Nostalgia Retro Compact Countertop Microwave Oven - 0.7 Cu. Ft. - 700-Watts with LED Digital Display - Child Lock - Easy Clean Interior - White
$99.99
View details
Prime
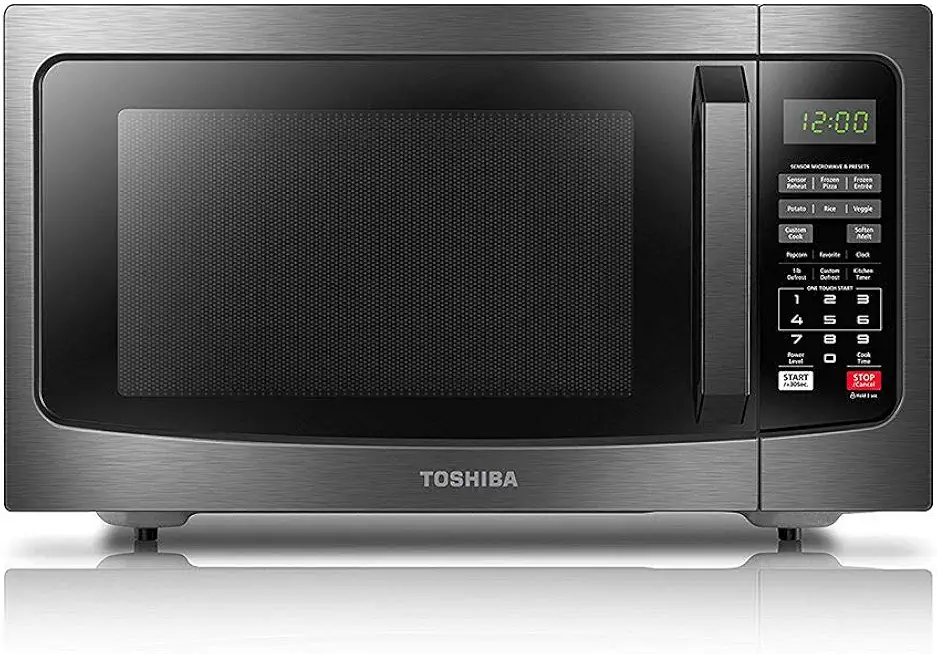 TOSHIBA EM131A5C-BS Countertop Microwave Ovens 1.2 Cu Ft, 12.4" Removable Turntable Smart Humidity Sensor 12 Auto Menus Mute Function ECO Mode Easy Clean Interior Black Color 1100W
$129.99
$149.99
View details
Cover molds to prevent moisture absorption as chocolates set overnight.
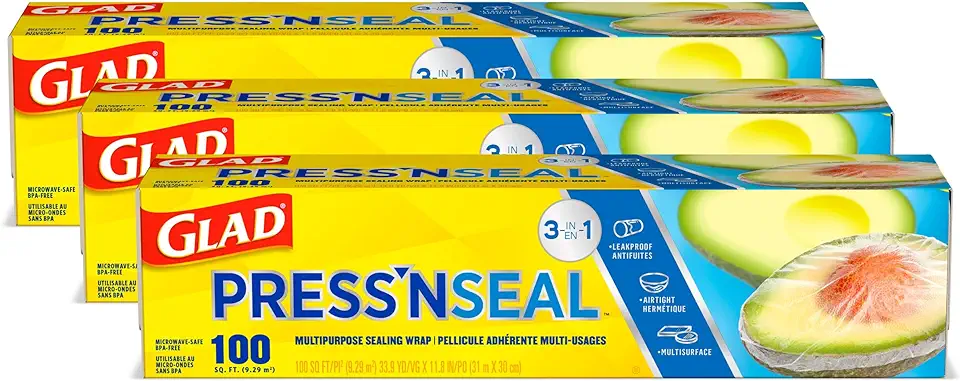 Glad® Press'n Seal® Plastic Food Wrap - 100 Square Foot Roll - 3 Pack (Package May Vary)
$12.72
$14.97
View details
Prime
best seller
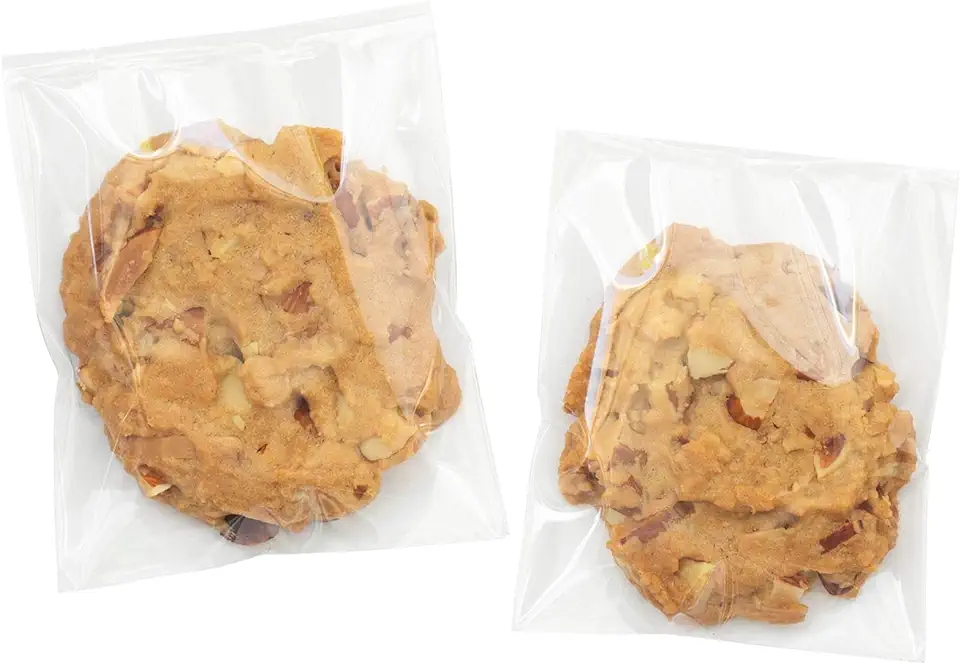 Morepack Clear Self Sealing Cellophane Bags,4x6 Inches 200 Pcs Cookie Bags Resealable Cellophane Bag for Packaging Cookies, Candy and Products
$7.21
$8.49
View details
Prime
 Glad Press'n Seal Plastic Food Wrap - 70 Square Foot Roll
$4.49
$7.84
View details
Variations
**Vegan**: Substitute regular chocolate with a high-quality vegan chocolate. Make sure all toppings and colorants are certified vegan, so everyone can indulge guilt-free. 🌱✨
Feel free to experiment with different plant-based color options to maintain that vibrant look and delicious taste. 🌈🍫
Faq
- Why is my chocolate not setting properly?
Ensure your room temperature is below 20 degrees Celsius, and allow sufficient time for stabilization. Cover with plastic wrap to avoid moisture.
- How do I melt cocoa butter without burning it?
Use a microwave in short bursts, around 10-15 seconds, and stir after each interval to prevent overheating.
- How can I make my colors more vibrant?
Add titanium dioxide to achieve a more opaque and bold color effect, experimenting with mixing different shades.
- What should I do if my colors aren't sticking well to the molds?
Ensure that your cocoa butter is slightly cooled before adding colors; this helps the color adhere better to the surface.
- How do I avoid air bubbles in the chocolate?
After pouring the tempered chocolate into molds, gently tap the molds on the counter to release any trapped air bubbles.
- What's the best way to store these chocolates?
Keep them in a cool, dry place away from direct sunlight. Use airtight containers to maintain freshness and prevent moisture absorption.

