Ingredients
For the Dough
 Bob's Red Mill Gluten Free 1-to-1 Baking Flour, 22 Ounce (Pack of 4)
$23.96
View details
Prime
 Antimo Caputo Chefs Flour - Italian Double Zero 00 - Soft Wheat for Pizza Dough, Bread, & Pasta, 2.2 Lb (Pack of 2)
$16.99
View details
Prime
best seller
 King Arthur, Measure for Measure Flour, Certified Gluten-Free, Non-GMO Project Verified, Certified Kosher, 3 Pounds, Packaging May Vary
$8.62
View details
 Sugar In The Raw Granulated Turbinado Cane Sugar Cubes, No Added Flavors or erythritol, Pure Natural Sweetener, Hot & Cold Drinks, Coffee, Vegan, Gluten-Free, Non-GMO,Pack of 1
$5.27
View details
Prime
 Sugar In The Raw Granulated Turbinado Cane Sugar, No Added Flavors or erythritol, Pure Natural Sweetener, Hot & Cold Drinks, Coffee, Baking, Vegan, Gluten-Free, Non-GMO, Bulk Sugar, 2lb Bag (1-Pack)
$3.74
$4.14
View details
Prime
 C&H Pure Cane Granulated White Sugar, 25-Pound Bags
$56.99
$49.98
View details
 Kevala Cashew Butter 7 Lbs Pail
$83.62
View details
Prime
best seller
 4th & Heart Original Grass-Fed Ghee, Clarified Butter, Keto, Pasture Raised, Lactose and Casein Free, Certified Paleo (9 Ounces)
$11.49
View details
Prime
 4th & Heart Himalayan Pink Salt Grass-Fed Ghee, Clarified Butter, Keto Pasture Raised, Non-GMO, Lactose and Casein Free, Certified Paleo (9 Ounces)
$9.49
View details
For the Filling
 Sugar In The Raw Granulated Turbinado Cane Sugar Cubes, No Added Flavors or erythritol, Pure Natural Sweetener, Hot & Cold Drinks, Coffee, Vegan, Gluten-Free, Non-GMO,Pack of 1
$5.27
View details
Prime
 Sugar In The Raw Granulated Turbinado Cane Sugar, No Added Flavors or erythritol, Pure Natural Sweetener, Hot & Cold Drinks, Coffee, Baking, Vegan, Gluten-Free, Non-GMO, Bulk Sugar, 2lb Bag (1-Pack)
$3.74
$4.14
View details
Prime
 C&H Pure Cane Granulated White Sugar, 25-Pound Bags
$56.99
$49.98
View details
 Judee’s Bulk Cream of Tartar 40 lb (5lb Pack of 8) - All Natural, Keto-Friendly, Gluten-Free & Nut-Free - Use for Baking as a Stabilizer, Cleaning and Crafting - Made in USA
$319.99
View details
Prime
 Duncan Hines Whipped Cream Cheese Frosting, 14 oz
$1.92
View details
Prime
 Hoosier Hill Farm Sour Cream Powder, 2LB (Pack of 1)
$29.99
View details
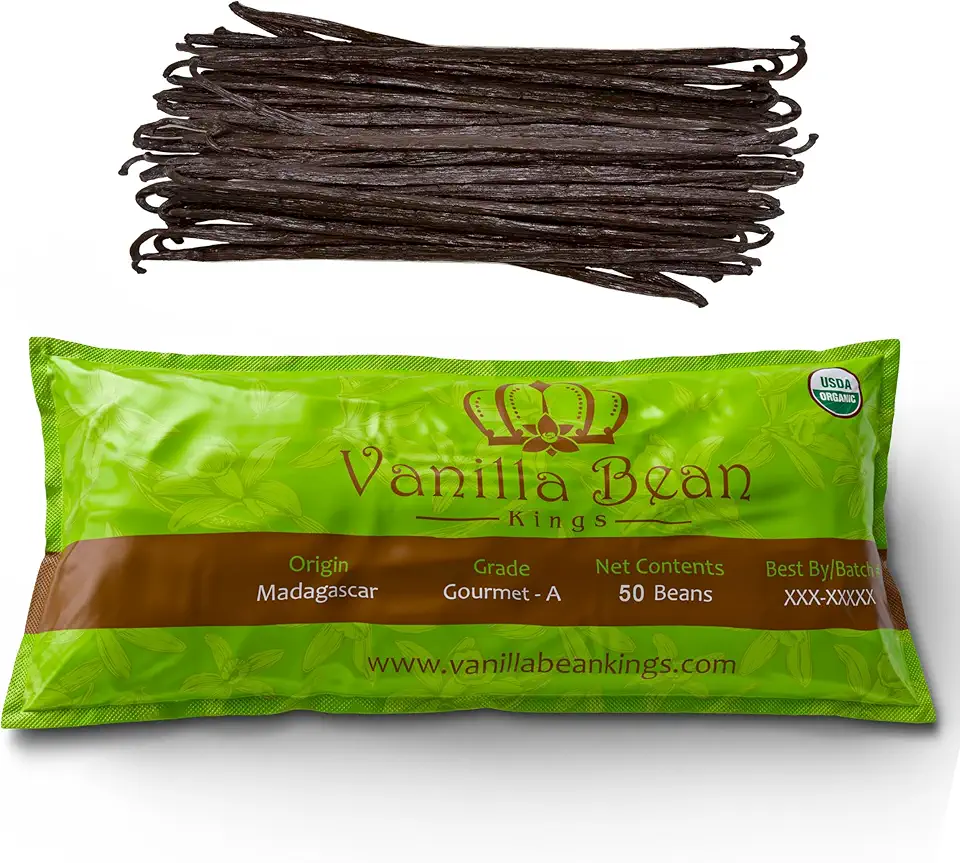 50 Organic Madagascar Vanilla Beans. Whole Grade A Vanilla Pods for Vanilla Extract and Baking
$39.99
View details
Prime
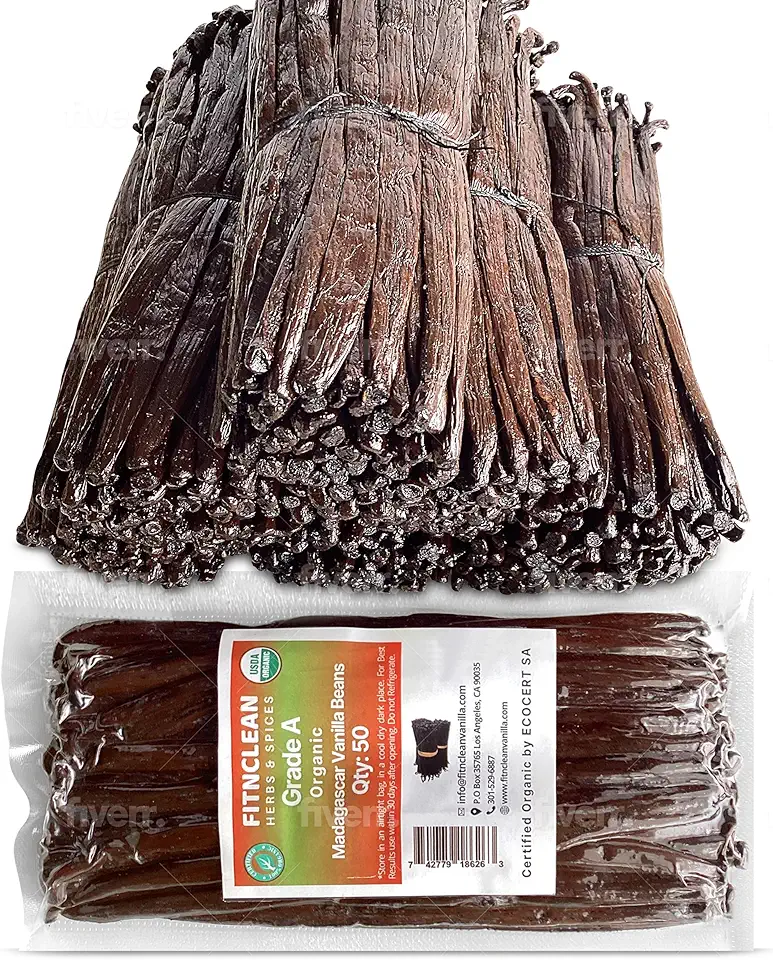 50 Organic Grade A Madagascar Vanilla Beans. Certified USDA Organic for Extract and all things Vanilla by FITNCLEAN VANILLA. ~5" Bulk Fresh Bourbon NON-GMO Pods.
$37.99
View details
Prime
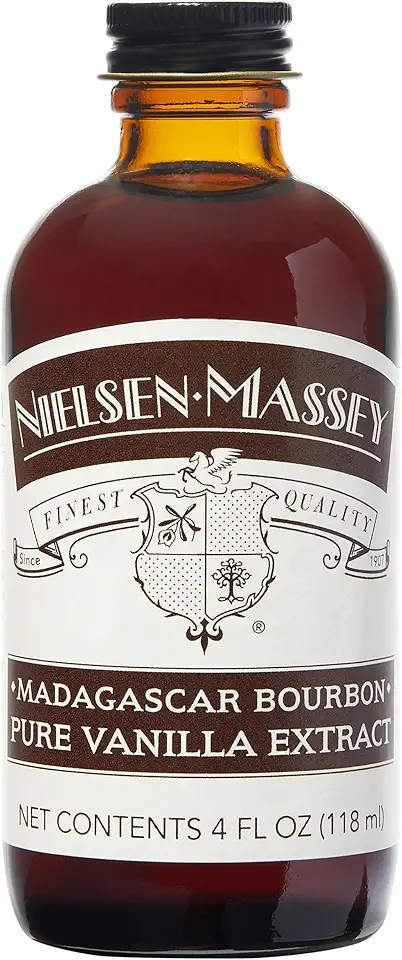 Nielsen-Massey Madagascar Bourbon Pure Vanilla Extract for Baking and Cooking, 4 Ounce Bottle
$19.95
View details
Optional Topping
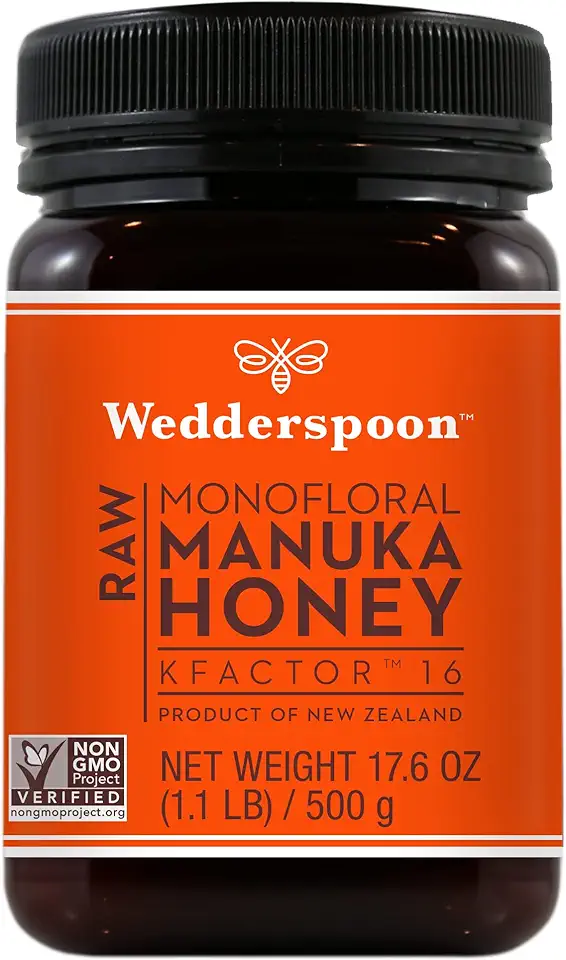 Wedderspoon Raw Premium Manuka Honey, KFactor 16, 17.6 Oz, Unpasteurized, Genuine New Zealand Honey, Traceable from Our Hives to Your Home
$34.36
$37.00
View details
Prime
 Nate's Organic 100% Pure, Raw & Unfiltered Honey - USDA Certified Organic - 32oz. Squeeze Bottle
$16.97
View details
Prime
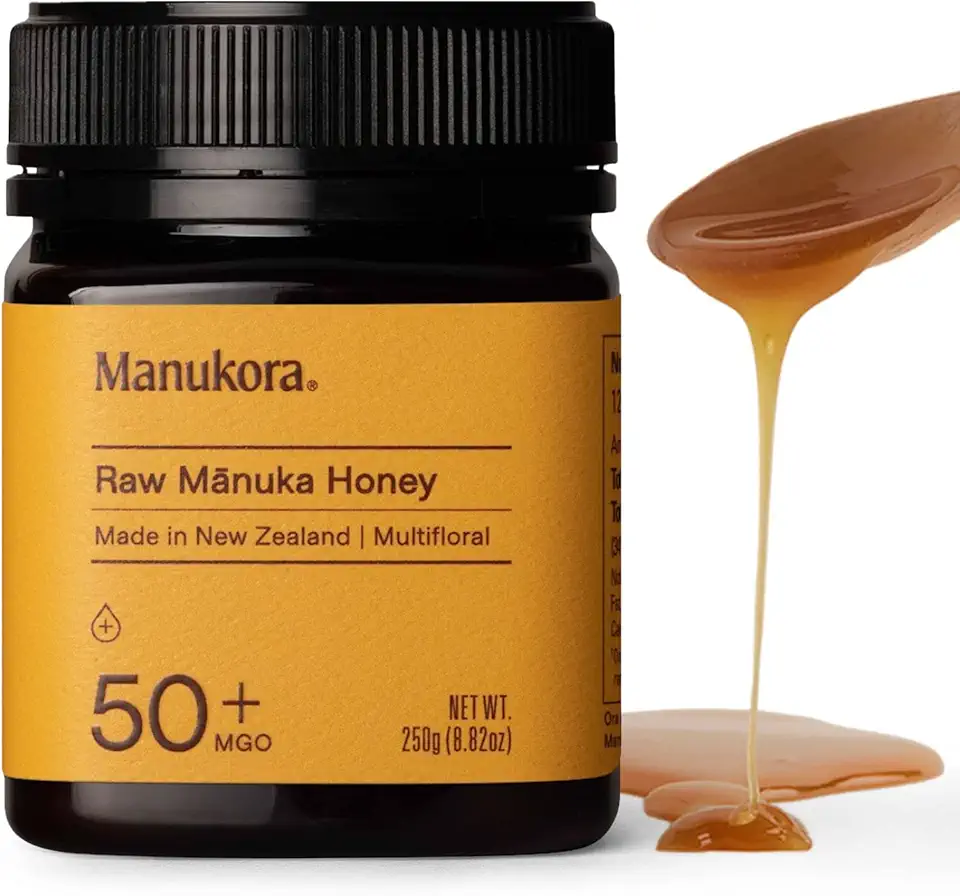 Manukora Raw Manuka Honey, MGO 50+, New Zealand Honey, Non-GMO, Traceable from Hive to Hand, Daily Wellness Support - 250g (8.82 Oz)
$13.24
View details
Instructions
Step 1
Preparing the Dough
Step 2
Making the Filling
Step 3
Assembling the Pastry
Step 4
Baking
Step 5
Final Touch
Servings
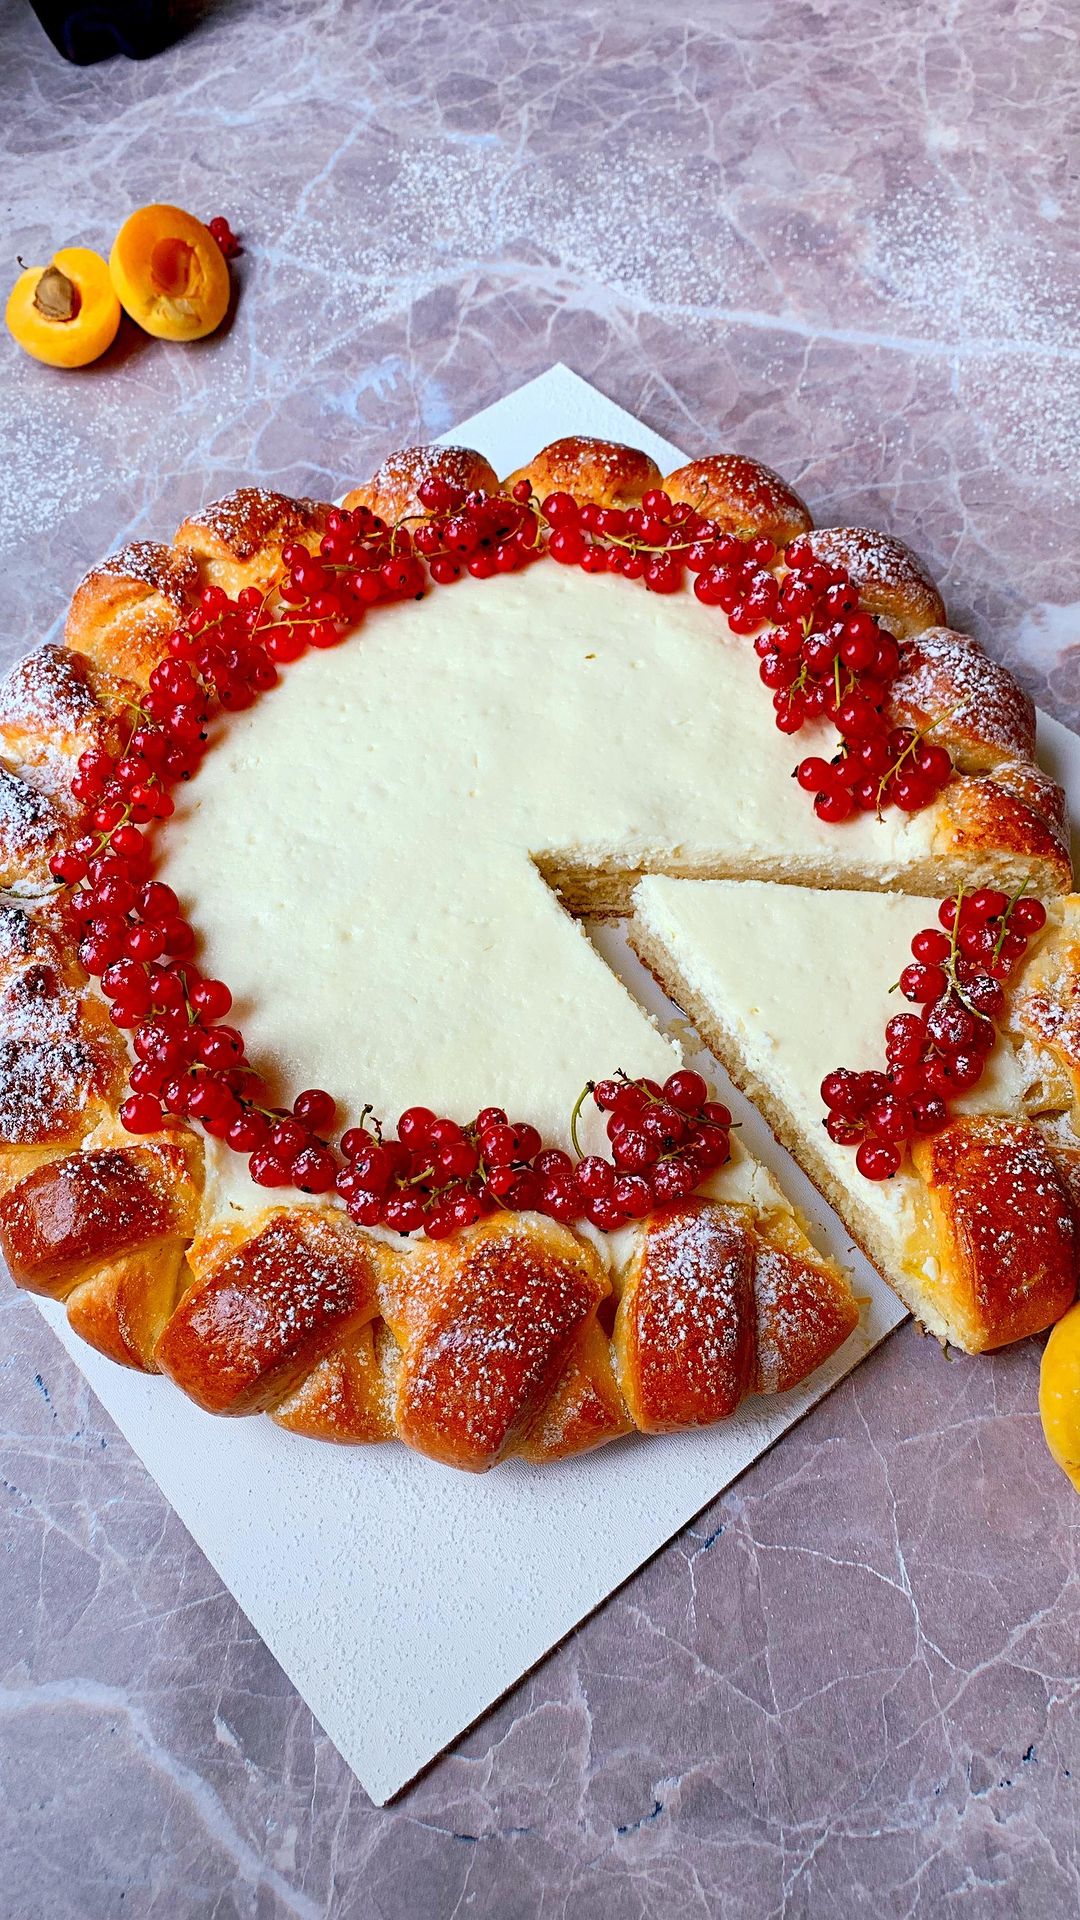
Here’s where the fun begins! 🌟 Once your pastry is out of the oven and you’ve brushed those edges with sweet, golden honey, it’s time to get creative with serving. Whether you’re hosting a cozy brunch, planning a family gathering, or simply treating yourself, this pastry is a versatile delight. 🍽
For a brunch gathering, pair this delightful pastry with freshly squeezed orange juice, a selection of cheeses, and fresh fruit. The light, creamy cottage cheese filling complements the tangy flavors of citrus fruits perfectly. 🍊🍇
If you’re looking to impress at a family dinner, serve warm slices with a dollop of whipped cream or a scoop of vanilla ice cream. The contrast of warm pastry and cold ice cream is absolutely heavenly! 🍦
For a more indulgent touch, drizzle some melted chocolate over the top before serving. This adds an extra layer of sweetness and makes the presentation even more appealing. 🍫
Feeling sophisticated? Add a sprinkle of powdered sugar and a few fresh berries on top for a beautiful and elegant dessert that’s sure to wow your guests. 🍓
**Pro Tip**: Serve it warm for an ultra-cozy treat, as the filling will be at its creamiest and most delicious. Enjoy! 🥰
Equipment
Using a large mixing bowl allows you ample space to mix your dough without making a mess. Make sure it's big enough to accommodate the dough as it rises.
 YIHONG 7 Piece Mixing Bowls with Lids for Kitchen, Stainless Steel Mixing Bowls Set Ideal for Baking, Prepping, Cooking and Serving Food, Nesting Metal Mixing Bowls for Space Saving Storage
$27.99
$35.99
View details
Prime
best seller
 Pyrex Glass, 3-Piece, 3 PC Mixing Bowl Set
$17.53
View details
Prime
 REGILLER Stainless Steel Mixing Bowls (Set of 5), Non Slip Colorful Silicone Bottom Nesting Storage Bowls, Polished Mirror Finish For Healthy Meal Mixing and Prepping 1.5-2 - 2.5-3.5 - 7QT (Colorful)
$26.99
View details
A good rolling pin is essential for evenly rolling out your dough. Opt for a wooden or marble rolling pin for the best results.
 Farberware Classic Wood Rolling Pin, 17.75-Inch, Natural
$12.99
$13.99
View details
Prime
 Fox Run Polished Marble Rolling Pin with Wooden Cradle, 10-Inch Barrel, White
$20.88
View details
Prime
 French Rolling Pin (17 Inches) –WoodenRoll Pin for Fondant, Pie Crust, Cookie, Pastry, Dough –Tapered Design & Smooth Construction - Essential Kitchen Utensil
$9.99
View details
A non-stick baking sheet will help you avoid any sticking issues, making it easier to transfer the baked pastry to a serving plate. Use parchment paper for additional ease.
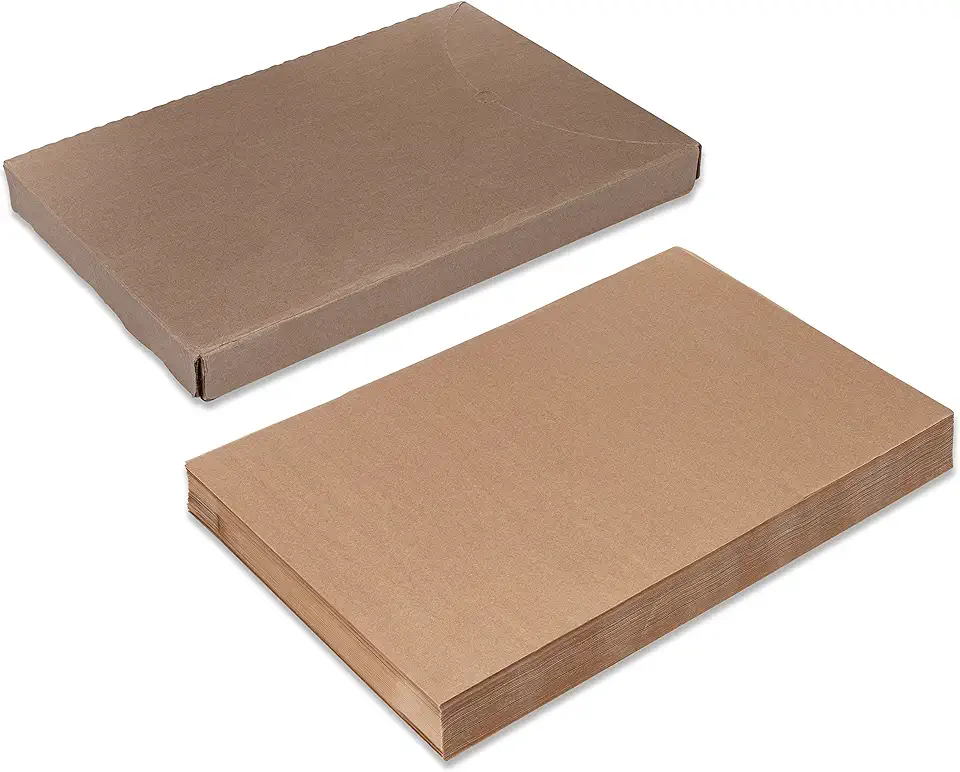 Paterson Paper 16" x 24" Full Size Unbleached Chromium-Free Reusable Baking Parchment Paper Sheets Commercial Bun/Sheet Pan Liners - 1000/Case - 425F - Non-Stick/Grease-Resistant
$169.58
View details
Prime
best seller
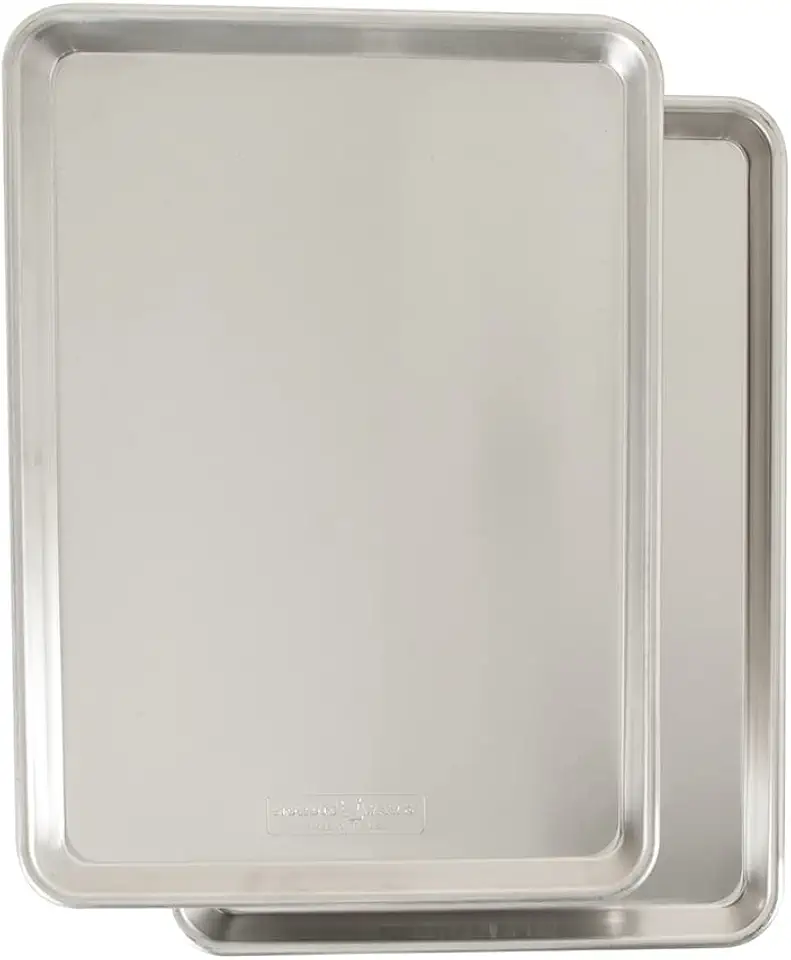 Nordic Ware Naturals Half Sheet, 2-Pack, Natural
$37.80
View details
Prime
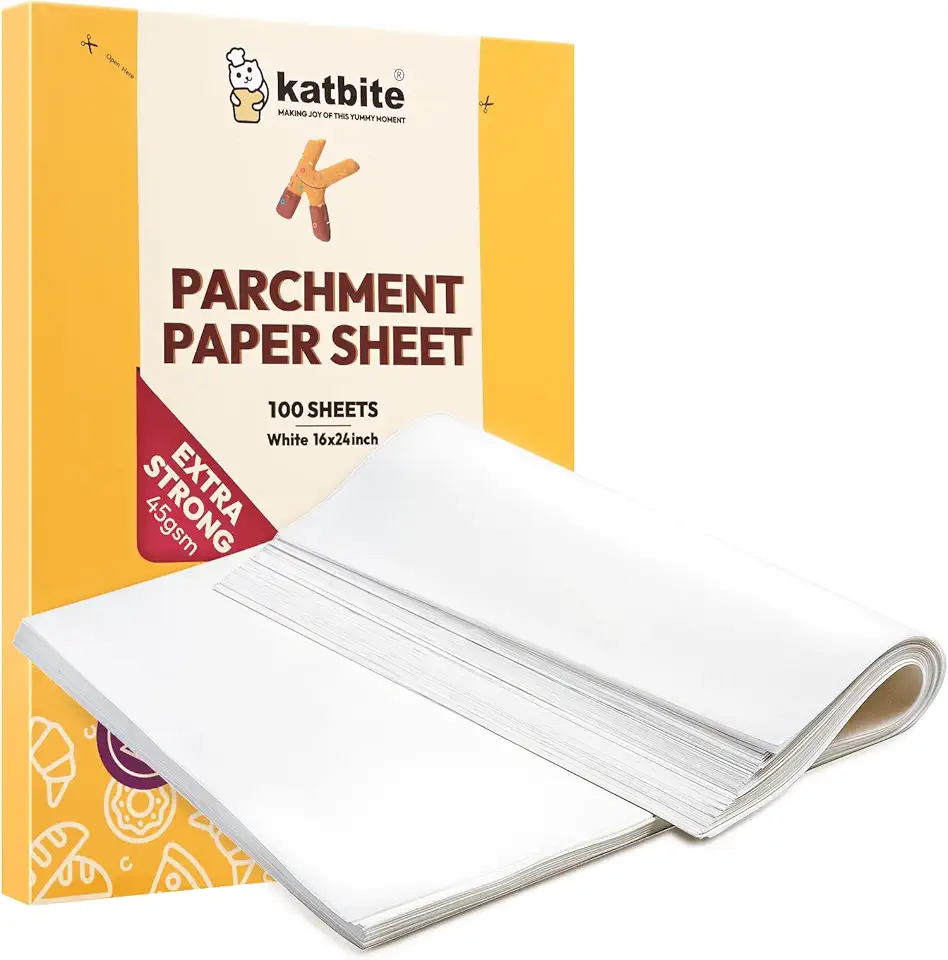 Katbite 16x24 inch Heavy Duty Parchment Paper Sheets, 100Pcs Precut Non-Stick Full Parchment Sheets for Baking, Cooking, Grilling, Frying and Steaming, Full Sheet Baking Pan Liners, Commercial Baking
$18.99
$25.99
View details
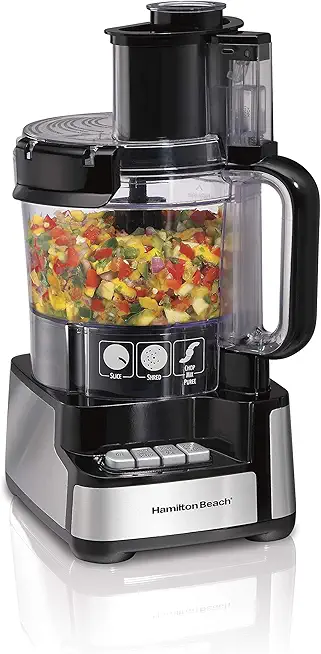
Blending the filling ingredients until smooth is key to achieving the perfect texture. A high-quality blender or food processor will get the job done effectively.
A silicone brush works great for applying egg yolk and honey to the edges of the pastry. It's easy to clean and doesn't shed any bristles.
Variations
Looking for gluten-free or vegan options? We've got you covered! ✨
Gluten-Free: Simply replace the regular flour with a gluten-free baking mix. Make sure it’s a blend designed for baking to ensure the best texture and flavor. 🌾✨
Vegan: Swap out the butter for a plant-based butter product and use a flax egg (1 tablespoon flaxseed meal + 3 tablespoons water) in place of the egg. Use a dairy-free milk like almond or oat milk, and opt for vegan cottage cheese and sour cream alternatives. 🥥🌱
These swaps will allow you to enjoy this delicious pastry while sticking to your dietary preferences. Happy baking! 🌈
Faq
- How do I know when my dough is fully kneaded?
You'll know your dough is kneaded enough when it’s smooth, elastic, and slightly tacky to the touch. You can also do the windowpane test: stretch a small piece of dough between your fingers. If it forms a thin, translucent membrane without tearing, it's ready.
- Can I use instant yeast instead of active dry yeast?
Yes, you can! If using instant yeast, you can add it directly to the dry ingredients without dissolving it in warm milk first.
- Can I prepare the dough ahead of time?
Absolutely! You can prepare the dough up to 24 hours in advance. After kneading, let it rise in the refrigerator instead of a warm place. This slow fermentation enhances the flavor.
- How thick should I roll out the dough?
Roll out the dough to about 1/4 inch thick for the perfect balance of crispy edges and tender pastry.
- How do I prevent the pastry from leaking filling?
Make sure your dough edges are well-sealed and brush them with egg yolk which acts as a glue. Don't overfill the center with the cottage cheese mixture.
- Can I freeze the pastry?
Yes, you can freeze the baked pastry. Wrap it well in plastic wrap and then in aluminum foil before freezing. To reheat, bake it in the oven at 180°C (350°F) until warm.

