Ingredients
Grains and Seeds
Other Ingredients
Options for Fermentation
Instructions
Step 1
Begin by soaking the green buckwheat, amaranth, and quinoa in water for 6 to 12 hours. This step is essential to help soften the grains. Once they are soaked, rinse them well and drain in a colander to get rid of excess water.
Step 2
Using a blender, puree the soaked buckwheat, quinoa, and amaranth together, adding water gradually. You are aiming for a smooth, homogeneous mixture that barely drips off the blender. Make sure the consistency is smooth and pliable.
Step 3
Transfer the blended mixture into a large bowl. Add all the remaining ingredients: the seeds, dark malt syrup, salt, sugar (if using), and any optional coriander. Combine everything thoroughly, making sure there are no dry clumps left.
Step 4
Grease your loaf pans with butter carefully. Pour the prepared dough into the pans evenly. Cover them with a plastic bag or a clean cloth. Let the dough rise for about 4 to 12 hours, depending on your chosen fermentation option. Remember, the warmer the environment, the quicker the dough will rise. Expect it to double in size before baking.
Step 5
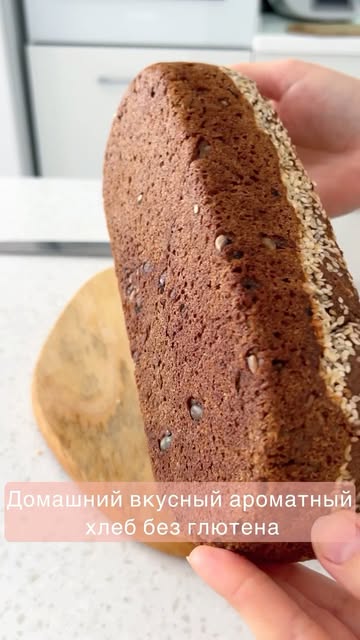
Preheat your oven to 230°C (approximately 450°F) with both top and bottom heat on, plus convection. Once ready, place the loaves in the oven. After 10 minutes, reduce the temperature to 200-210°C (about 400-410°F) and switch to bottom heat only. Bake for an additional 60 minutes until the bread is golden and sounds hollow when tapped.
Step 6
After baking, carefully remove the loaves from the pans. Let them cool completely on a wire rack. This step ensures the texture sets perfectly and prevents them from becoming soggy.
Servings
When serving this bread, the possibilities are endless! Here are some delightful ideas to enhance your bread experience:
Breakfast Toast: Slice the bread thickly and toast it to perfection. Top with avocado, poached eggs, or your favorite nut butter for a healthy breakfast that will kickstart your day! 🥑🍳
Hearty Sandwiches: Use this gluten-free wonder as your go-to sandwich bread. Load it up with turkey, greens, and a tangy sauce for a lunch that’s both satisfying and nutritious. 🥪
Snack Time: Enjoy it with a smear of hummus or a spread of cream cheese and herbs for a quick, enjoyable snack that offers a nice crunch and flavor!
Let your imagination run wild, and explore pairing this bread with dips and spreads for a cozy gathering or a casual picnic in the park! 🧺💛
Equipment
A high-power blender is essential for creating a smooth batter from the grains. Make sure it’s powerful enough to handle tough ingredients like buckwheat and quinoa for a perfect blend.
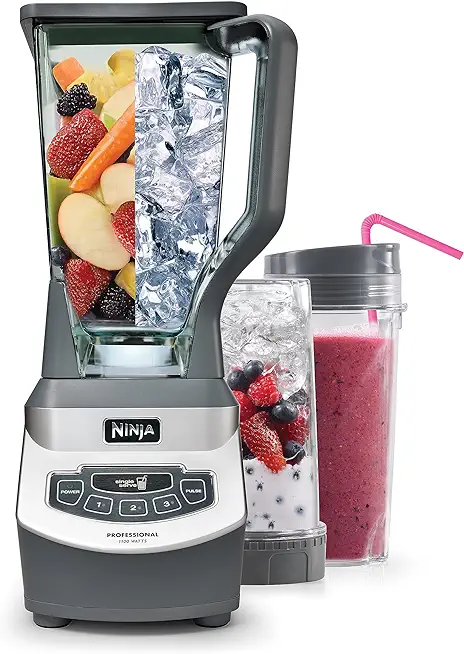 Ninja BL660 Professional Compact Smoothie & Food Processing Blender, 1100-Watts, 3 Functions -for Frozen Drinks, Smoothies, Sauces, & More, 72-oz.* Pitcher, (2) 16-oz. To-Go Cups & Spout Lids, Gray
$99.99
$119.99
View details
Prime
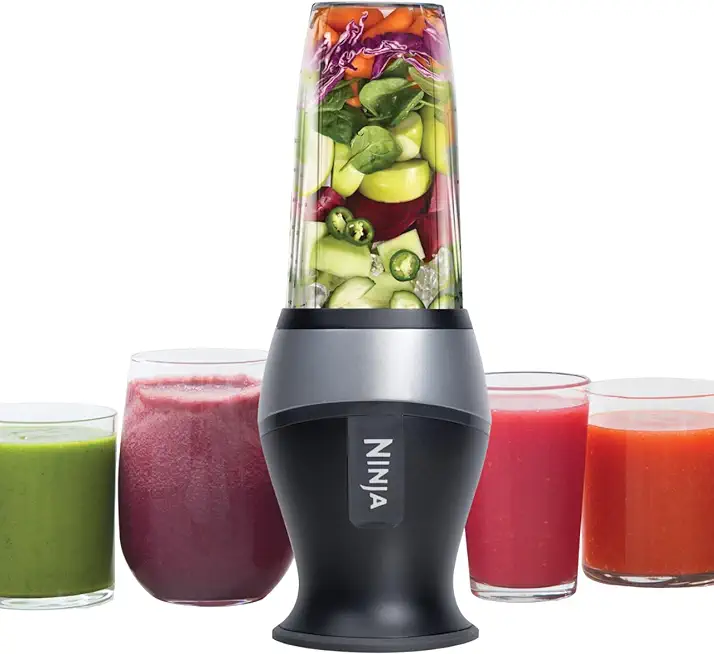 Ninja Fit Compact Personal Blender, Portable Blender for-Smoothies, Shakes, Food Prep, and Frozen Blending, 700-Watt Base, (2) 16-oz. Cups and Spout Lids, Black QB3001SS
$49.99
$69.99
View details
Prime
best seller
 Magic Bullet Blender, Small, Silver, 11 Piece Set
$39.88
$49.99
View details
You'll need two 11-inch pans and one 7-inch standard pan to bake this bread. Grease them well to prevent sticking, and consider using silicone pans for easy removal.
Use large mixing bowls to combine your ingredients thoroughly. Having one for dry ingredients and one for wet helps keep things organized.
Variations
Looking for ways to customize this bread even further? Here are some exciting gluten-free and vegan variations you can try:
Vegan Delight: To keep this recipe vegan, simply replace the honey or sugar with maple syrup and ensure that your probiotics are plant-based! 🌱🍁
Flavor Infusions: Feel free to add in your choice of seeds, nuts, or even dried fruits to the dough for extra texture and taste! 🌰🍇
Faq
- Can I use other grains besides buckwheat, quinoa, and amaranth?
Yes! You can experiment with any gluten-free grains you have on hand, just make sure they are soaked and blended properly before using!
- How do I know when the bread is fully baked?
The bread should be golden brown on the outside and sound hollow when tapped. Also, an internal thermometer should read about 200°F (93°C).
- What should I do if my bread doesn’t rise enough?
This could be due to cooler temperatures or inactive starter. Ensure you ferment in a warm place and try adding fresh starter or probiotics for a better rise!
- How can I store the bread for longer freshness?
Once cooled, wrap the bread in parchment paper and then in plastic wrap. It can be stored in the fridge for about a week or frozen for up to 3 months!
- Is it possible to make this recipe in a bread maker?
Yes! Just check the manufacturer's instructions for gluten-free recipes and adjust the baking time according to your machine’s settings.
- Can I add additional spices or flavors to the recipe?
Absolutely! Feel free to add spices like cumin, coriander, or dried herbs to give your bread a unique twist!

