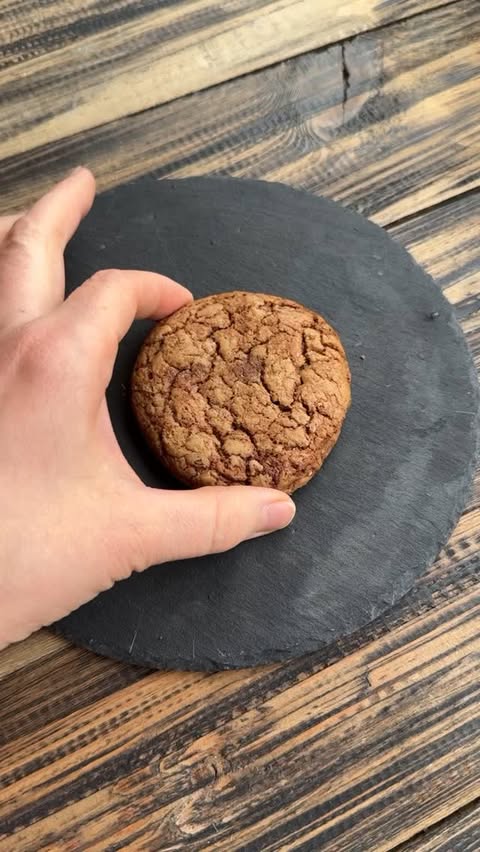
Ingredients
Cookie Dough
 Bob's Red Mill Gluten Free 1-to-1 Baking Flour, 22 Ounce (Pack of 4)
$23.96
View details
Prime
 Antimo Caputo Chefs Flour - Italian Double Zero 00 - Soft Wheat for Pizza Dough, Bread, & Pasta, 2.2 Lb (Pack of 2)
$16.99
View details
Prime
best seller
 King Arthur, Measure for Measure Flour, Certified Gluten-Free, Non-GMO Project Verified, Certified Kosher, 3 Pounds, Packaging May Vary
$8.62
View details
 Sugar In The Raw Granulated Turbinado Cane Sugar Cubes, No Added Flavors or erythritol, Pure Natural Sweetener, Hot & Cold Drinks, Coffee, Vegan, Gluten-Free, Non-GMO,Pack of 1
$5.27
View details
Prime
 Sugar In The Raw Granulated Turbinado Cane Sugar, No Added Flavors or erythritol, Pure Natural Sweetener, Hot & Cold Drinks, Coffee, Baking, Vegan, Gluten-Free, Non-GMO, Bulk Sugar, 2lb Bag (1-Pack)
$3.74
$4.14
View details
Prime
 C&H Pure Cane Granulated White Sugar, 25-Pound Bags
$56.99
$49.98
View details
 Kevala Cashew Butter 7 Lbs Pail
$83.62
View details
Prime
best seller
 4th & Heart Original Grass-Fed Ghee, Clarified Butter, Keto, Pasture Raised, Lactose and Casein Free, Certified Paleo (9 Ounces)
$11.49
View details
Prime
 4th & Heart Himalayan Pink Salt Grass-Fed Ghee, Clarified Butter, Keto Pasture Raised, Non-GMO, Lactose and Casein Free, Certified Paleo (9 Ounces)
$9.49
View details
Chocolate Filling
Surprise Center
Instructions
Step 1
Begin by mixing room temperature butter with sugar until the mixture is completely smooth and homogenous.
Next, gradually add the eggs, continuing to mix until everything is well combined.
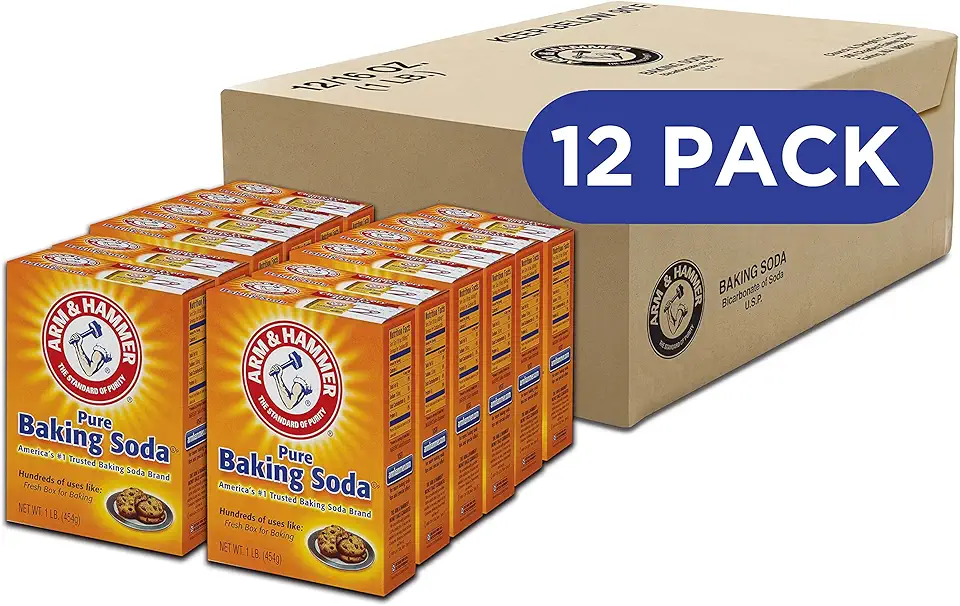
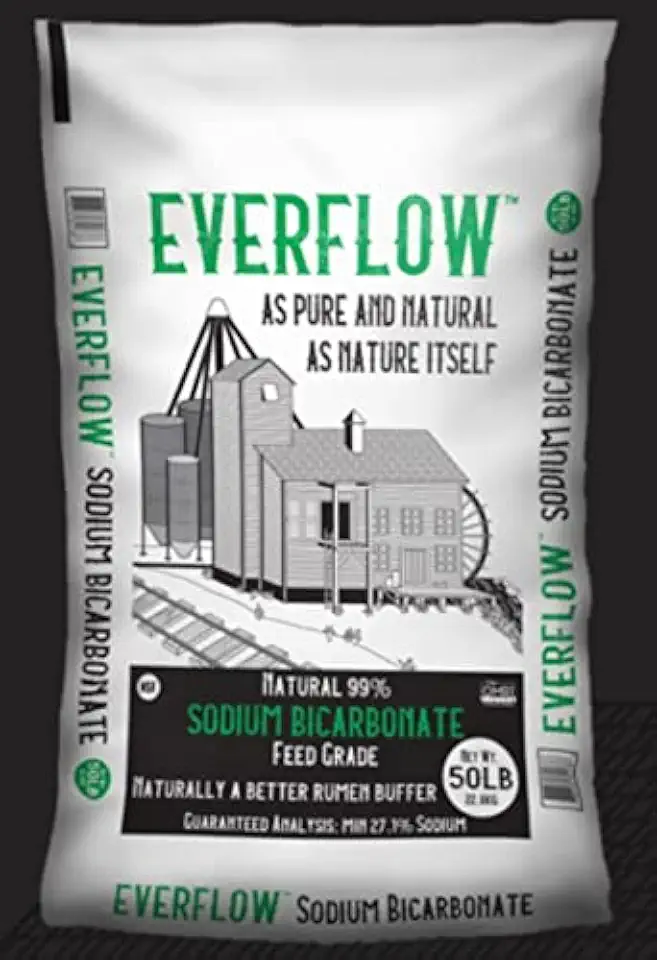
In a separate bowl, combine the dry ingredients—flour, baking soda, and baking powder—and add them to the wet mixture. Use a paddle attachment to mix until the dough forms.
Finally, incorporate the chocolate, ensuring it's evenly distributed throughout the dough.
Step 2
Once your dough is ready, divide it into pieces weighing approximately 140 grams each.
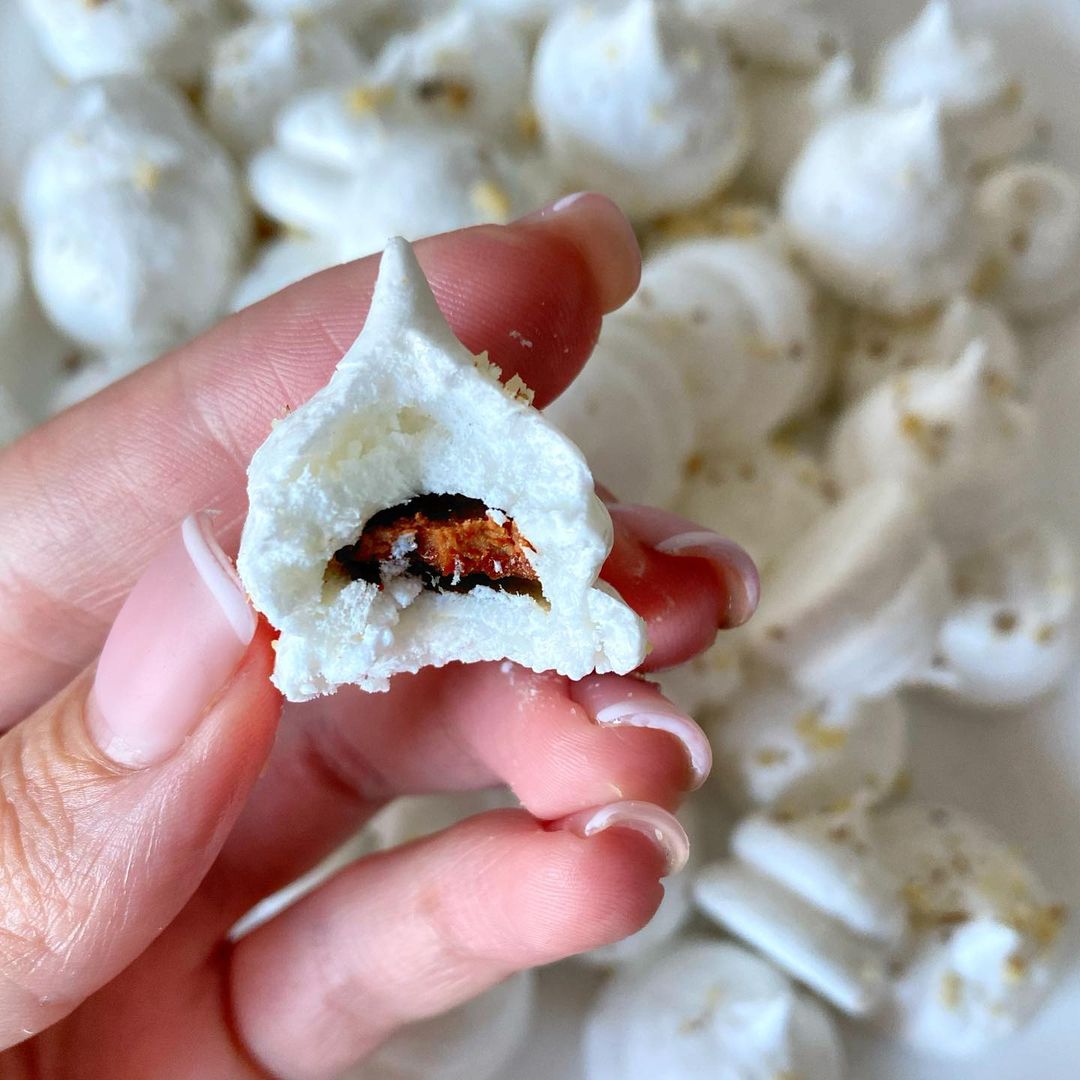
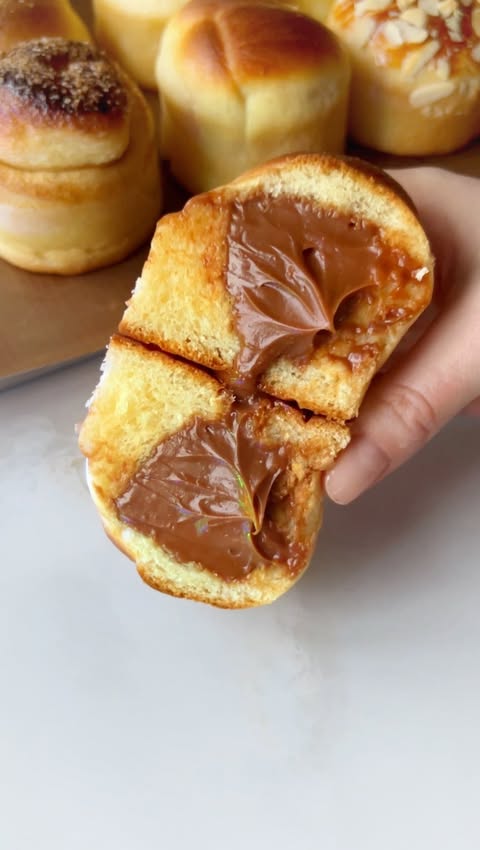
For the surprise center, take a piece of dough and flatten it slightly, then stuff a Raffaello candy inside. Make sure to encase it well with the dough, forming a ball.
Step 3
Preheat your oven while shaping the cookies. Place the balls of dough on a baking tray lined with parchment paper.
Bake the cookies for about 15 to 20 minutes or until they are golden, adjusting the baking time according to your oven's performance.
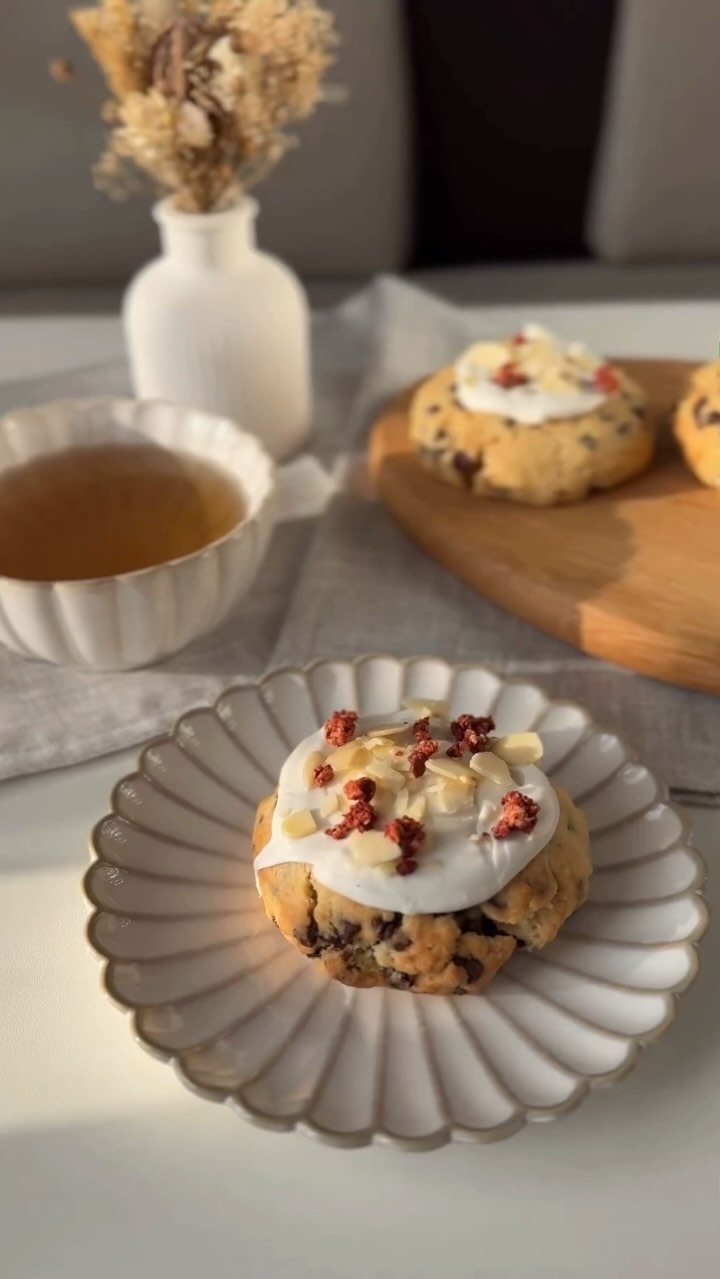
Let the cookies cool slightly before serving. Enjoy these delightful treats as a special dessert for Valentine's Day!
Servings
For a fun twist, you can also drizzle some melted chocolate over the cookies for added flair. Imagine how your guests will marvel at these stunning cookies when they’re presented on a decorative plate!
Share them at a gathering or as a thoughtful gift in a cute tin; they’re bound to bring smiles. And don’t forget to keep a few for yourself, they vanish quickly! 😍
Equipment
A standard mixing bowl is essential for combining your ingredients. A glass or metal bowl works best as they are sturdy and easy to clean.
 YIHONG 7 Piece Mixing Bowls with Lids for Kitchen, Stainless Steel Mixing Bowls Set Ideal for Baking, Prepping, Cooking and Serving Food, Nesting Metal Mixing Bowls for Space Saving Storage
$27.99
$35.99
View details
Prime
best seller
 Pyrex Glass, 3-Piece, 3 PC Mixing Bowl Set
$17.53
View details
Prime
 REGILLER Stainless Steel Mixing Bowls (Set of 5), Non Slip Colorful Silicone Bottom Nesting Storage Bowls, Polished Mirror Finish For Healthy Meal Mixing and Prepping 1.5-2 - 2.5-3.5 - 7QT (Colorful)
$26.99
View details
Accurate measurements are key to a successful cookie dough. Invest in a good set of measuring cups and spoons to ensure you get the right quantities every time.
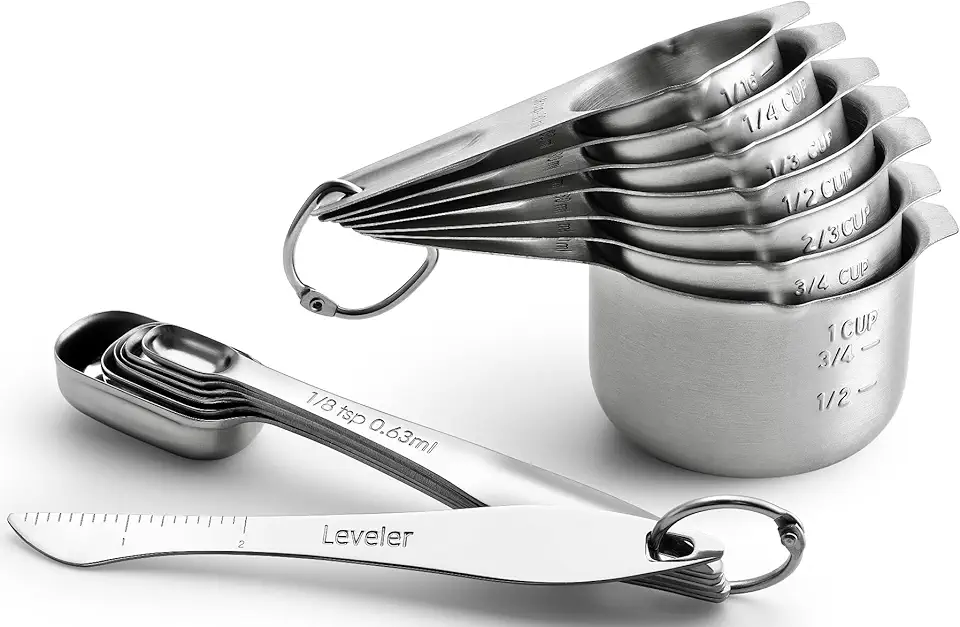 Spring Chef Stainless Steel Measuring Cups and Measuring Spoons Set of 14 with Leveler, Nesting Kitchen Metal Measuring Cups and Spoons Set for Dry and Liquid Ingredients, Perfect for Cooking & Baking
$21.99
View details
Prime
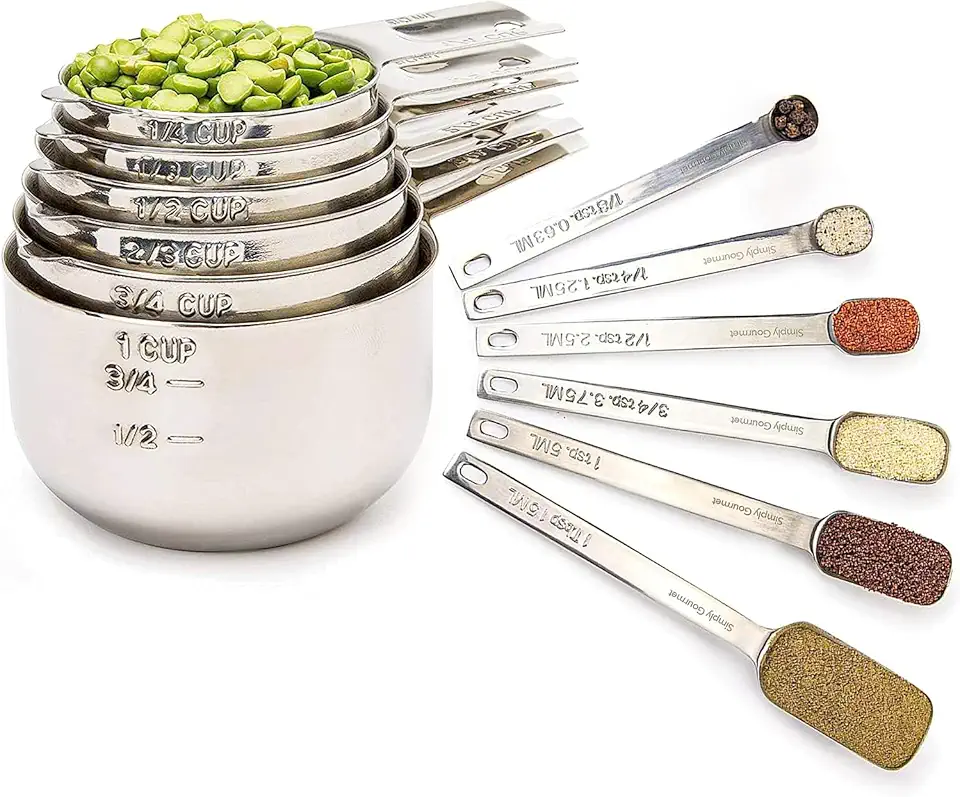 Simply Gourmet Measuring Cups and Spoons Set of 12, 304 Premium Stainless Steel, Stackable Cups Long Handle Spoons Fits Narrow Jars, Kitchen Gadgets for Liquid & Dry Ingredients Cooking Baking
$32.98
$45.99
View details
Prime
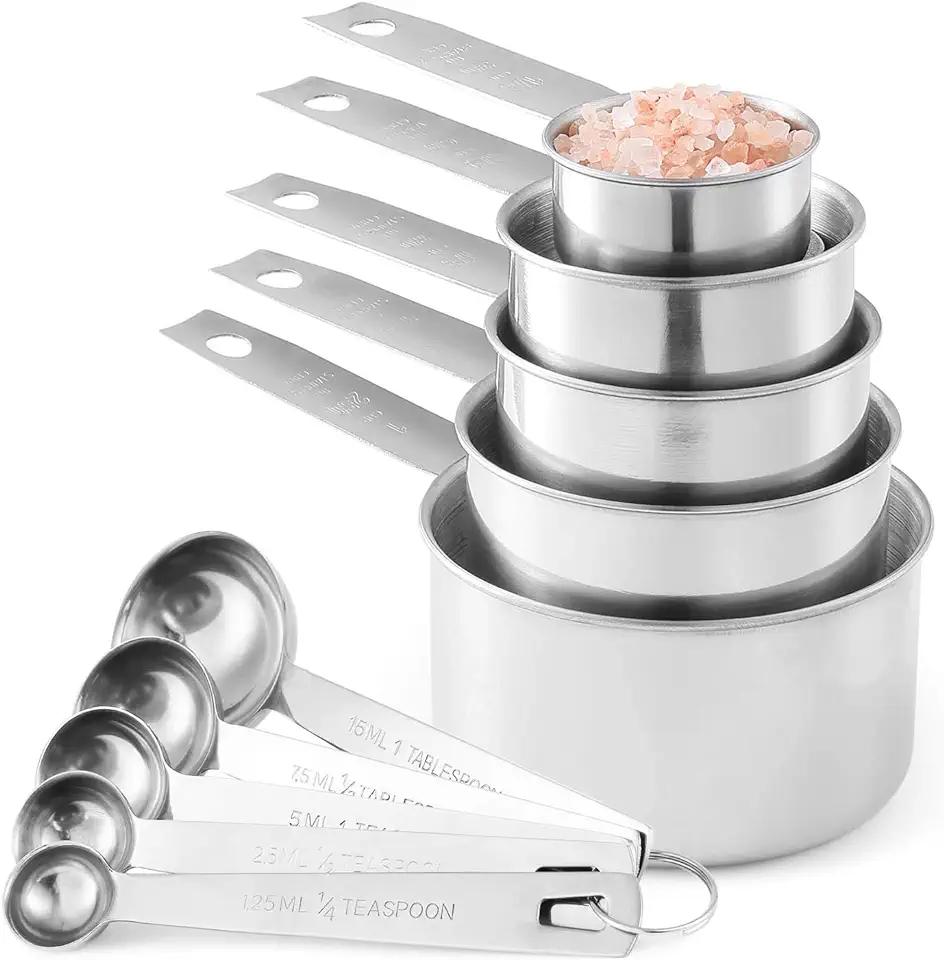 Stainless Steel Measuring Cups And Measuring Spoons 10-Piece Set, 5 Cups And 5 Spoons
$13.95
$17.98
View details
A handheld or stand mixer saves time and gives your dough a good mix. If you don’t have one, a whisk works too, just put in a bit of elbow grease!
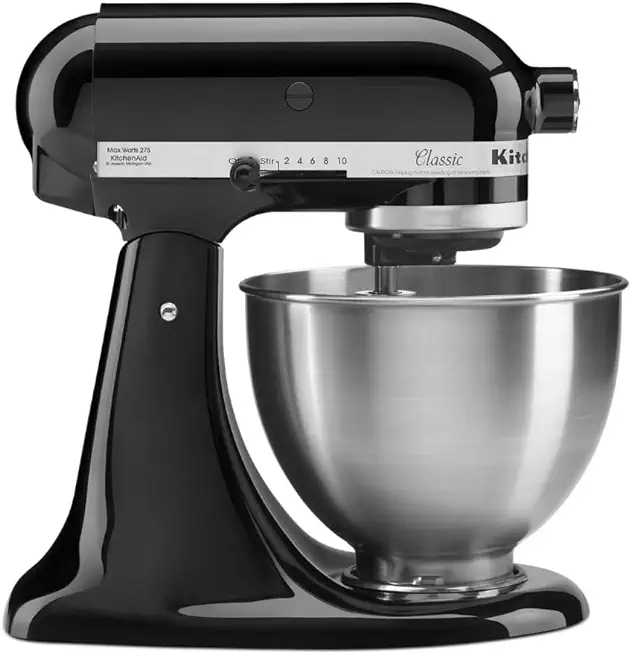 KitchenAid Classic Series 4.5 Quart Tilt-Head Stand Mixer K45SS, Onyx Black
$279.99
$329.99
View details
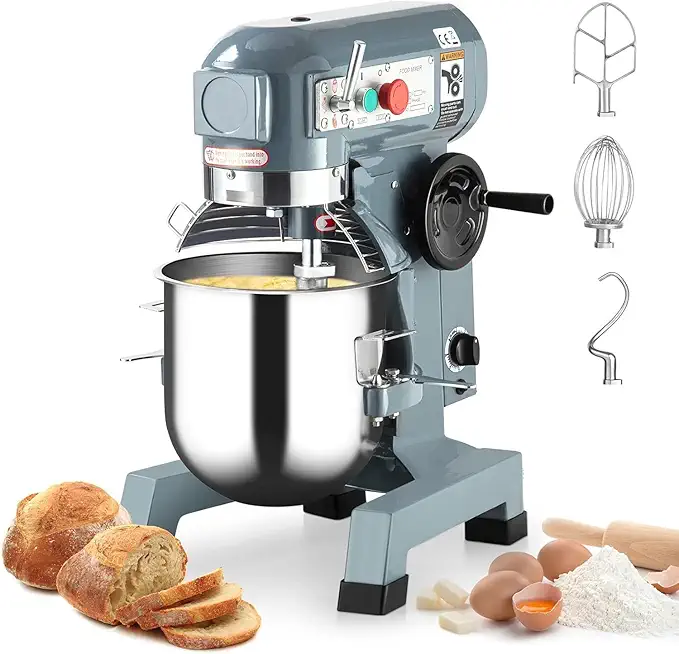 Commercial Stand Mixer, 15Qt Heavy Duty Electric Food Mixer, Commercial Mixer 600W with 3 Speeds Adjustable 130/233/415RPM, Stainless Steel Bowl, Dough Hook Whisk Beater Perfect for Bakery Pizzeria
$579.99
View details
Prime
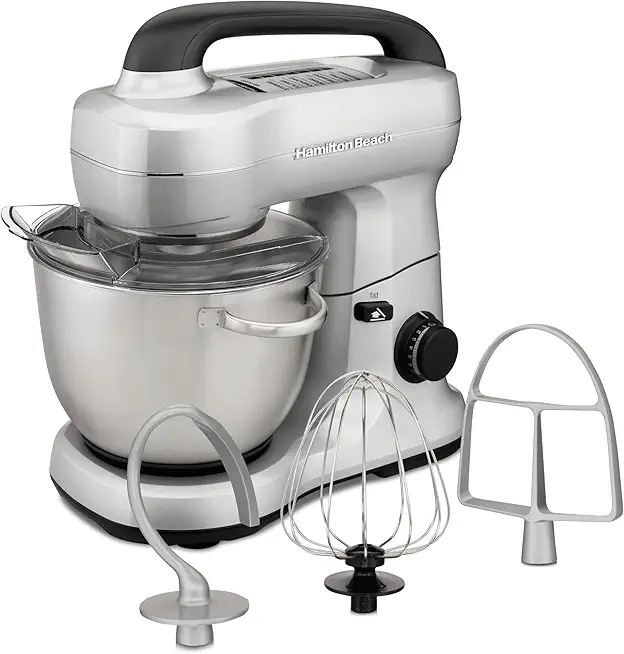 Hamilton Beach Electric Stand Mixer, 4 Quarts, Dough Hook, Flat Beater Attachments, Splash Guard 7 Speeds with Whisk, Silver
$95.99
$119.99
View details
Choose a flat, rimmed baking sheet for even cooking. Lining it with parchment paper makes cleanup a breeze and prevents sticking.
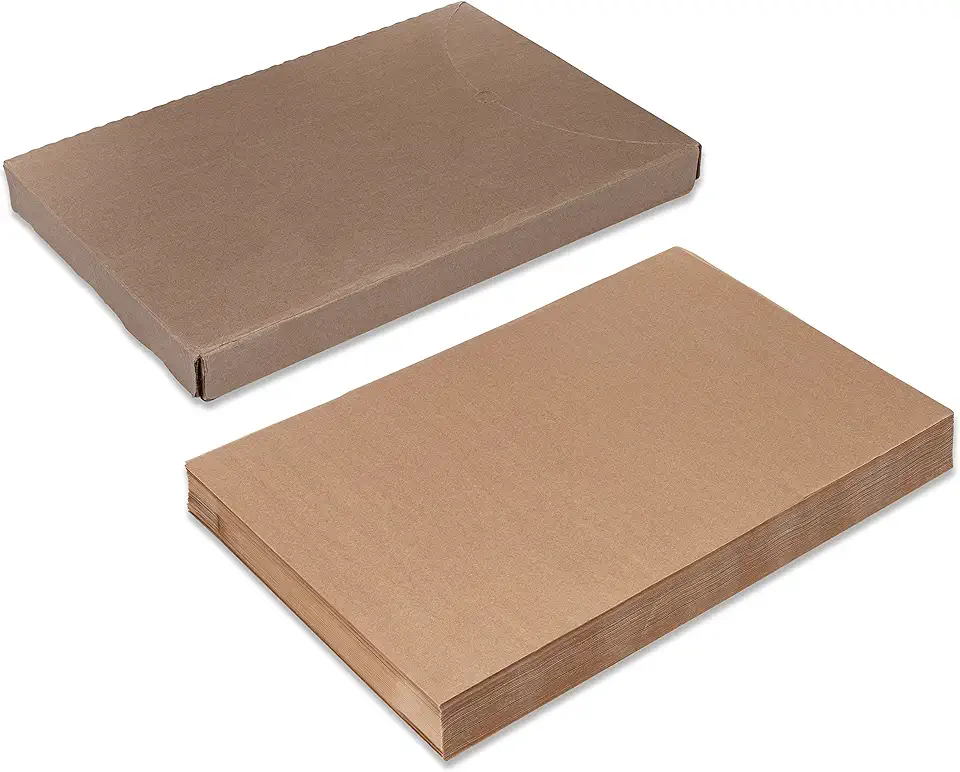 Paterson Paper 16" x 24" Full Size Unbleached Chromium-Free Reusable Baking Parchment Paper Sheets Commercial Bun/Sheet Pan Liners - 1000/Case - 425F - Non-Stick/Grease-Resistant
$169.58
View details
Prime
best seller
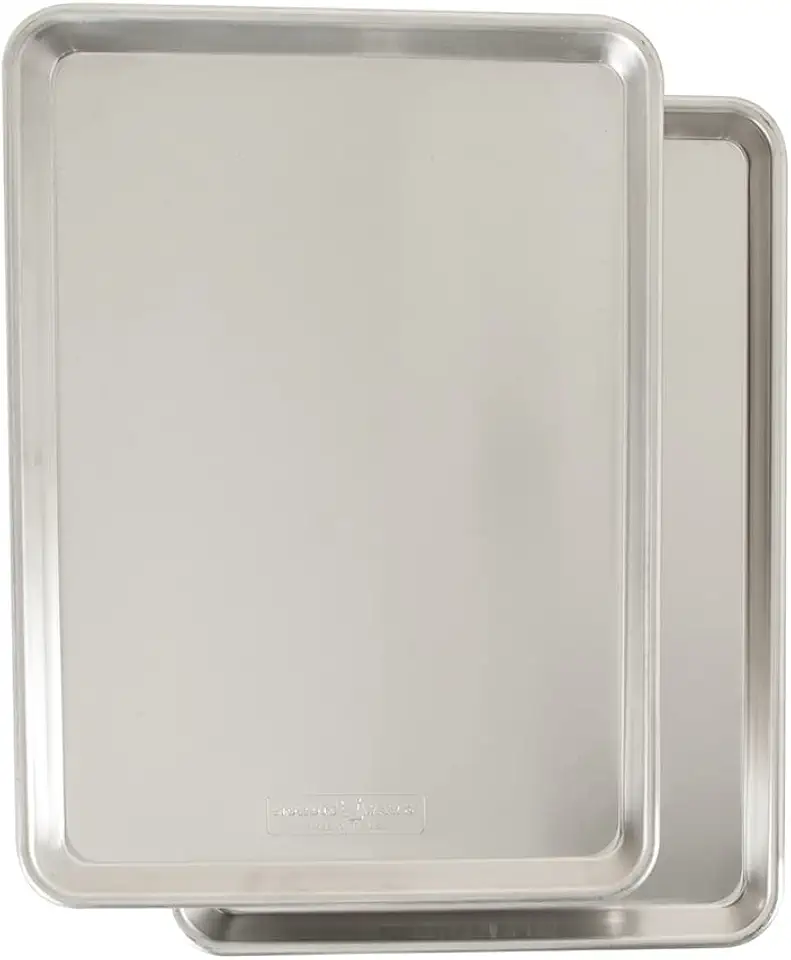 Nordic Ware Naturals Half Sheet, 2-Pack, Natural
$37.80
View details
Prime
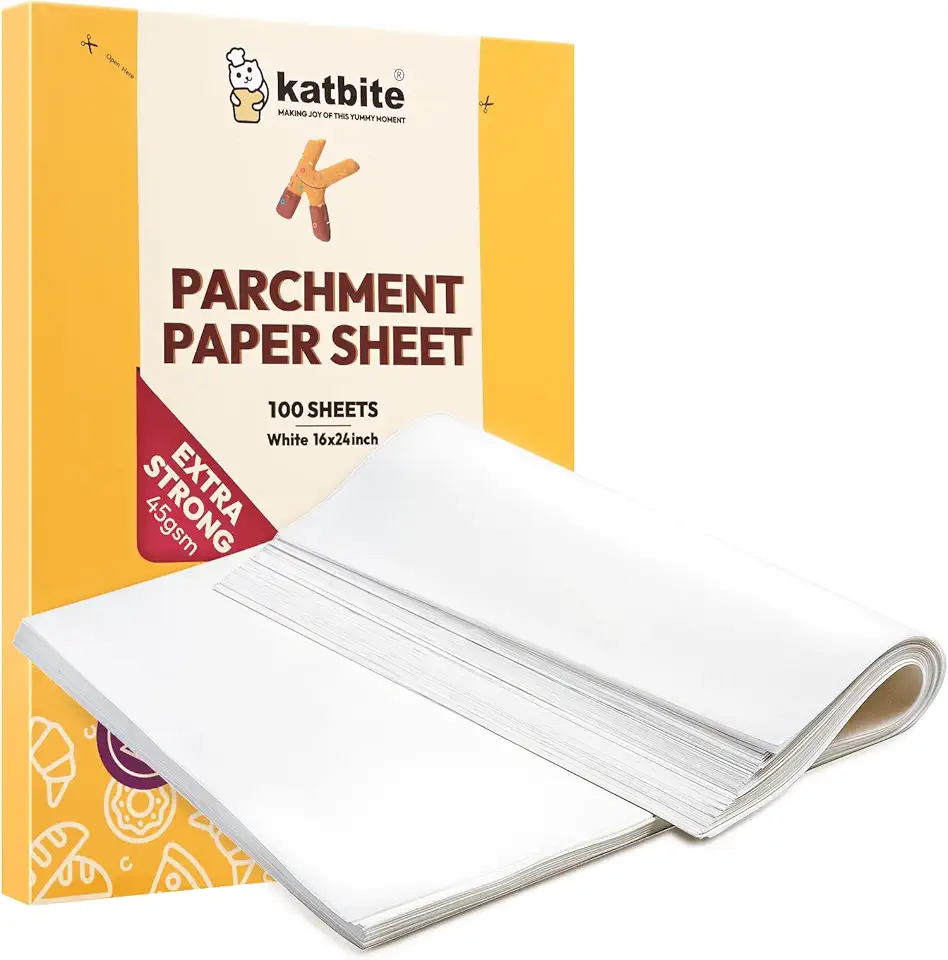 Katbite 16x24 inch Heavy Duty Parchment Paper Sheets, 100Pcs Precut Non-Stick Full Parchment Sheets for Baking, Cooking, Grilling, Frying and Steaming, Full Sheet Baking Pan Liners, Commercial Baking
$18.99
$25.99
View details
This handy tool allows you to portion out uniform cookie sizes. It helps in keeping your cookies even, which bakes them consistently!
 Professional 18/8 Stainless Steel Medium Cookie Scoop, Size 40
$15.75
View details
Prime
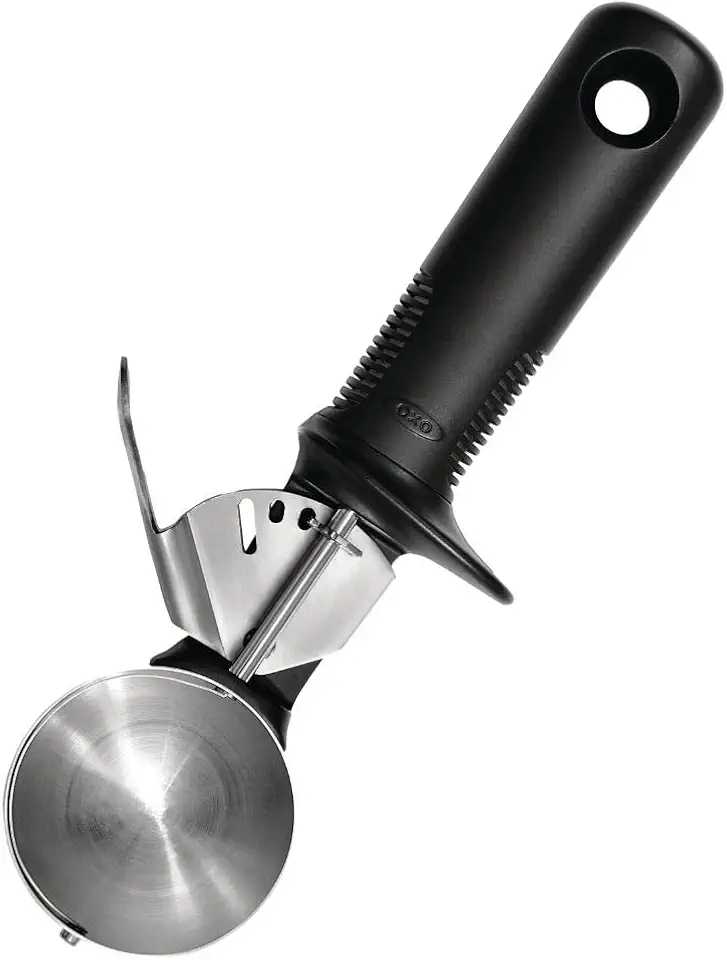 OXO Good Grips Classic Ice Cream Scoop,Black
$14.99
View details
Prime
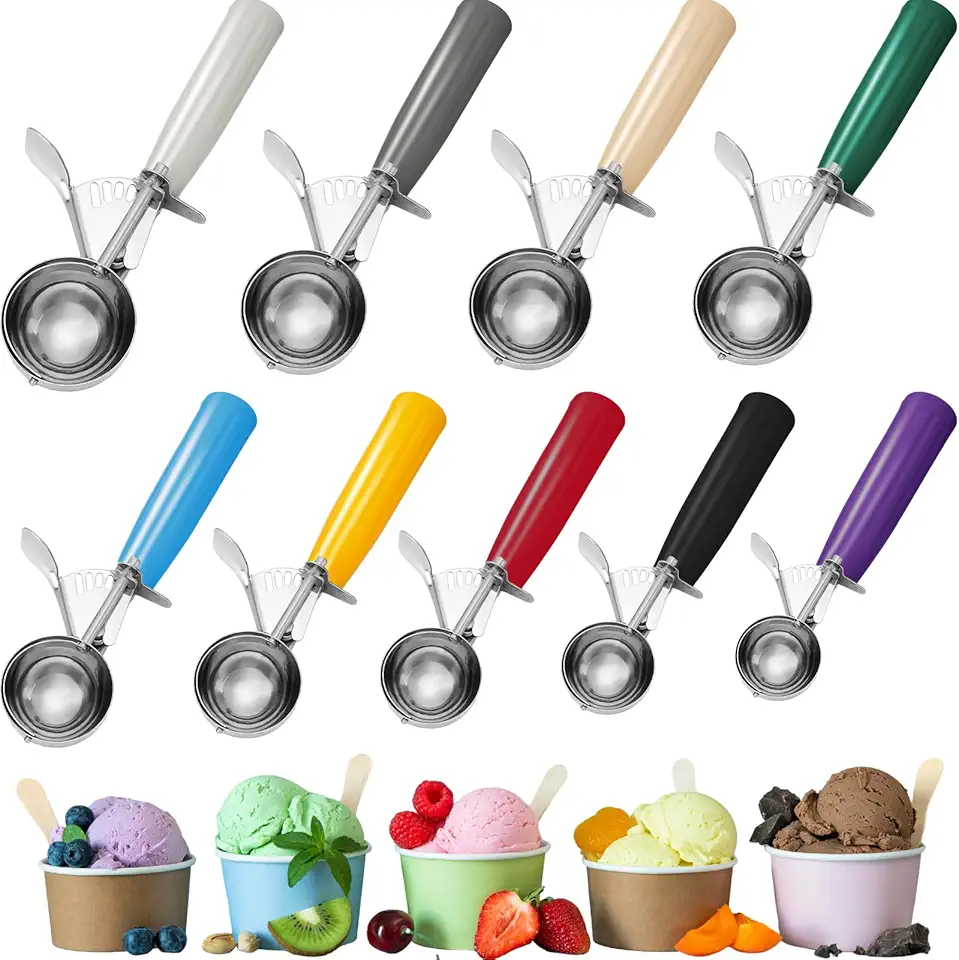 Hsei Ice Cream Scoop Cookie Scoops Portion Scoop Stainless Steel Ice Cream Scooper with Handle for Baking Food Cookie Dough Cupcake Batter(Many Color, 40mm to 78mm, 9 Pcs)
$40.99
View details
Variations
For a gluten-free treat, swap regular flour with almond flour or a gluten-free all-purpose flour blend! 🌾✨ Keep in mind that gluten-free dough can be a bit different in texture, so you may need to adjust liquid ratios slightly.
Vegan Version:To make these cookies vegan, replace the eggs with applesauce or a flaxseed meal mixture (1 tbsp of flaxseed meal + 2.5 tbsp of water = 1 egg). Use a plant-based butter substitute for a dairy-free delight! 🥥🌱 Enjoy the same coconut flavors without the animal products.
Faq
- What if my cookies spread too much?
If your cookies spread too much while baking, it might be due to the butter being too soft. Make sure your butter is at room temperature, not melted, when mixing. You can also chill the dough for 30 minutes before baking to help them maintain shape!
- How can I tell when my cookies are done?
Check for a light golden color around the edges; they will continue to cook slightly once taken out of the oven. If they are slightly puffed and still soft in the middle, they are good to go!
- What is the best way to store leftover cookies?
To keep your cookies fresh, store them in an airtight container at room temperature. They’ll last about a week. For longer storage, you can freeze them for up to three months!
- How can I get my cookies to be chewier?
If you prefer chewier cookies, try adding a little more brown sugar instead of white sugar to your recipe. The molasses content in brown sugar gives a softer texture.
- Can I add nuts to this recipe?
Absolutely! Chopped almonds or walnuts would pair excellently with the coconut flavors. Just mix them into the dough before portioning out!
- Why did my cookies come out hard?
Hard cookies can result from overmixing the dough or excessive baking time. Make sure to mix just until ingredients are combined and keep an eye on the oven timer to prevent overbaking.

