Ingredients
Main Ingredients
Decoration
Instructions
Step 1
Start by gathering all your ingredients. You will need to have wafer paper, water, gel and powder dyes, and modeling paste ready.
Make sure your workspace is tidy and organized for a smooth process.
Step 2
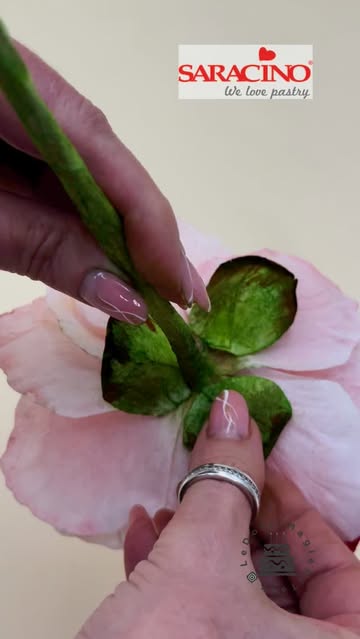
Using the wafer paper, cut out the desired shapes to resemble a branch. This can be done by hand or with a template.
Be creative! The shapes can vary in size and design to make your branch more personal and unique.
Step 3
Once your branch shapes are ready, you can start applying color. Mix your gel and powder dyes with a bit of water to create the hues you want.
Use a brush or sponge to carefully apply the dye to the wafer paper shapes.
Step 4
Next, take your colored shapes and arrange them to form your Christmas branch.
You can layer them and overlap for a more natural look, using a small amount of water to help them stick together.
Step 5
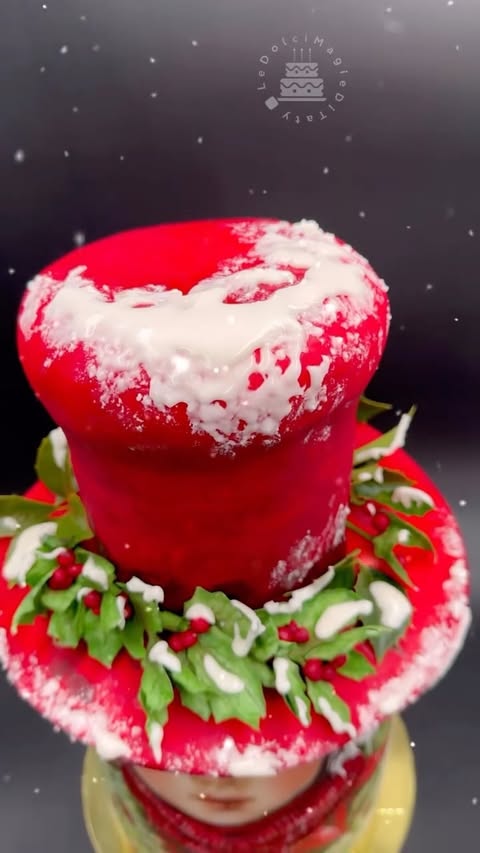
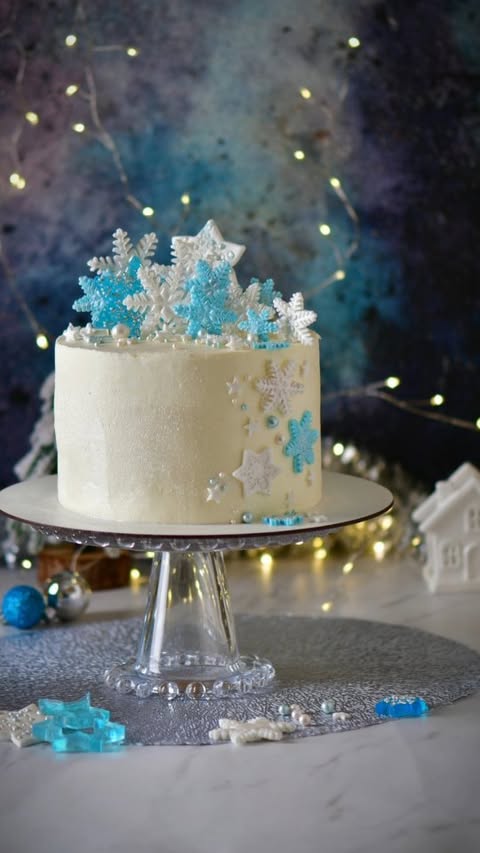
To give your branch a festive touch, apply icing to mimic snow. Use a spatula or your fingers to spread it across the tops of the branch.
Let it dry completely before displaying your beautiful Christmas decoration.
Servings
1. **Table Centerpiece:** Place your branch in a decorative vase or jar and set it as a stunning centerpiece during holiday dinners. Add some twinkling fairy lights for that magical touch! 🎇
2. **Gift Accent:** Use your wafer paper branch to adorn gift boxes. It’s a charming and unique way to elevate your presents and impress your loved ones! 🎁
3. **Hanging Decoration:** Create a lovely display by hanging the branch from your ceiling or doorways. Add ribbons for an extra festive flair! 🌟
4. **Christmas Tree Ornament:** Make smaller branches and use them as ornaments on your tree. They make for a whimsical addition that family and friends will adore! 🎄
Equipment
This is the main ingredient for creating your beautiful branch. Make sure to use high-quality wafer paper that works well with colored dyes.
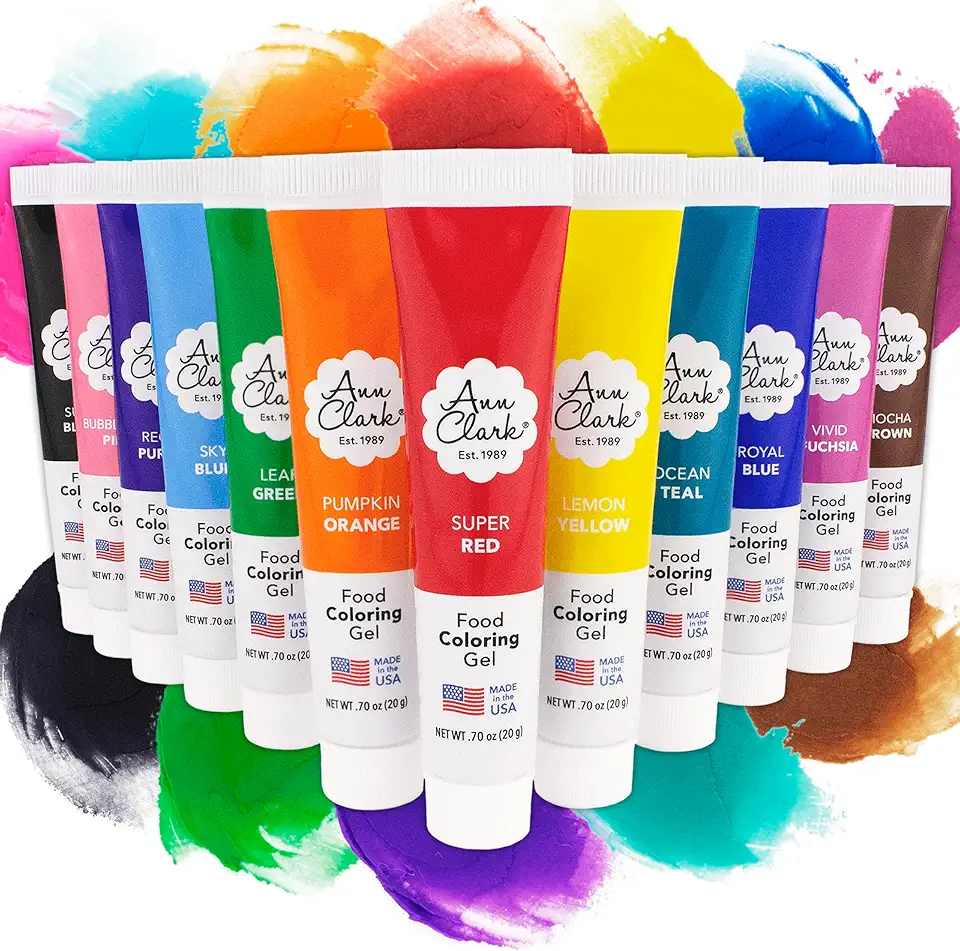
These are essential for adding vibrant colors to your wafer paper. Choose non-toxic, food-grade options for safety.
This will help you shape and manipulate your wafers into the desired look. A set with various shapes can offer versatility in your designs.
A simple but vital ingredient for moistening the wafer paper and assisting in cutting and shaping. Keep a small bowl handy!
This is used to create the effect of snow. Choose a fluffy, white icing to give your branch a beautiful wintery touch.
Variations
Looking for alternative options? Here are some simple adjustments! 🌾✨
1. **Gluten-Free Wafer Paper:** Ensure the wafer paper you choose is specifically labeled as gluten-free to avoid any allergens.
2. **Vegan Icing:** Swap traditional icing with a plant-based version made from sugar and coconut cream. This keeps your treats vegan while still offering a delicious taste!
Feel free to customize the colors and designs to fit a vegan and gluten-free lifestyle while still enjoying this delightful Christmas craft! 🌱
Faq
- Can I make this if I'm a beginner?
Absolutely! This recipe is designed with simplicity in mind, making it perfect for beginners. Just follow each step at your own pace.
- What if my wafer paper tears while working with it?
Don’t worry! You can simply patch it up with a little bit of water. If it’s too damaged, cut a new piece and try again!
- How can I achieve a more vibrant color?
Use gel dyes as they provide a richer color compared to liquid dyes. Apply in small amounts until you reach your desired hue.
- What's the best way to store my finished branch?
Keep your branch in a cool, dry place away from direct sunlight. A sealed container will help maintain its freshness.
- How do I prevent the wafer paper from getting too soft?
A light mist of water will keep it pliable, but avoid soaking it. Keep working it quickly to maintain its texture!
- Can I use other shapes instead of a branch?
Definitely! Use cookie cutters or freehand your shapes. The sky's the limit to your creativity!

