Ingredients
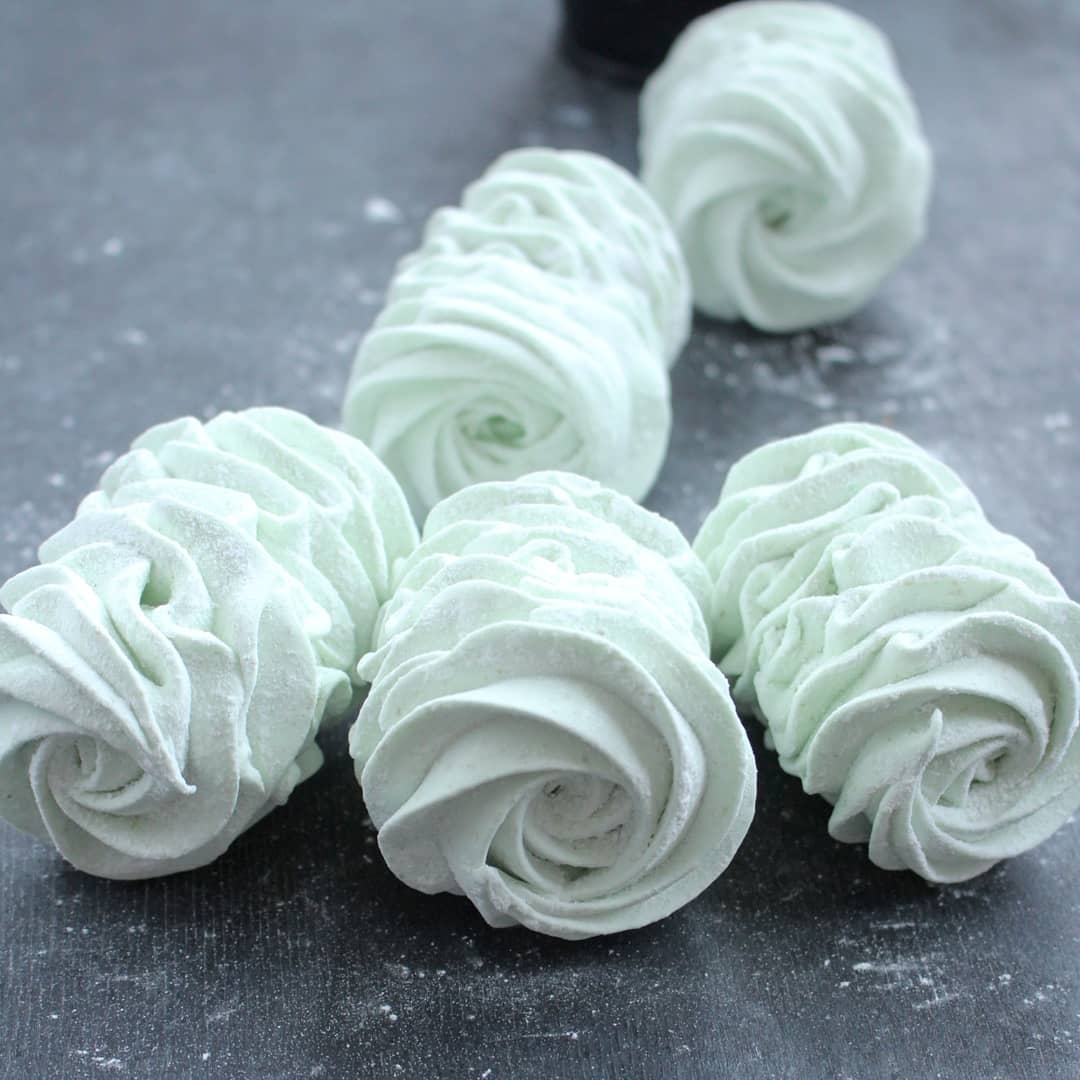
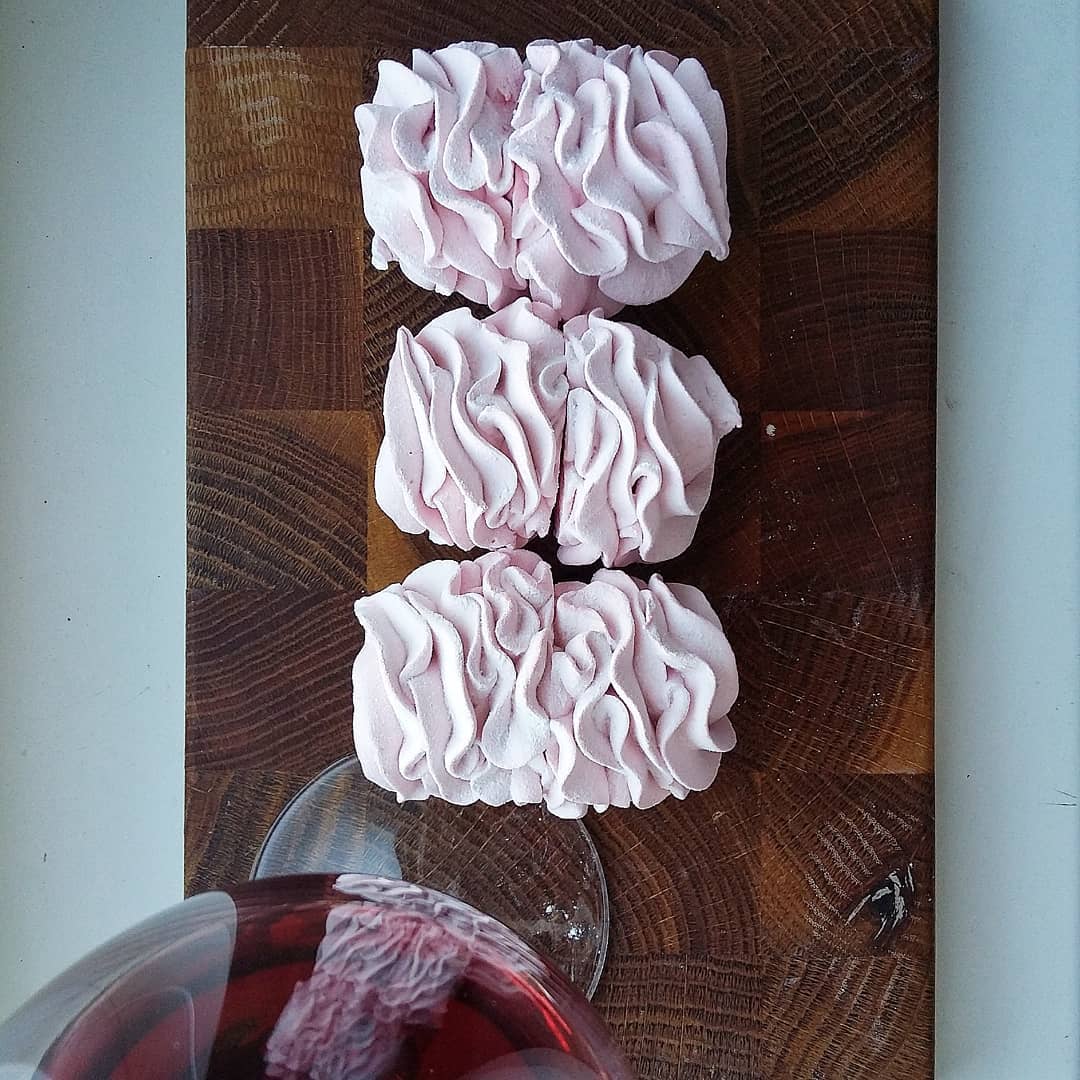
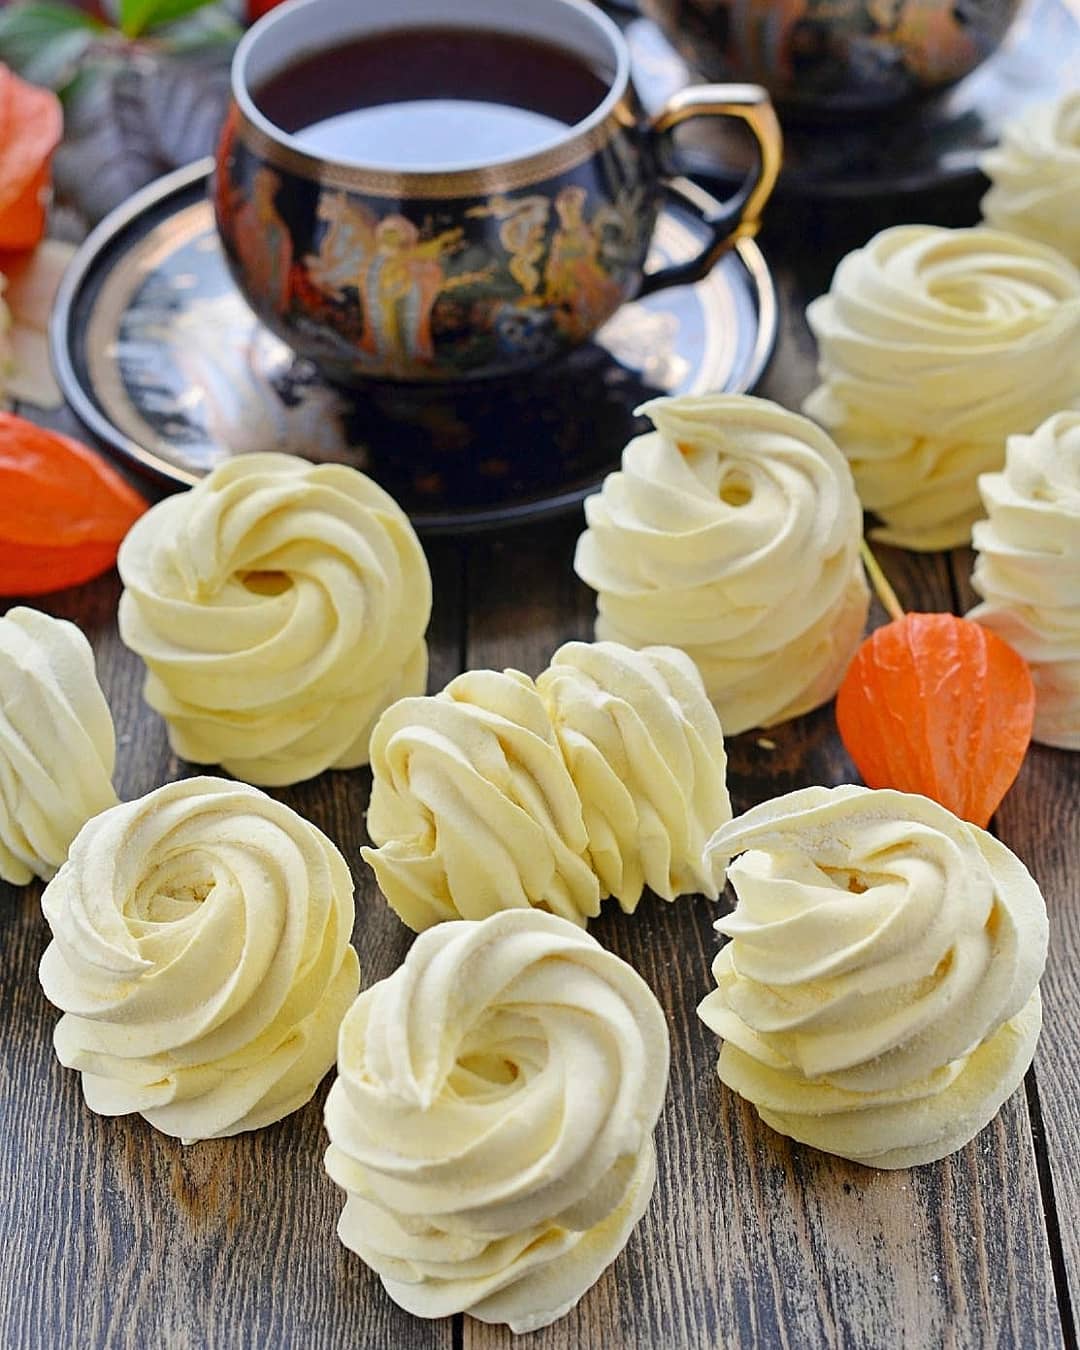
Marshmallows
Instructions
Step 1
Step 2
Step 3
Step 4
Step 5
Step 6
Servings
Equipment
Use a thick-bottomed saucepan to evenly distribute the heat and prevent your syrup from burning.
Essential for stirring hot syrup and scraping down bowls, a silicone spatula won’t melt under high heat.
A powerful mixer is crucial for whipping the puree and whites to create that perfect fluffy texture.
Great for forming and setting your marshmallows, silicone mats are non-stick and easy to clean.
This helps you shape the marshmallows precisely and beautifully. Choose any nozzle for creative designs!
For accurate measurements, a kitchen scale is indispensable, ensuring you get the consistency just right.
Variations
Faq
- What can I use if I don't have a silicone mat?
Try using parchment paper or a non-stick baking sheet as alternatives. Just ensure they are food-grade safe.
- Can I make marshmallows without a mixer?
It's challenging but possible! You can use a hand whisk, but be prepared for an intense arm workout as you need to whip the mixture consistently for several minutes.
- What if my syrup crystallizes before reaching 110°C (230°F)?
Crystallization can be a common issue; try adding a few drops of lemon juice or a pinch of cream of tartar to the syrup to prevent it.
- Can I add different flavors to the marshmallow mix?
Absolutely! Experiment with different fruit purees or even add a splash of vanilla or almond extract for unique flavors.
- How do I store my homemade marshmallows?
Store them in an airtight container at room temperature for up to two weeks. Avoid refrigeration as it can make them soggy.
- Can I double the recipe?
Yes, you can double or even triple the recipe! Just make sure you have a big enough mixer and saucepan to handle the larger quantities.

