Ingredients
Gumpaste
Instructions
Step 1
Step 2
Step 3
Step 4
Step 5
Step 6
Step 7
Step 8
Servings
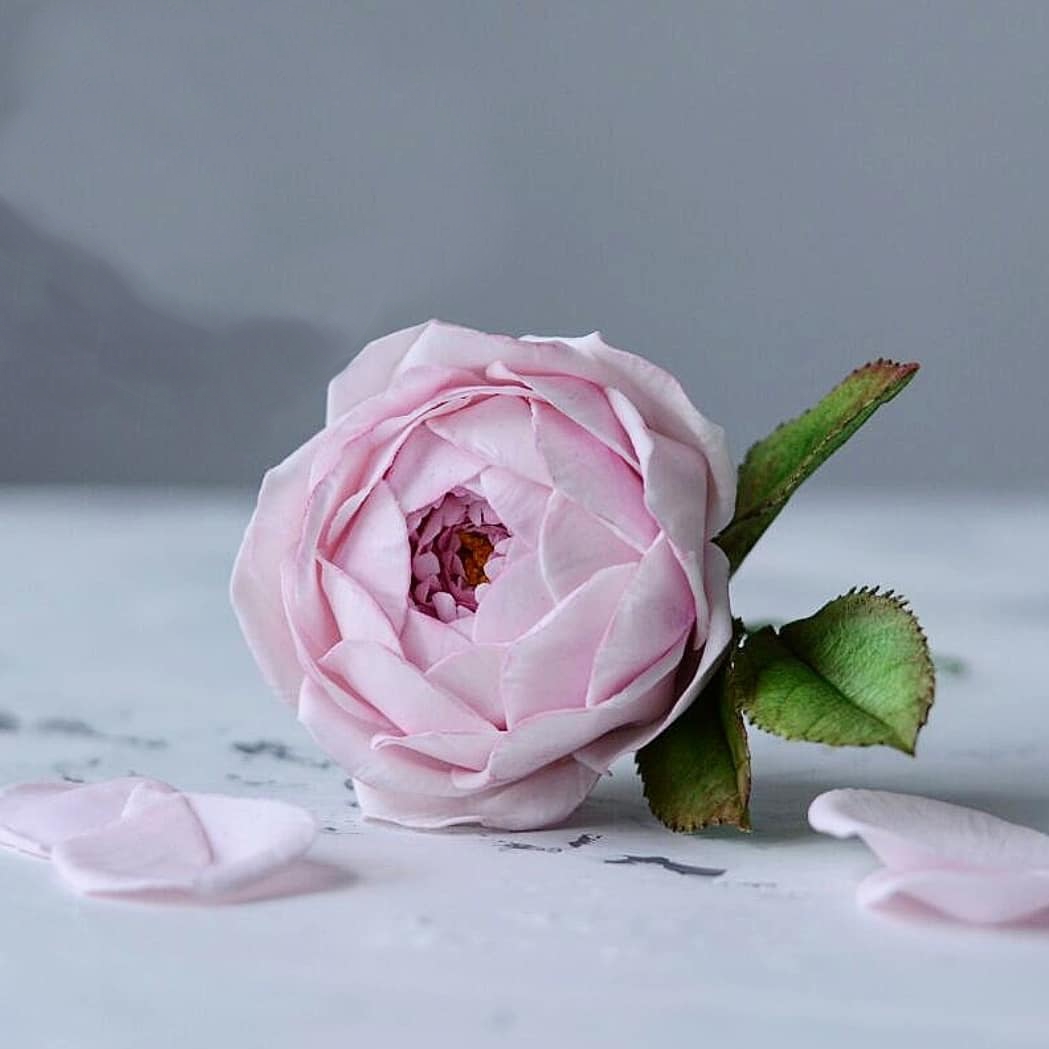
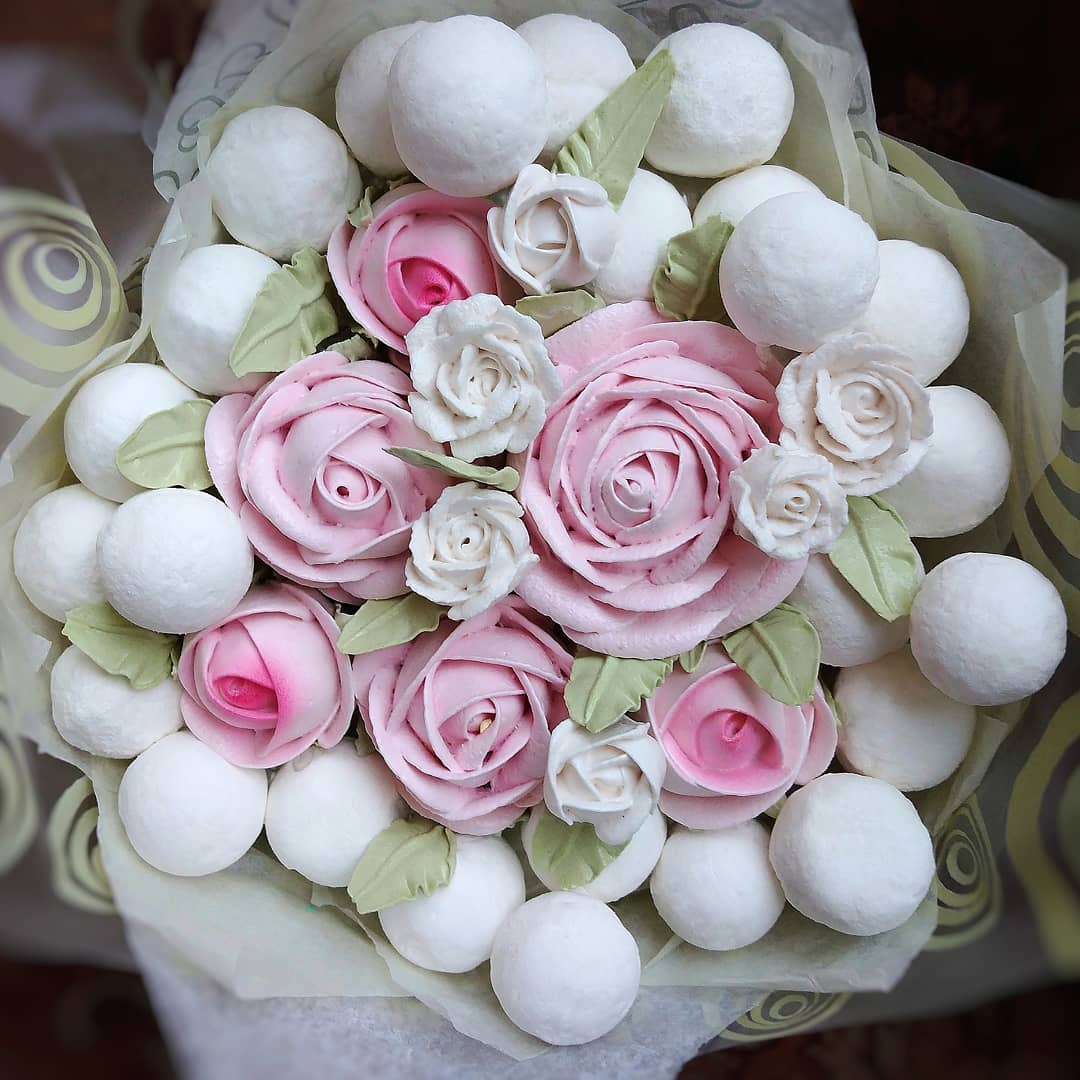
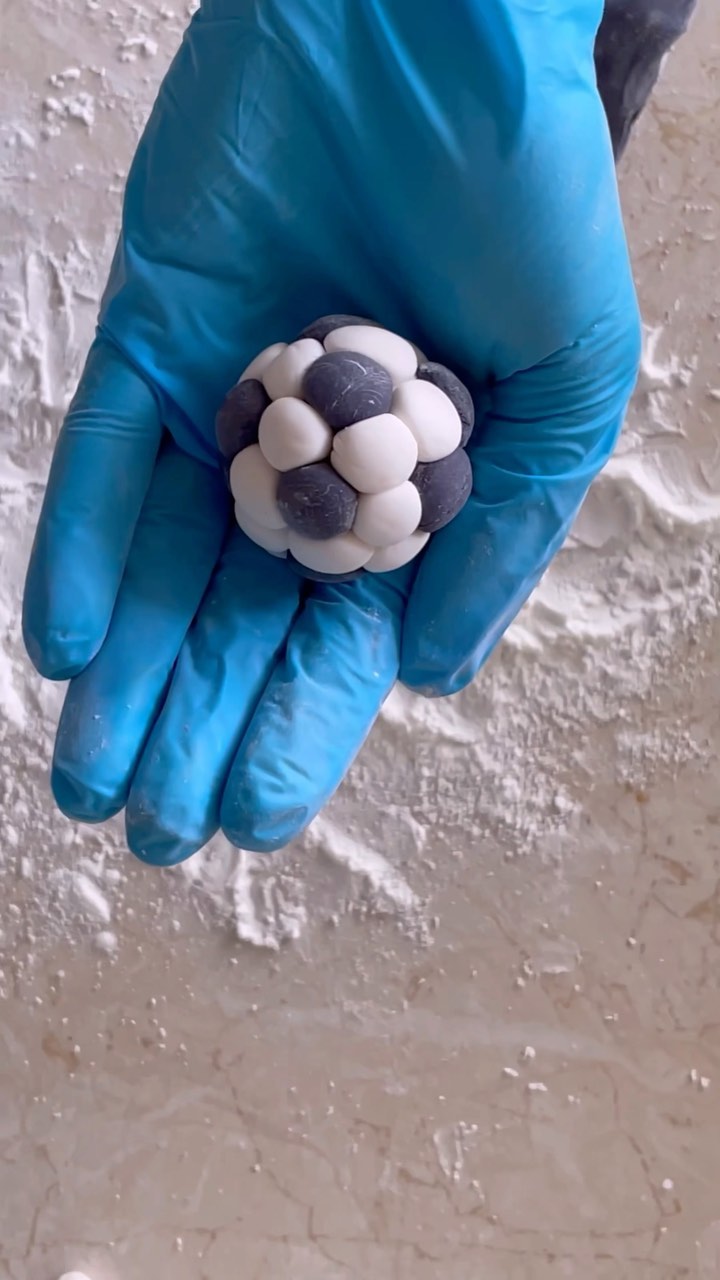
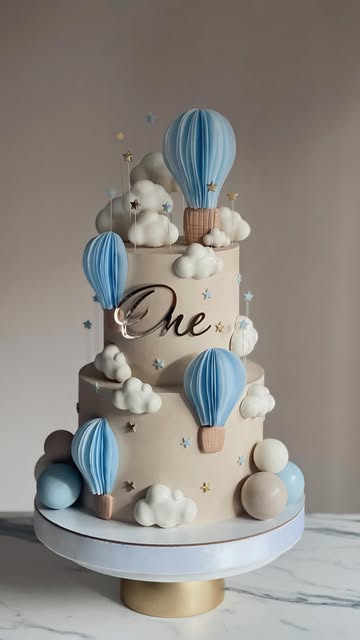
Now that you've prepared your gumpaste, it's time to let your creative juices flow! Gumpaste can be transformed into beautiful flowers, intricate figurines, or even used to cover cakes for a flawless finish. For an elegant touch, shape the gumpaste into roses or lilies and place them on top of a wedding cake. The visual appeal and the delicate detail will leave your guests in awe.
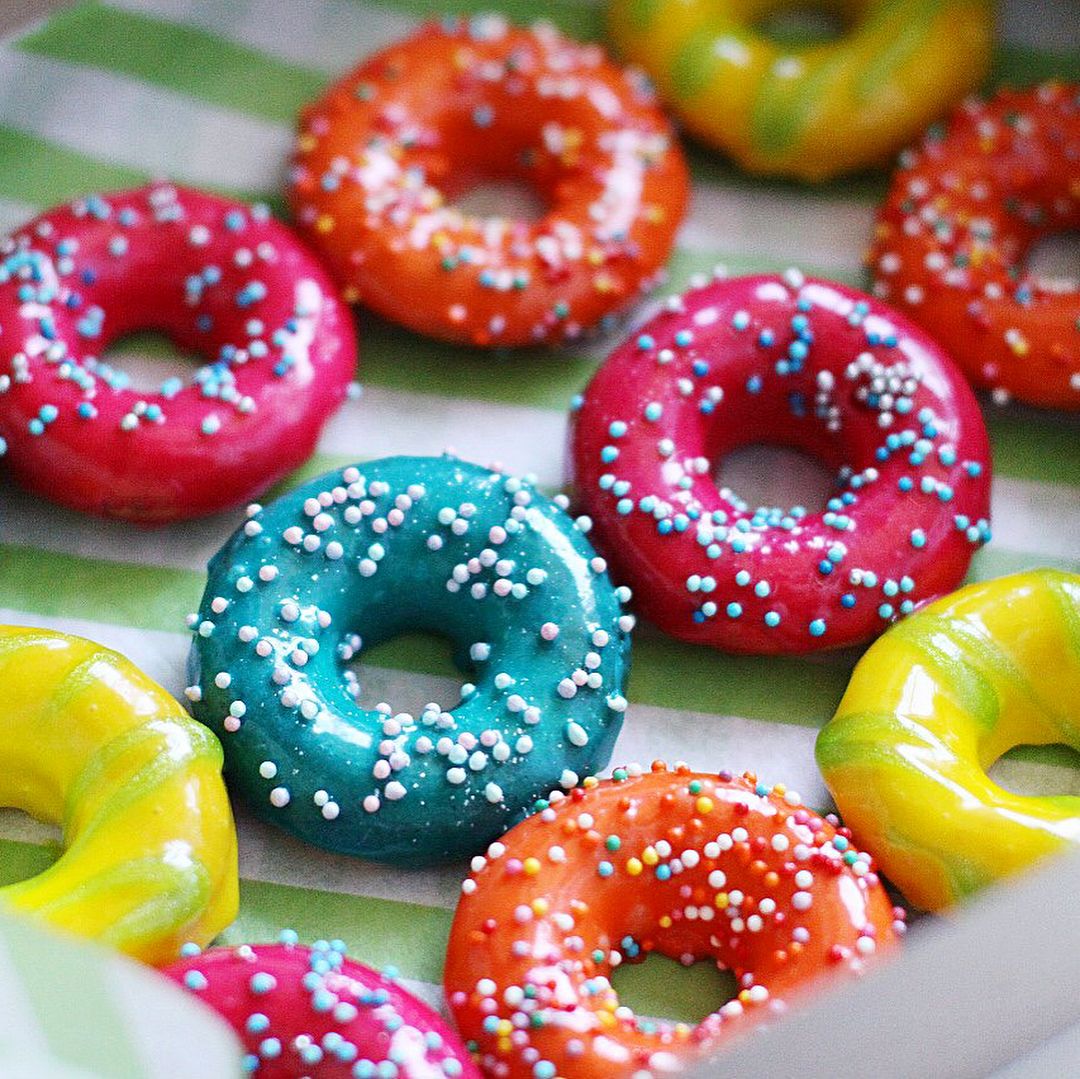
If you're designing a cake for a children's party, use different molds and tools to create fun characters or themed pieces. Kids will love the colorful and imaginative decorations, and you'll have the satisfaction of creating joyful memories. For special occasions like anniversaries or baby showers, consider making intricate lace patterns or monograms with the gumpaste to personalize each dessert uniquely.
Equipment
This is a must for proper kneading of the gumpaste; it ensures the paste becomes smooth, fluffy, and dense without too much manual effort. If you don't have a stand mixer, you may use a hand mixer and finish kneading by hand, but it might be more labor-intensive.
A gentle and controlled method to dissolve gelatin completely. You can create a water bath by placing a bowl over a pot of simmering water. Make sure the steam doesn’t escape to prevent gelatin overheating.
Precision is crucial for this recipe, so measuring the ingredients accurately will ensure your gumpaste has the ideal consistency and texture.
Sifting the powdered sugar helps to remove lumps and creates a smoother finish. It makes the mixing process easier and the final product more cohesive.
Variations
To make a gluten-free version of gumpaste, simply ensure that all your ingredients are certified gluten-free, especially the powdered sugar, as cross-contamination can occur during processing. The rest of the recipe remains the same, and you'll have gluten-free gumpaste with no compromises.
For a vegan adaptation, here's what you’ll need to change: replace the gelatin with agar-agar (use the same quantity), and substitute the egg white with aquafaba (chickpea brine) in a 1:1 ratio. Agar-agar sets a bit quicker, so work efficiently, and keep in mind that aquafaba will provide the necessary binding without altering the taste.
Faq
- What should I do if my gumpaste is too sticky?
Simply add more powdered sugar in small increments and knead it until you achieve the desired consistency. Be careful not to add too much at once.
- Can I use a hand mixer instead of a stand mixer?
You can start with a hand mixer, but you might need to finish kneading by hand to achieve the correct texture. Be prepared for some extra effort!
- Can I add food coloring to my gumpaste?
Absolutely! Add gel or paste food coloring to the mixture during the kneading process. Remember to use food-safe colors to maintain the quality of your gumpaste.
- How can I store unused gumpaste?
Wrap the gumpaste tightly in plastic wrap to prevent air exposure, and store it in an airtight container in the refrigerator for up to two weeks. You can also freeze it for longer storage.
- Why is my gumpaste cracking and how can I fix it?
Gumpaste can dry out quickly; ensure your working environment is not too dry, and work with small amounts at a time. If it does crack, knead in a bit of shortening to restore pliability.
- Can I use this gumpaste recipe for making structural elements on large cakes?
Yes, this gumpaste is ideal for creating both fragile and sturdy elements. However, for larger structural components, ensure they are fully dried before assembling to maintain their shape.

