Ingredients
Main Ingredients
Coating Ingredients
Instructions
Step 1
Begin by toasting the **peanuts** in a dry frying pan. Cook them over medium heat, stirring frequently, until they are lightly golden brown. This process usually takes about 5-7 minutes.
This step enhances the flavor of the peanuts, making your dessert even more delicious.
Step 2
If your **dates** are firm, soak them in warm water for 10 minutes to soften them. Once softened, remove the pits and ensure they are clean and ready for mixing.
This is a crucial step to achieve a smooth texture in the dessert.
Step 3
In a mixing bowl, combine the softened **dates** and the **cottage cheese**. Use an immersion blender to blend these ingredients until they are completely smooth.
Next, crush the toasted **peanuts** into coarse crumbs using a food processor. Combine the crushed peanuts with the date and cottage cheese mixture, mixing thoroughly.
Step 4
To the combined mixture, add the **cocoa powder** and mix well until fully incorporated. The cocoa will give the dessert a rich chocolate flavor.
Now, shape the mixture into small balls or logs, resembling traditional potato cakes.
Step 5
Roll each shaped piece in the additional **cocoa powder** for coating, ensuring they are evenly covered. Once all pieces are coated, place them in the refrigerator.
Let them chill for **3 to 4 hours** to firm up. This step is essential for the best texture and taste.
Servings
- Decadent Platter: Arrange your pastries on a beautiful serving plate and adorn them with fresh fruits like raspberries or sliced strawberries to create a vibrant contrast. 🍓
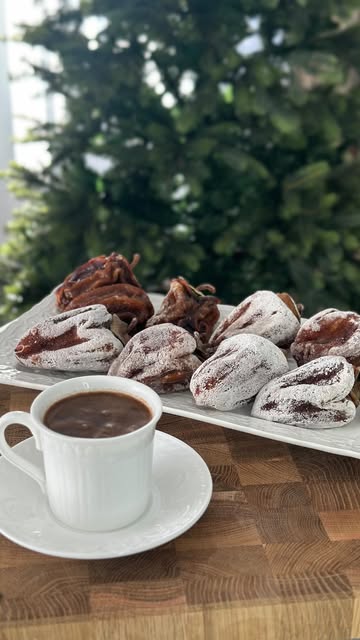
- Coffee Pairing: Serve with a hot cup of coffee or a refreshing herbal tea. The rich flavors of the pastry blend wonderfully with the warmth of the beverage, creating a perfect afternoon delight. ☕
- Sweet Additions: Drizzle some melted dark chocolate over the pastries for an extra luxurious touch, or sprinkle chopped nuts for added crunch! 🌰
- Packing for Picnics: Pack them in a nice container and take them along for a picnic – these bites are a hit outdoors! Don't forget to bring some napkins! 🧺
Equipment
The blender is essential for achieving a smooth and creamy mixture. A hand blender works perfectly for small batches, while a regular blender is great for larger quantities.
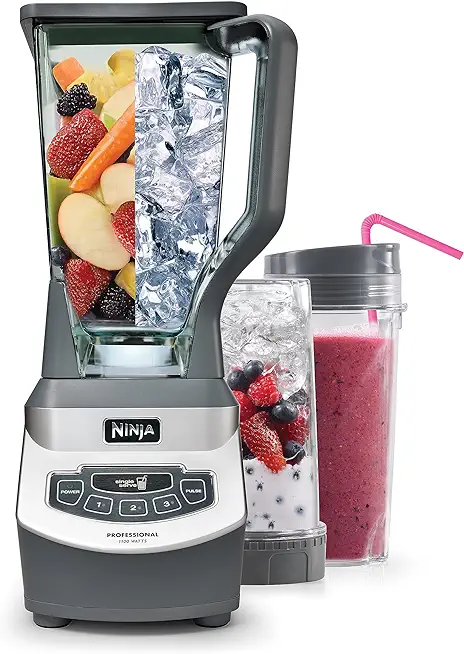 Ninja BL660 Professional Compact Smoothie & Food Processing Blender, 1100-Watts, 3 Functions -for Frozen Drinks, Smoothies, Sauces, & More, 72-oz.* Pitcher, (2) 16-oz. To-Go Cups & Spout Lids, Gray
$99.99
$119.99
View details
Prime
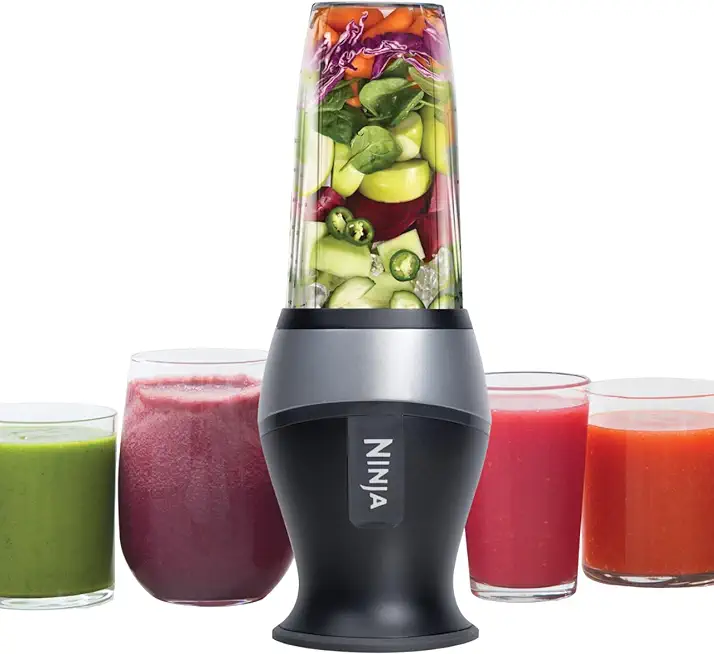 Ninja Fit Compact Personal Blender, Portable Blender for-Smoothies, Shakes, Food Prep, and Frozen Blending, 700-Watt Base, (2) 16-oz. Cups and Spout Lids, Black QB3001SS
$49.99
$69.99
View details
Prime
best seller
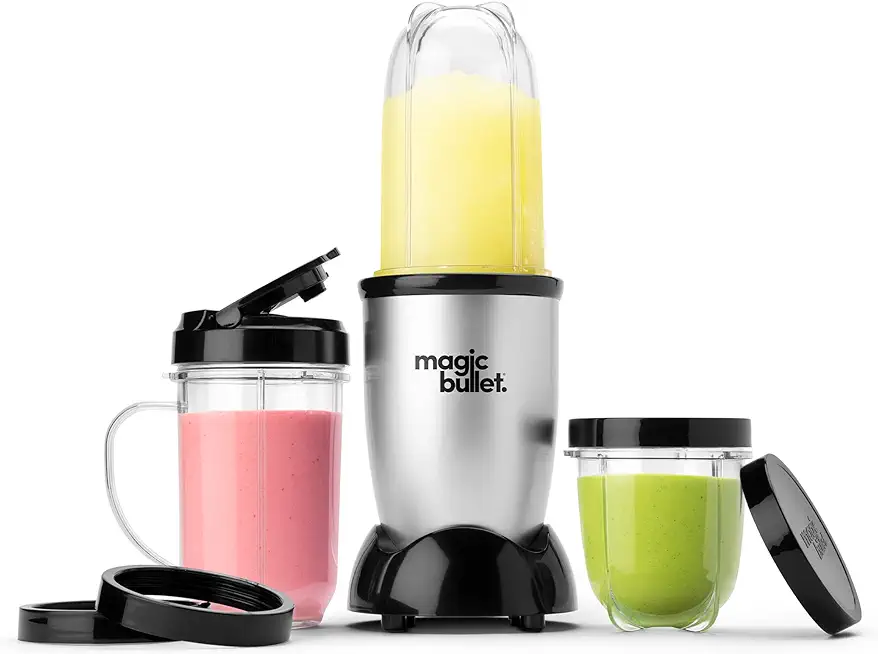 Magic Bullet Blender, Small, Silver, 11 Piece Set
$39.88
$49.99
View details
Use a non-stick frying pan for roasting the peanuts without oil. This keeps the flavor intact and avoids unnecessary calories.
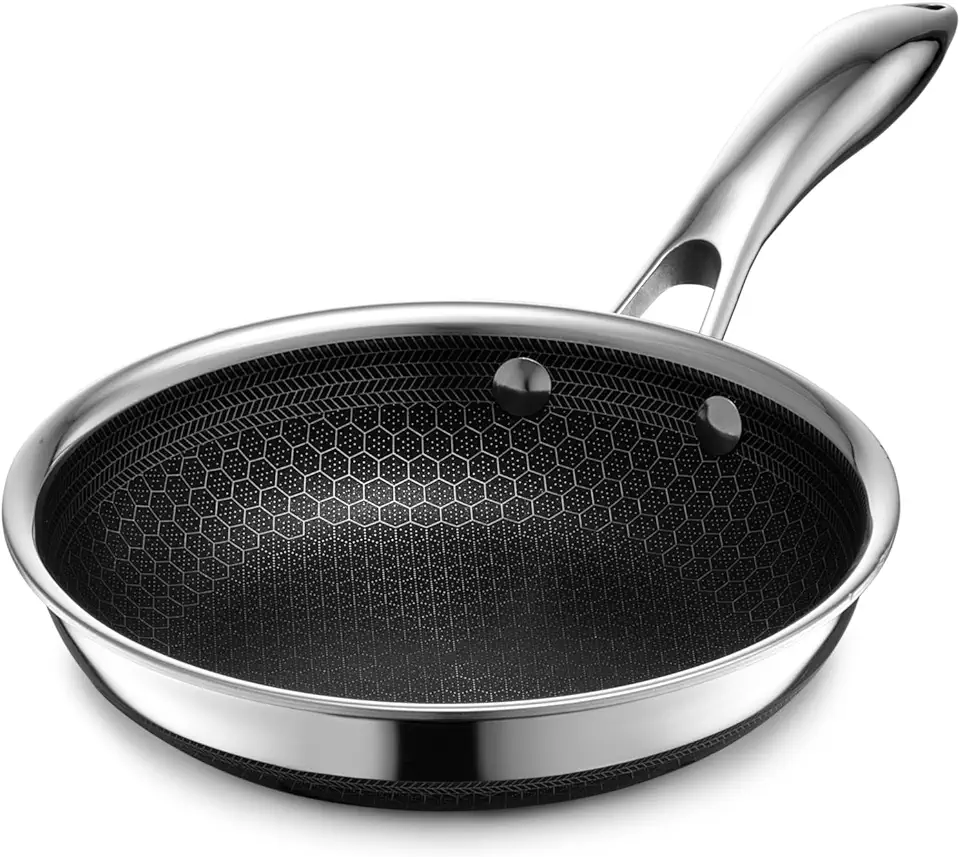 HexClad Hybrid Nonstick 7-Inch Fry Pan, Stay-Cool Handle, Dishwasher and Oven Safe, Induction Ready, Compatible with All Cooktops
$109.00
View details
Prime
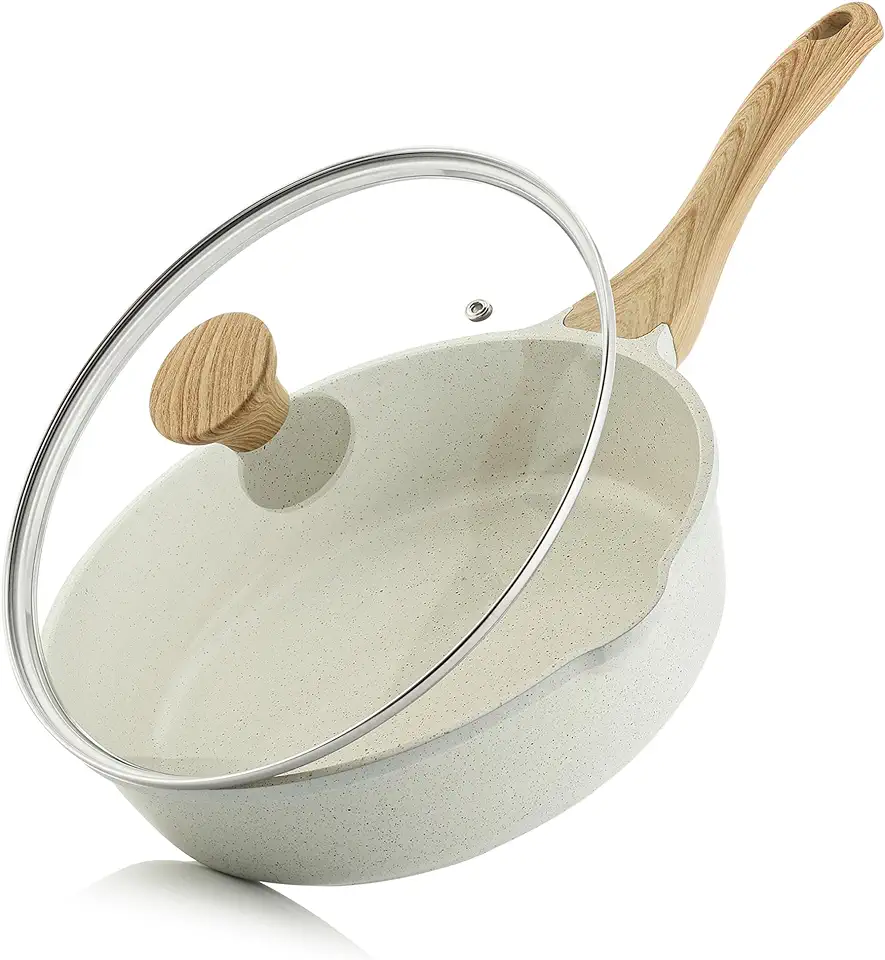 SENSARTE Nonstick Ceramic Saute Pan 10-Inch, Non-toxic Deep Frying Pan Skillet with Lid, Healthy Jumbo Cooker, Stay Cool Handle, Induction Compatible, PFOA & PFAS Free
$43.99
View details
Prime
best seller
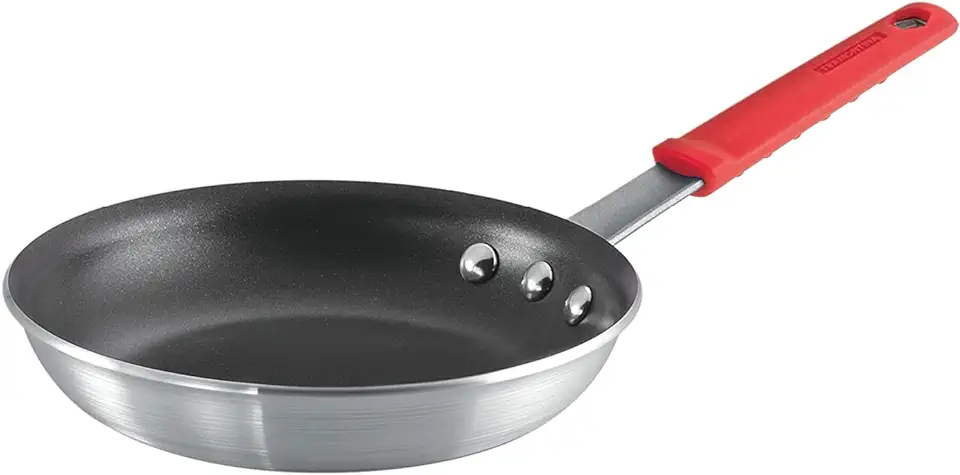 Tramontina Professional Series 8-Inch Fry Pan, Heavy-Gauge Aluminum with Reinforced Nonstick Coating, Oven and Dishwasher Safe, NSF Certified, Made in Brazil
$26.06
$35.00
View details
A good-sized mixing bowl will help you combine all the ingredients easily, allowing for a mess-free experience!
 YIHONG 7 Piece Mixing Bowls with Lids for Kitchen, Stainless Steel Mixing Bowls Set Ideal for Baking, Prepping, Cooking and Serving Food, Nesting Metal Mixing Bowls for Space Saving Storage
$27.99
$35.99
View details
Prime
best seller
 Pyrex Glass, 3-Piece, 3 PC Mixing Bowl Set
$17.53
View details
Prime
 REGILLER Stainless Steel Mixing Bowls (Set of 5), Non Slip Colorful Silicone Bottom Nesting Storage Bowls, Polished Mirror Finish For Healthy Meal Mixing and Prepping 1.5-2 - 2.5-3.5 - 7QT (Colorful)
$26.99
View details
Setting your pastries in the fridge is crucial for firming them up, so make sure you have enough chilling time before serving!
Variations
- Gluten-Free: To keep the pastry gluten-free, ensure that the cocoa powder you use is labeled gluten-free, and swap the regular cottage cheese with a gluten-free cream cheese alternative.
- Vegan Option: Replace the cottage cheese with a blended non-dairy yogurt or a similar tofu-based product for that creamy texture. Make sure your date and cocoa powders are vegan-friendly too!
- Nut-Free: If you want a nut-free option, swap out the peanuts with sunflower seeds! They’ll still add a nice crunch and flavor. 🥜❌
Faq
- Why did my pastries turn out too soft?
They might need more chilling time in the fridge. Make sure to let them sit for at least 3-4 hours for proper firmness!
- Can I use other types of nuts?
Absolutely! Feel free to experiment with any of your favorite nuts or seed varieties for a different taste.
- How do I make sure my mixer blends well?
If your mixture is too thick, try adding a little bit of plant-based milk or water to help it blend smoothly.
- What’s the best way to store leftover pastries?
Store leftovers in an airtight container in the fridge, where they’ll stay fresh for up to a week!
- How do I achieve a uniform shape?
To keep your pastries uniform, use a small ice cream scoop when forming them. It helps achieve consistent size and shape!
- Can I freeze these pastries?
Yes! After forming them, you can freeze the pastries before the chilling step. Once frozen, they can be stored in a sealed container for up to a month.


