Ingredients
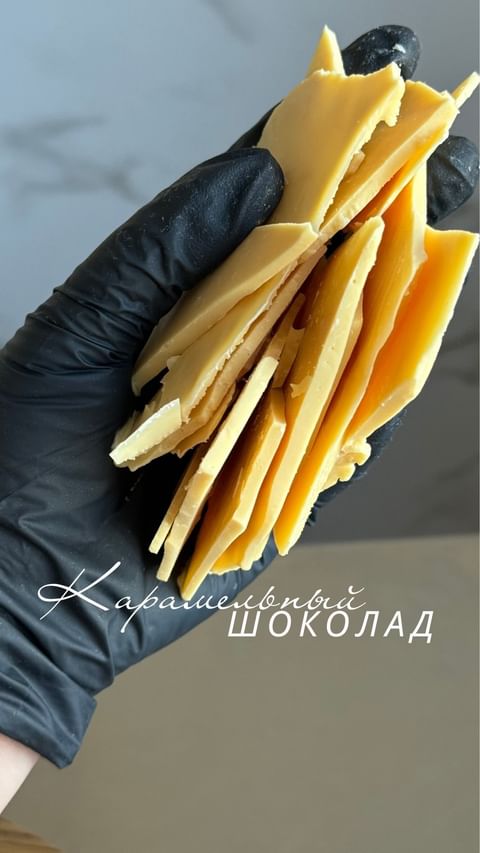
Caramelized White Chocolate
Instructions
Step 1
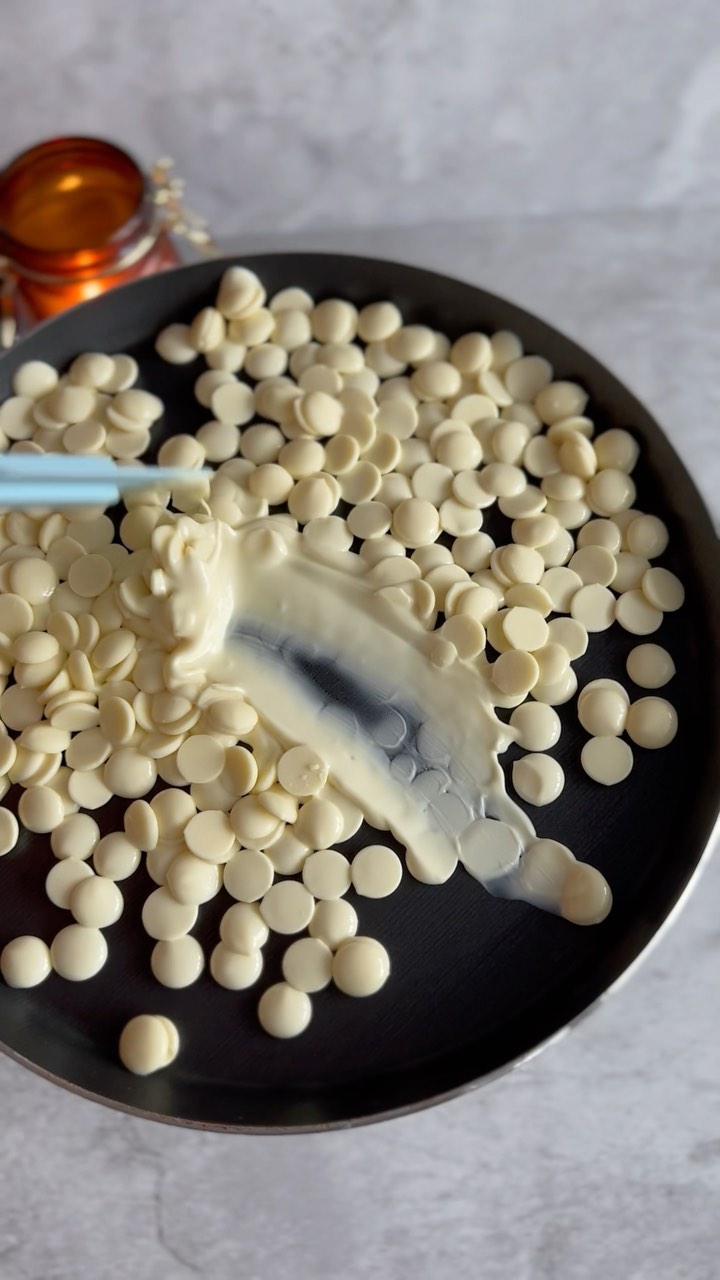
Begin by preheating your oven to *250°F (120°C)*. While the oven is heating, prepare a baking sheet by spreading the white chocolate evenly across it. This step ensures even heating during caramelization.
Step 2
Place the baking sheet in the preheated oven and allow the chocolate to bake for *10 minutes*. Then, remove it from the oven and stir thoroughly. This helps distribute the heat evenly across the chocolate.
Repeat this process five times, baking for 10 minutes each time and stirring each time you remove it. The entire process will take approximately *50 minutes*.
The chocolate will become caramelized after this process. You'll know it's ready when a wonderful aroma fills the kitchen!
Step 3
After removing it from the oven for the last time, let the chocolate cool down completely. Don't worry if you notice a white, crystal-like layer forming—that’s completely normal.
Once cooled, you can store the chocolate for up to a few weeks, or use it immediately to enhance various desserts.
Step 4
Ensure to use *high-quality white chocolate* with at least *34% cocoa butter* for the best results. Do not use store-bought chocolate bars as they typically do not work well for caramelization.
If using chocolate with less cocoa butter, add some cocoa butter to enhance the process and achieve a better finish.
Caramelized chocolate is a perfect addition to ganache, creams, and even ice cream.
Save some money by making this luscious treat at home instead of purchasing the ready-made version.
Servings
✨ Ready to jazz up your desserts? Here’s how you can serve your homemade caramelized chocolate:
Add some dazzle to your morning! ☕ Drizzle this delightful chocolate over your morning cappuccino for a sweet start to your day. Guaranteed to make you smile with every sip!
If you're hosting a fancy dinner party 🍽️, melt a bit of this chocolate and pour it over homemade ice cream for a dessert your guests won't stop talking about.
How about a romantic night in? ❤️ Try spreading a layer on freshly baked éclairs for an indulgent treat for two.
For a weekend family gathering 🎉, get everyone involved by serving it up as a fondue dip with fresh fruits and marshmallows. It's interactive fun that satisfies everyone's sweet tooth!
Equipment
Make sure your oven is reliable for maintaining a steady 120°C to ensure even caramelization.
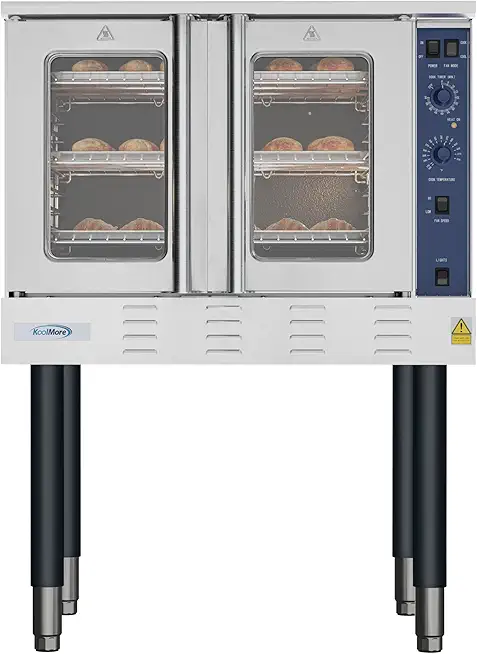 KoolMore 38 in. Full-Size Single Deck Commercial Natural Gas Convection Oven 54,000 BTU in Stainless-Steel (KM-CCO54-NG)
$3651.89
View details
Prime
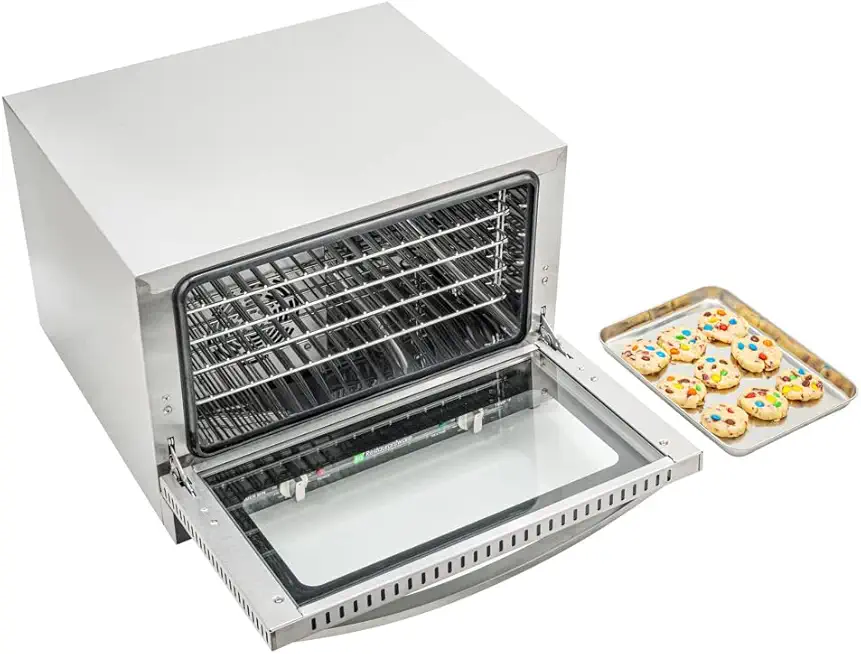 Restaurantware Hi Tek Half Size Convection Oven 1 Countertop Electric Oven - 1.5 Cu. Ft. 120V Stainless Steel Commercial Convection Oven 1600W 4 Racks Included
$1077.29
View details
Prime
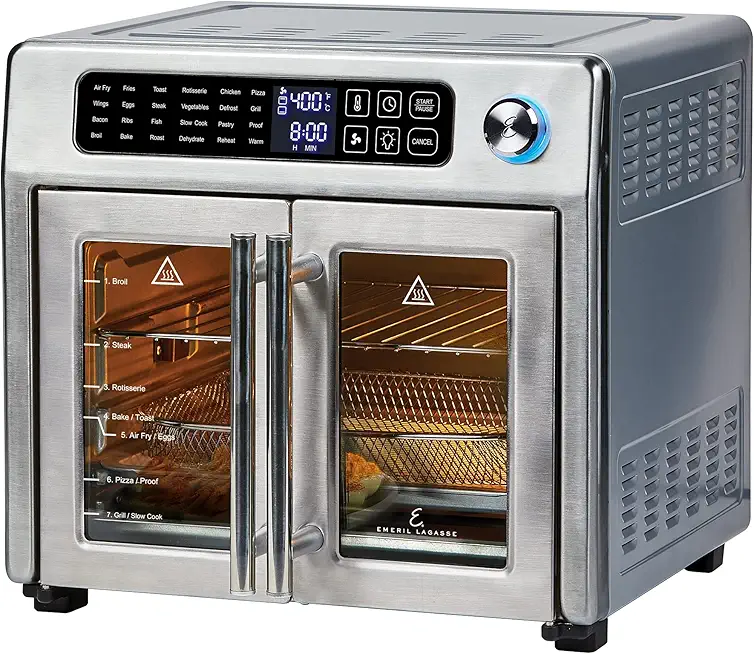 Emeril Lagasse 26 QT Extra Large Air Fryer, Convection Toaster Oven with French Doors, Stainless Steel
$189.99
View details
Use a non-stick or lined baking sheet to prevent any sticking during the process.
 Paterson Paper 16" x 24" Full Size Unbleached Chromium-Free Reusable Baking Parchment Paper Sheets Commercial Bun/Sheet Pan Liners - 1000/Case - 425F - Non-Stick/Grease-Resistant
$169.58
View details
Prime
best seller
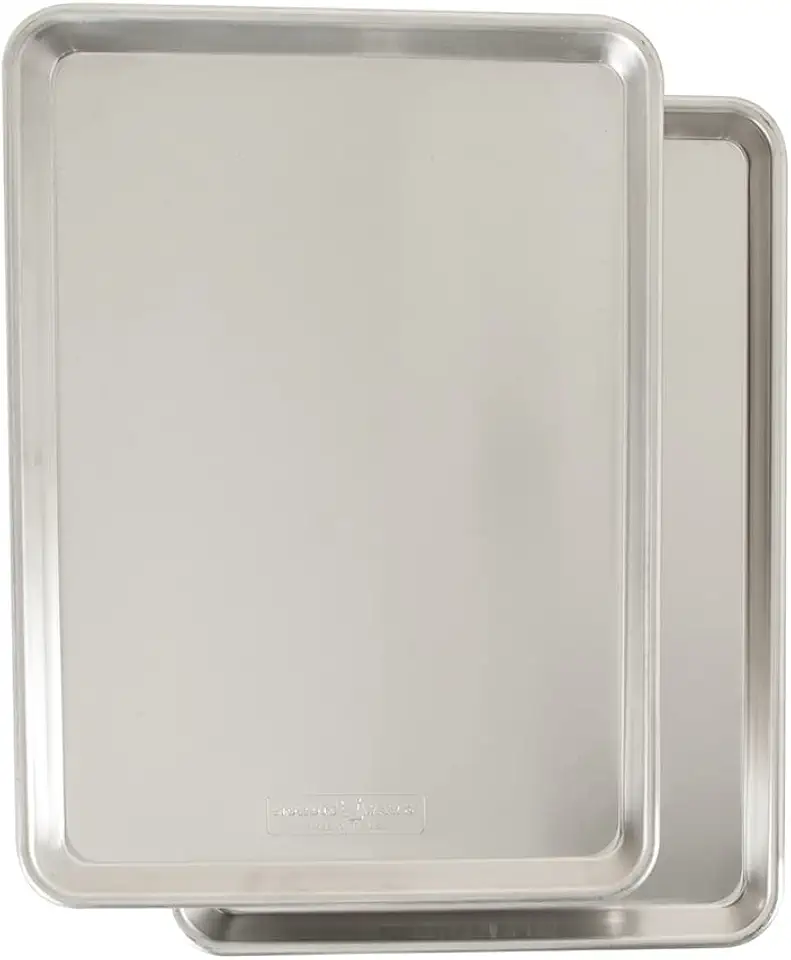 Nordic Ware Naturals Half Sheet, 2-Pack, Natural
$37.80
View details
Prime
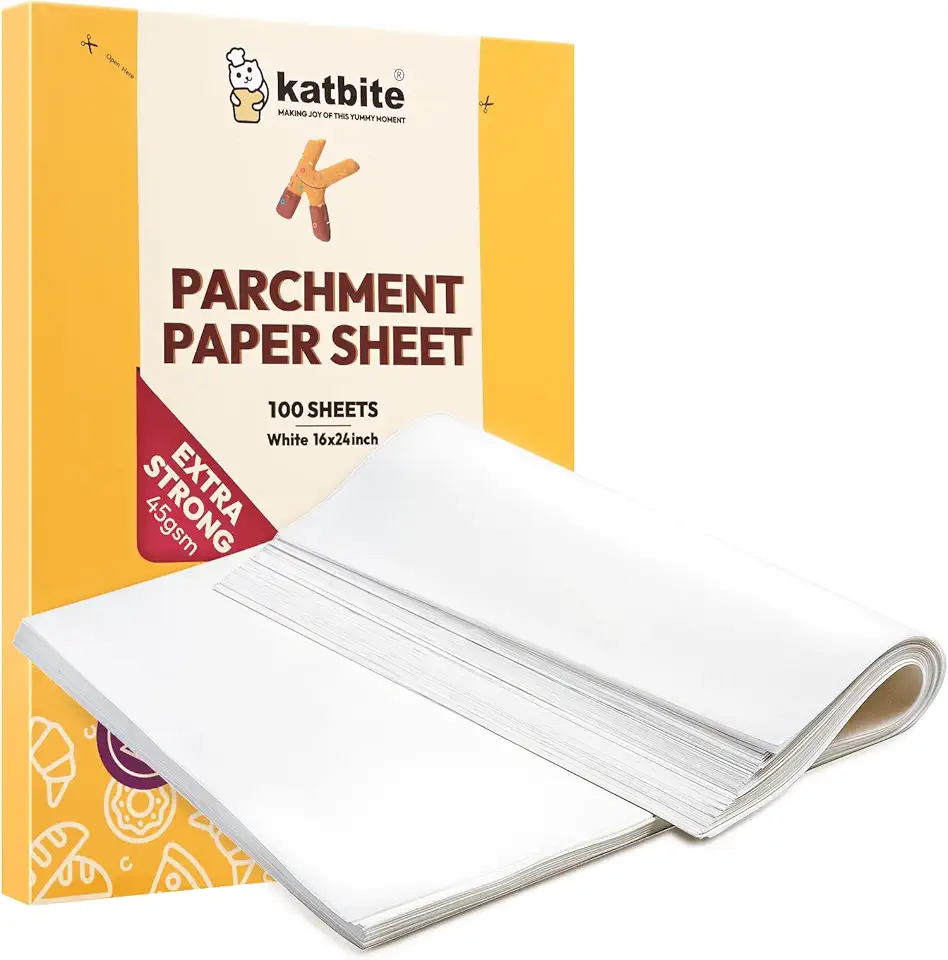 Katbite 16x24 inch Heavy Duty Parchment Paper Sheets, 100Pcs Precut Non-Stick Full Parchment Sheets for Baking, Cooking, Grilling, Frying and Steaming, Full Sheet Baking Pan Liners, Commercial Baking
$18.99
$25.99
View details
A good heat-resistant spatula will help you smoothly stir and spread the chocolate.
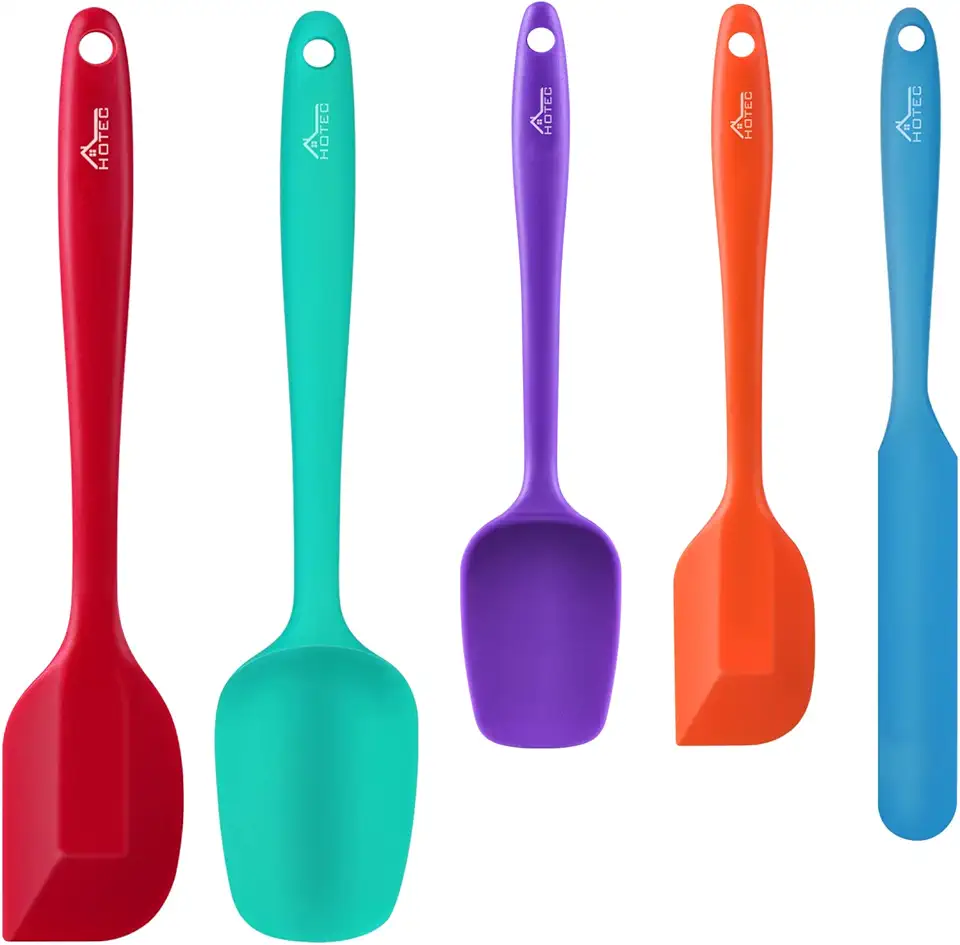 HOTEC Food Grade Silicone Rubber Spatula Set for Baking, Cooking, and Mixing High Heat Resistant Non Stick Dishwasher Safe BPA-Free Multicolor Set of 5
$9.59
$18.99
View details
Prime
 Wilton Icing Spatula - 13-Inch Angled Cake Spatula for Smoothing Frosting on Treats or Spreading Filling Between Cake Layers, Steel
$7.98
$8.75
View details
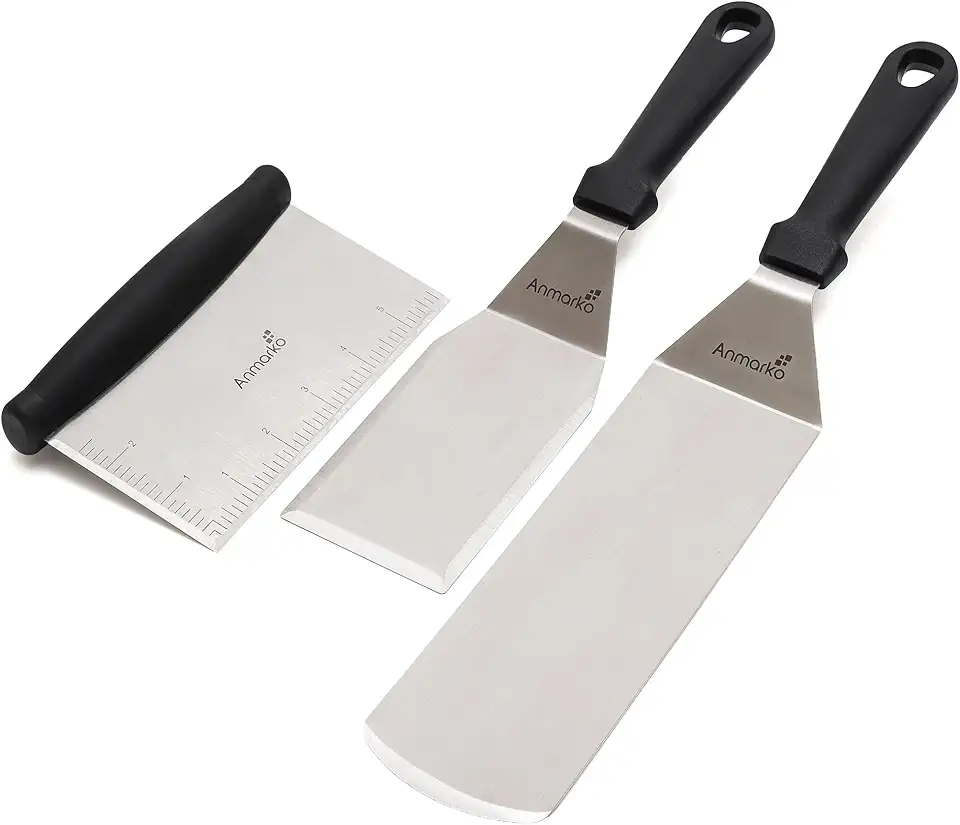 Metal Spatula Stainless Steel and Scraper - Professional Chef Griddle Spatulas Set of 3 - Heavy Duty Accessories Great for Cast Iron BBQ Flat Top Grill Skillet Pan - Commercial Grade
$19.99
$22.99
View details
Variations
Discover new ways to enjoy this treat with these variations:
🍃 Gluten-Free Version: Ensure your white chocolate is certified gluten-free and you're all set! Most quality white chocolates are naturally devoid of gluten, so just double-check the label.
🌿 Vegan Delight: Use plant-based white chocolate. Brands are increasingly offering vegan options that are just as delectable, ensuring no one misses out!
Faq
- Why is my caramelized chocolate grainy?
Graininess can occur if the chocolate isn't stirred enough. Make sure to stir thoroughly between each baking interval.
- Can I use any white chocolate?
No, it's best to use a high-quality chocolate like Cacao Barry Zéphyr with at least 34% cocoa butter to ensure proper caramelization.
- How can I prevent the chocolate from crystallizing?
Rapid cooling can cause crystallization. Allow the chocolate to cool gradually to prevent it from getting too grainy or developing a white film.
- What's the best way to store caramelized chocolate?
Keep it in an airtight container at room temperature, away from heat and direct sunlight, to maintain its texture.
- Can I add flavors during the caramelization?
Yes, try adding a pinch of sea salt or a drop of vanilla essence for an extra flavor boost after the final bake.
- What are some advanced uses for caramelized chocolate?
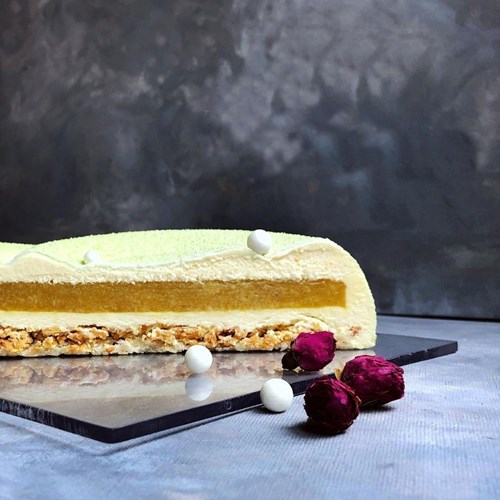
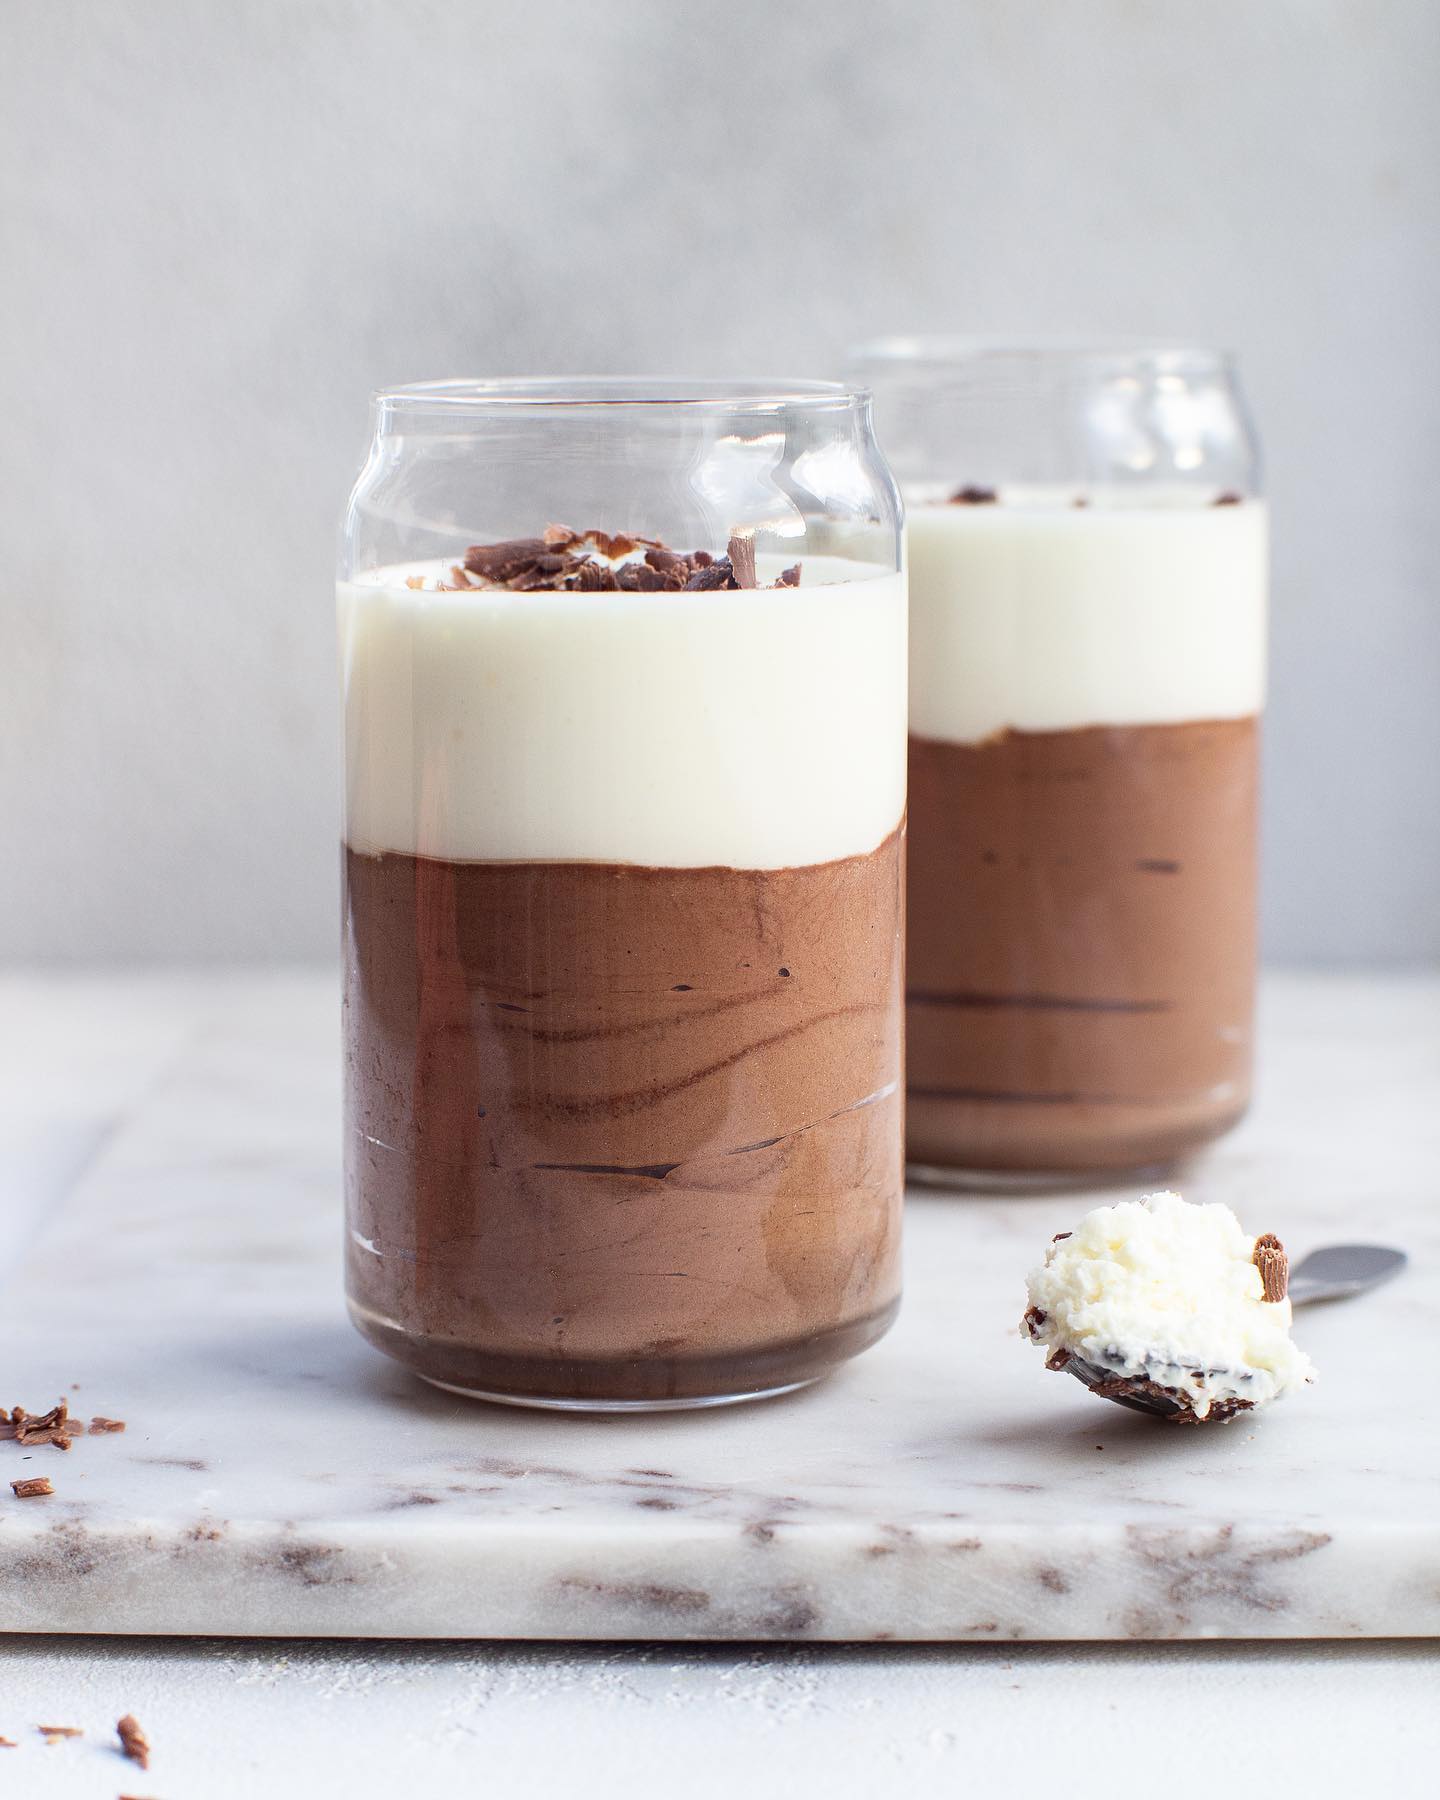
Incorporate it into mousse fillings or use it as a unique twist in your ganache for a layered cake.

