Ingredients
Ingredients for Dyeing Eggs
Instructions
Step 1
Start by placing the **eggs** in a medium-sized pot. Ensure they fit comfortably without being too crowded. This will help them cook evenly.
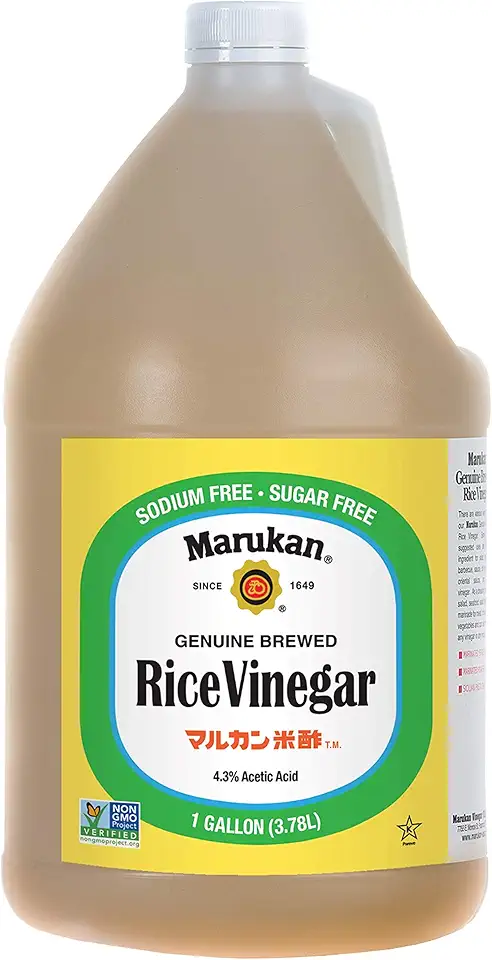
Next, add **4 tablespoons of hibiscus tea** and **1 tablespoon of vinegar** to the pot. The vinegar will help the dye adhere to the eggs.
Fill the pot with enough **water** to cover the eggs completely, about 4 cups or 1 liter. This ensures that the eggs are fully submerged for an even dyeing process.
Step 2
Bring the pot to a boil over medium heat. Once boiling, reduce the heat to low and let it simmer for **10 to 15 minutes**. This timeframe is crucial for the eggs to cook and absorb the color from the tea.
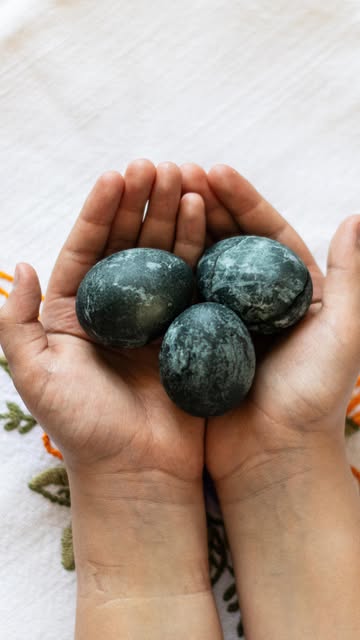
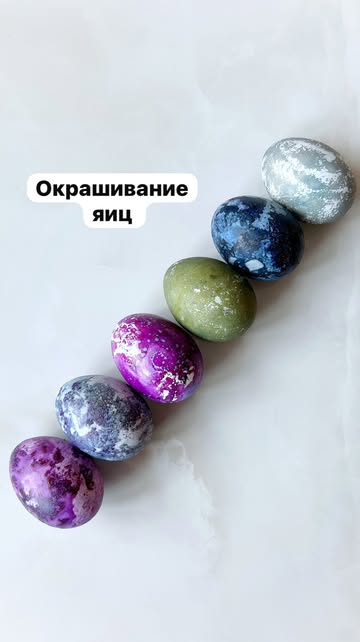
After the time is up, remove the pot from heat. **Let the eggs sit in the dye for 3 to 5 hours**. This allows the color to deepen and the unique patterns to form on the shells.
Step 3
Once the eggs have soaked for the desired time, carefully remove them from the pot. Rinse the eggs under cool water. This step is important because it removes excess dye and reveals the amazing designs that have formed.
Let the eggs cool completely before displaying or using them in your festive celebrations!
Servings
After your eggs are beautifully dyed, the fun doesn't stop! **Consider hosting a vibrant Easter egg hunt**, where the kids can show off their colorful creations. **Use them as part of your holiday centerpiece**, placing the eggs in a nest of fresh grass or flowers for a cheerful display. 🐣✨
Feeling adventurous? You can transform your dyed eggs into charming gifts! Wrap them with a lovely ribbon and gift tag, making each egg a personal touch in your holiday basket. **Remember, the beauty of these naturally dyed eggs lies in their unique patterns**, so no two eggs will ever be alike! 🎁🌼
Equipment
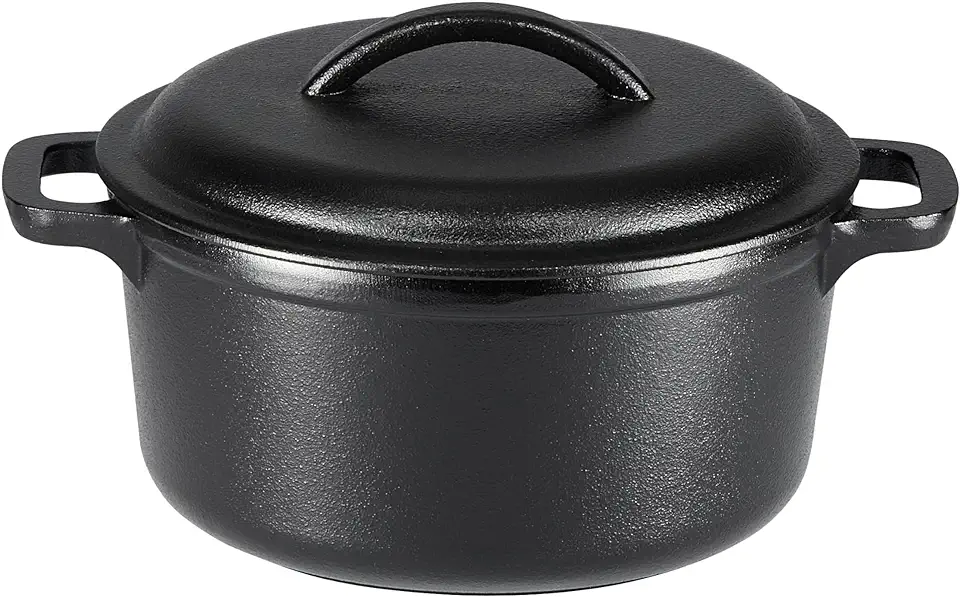
A good-sized pot is essential. Choose one that can hold the eggs comfortably without crowding them, ensuring even cooking.
This tool will help you safely remove the eggs from the pot without breaking them. Opt for one with a long handle for convenience.
 Zulay Kitchen Stainless Steel Slotted Serving Spoon - Large Frying Spoon Skimmer - Durable Utensil with Ergonomic, Easy to Use Handle - Easy to Clean, Perfect for at Home Cooks & Chefs - 14.5”
$12.99
$16.99
View details
Prime
 OXO Good Grips Stainless Steel Slotted Spoon
$13.01
View details
Prime
 Perforated Stainless Steel Spoon - Serving Slotted Spoons for Restaurant - Large Metal Commercial Tablespoon for Cooking (6)
$23.99
View details
A tablespoon is needed to measure out the vinegar accurately. Having one handy ensures you won’t overdo it!
Variations
Gluten-Free Variation: Not to worry! This recipe is naturally gluten-free, ensuring everyone can enjoy these festive eggs without concern. 🎉
Vegan Variation: While eggs are inherently not vegan, feel free to apply this technique to **vegan alternatives** or even hard-boiled virtuous veggies like potatoes or beets! They’ll make for an incredibly colorful and fun addition to your table. 🥔❤️
Faq
- What type of eggs are best for this recipe?
Any type of eggs will work, but white eggs tend to show the best results when dyed with natural colors like hibiscus tea.
- Do I have to use vinegar?
Using vinegar helps set the dye, but if you prefer not to use it, you can try without—just keep in mind that results may vary!
- Why do I need to soak the eggs for a few hours?
Soaking allows the dye to penetrate the eggshell, resulting in a deeper color and allowing the patterns to develop beautifully.
- Can I use other natural dyes?
Absolutely! You can experiment with other natural materials like turmeric for yellow or red cabbage for purple shades—get creative!
- How long do the dyed eggs last?
Dyed eggs can last in the refrigerator for a week, but be sure to monitor them for any signs of spoilage.
- Can I decorate the eggs further after dyeing?
Yes, you can use safe, non-toxic markers or stickers to add a personal touch after dyeing them!

