Ingredients

Cake layers

150 grams (5.3 ounces) cashew nuts
150 grams (5.3 ounces) hazelnut nuts
50 grams (1.8 ounces) sugar #1
45 grams (1.6 ounces) flour
200 grams (7 ounces) egg whites
185 grams (6.5 ounces) sugar #2
1 teaspoon vanilla extract

The cream

1 egg
200 grams (7 ounces) sugar
150 milliliters (5.1 fluid ounces) milk
200 grams (7 ounces) butter
1 teaspoon vanilla extract
1 tablespoon cognac
10 grams (0.35 ounces) cocoa powder

Instructions

Step 1

1. Prepare the nuts and sugar mixture: Dry the cashew and hazelnut nuts, then grind them into a coarse meal, but not into a flour-like consistency. Add the 50 grams (1.8 ounces) of sugar and the flour, and mix well.Drying the nuts enhances their flavor.

Step 2

2. Whip the egg whites: Whip the egg whites with a small pinch of salt and a dash of citric acid until they become foamy. Gradually add the 185 grams (6.5 ounces) of sugar in 5-6 passes, whipping for 30-40 seconds after each addition. Use fine crystalline sugar. Continue whipping until you achieve firm, stiff peaks.Ensure there is no fat or yolk in the egg whites, as it will prevent them from whipping properly.

Step 3

3. Combine the mixtures: Gently fold a third of the nut mixture into the meringue using a spatula. Then fold in the remaining nut mixture. Do not overmix to avoid deflating the meringue.Use a gentle folding technique to maintain the fluffy texture.

Step 4

4. Prepare the baking rings: Place two 24-cm (9.45-inch) baking rings on parchment paper on a baking sheet. Line the sides of the rings with parchment paper from the inside. Pour the batter evenly into the rings and flatten the top. Set aside 2-3 tablespoons of batter to use later for decoration.Lining the rings with parchment helps the cake release easily.

Step 5

5. Bake the cake layers: Bake the nut cake layers in a preheated oven at 302°F (150°C) for about 1.5-3 hours until they are firm and well dried. Keep in mind the inside will be slightly crumbly.Check for doneness by gently pressing the top; it should be firm and not sticky.

Step 6

6. Prepare the cream: In a saucepan, combine the egg, sugar, and milk. Stir continuously and heat the mixture to 180°F (82°C). Remove from heat, stir in the vanilla extract, and pass the mixture through a sieve into a wide bowl. Chill it for 10 minutes.Stirring constantly prevents the eggs from curdling.

Step 7

7. Whip the butter and combine: Whip the softened butter until it becomes fluffy. Gradually add the cooled custard base, whipping after each addition, to form a rich cream. Separate 5 tablespoons of the cream and mix with the cocoa powder and cognac. Save some of the white cream for decoration.Allow the custard base to cool adequately to avoid melting the butter.

Step 8

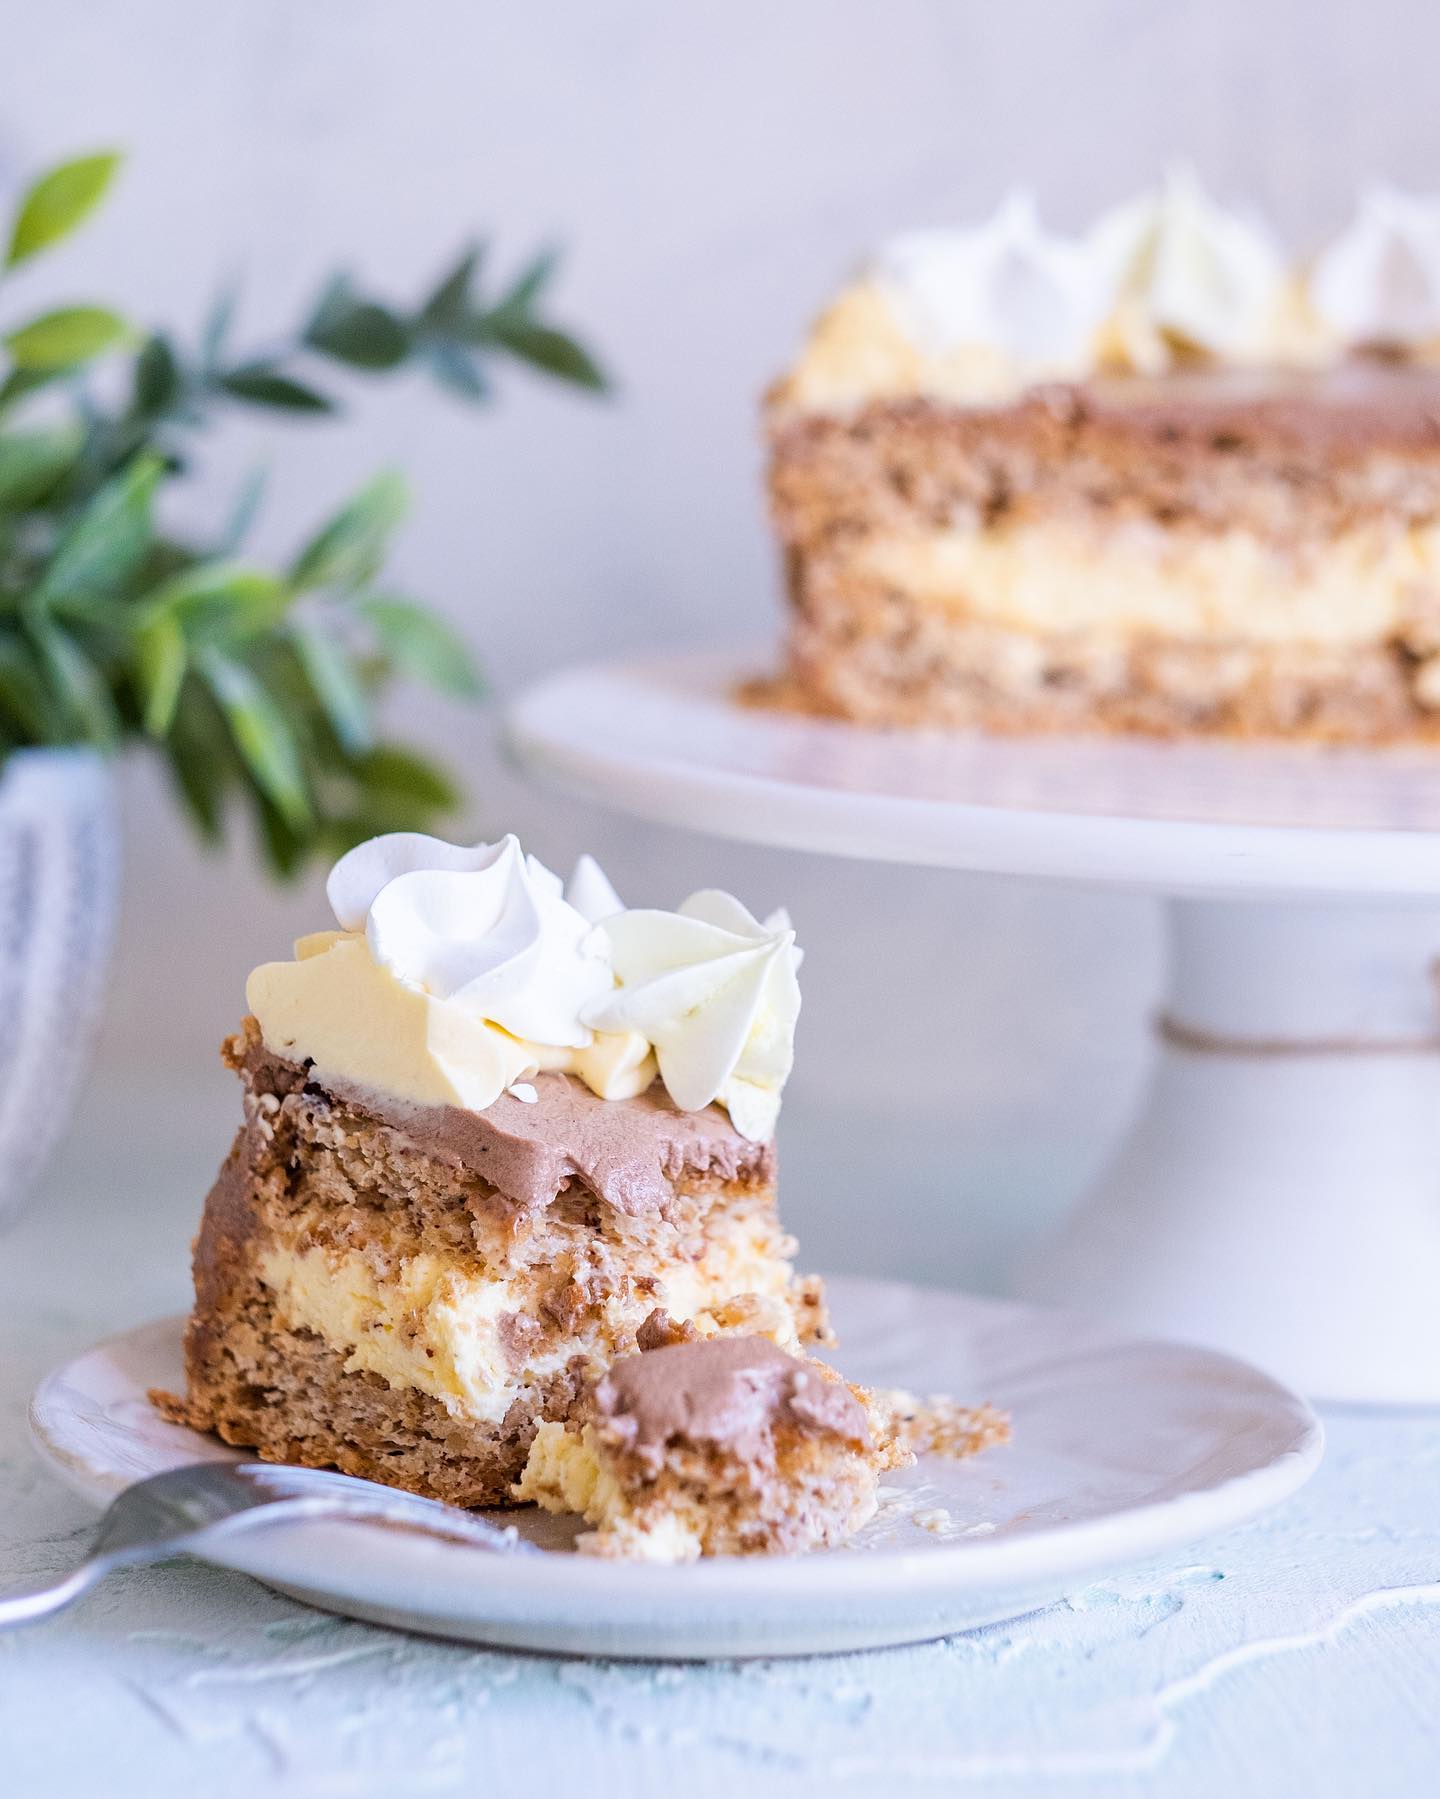
8. Assemble and decorate the cake: Place the first cake layer on a serving plate. Spread the white cream evenly over the layer and then cover with the second cake layer. Apply the chocolate cream on the top and sides. Coat the sides with nut crumbs and decorate the top with the remaining white cream.Chill the cake to help it set and enhance flavors.

Step 9

9. Refrigerate and serve: Refrigerate the cake for at least 2 hours. Before serving, remove it from the fridge 20 minutes in advance to allow it to come to room temperature.Serving at room temperature improves the texture and taste.

Servings

🏆 Ultimate Dessert Centerpiece: 🏆 For your next big celebration, place this gorgeous nut pastry in the center of your dessert table. Watch as eyes light up with delight and the compliments roll in.

✨ Afternoon Delight: ✨ Pair a slice with a nice cup of tea or coffee for a luxurious afternoon treat. The combination of nuts and creamy filling is soothing yet invigorating.

🥂 Perfect Party Pairing: 🥂 Hosting a dinner party? Serve this pastry with a glass of sparkling wine or a rich port. The drink will highlight the complex flavors of the pastry.

💡 Creative Plating: 💡 Place a slice on a plate drizzled with extra chocolate sauce, sprinkle with toasted nuts, and add a couple of fresh berries on the side. Your guests will love the added touch!

Equipment

Baking Sheet

A sturdy baking sheet ensures even heat distribution. Make sure yours isn’t warped for the best results.

Parchment Paper

Parchment paper prevents sticking and makes clean-up a breeze. Cut it to line your baking sheet and rings.

24cm Cake Rings

These rings help achieve uniform, round cake layers. If you don't have cake rings, you can improvise with a DIY parchment paper ring.

Electric Mixer

An electric mixer is essential for whipping those egg whites to perfection. A stand mixer can make the job even easier.

Variations

🌾 Gluten-Free Twist: 🌾 Replace the flour with a gluten-free flour blend. Almond flour works great too, adding an extra nutty flavor that pairs beautifully with the cashews and hazelnuts.

🍃 Vegan Delight: 🍃 Substitute the egg whites with aquafaba (liquid from a can of chickpeas), and use plant-based butter and milk in the cream. For the egg in the cream recipe, opt for a vegan egg substitute like flaxseed meal mixed with water.

Faq

  • How do I know if the meringue is whipped enough?

    You'll know the meringue is ready when it forms stiff peaks that hold their shape. If you pull the whisk out, the peaks should stand straight up without drooping.

  • Can I use any kind of nuts for this recipe?

    While cashews and hazelnuts are recommended, you can experiment with other nuts like almonds or walnuts for a different flavor profile.

  • My cake layers turned out too soft, what went wrong?

    It’s likely that the cake layers weren’t baked long enough. They need to be well dried in the oven to become firm and slightly crumbly inside.

  • Can I make the cream ahead of time?

    Yes, you can make the cream a day in advance. Just store it in the refrigerator and whip it again briefly before using to restore its fluffy texture.

  • How do I get smooth sides on my cake?

    Using a cake scraper can help you get smooth sides. After applying the cream, run the scraper around the sides of the cake while holding it at a 90-degree angle.

  • Is it okay to refrigerate the cake overnight?

    Yes, refrigerating the cake overnight helps the flavors to meld together, and it’s actually recommended for the best taste!

Nutrition facts

Kiev nut cake
Recipe Yield:12 servings
Calories:Per Serving (approx.)
Calories (Min - Max):450 - 500
Total Fat:30g
Saturated Fat:12g
Protein:7g
Total Carbohydrate:40g
Total Sugars:35g