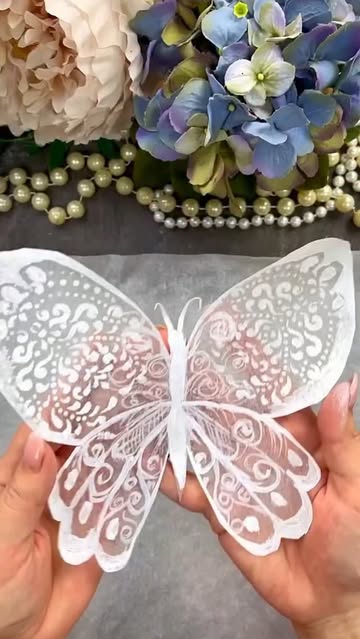
Ingredients
Wafer Paper Preparation
Stamens Assembly
Instructions
Step 1
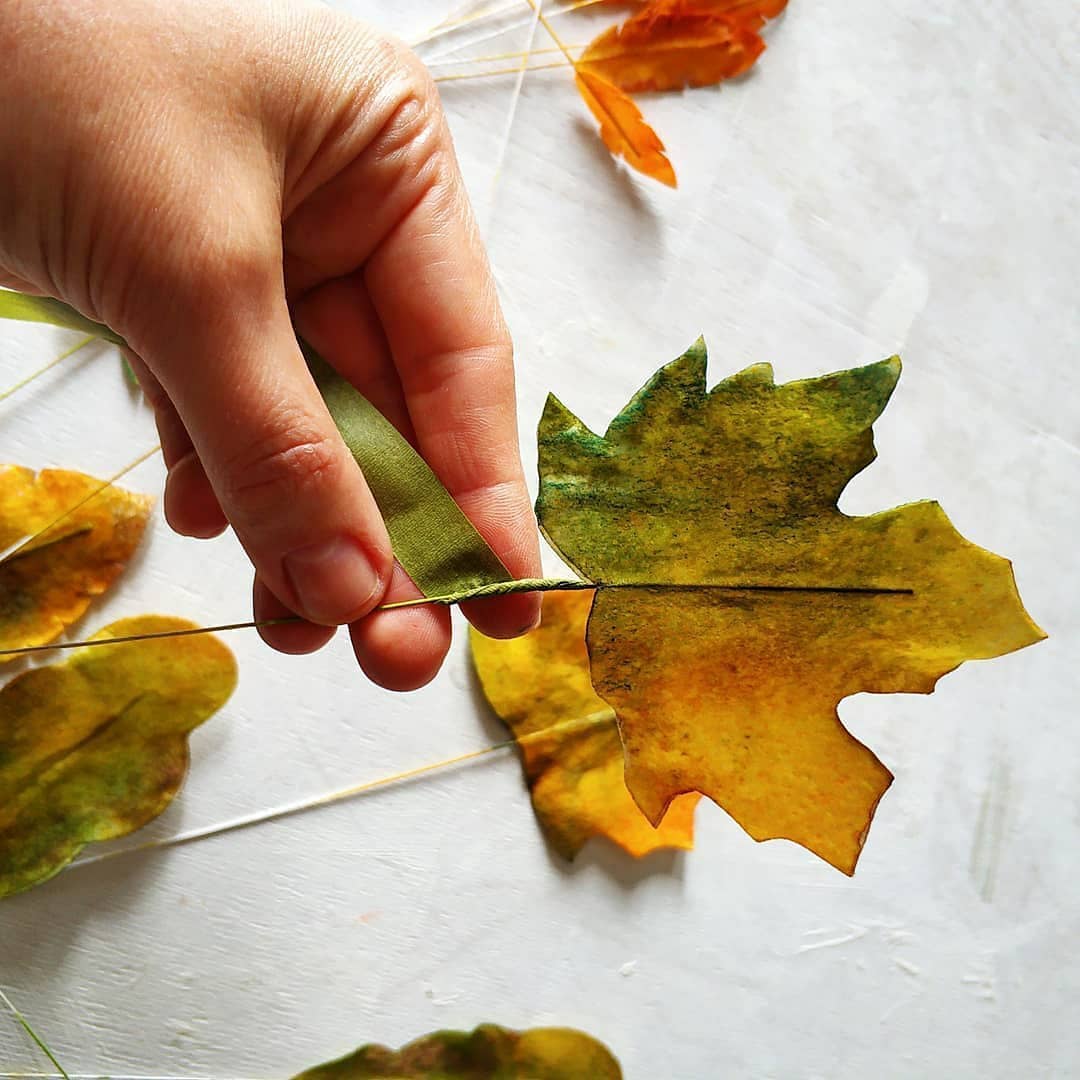
Begin by coloring your wafer paper using your preferred technique. Make sure to pick the colors that suit your creative vision.
Once colored, proceed to cut square pieces measuring 2 cm x 2 cm (or customize the size according to your design).
Gather 4 to 6 squares and create a beautiful ruffled edge by folding them carefully.
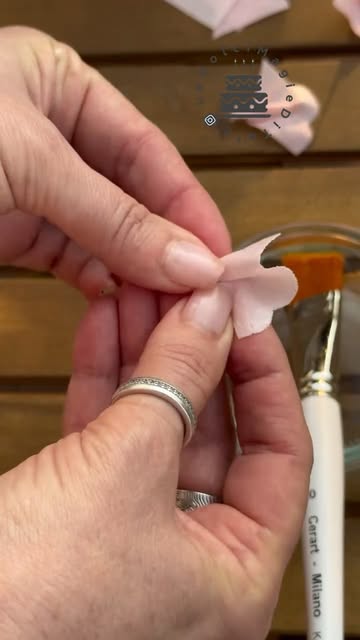
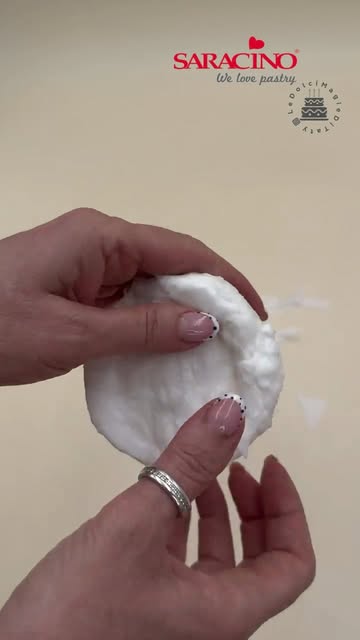
Next, dampen one corner of the squares with *very little water* — just a touch to avoid melting the wafer paper.
Then, fold the dampened corner into a fan shape, which will add dimension to your flower petals.
Allow the shaped pieces to dry before further detailing.
Step 2
Once your petals are dry, you can add a hint of darker tones to give them depth and a more lifelike appearance.
This step is critical as it enhances the beauty of each petal, making your flowers truly stand out.
Step 3
For the flower’s stamens, cut a strip of paper measuring 5 cm x 2 cm. This will form the base of your stamen.
Next, fringe the top edge of this strip to create texture.
Moisten the bottom part gently with water, then roll it tightly to form a stamen shape.
Finally, dip the tips of the rolled stamen in dark brown color to mimic the natural shading found in flower stamens.
Step 4
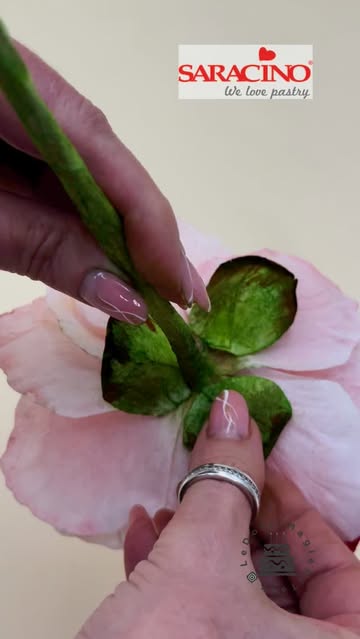
Now it’s time to bring your petals and stamens together. Take each petal and lightly dampen the bottom with water.
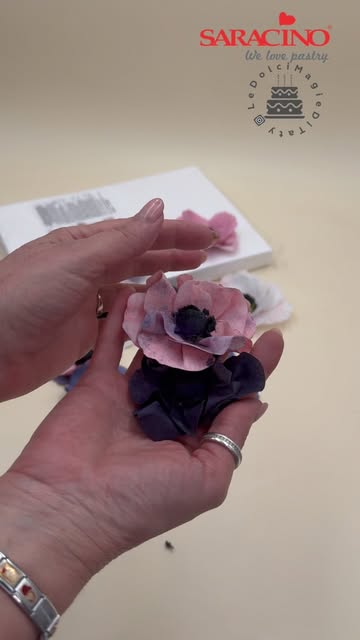
Carefully adhere the petals around the stamen in a circular pattern, ensuring they are well positioned for balance.
Press them firmly but gently to secure the shape of your lovely wafer paper flowers. Step back and admire your beautiful creation!
Servings
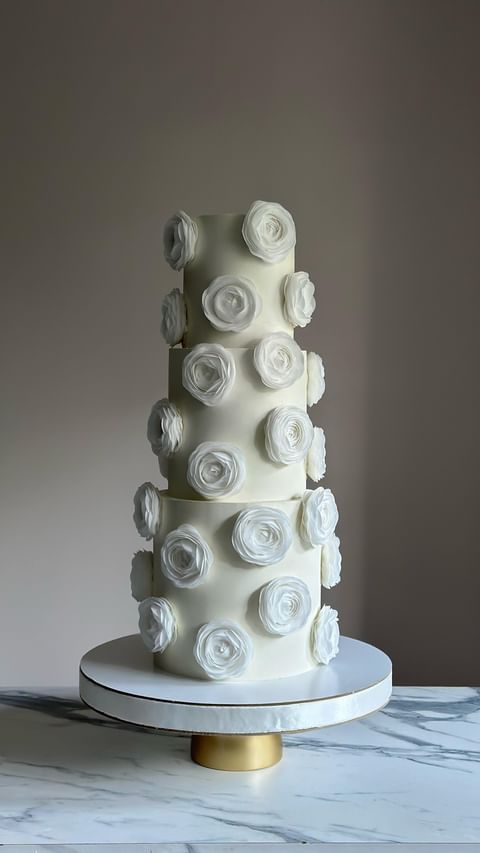
These flowers are not just for sweet dishes, but they can also enhance the look of savory dishes or platters. 🌼 Consider adorning a cheese board or even a fresh fruit centerpiece! **The vibrant colors and delicate details will surely leave your guests in awe**.
**Personal touches** can be added by using themed colors or altering the shapes according to the season. 🎨 For instance, pastel colors for springtime events or deep shades for autumn festivities will create an inviting atmosphere.
Equipment
This is your primary material. Choose colors that complement your theme, as you will be coloring and shaping them!
A good, sharp pair of scissors is essential for cutting the paper into the desired shapes and sizes.
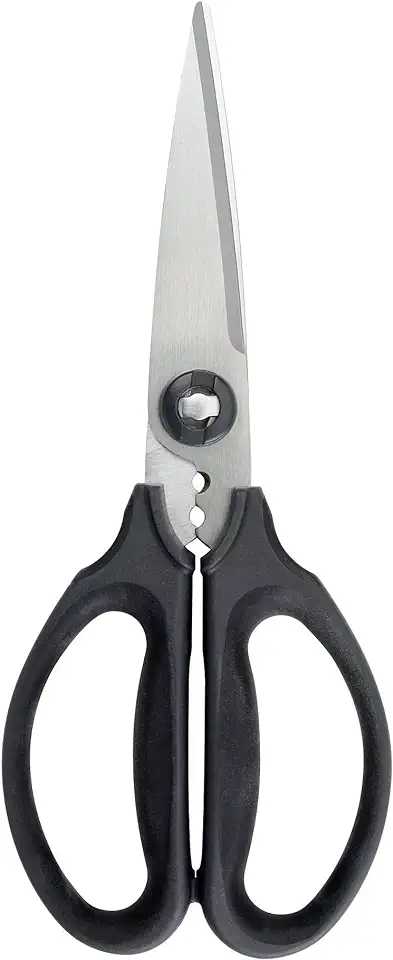 OXO Good Grips Multi-Purpose Kitchen and Herbs Scissors
$18.70
$19.95
View details
Prime
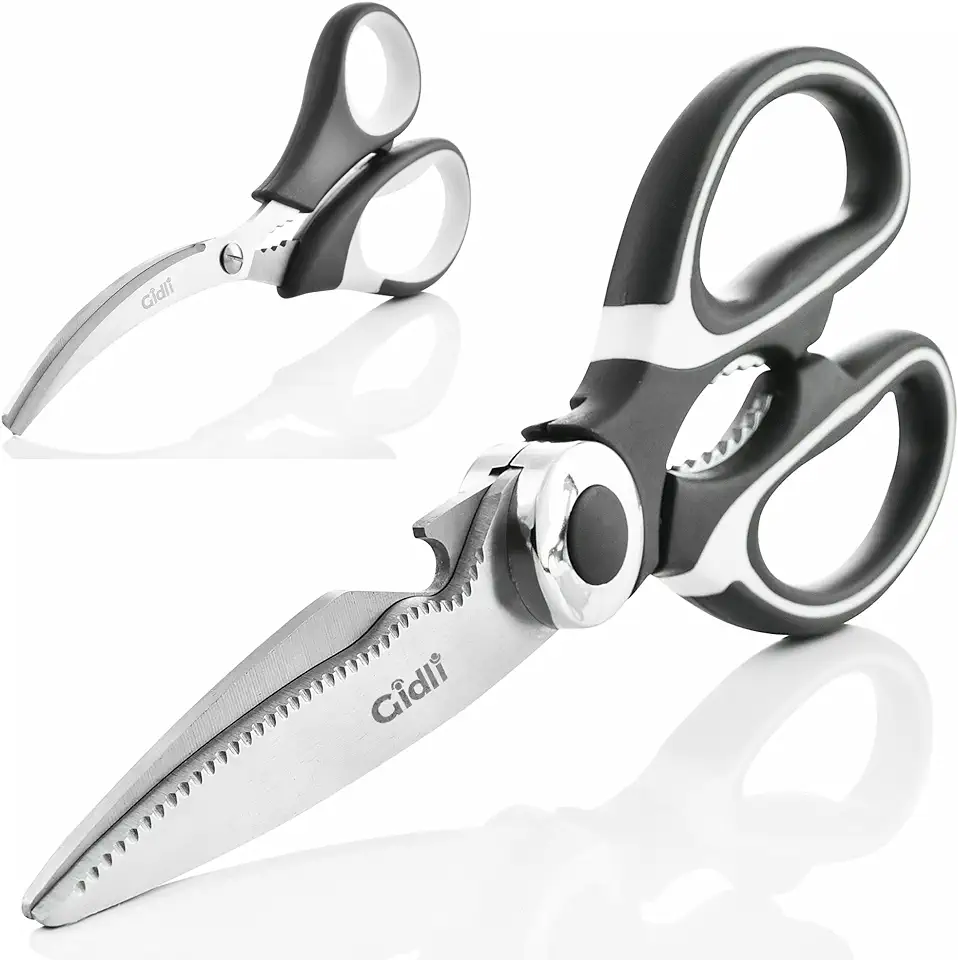 Kitchen Shears by Gidli - Lifetime Replacement Warranty- Includes Seafood Scissors As a Bonus - Heavy Duty Utility Stainless Steel All Purpose Ultra Sharp Scissors for Food
$19.95
$23.95
View details
Prime
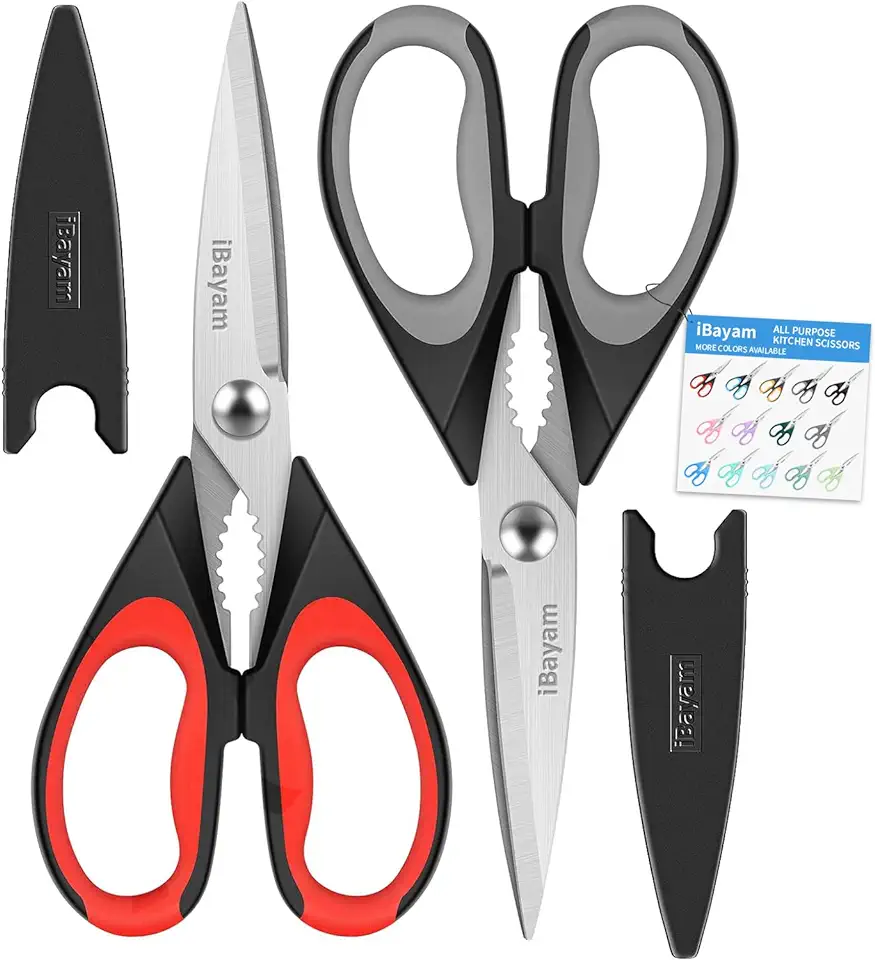 iBayam Kitchen Scissors All Purpose Heavy Duty Meat Poultry Shears, Dishwasher Safe Food Cooking Scissors Stainless Steel Utility Scissors, 2-Pack (Black Red, Black Gray)
$9.99
View details
Use a fine brush to carefully color the petals. Make sure to dampen it slightly when working with darker tones.
Keep a small container of water handy to dampen the edges of your flowers. Remember, a little goes a long way!
A non-toxic glue or edible adhesive works best for assembling your flowers. Keep it within reach!
Variations
Faq
- What type of paper should I use?
Use wafer paper specifically designed for crafting, as it's thin enough to manipulate easily and can hold its shape after moisture is added.
- Is there a special way to store my completed wafer paper flowers?
Store your flowers in a dry place away from direct sunlight to prevent them from wilting or discoloring.
- How can I make the petals look more realistic?
Experiment with shading using different tones to create depth, and try crinkling the paper slightly for added texture!
- Can I use edible colorings on the wafer paper?
Yes! Just ensure that you are using colorings that are safe for consumption and paint them gently to avoid soaking.
- What are some advanced techniques for intricate designs?
Consider layering multiple petals or using different cutting techniques to create unique flower shapes.
- Can these flowers withstand humidity?
Wafer paper is somewhat sensitive to moisture, so avoid using them in highly humid conditions or keep them in a controlled environment.

