Ingredients
Chocolate Sponge Biscuit
Mousse
Instructions
Step 1
Step 2
Step 3
Step 4
Step 5
Step 6
Step 7
Step 8
Step 9
Step 10
Step 11
Step 12
Step 13
Step 14
Step 15
Step 16
Step 17
Step 18
Step 19
Step 20
Step 21
Step 22
Step 23
Step 24
Step 25
Step 26
Step 27
Step 28
Step 29
Step 30
Step 31
Servings
Serving Suggestions and Ideas:
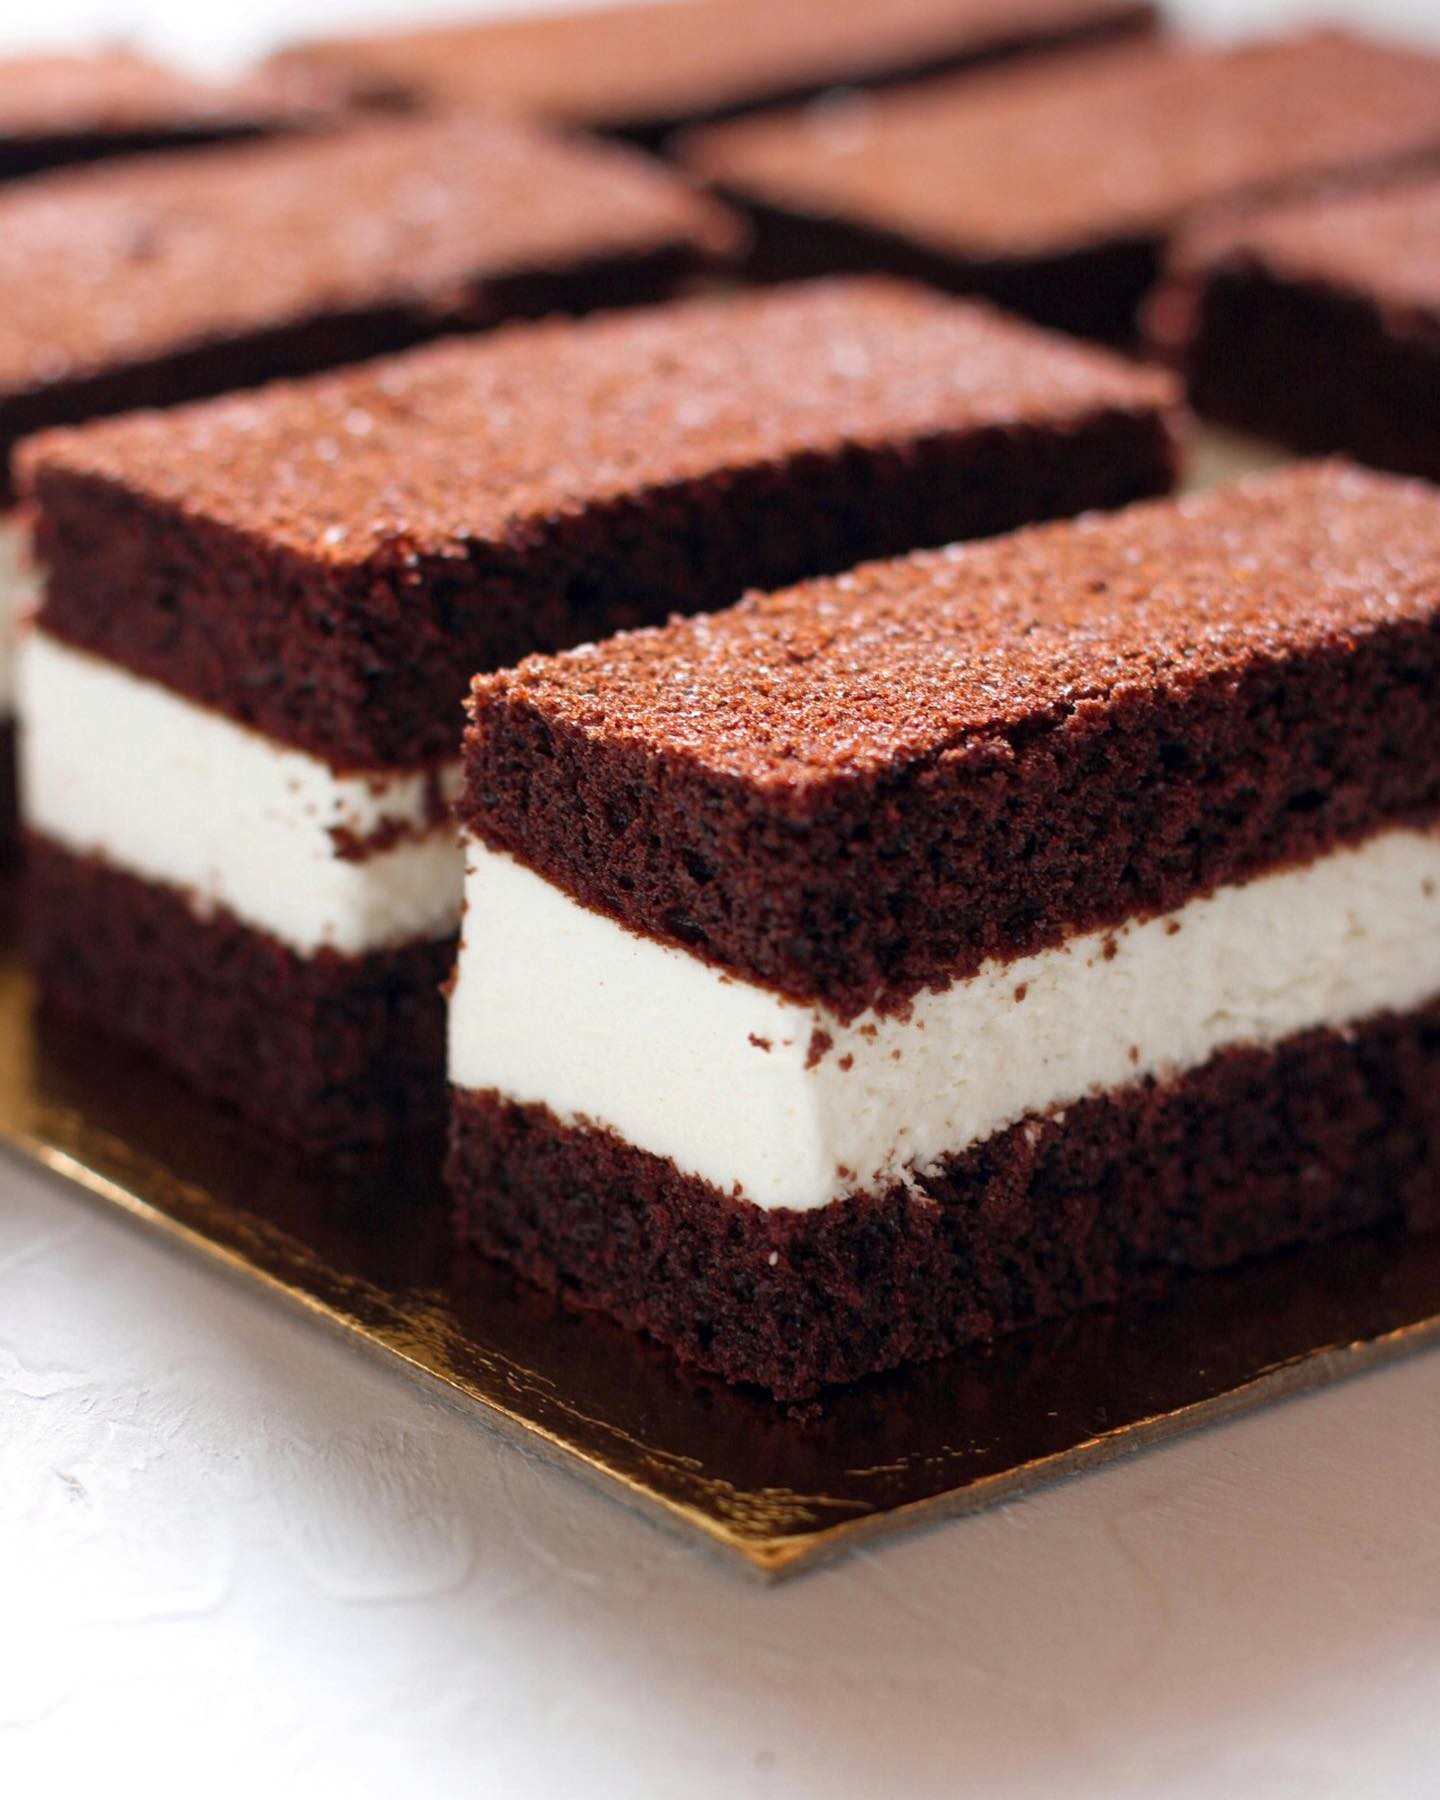
📅 Perfect for special occasions - Cut your chocolate mousse pastry into neat, elegant squares and serve it on a decorated platter for birthdays, anniversaries, or any celebration. Your guests will be thrilled with both the presentation and the taste.
🍓 Garnish with fruits - Add a burst of color and flavor by topping each piece with fresh berries like strawberries, raspberries, or blueberries. The tartness of the berries beautifully complements the sweetness of the mousse.
🍨 With a side of ice cream - Elevate your dessert game by serving your mousse pastries with a scoop of vanilla or chocolate ice cream. The cold creaminess of the ice cream pairs perfectly with the fluffy mousse and rich sponge.
☕ Coffee time - This pastry makes for a luxurious afternoon treat, especially when enjoyed with a hot cup of coffee or espresso. The deep flavors of the chocolate and coffee are a match made in heaven.
Equipment
Ensure you have a baking frame of the correct size to shape your cake perfectly. You can find adjustable frames that allow for more flexible use in future recipes.
You'll need several mixing bowls for the different components of the recipe. Opt for stainless steel or glass bowls for durability and easy cleanup.
An electric mixer will save your arms from fatigue when whipping the eggs and cream. A handheld mixer works fine but a stand mixer is even better.
Line your baking sheet with parchment paper to prevent the sponge from sticking and to ensure even baking.
Wrap the biscuits in cling film for refrigeration, which helps retain moisture and prevents drying out.
Variations
Gluten-Free and Vegan Variations:
🌱 Gluten-Free Version - Substitute the regular flour with gluten-free all-purpose flour and ensure all other ingredients, like the baking powder and cornstarch, are certified gluten-free. Your sponge will be just as soft and delightful!
🌱 Vegan Version - For a vegan mousse pastry, use flax eggs (1 tablespoon ground flaxseed + 3 tablespoons water per egg) instead of regular eggs, and replace buttermilk with a plant-based milk mixed with a little vinegar. Swap the condensed milk with coconut condensed milk and use agar-agar instead of gelatin for the mousse.
Faq
- Q: How do I prevent my cake from sticking to the parchment paper?
A: Ensure you line the tray with good quality parchment paper, and spray a light coating of non-stick spray on the paper before pouring the batter.
- Q: Why did my mousse not set properly?
A: Make sure your gelatin is fully dissolved before adding it to the cream mixture, and allow enough time for the mousse to set in the freezer.
- Q: Can I make the sponge cake in advance?
A: Yes, you can bake the sponge cake a day ahead and store it in the refrigerator wrapped in cling film to maintain its freshness.
- Q: What can I use if I don't have a baking frame?
A: You can use a cake ring or an adjustable baking tray instead. Ensure it can fit the dimensions stated in the recipe for accurate results.
- Q: How can I achieve a smooth mousse texture?
A: Make sure to whip the cream to stiff peaks and gently fold in the rest of the ingredients to maintain the mousse’s airy texture.
- Q: Can I add flavors to my chocolate sponge or mousse?
A: Absolutely! Feel free to add a few drops of almond or orange extract to your batter or mousse for a unique twist on the classic recipe.
