Ingredients
Mint Layer
Creamy Raspberry Layer
Berry & Nectarine Layer
Mint Paste
Instructions
Step 1
Follow the package instructions to properly prepare the gelatin. This ensures that it fully dissolves and sets correctly.
Step 2
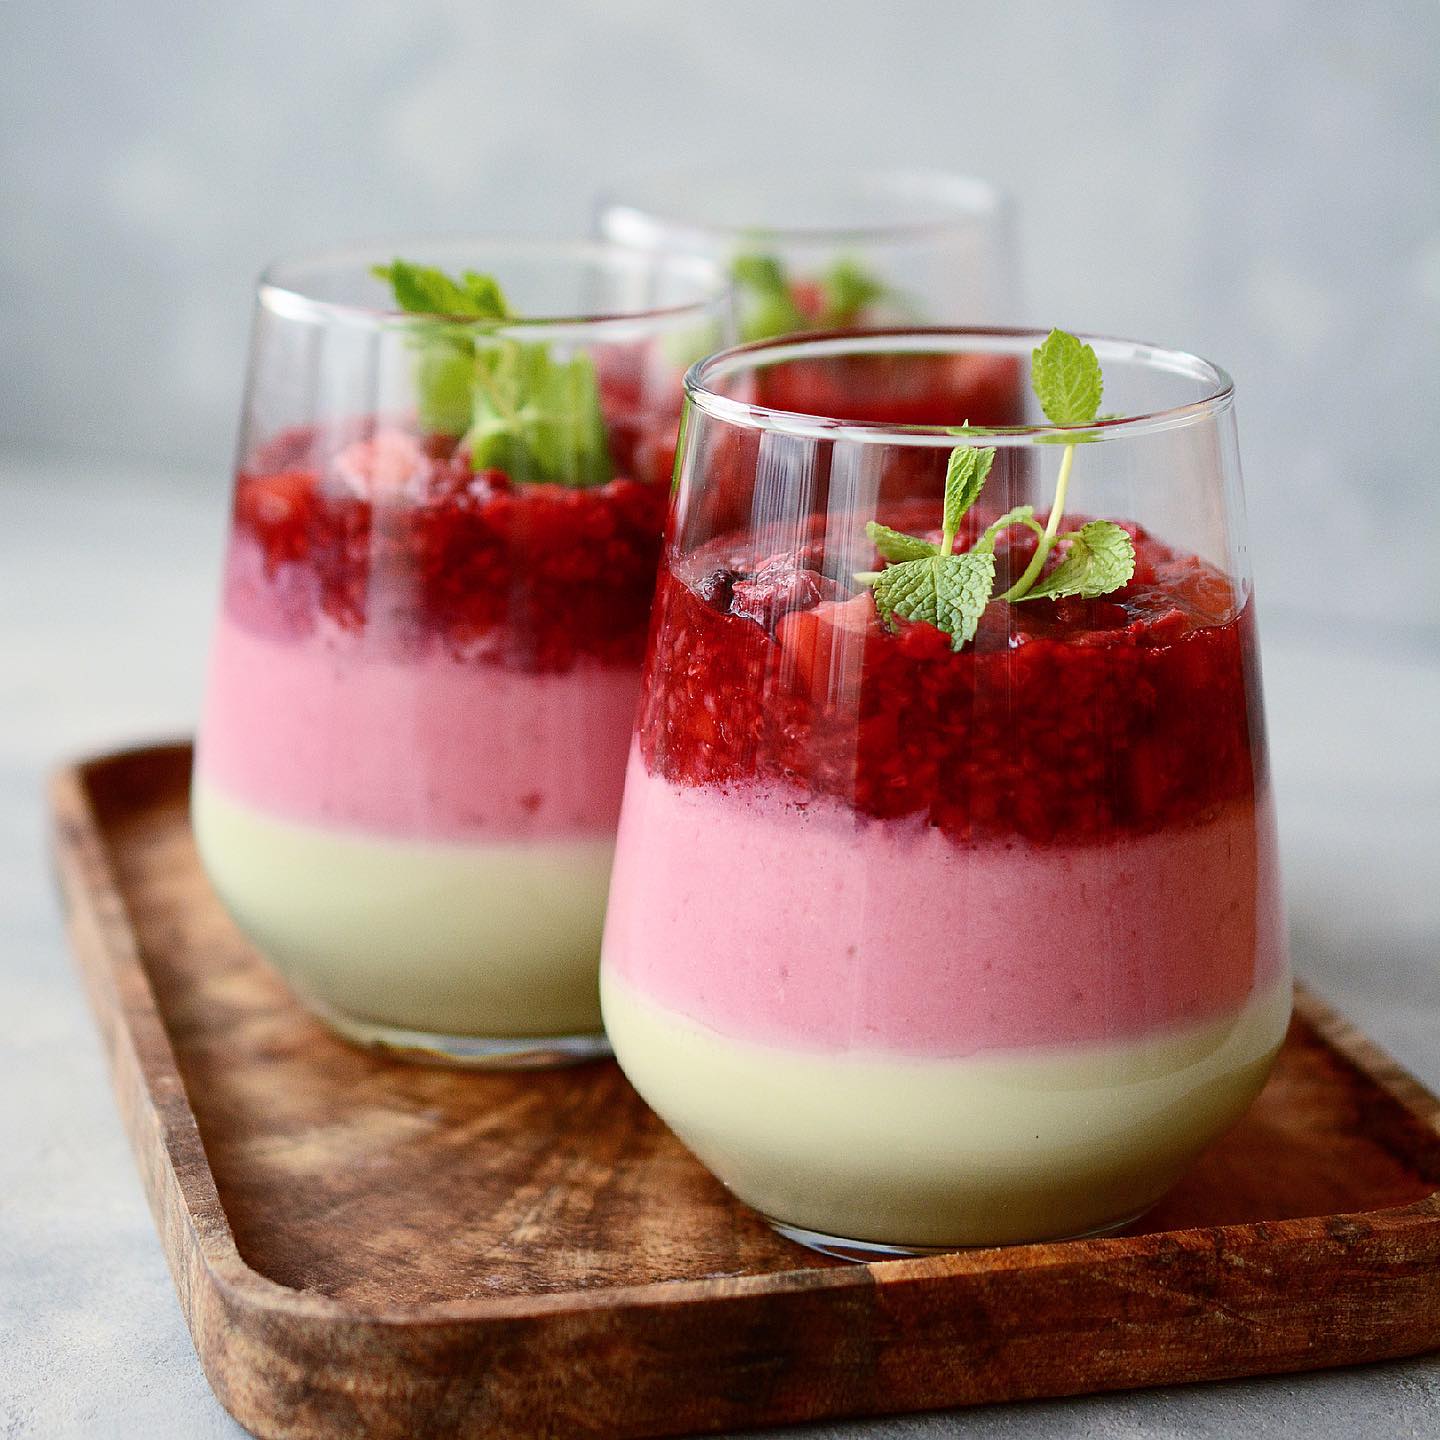
Combine the whipping cream, milk, mint paste, sugar, and vanilla in a saucepan and bring it to a boil. Stir using a blender until smooth, then strain onto the prepared gelatin. Pour 145 grams of the mixture into each of three molds.
Place in the freezer for an hour to set properly.
Step 3
Follow the same gelatin preparation step for this layer as you did in Step 1.
Step 4
Combine the whipping cream, raspberries, and sugar in a saucepan and bring to a boil. Stir with a blender until smooth, then strain onto the prepared gelatin. Pour 130 grams of the mixture over the hardened mint layer. Ensure the mixture is at room temperature before pouring.
Place in the freezer for 35-40 minutes to set properly.
Step 5
Combine all the ingredients (raspberries, nectarine, pectin NH, and sugar) in a saucepan and bring to a boil. Continue boiling for a few additional minutes. Cool slightly, then pour 120 grams of the mixture into each glass. Allow it to set for about half an hour.
This layer will harden as it cools, so ensure it’s left undisturbed.
Step 6
Mash the sugar, mint leaves, and glucose syrup in a blender until smooth.
Store the paste in the freezer to maintain its freshness.
Servings
Equipment
A good quality saucepan ensures even heating, which is crucial for creating smooth layers. Opt for stainless steel for the best results.
A high-speed blender helps to create ultra-smooth pastes and blends, perfect for achieving that professional touch.
Use a fine mesh strainer to catch any lumps or seeds, ensuring each layer is perfectly smooth.
Silicone molds are excellent for easy removal, but any mold should work as long as it holds the shape well.
Variations
Faq
- Q: My layers aren't setting properly; what am I doing wrong?
A: Ensure you're allowing each layer ample time to set in the freezer—rushing this step can result in a messy dessert. Also, check that your gelatin is fully dissolved and properly activated.
- Q: Can I use frozen raspberries instead of fresh?
A: Absolutely! Just make sure to thaw and drain them well before use to avoid excess moisture in the mixture.
- Q: How long does this dessert keep in the fridge?
A: This layered pastry will stay fresh for up to 3 days when properly stored in an airtight container in the refrigerator.
- Q: Can I prepare this dessert in advance?
A: Yes, you can make this recipe a day ahead. Just make sure to store it in the fridge and add any garnishes right before serving.
- Q: How can I get creative with this recipe?
A: Feel free to experiment with different fruits for the layers! Mango, strawberry, or even a tropical blend could bring an exciting twist to the original recipe.
- Q: My layers are separating when I cut the pastry. What can I do?
A: Make sure each layer is fully set before adding the next. Using a sharp knife soaked in hot water can help you achieve cleaner cuts without layer separation.

