Ingredients
Crust
Filling
Cherry Topping
Instructions
Step 1
In a mixing bowl, crush 280 grams of digestive biscuits into fine crumbs. You can use a food processor for this step, as it makes the task easier. Next, melt 130 grams of unsalted butter in a microwave or on the stove.
Combine the melted butter with the biscuit crumbs and mix until fully incorporated. The texture should be similar to wet sand. Grease your cheesecake mold with a little butter, then firmly press the biscuit mixture into the bottom to create a solid crust. Place this crust in the refrigerator while you prepare the filling.
Step 2
In a large mixing bowl, combine 350 grams of cream cheese, 300 grams of sweetened condensed milk, and the juice of 1 lemon. Using an electric mixer, beat the mixture on medium speed until it becomes smooth and creamy. It should take about 2-3 minutes for the mixture to reach the right consistency.
Once ready, pour the filling over the chilled crust in the mold. Use a spatula to spread it evenly. Place the cheesecake back in the refrigerator for at least 2 hours to set properly.
Step 3
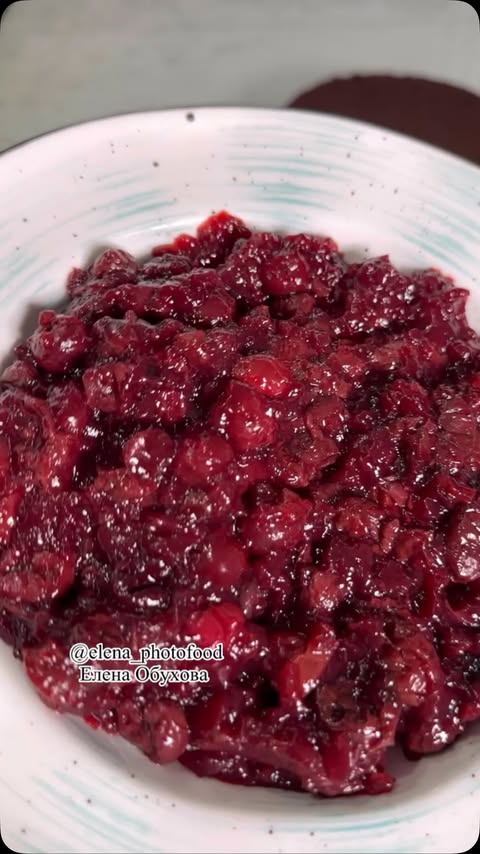
While the cheesecake sets, prepare the cherry topping. In a saucepan, combine 300 grams of frozen cherries, 2 tablespoons of sugar, and 1 tablespoon of cornstarch.
Heat the mixture over medium heat, stirring continuously until it comes to a boil and thickens. This should take about 5-7 minutes. Once thickened, remove from heat and let cool slightly.
Step 4
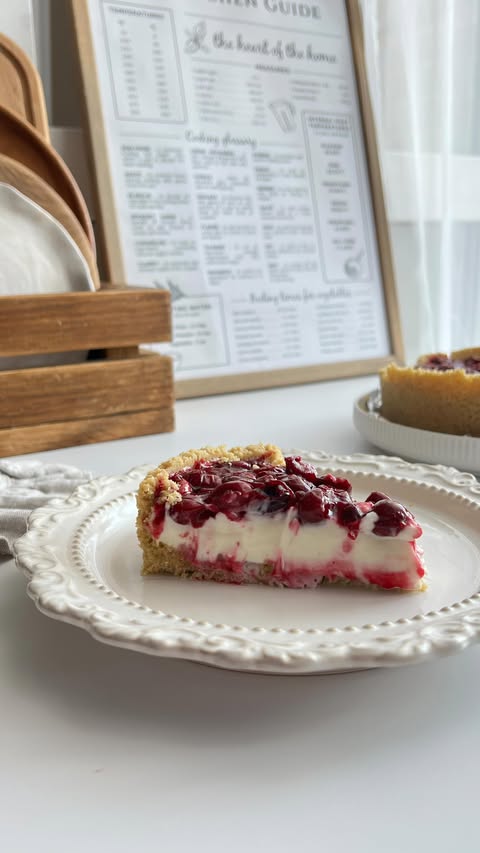
After the cheesecake has set, take it out of the refrigerator. Carefully spread the cherry topping evenly over the cheesecake, allowing some of the cherries to cascade over the edges for a beautiful presentation.
Your no-bake cherry cheesecake is now ready to be sliced and served. Enjoy this delightful dessert with friends and family!
Servings
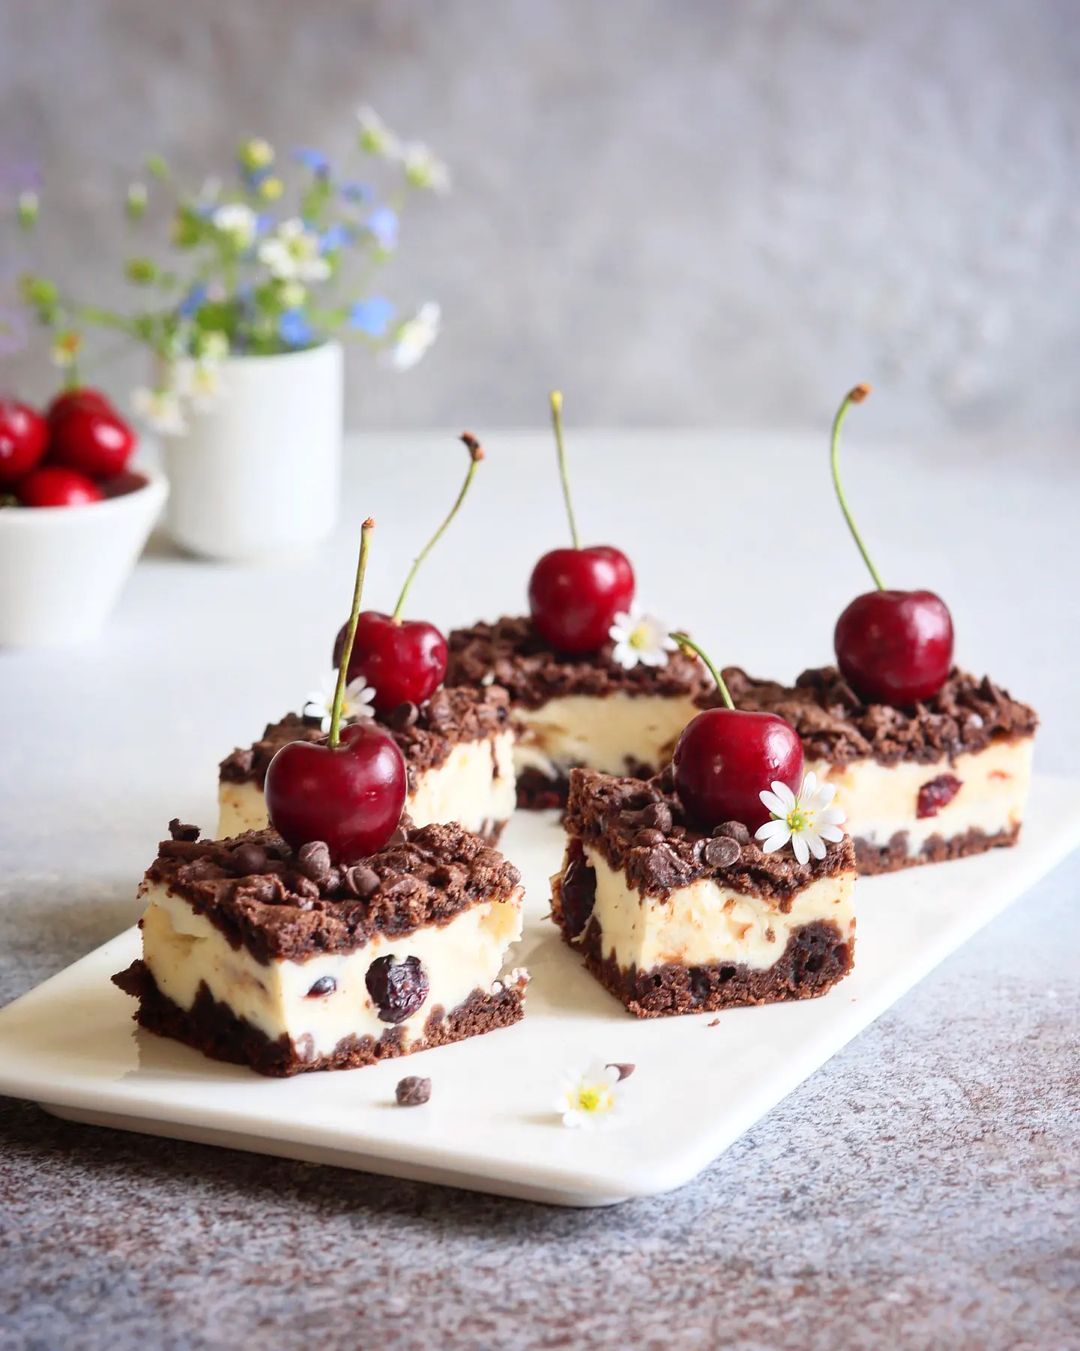
Picture this: you’ve just made a creamy no-bake cheesecake, and it’s **chilled to perfection**. Now, let's get creative with how you serve it! Consider garnishing with fresh cherries and a drizzle of chocolate sauce for a stunning visual contrast and burst of flavor. 🍫🍒
For those who love a **bit of crunch**, why not add crushed nuts or graham cracker crumbs on top? They bring an exciting texture to your slice while elevating its taste. 🥜✨
If you’re hosting a gathering, cut your cheesecake into small squares and serve them on a beautiful platter. These bite-sized treats are not only easy to serve but also can be paired with a refreshing cup of tea or coffee for a delightful afternoon snack. ☕🍰
Equipment
A good mixing bowl is essential for combining your ingredients smoothly. Choose one that is **large enough** to hold all your mixture without spilling.
 YIHONG 7 Piece Mixing Bowls with Lids for Kitchen, Stainless Steel Mixing Bowls Set Ideal for Baking, Prepping, Cooking and Serving Food, Nesting Metal Mixing Bowls for Space Saving Storage
$27.99
$35.99
View details
Prime
best seller
 Pyrex Glass, 3-Piece, 3 PC Mixing Bowl Set
$17.53
View details
Prime
 REGILLER Stainless Steel Mixing Bowls (Set of 5), Non Slip Colorful Silicone Bottom Nesting Storage Bowls, Polished Mirror Finish For Healthy Meal Mixing and Prepping 1.5-2 - 2.5-3.5 - 7QT (Colorful)
$26.99
View details
This will make light work of crushing your cookies. If you don't have one, a **ziplock bag and rolling pin** can work just as well!
This type of pan allows you to easily remove your cheesecake without messing it up. Always line it with parchment paper for a hassle-free removal!
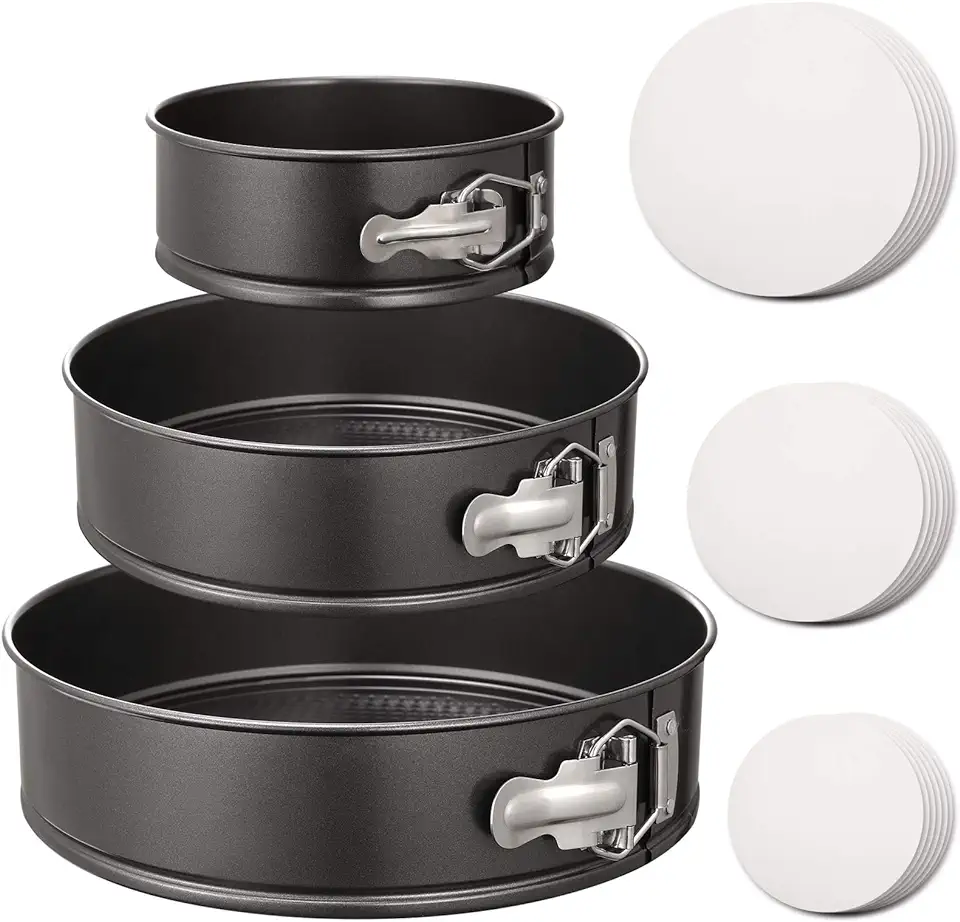 HIWARE Springform Pan Set of 3 Non-stick Cheesecake Pan, Leakproof Round Cake Pan Set Includes 3 Pieces 6" 8" 10" Springform Pans with 150 Pcs Parchment Paper Liners
$23.99
$29.00
View details
Prime
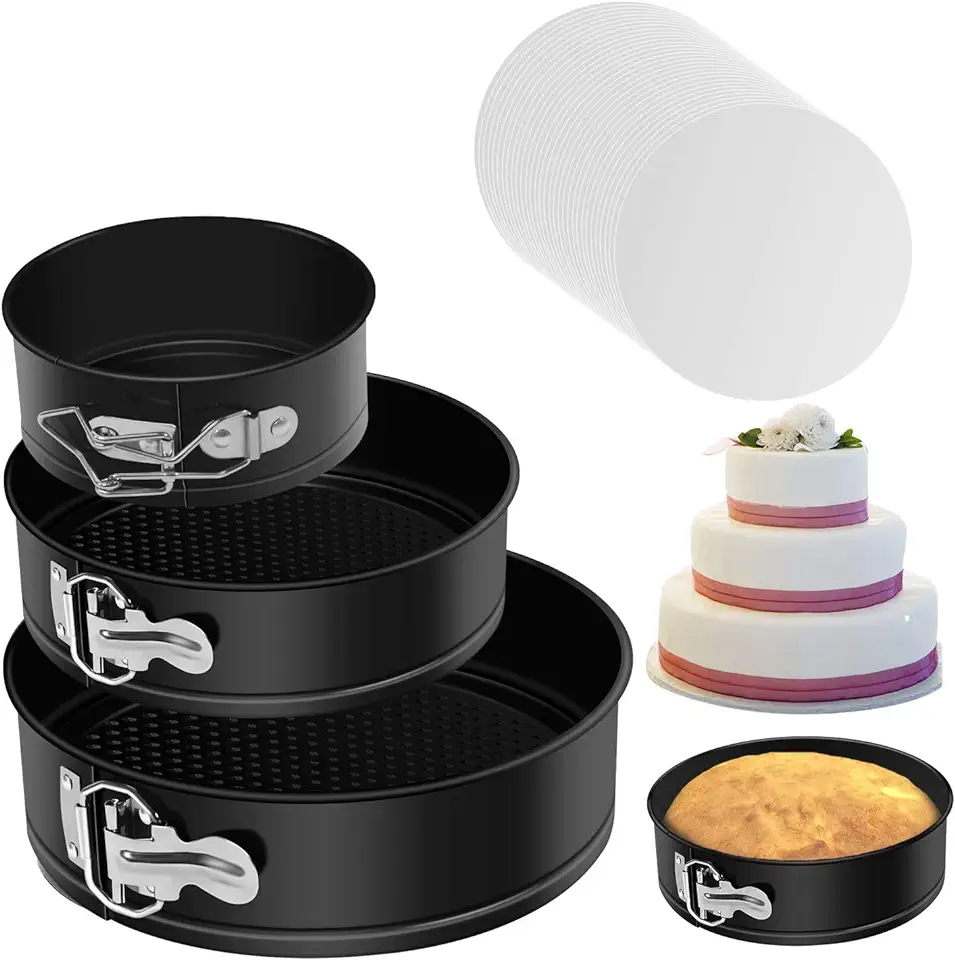 Springform Cake Pan Set of 3 - Nonstick Leakproof Round Cheesecake Pan with Removable Bottom, Circle 3 Tiered 4" 7" 9 inch Spring form Pans for Baking with 50 Pcs Parchment Paper Liners
$18.99
$25.99
View details
Prime
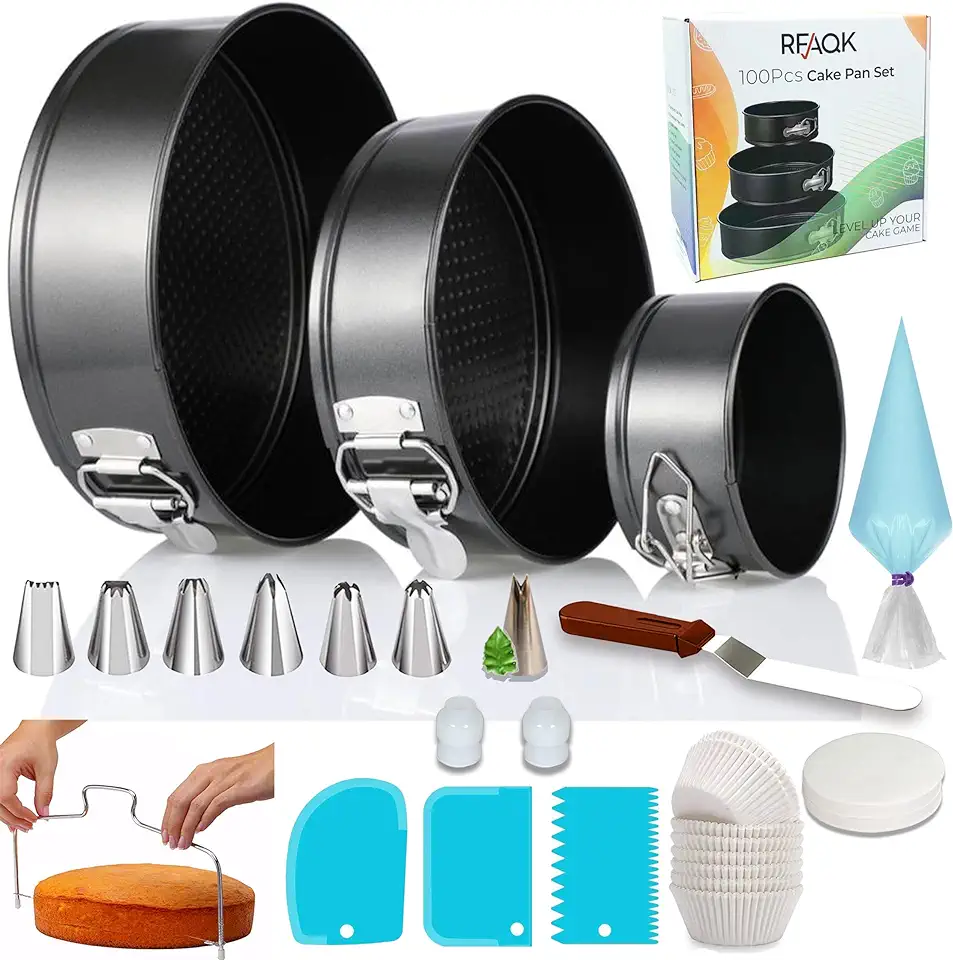 RFAQK 100PCs Cake Pan Sets for Baking + Cake Decorating Kit: 3 Non-Stick Springform Pans Set (4, 7, 9 inches), Piping Tips, Cake Leveler – Multi-functional Leak-Proof CheeseCake Pan & eBook
$23.99
$29.99
View details
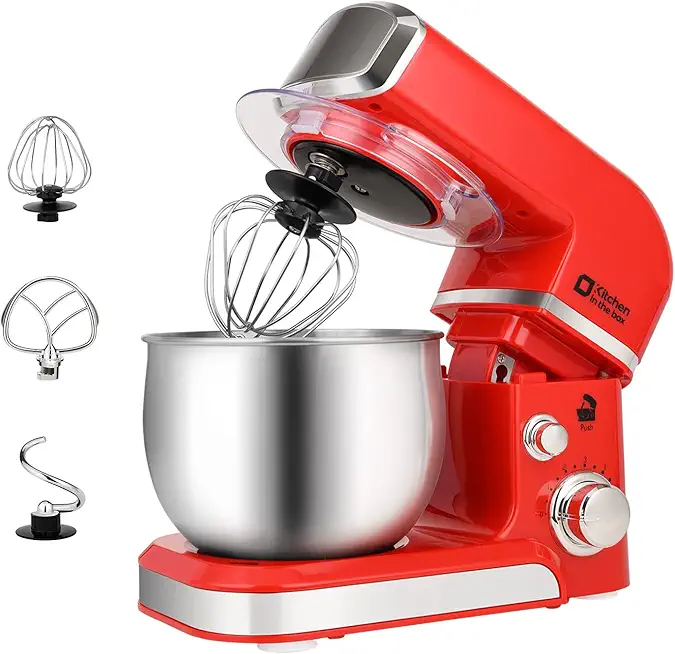
A whisk is perfect for hand mixing your cream cheese and sweetened condensed milk, while an electric mixer can save you time and give a fluffier texture to your filling.
Variations
You can easily adapt this cheesecake recipe to fit your dietary preferences! For a **gluten-free** version, simply use gluten-free cookies for the crust. There are many brands available that taste just as delicious. 👌🌟
Want to go vegan? Substitute the cream cheese with a block of **vegan cream cheese** and use coconut condensed milk. The result? A luscious cheesecake that everyone can enjoy! 🥥💚
Faq
- What if I don’t have fresh cherries?
No worries! Frozen cherries work just fine. Just make sure to thaw them and drain any excess liquid before adding as a topping!
- How do I know when my cheesecake has set properly?
- I’ve never made a cheesecake before—where do I start?
Begin with gathering all your ingredients and equipment. Follow the recipe step-by-step, and you'll be surprised at how easily it all comes together!
- Can I add flavors to my cheesecake filling?
Absolutely! Feel free to incorporate vanilla extract, lemon zest, or even a swirl of fruit puree for enhanced flavor!
- Will using a store-bought crust affect the taste?
Not at all! A store-bought crust will save you time while still delivering a **delicious taste**. Just ensure it's a flavor that complements your filling!
- How can I make my cheesecake extra creamy?
Make sure to room temperature ingredients, especially the cream cheese, before mixing. This helps to incorporate air smoothly into the mixture, resulting in a creamier texture!

