Ingredients
Chocolate Drip
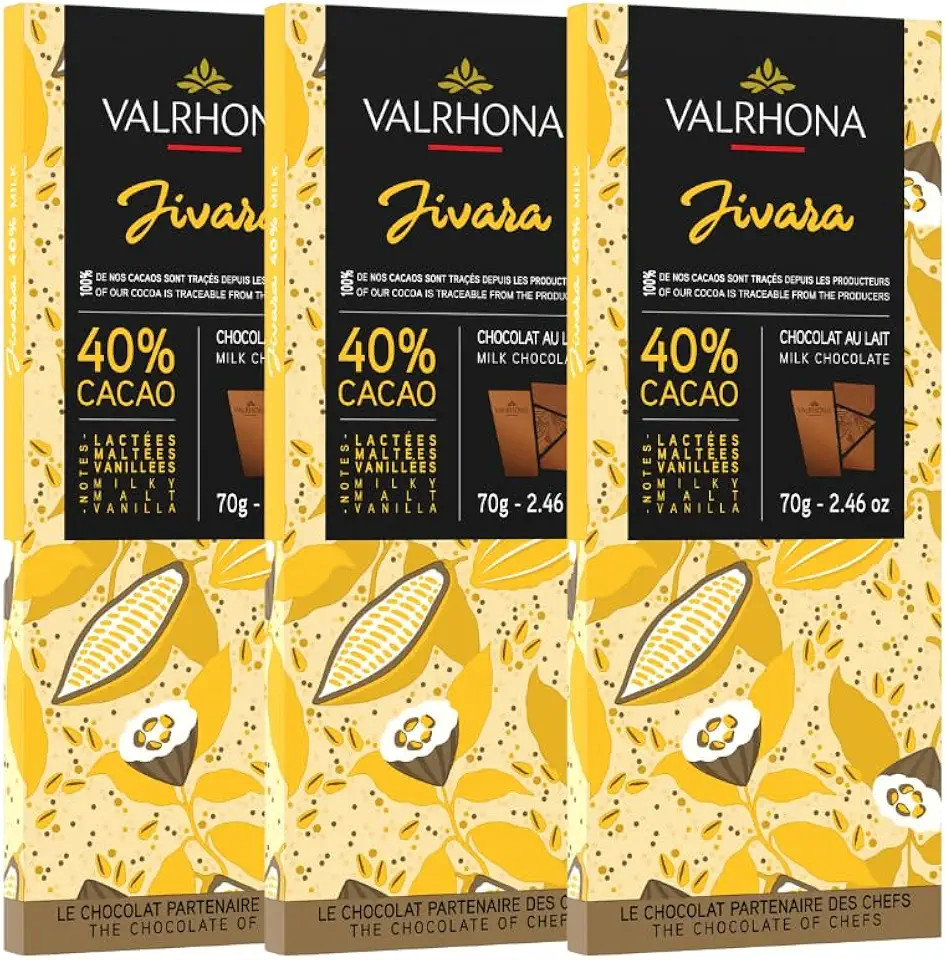 Valrhona Milk Chocolate JIVARA 40% Cacao Tasting Bar - Gourmet French Chocolate, Caramel & Vanilla. The Darkest Milk Chocolate for Baking & Frostings, Sauces, Silky Cakes, Candies. 70g. (Pack of 3)
$33.49
View details
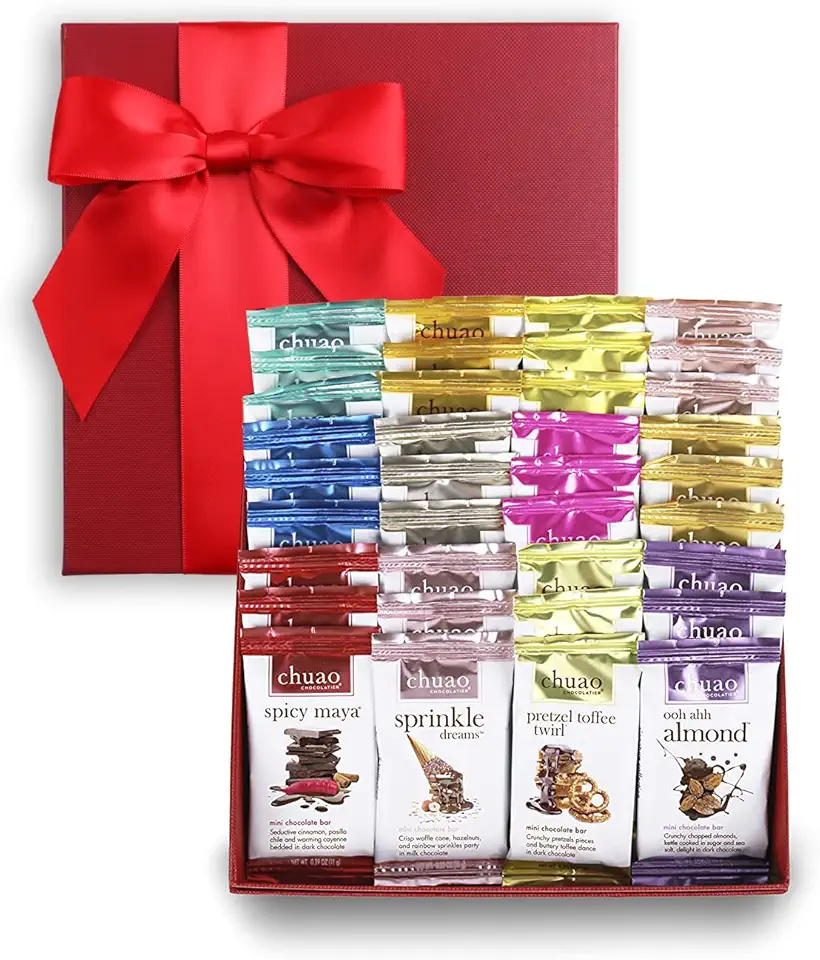 Chuao Chocolatier Share the Love Assorted Milk and Dark Mini Gourmet Chocolate Bars Gift Box | Sampler For Holiday, Birthday, Thank You, Corporate Gift Baskets | 36 Bars, 0.39 oz Each
$49.99
View details
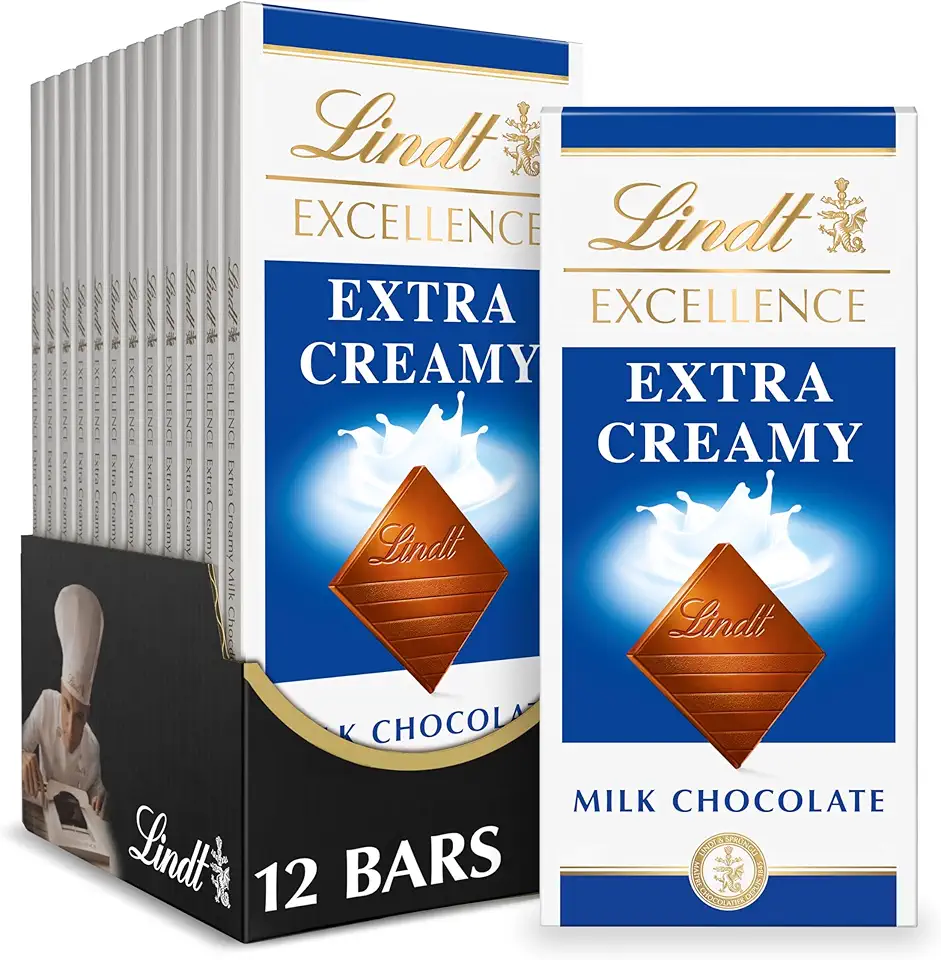 Lindt EXCELLENCE Extra Creamy Milk Chocolate Bar, Milk Chocolate Candy, 3.5 oz. (12 Pack)
$49.97
View details
Instructions
Step 1
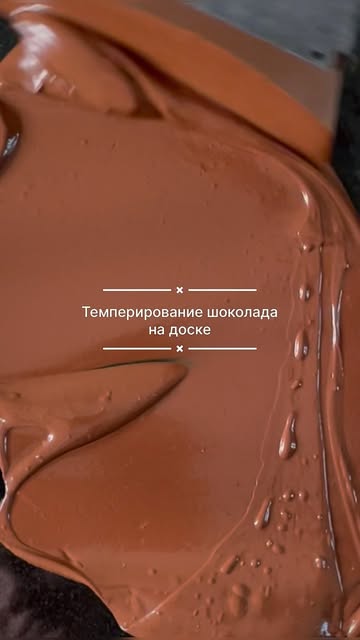
Melt the *milk chocolate* gently in a heatproof bowl over a pot of simmering water or in short bursts in the microwave, stirring frequently to avoid scorching.
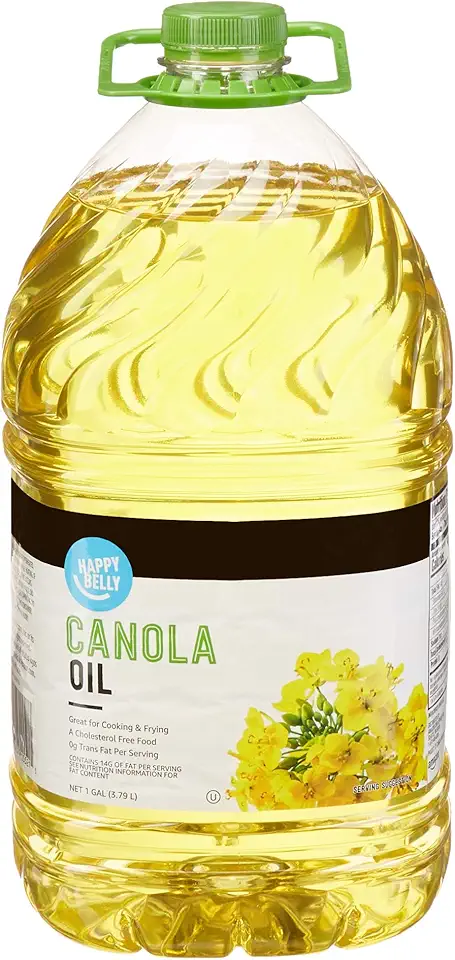
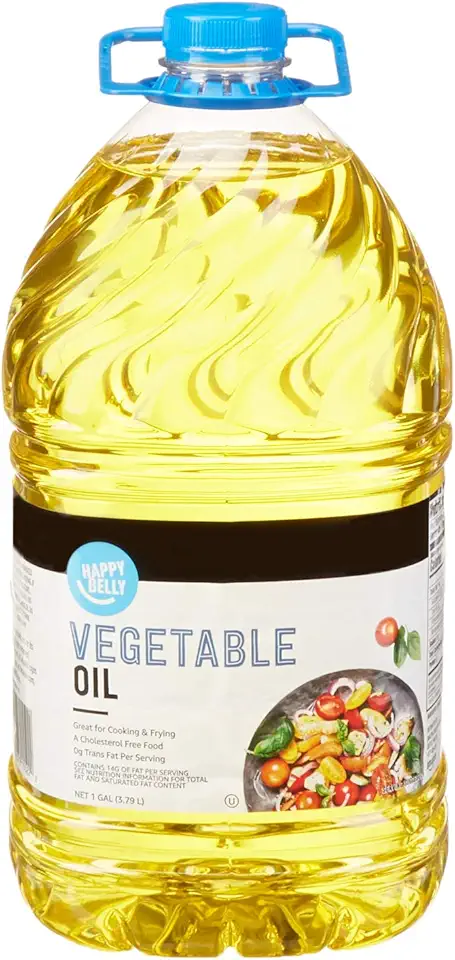
Once the chocolate is completely melted, add the *vegetable oil* and stir vigorously until the mixture is smooth and glossy.
Step 2
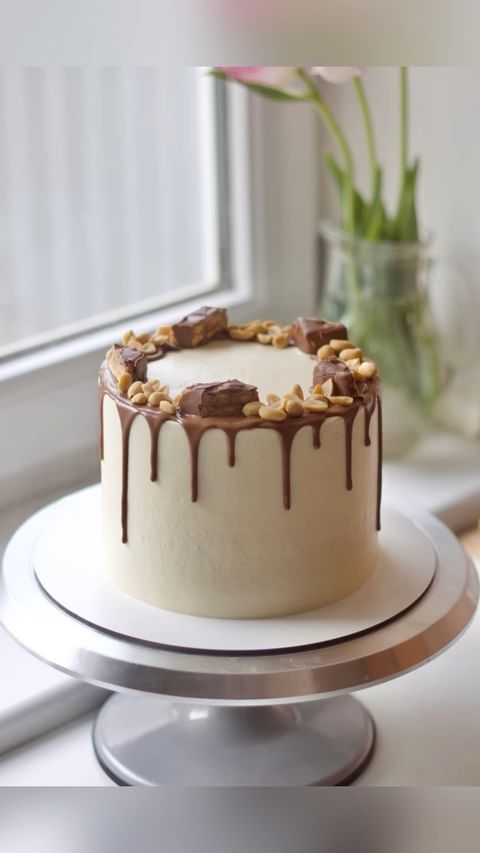
Make sure your cake is *well-chilled* before applying the chocolate drip. A cold cake helps the chocolate set quickly, achieving those beautiful drips.
Use a spoon or a squeeze bottle to carefully apply the chocolate along the edges of the cake, letting it flow down the sides naturally.
Servings
Picture this: you've crafted an elegant cake with luscious chocolate drips cascading down its sides. The visuals alone can leave anyone spellbound, but what's remarkable is how these drips invite for creative pairing. 🍰
Elevate a Birthday Cake: Add colorful sprinkles or edible glitter to the drips for a festive touch that screams celebration! 🎉
Winter Warmer: Pair with a steaming cup of cocoa on a chilly day. The subtle sweetness of the milk chocolate complements the rich, cozy flavors of your beverage. ☕️
Chic Dinner Party: Dress up a sophisticated dessert table by surrounding your cake with fresh berries or delicate edible flowers. The plump fruits add a tart balance, while the florals infuse elegance. 🌺
Equipment
Use this to gently melt the chocolate. Tip: If using a microwave, heat in short bursts and stir frequently to prevent burning.
Essential for mixing the chocolate and oil to a smooth, glossy finish. A silicone spatula works wonders for thorough mixing!
Ensure your cake is well-chilled on a rack to create the best drip effect without the mess.
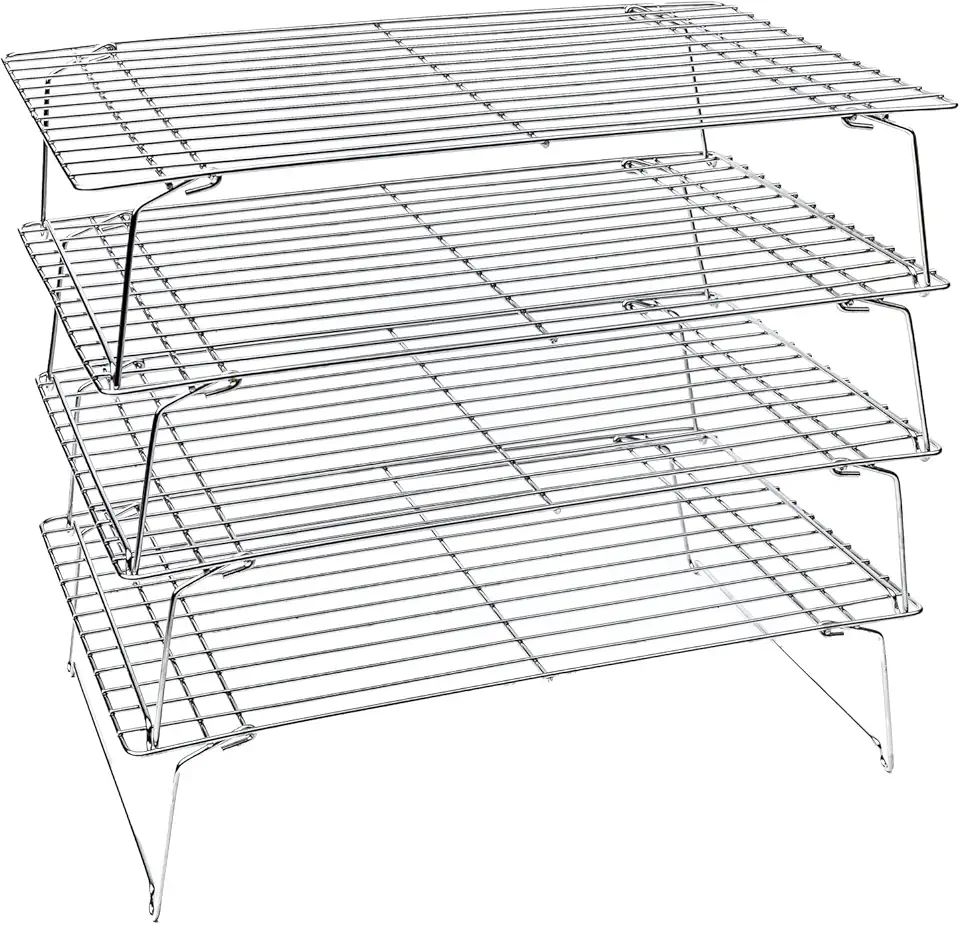 KITCHENATICS 4-Tier Stackable Cooling Racks for Baking, 100% Stainless Steel Wire Rack, Oven Safe Baking Rack, Oven Rack for Pizza, Cake, Bread, Cooling Rack for Cooking and Baking, Cookie Rack 15x10
$31.98
$45.98
View details
Prime
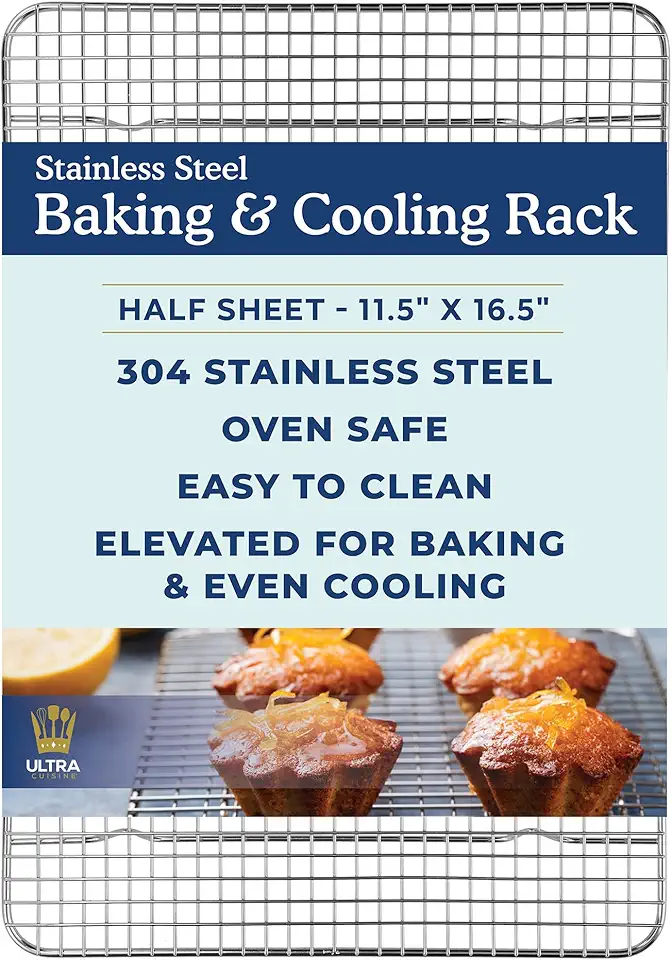 Ultra Cuisine Heavy Duty Cooling Rack for Cooking and Baking - 100% Stainless Steel Baking Rack & Wire Cooling Rack - Cookie Cooling Racks for Baking - Food Safe - Fits Half Sheet Pans - 11.5" x 16.5"
$21.99
$34.99
View details
Prime
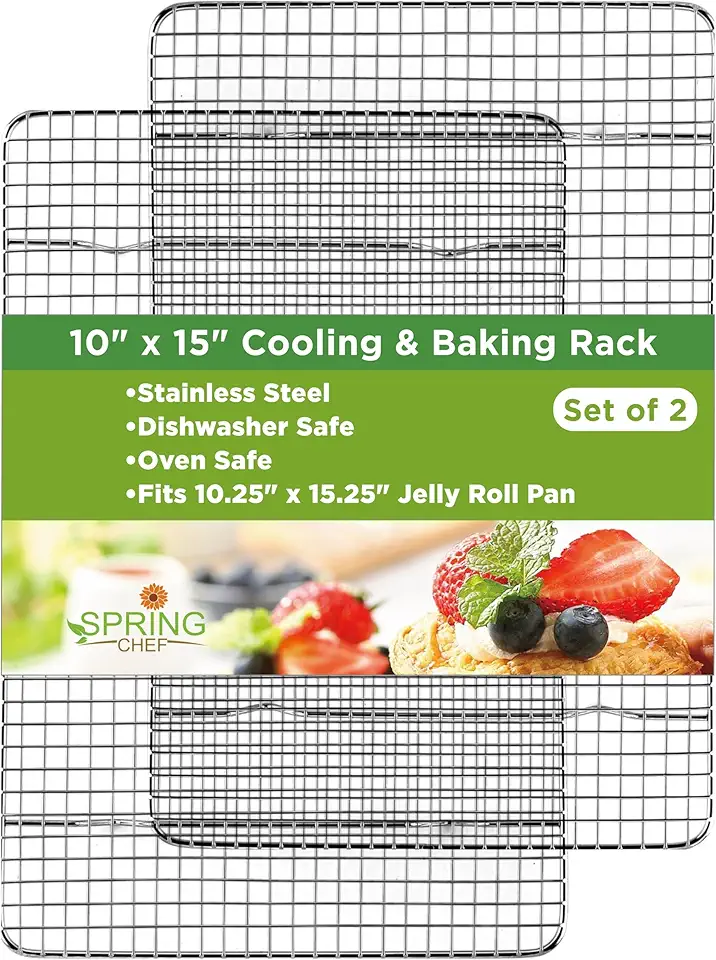 Spring Chef Cooling Rack & Baking Rack - 100% Stainless Steel Cookie Cooling Racks, Wire Rack for Baking, Oven Safe 10 x 15 Inches Fits Jelly Roll Pan - Cooling Racks for Cooking and Baking, Set of 2
$24.99
View details
Variations
Don't worry if you're adhering to dietary restrictions—these chocolate drips can be customized just for you! 🌱
Gluten-Free: Luckily, this recipe is already gluten-free! Just ensure your chocolate is certified gluten-free to avoid cross-contact. 🎊
Vegan Variation: Opt for vegan milk chocolate and a neutral-flavored plant-based oil like coconut or sunflower oil. You’ll still achieve a creamy, swoon-worthy finish—completely plant-friendly! 🌿
Faq
- Why does my chocolate sometimes seize?
Water is the enemy of melted chocolate. Make sure all your equipment is dry, and avoid letting any steam or water droplets come into contact with the chocolate.
- How do I ensure the chocolate drips set nicely?
A well-chilled cake is key. This helps the chocolate set quickly and create a defined drip effect.
- What if my drips are too thick?
Check if the chocolate is too cool. Reheat slightly and add a few drops of oil to thin it out. Add only a little at a time to reach the perfect consistency.
- Can I use dark or white chocolate instead?
Absolutely! Just adjust the amount of oil as needed since different chocolates vary in fat content. These variations can give a unique twist to your dessert presentation.
- How can I get uniform drips?
A pinch of practice goes a long way. Use a small piping bag or spoon to control the flow, and rotate the cake to achieve consistent drips.
- Can I store leftover chocolate drips?
Yes, you can! Store them in an airtight container in the fridge. Re-melt gently when needed, adding a touch more oil if required to regain that smooth texture.

