Ingredients
Cake layers
Cream #1
Cream #2
Instructions
Step 1
In a large saucepan, combine the eggs and sugar. Add the honey and softened butter. Whip together until well mixed. Pro Tip: Use room temperature butter for easier blending
Place the saucepan over a water bath and heat while whisking continuously for 10 to 15 minutes. Add the baking soda and continue to heat for another 5 minutes, constantly whisking. Remove from heat.
Step 2
In a separate bowl, mix the flour, cocoa powder, and baking powder. Gradually add 2/3 of this dry mixture into the egg-butter mixture and whisk until combined. Then add the remaining 1/3 and continue whisking. The dough will be soft and a bit sticky. Tip: Don’t add extra flour; just let it cool a little before handling.
Step 3
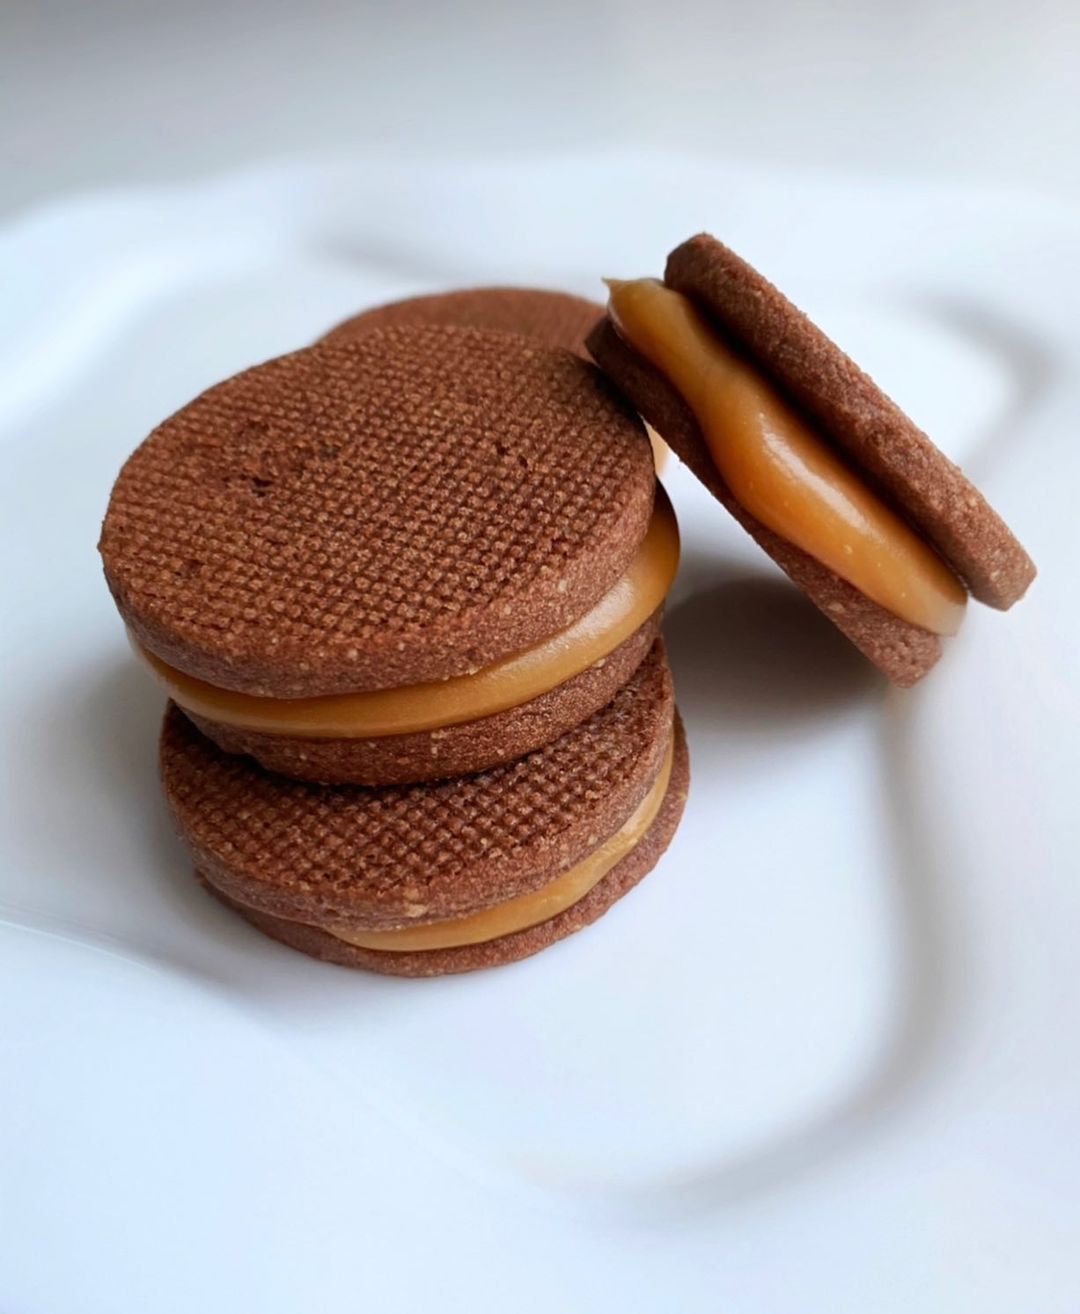
Divide the dough into equal balls (about 10 to 12 pieces). Roll out each ball to a thickness of about 0.08 inch, preferably on baking paper. Cut into the desired diameter circles and prick with a fork.
Tip: Rolling directly on the baking paper makes transferring easier.
Step 4
Preheat your oven to 356°F (180°C). Bake each layer for about 5 minutes. Keep an eye on them to avoid burning.
Step 5
In a saucepan, melt the sugar until it reaches an amber color. Gradually add the warmed 33% cream, continuously whisking. Let the mixture cool completely.
Cooling is crucial to avoid butter melting
Whip the softened butter until it becomes pale and fluffy. Gradually add the caramel syrup in portions, continuing to whip. Mix in the chopped roasted nuts or grillage sweets.
Step 6
Whip the sour cream on medium speed for 3 to 5 minutes. Add the sugar while continuing to whip for another 7 minutes until the mixture becomes fluffy.
Step 7
Using a pastry ring is recommended for more precise layers. Spread a small amount of sour cream on the base to secure the first cake layer. Place one layer on the base, then spread a layer of sour cream on it. Add another layer of cake.
Spread a bit of sour cream on top of the cake layer, then add a layer of caramel cream. Follow with another layer of sour cream on top of the caramel cream before adding the next cake layer. Repeat this process until all layers are used.
Servings
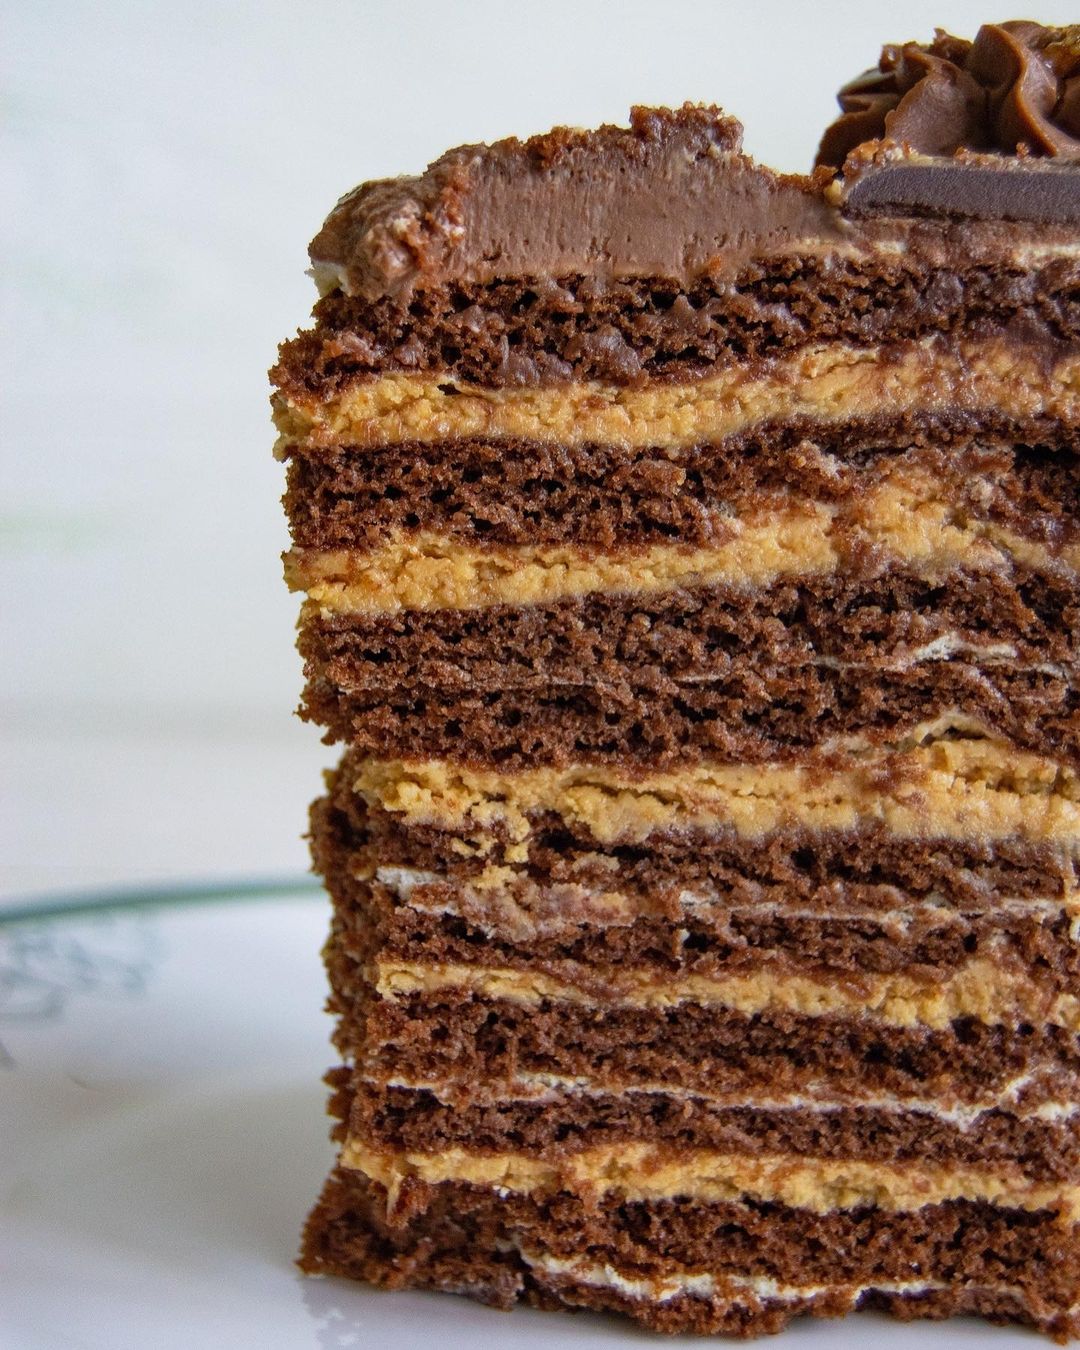
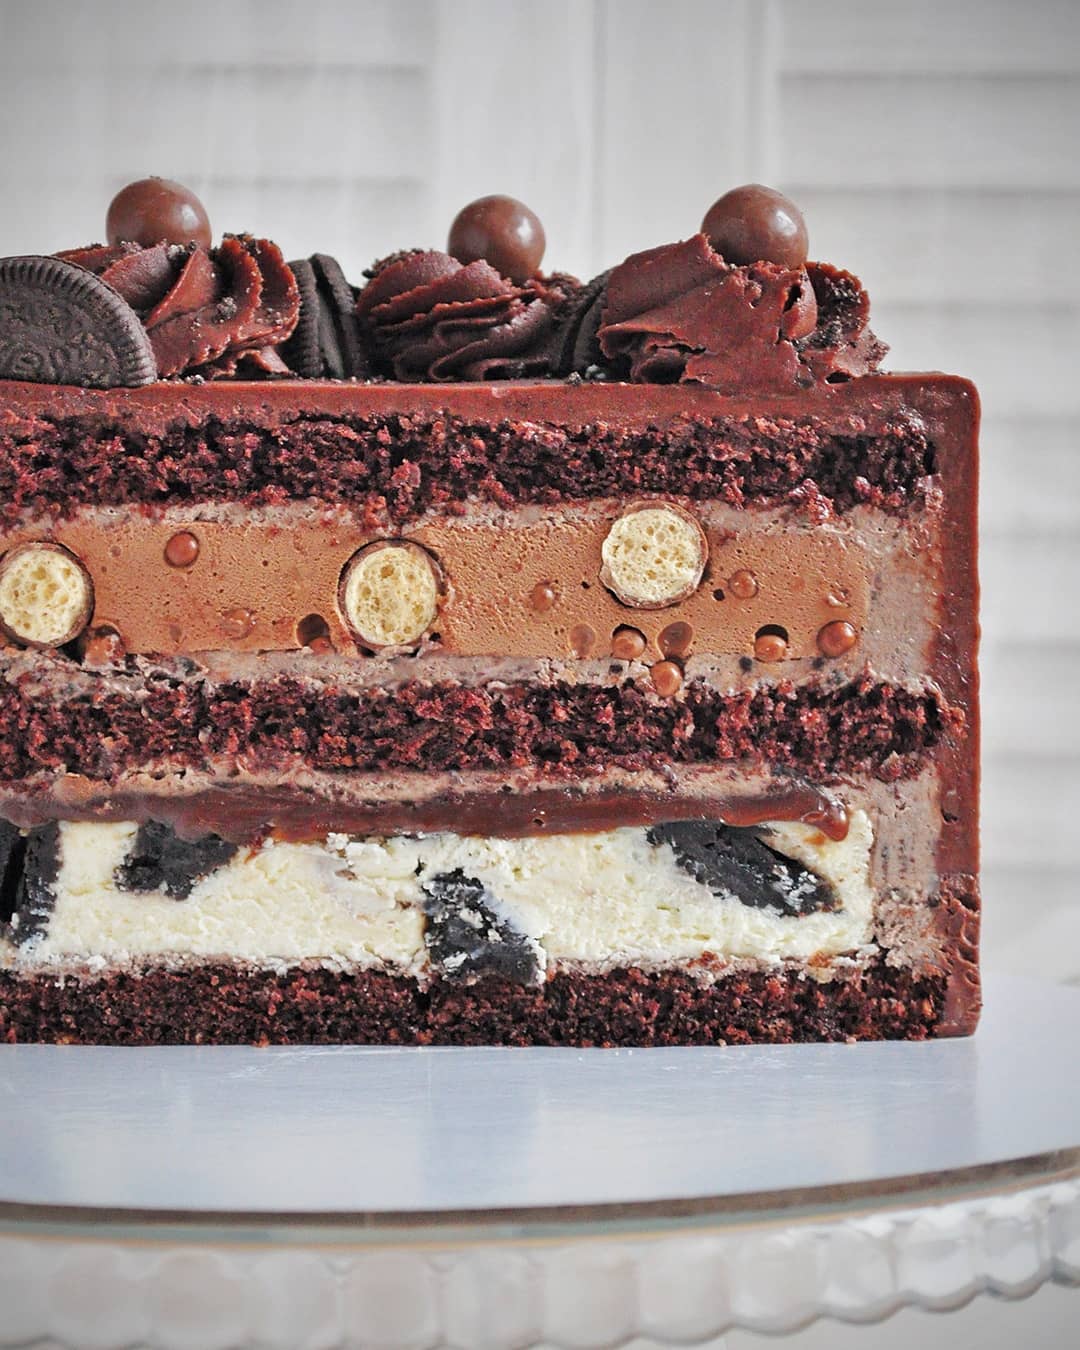
✨ Serve this cake elegantly on a chic cake stand to let its beauty shine. The multiple layers will look absolutely stunning when sliced, revealing a cross-section that's nothing short of mesmerizing. 🍰
💡 **Pair it up** with a scoop of vanilla ice cream or a dollop of fresh whipped cream for an extra touch of indulgence. These creamy additions beautifully complement the rich flavors of the chocolate and caramel. 🍦🥄
🌸 Want to elevate it even further? Garnish with **fresh berries**, mint leaves, and a light dusting of powdered sugar. The vibrant colors will make it even more inviting on the party table. 🍓🍃
🍽 Finally, don't forget to serve with a cup of hot coffee or tea. The bitterness of the coffee or the aromatic charm of your favorite tea will balance the sweet, multi-layered richness of the cake perfectly. ☕🍵
Equipment
Choose a set of different sizes to make the mixing process easier.
An essential for ensuring smooth, lump-free mixes.
Helps keep your layers uniform and tidy—totally worth it!
Provides a non-stick surface, so your cake layers come out perfect every time.
Perfect for making caramel and heating mixtures; a heavy-bottomed one is best to prevent burning.
Variations
For those who need variations, we've got you covered! 🌿 Gluten-free enthusiasts can substitute the regular flour with **gluten-free all-purpose flour**. Trust us; the cake will still be as moist and delicious! 💪
🍯 👉 **Vegan Version**: Replace eggs with flax eggs (1 tbsp flaxseed meal + 3 tbsp water per egg) and use plant-based butter. Swap out the cream for coconut cream and ensure your sugar is vegan-friendly. The caramel can be made with coconut milk instead of cream. Same incredible flavors, 100% vegan! 🌱
Faq
- What can I do if my cake layers come out too hard?
Don't worry! Use a simple syrup made from equal parts water and sugar to brush the layers. This will help soften them up.
- Is it okay to prepare the cake layers in advance?
Absolutely! You can bake the layers and store them in an airtight container for up to 3 days before assembling the cake.
- Can I use store-bought caramel for the caramel cream?
Yes, you can use store-bought caramel to save time. Just make sure it's good quality for the best taste.
- What's the best way to spread the creams between the layers?
Use an offset spatula for smooth and even spreading. This tool gives you better control and precision.
- How do I prevent the caramel from burning?
Keep a close eye on the sugar and melt it on medium heat, stirring gently. The moment it turns amber, pour in the warm cream.
- How can I ensure my sour cream stays light and fluffy?
Whip it on medium speed and gradually add the sugar. Avoid over-mixing to retain the airy texture.
