Ingredients
For the Layers
 Sugar In The Raw Granulated Turbinado Cane Sugar Cubes, No Added Flavors or erythritol, Pure Natural Sweetener, Hot & Cold Drinks, Coffee, Vegan, Gluten-Free, Non-GMO,Pack of 1
$5.27
View details
Prime
 Sugar In The Raw Granulated Turbinado Cane Sugar, No Added Flavors or erythritol, Pure Natural Sweetener, Hot & Cold Drinks, Coffee, Baking, Vegan, Gluten-Free, Non-GMO, Bulk Sugar, 2lb Bag (1-Pack)
$3.74
$4.14
View details
Prime
 C&H Pure Cane Granulated White Sugar, 25-Pound Bags
$56.99
$49.98
View details
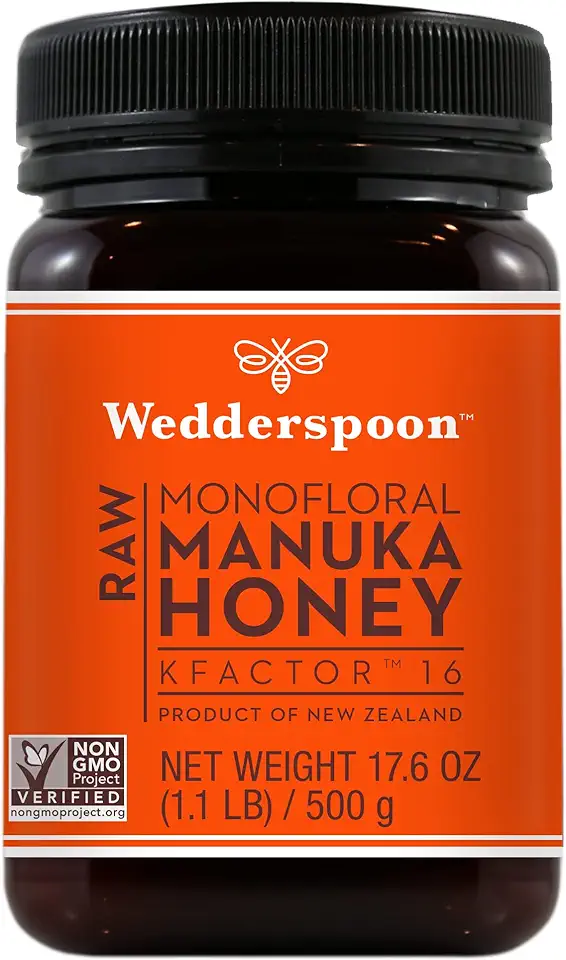 Wedderspoon Raw Premium Manuka Honey, KFactor 16, 17.6 Oz, Unpasteurized, Genuine New Zealand Honey, Traceable from Our Hives to Your Home
$34.36
$37.00
View details
Prime
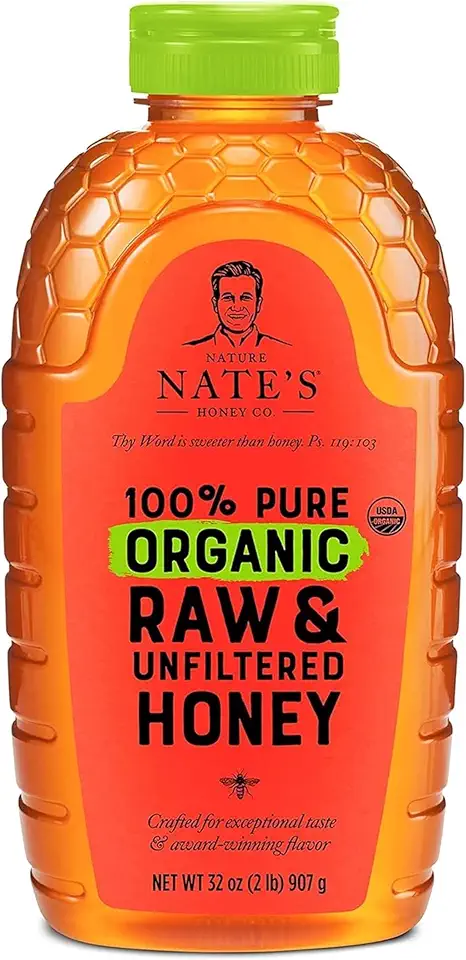 Nate's Organic 100% Pure, Raw & Unfiltered Honey - USDA Certified Organic - 32oz. Squeeze Bottle
$16.97
View details
Prime
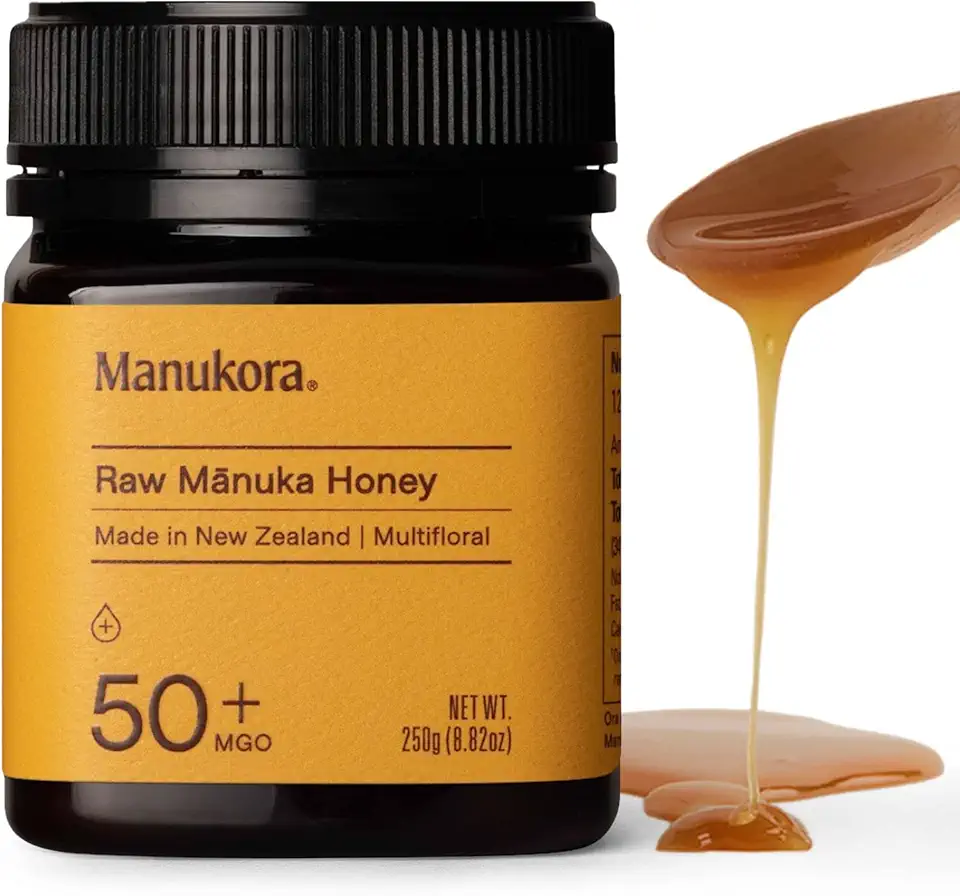 Manukora Raw Manuka Honey, MGO 50+, New Zealand Honey, Non-GMO, Traceable from Hive to Hand, Daily Wellness Support - 250g (8.82 Oz)
$13.24
View details
 Bob's Red Mill Gluten Free 1-to-1 Baking Flour, 22 Ounce (Pack of 4)
$23.96
View details
Prime
 Antimo Caputo Chefs Flour - Italian Double Zero 00 - Soft Wheat for Pizza Dough, Bread, & Pasta, 2.2 Lb (Pack of 2)
$16.99
View details
Prime
best seller
 King Arthur, Measure for Measure Flour, Certified Gluten-Free, Non-GMO Project Verified, Certified Kosher, 3 Pounds, Packaging May Vary
$8.62
View details
 Kevala Cashew Butter 7 Lbs Pail
$83.62
View details
Prime
best seller
 4th & Heart Original Grass-Fed Ghee, Clarified Butter, Keto, Pasture Raised, Lactose and Casein Free, Certified Paleo (9 Ounces)
$11.49
View details
Prime
 4th & Heart Himalayan Pink Salt Grass-Fed Ghee, Clarified Butter, Keto Pasture Raised, Non-GMO, Lactose and Casein Free, Certified Paleo (9 Ounces)
$9.49
View details
For the Cream
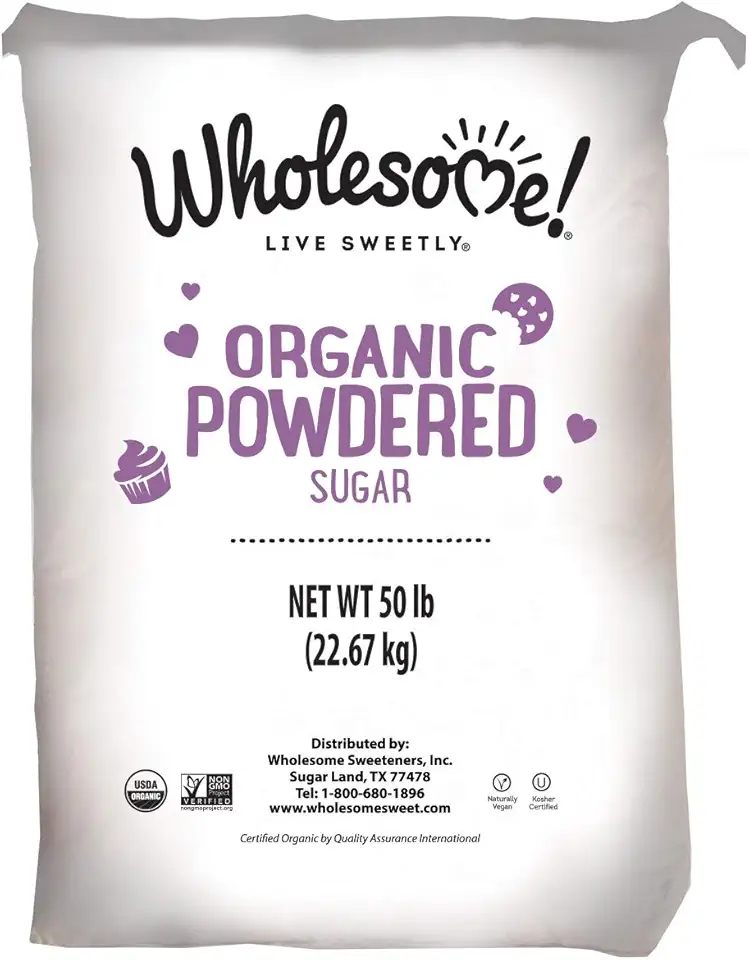 Wholesome Fair Trade Organic Powdered Sugar, Naturally Flavored Real Sugar, Non GMO & Gluten Free, 50 Pound (Pack of 1)
$106.95
View details
Prime
best seller
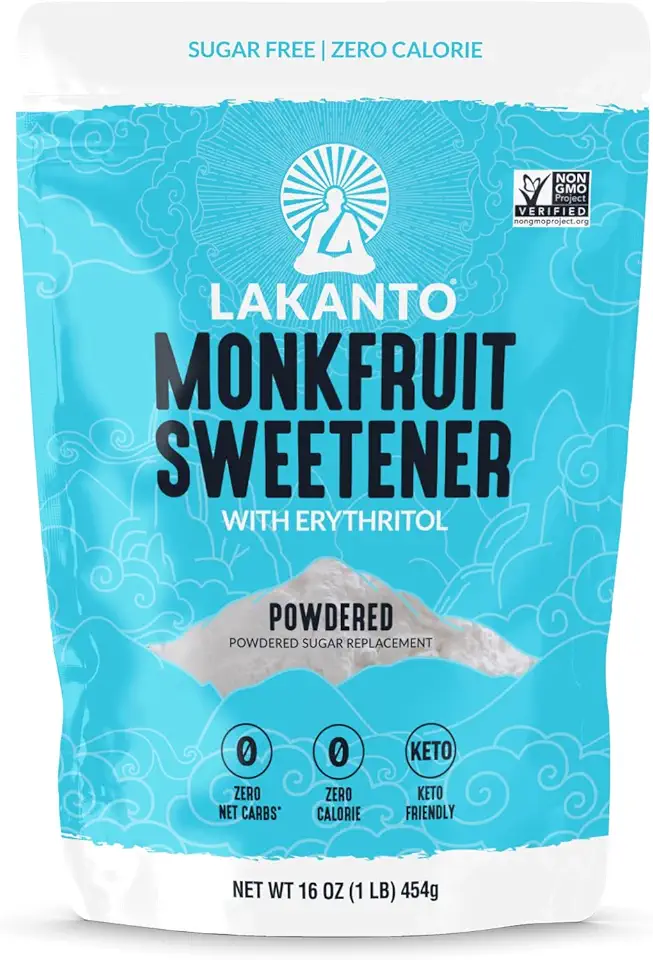 Lakanto Powdered Monk Fruit Sweetener with Erythritol - Powdered Sugar Substitute, Zero Calorie, Keto Diet Friendly, Zero Net Carbs, Baking, Extract, Sugar Replacement (Powdered - 1 lb)
$11.90
View details
Prime
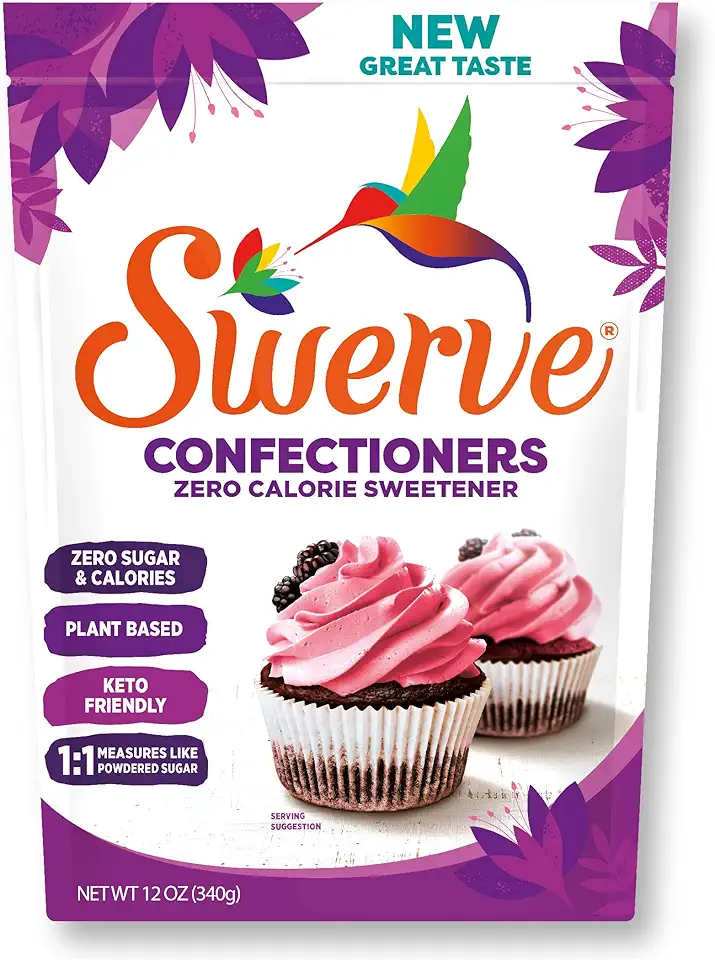 Swerve Sweetener Powder, Confectioners, 12 oz
$6.98
View details
Instructions
Step 1
Combine all the ingredients except the *baking soda* and *flour* in a heatproof bowl. Place over a double boiler.
Once the butter is melted, add the baking soda, stir, then add *one cup of the flour* from the total amount. Keep on the double boiler, stirring occasionally, until the dough turns a caramel color (about *20-25 minutes*).
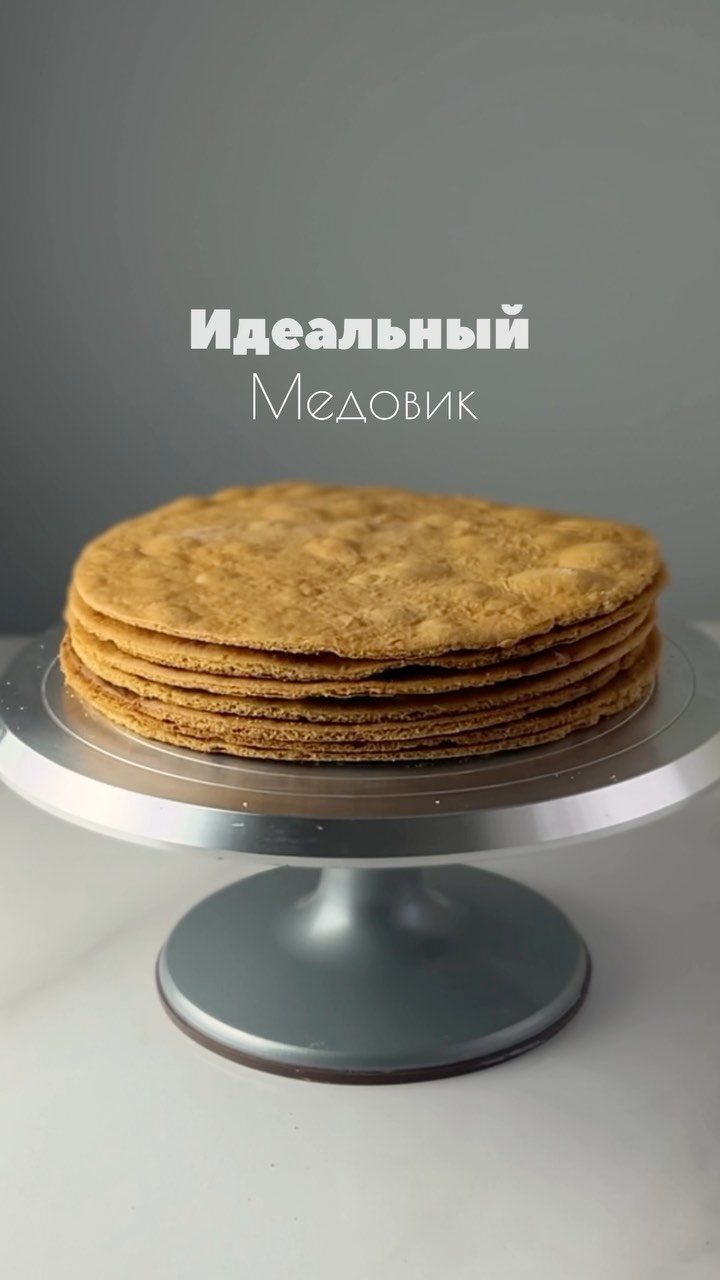
Let it cool slightly, then mix in the remaining flour. Move the dough to a cool place. Divide the dough into *7-8 parts* and roll them out thinly.
Preheat your oven to *180°C (350°F)*. Bake the layers for a couple of minutes each until golden.
Step 2
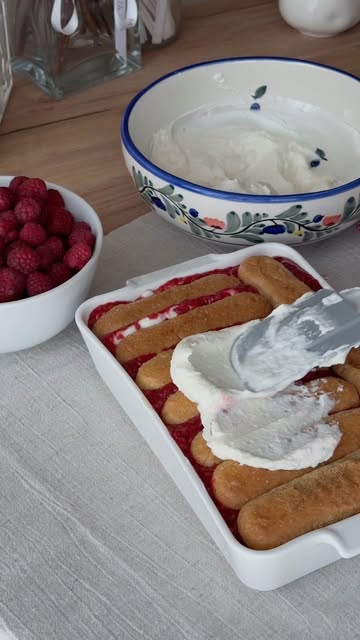
Whip the cream with the powdered sugar until soft peaks form.
Carefully fold in the sour cream until well combined.
Step 3
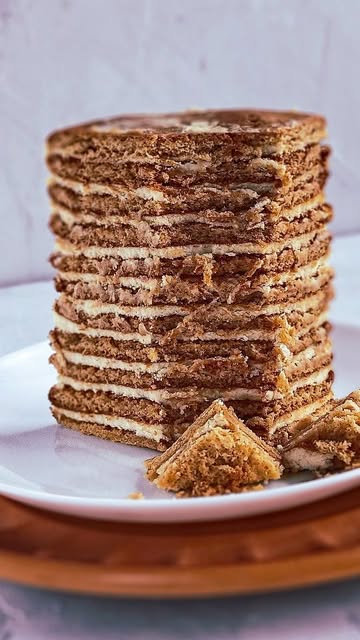
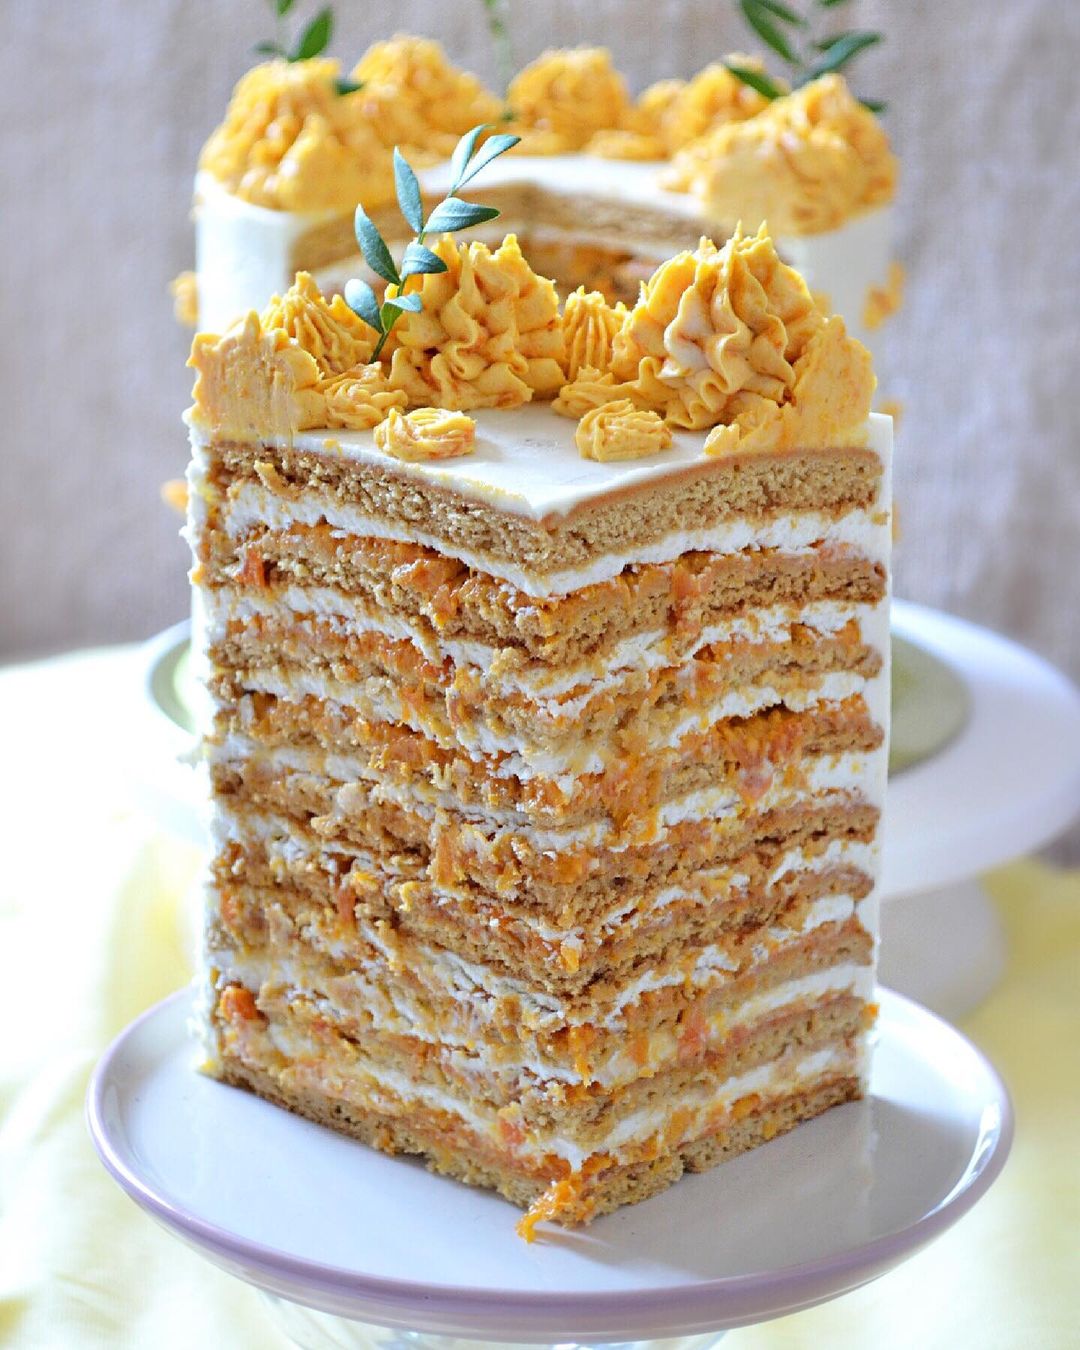
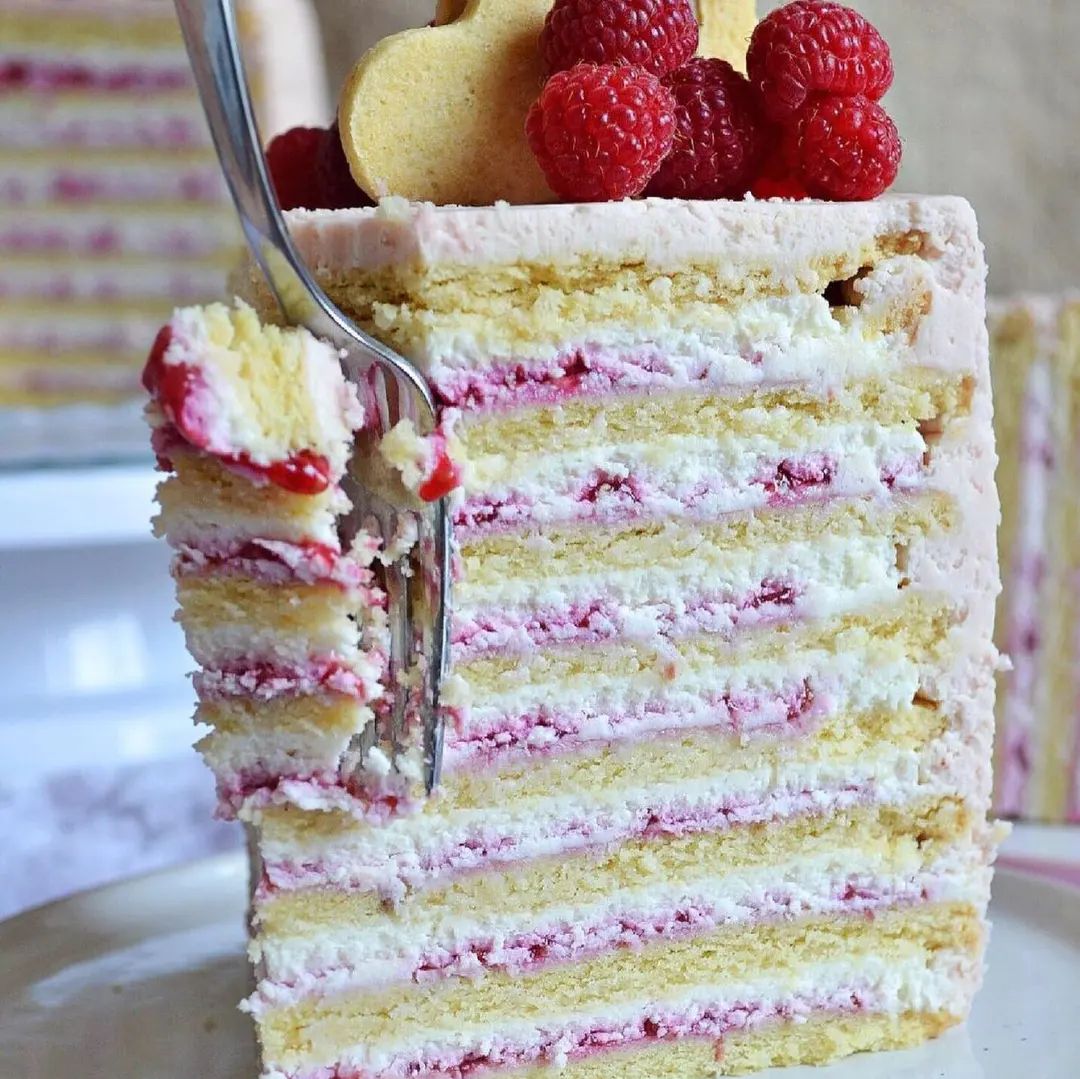
Layer the baked dough with the prepared cream, spreading it evenly over each layer.
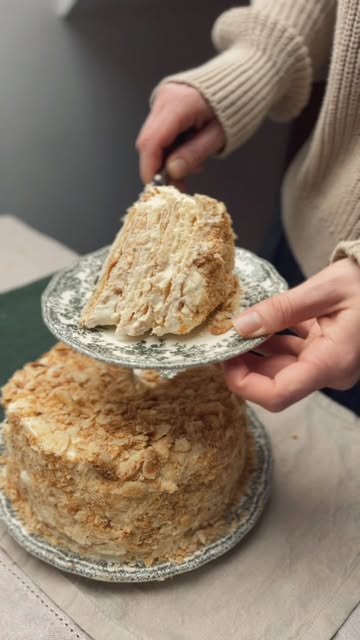
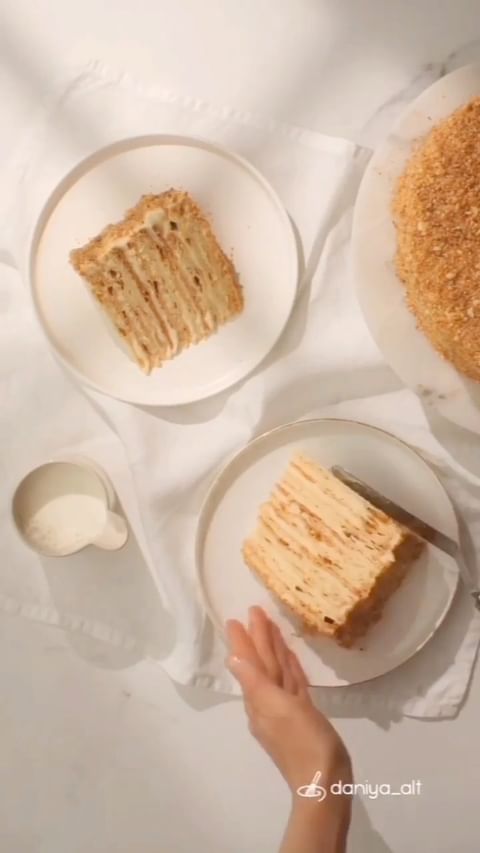
Sprinkle the top with crumbs and allow the cake to soak for a couple of hours before serving.
Servings
**Serving Suggestions** 🍰
Once you have mastered baking the perfect honey cake, the next step is making it a feast for the eyes as well as the stomach. When ready to serve, consider these delightful ideas:
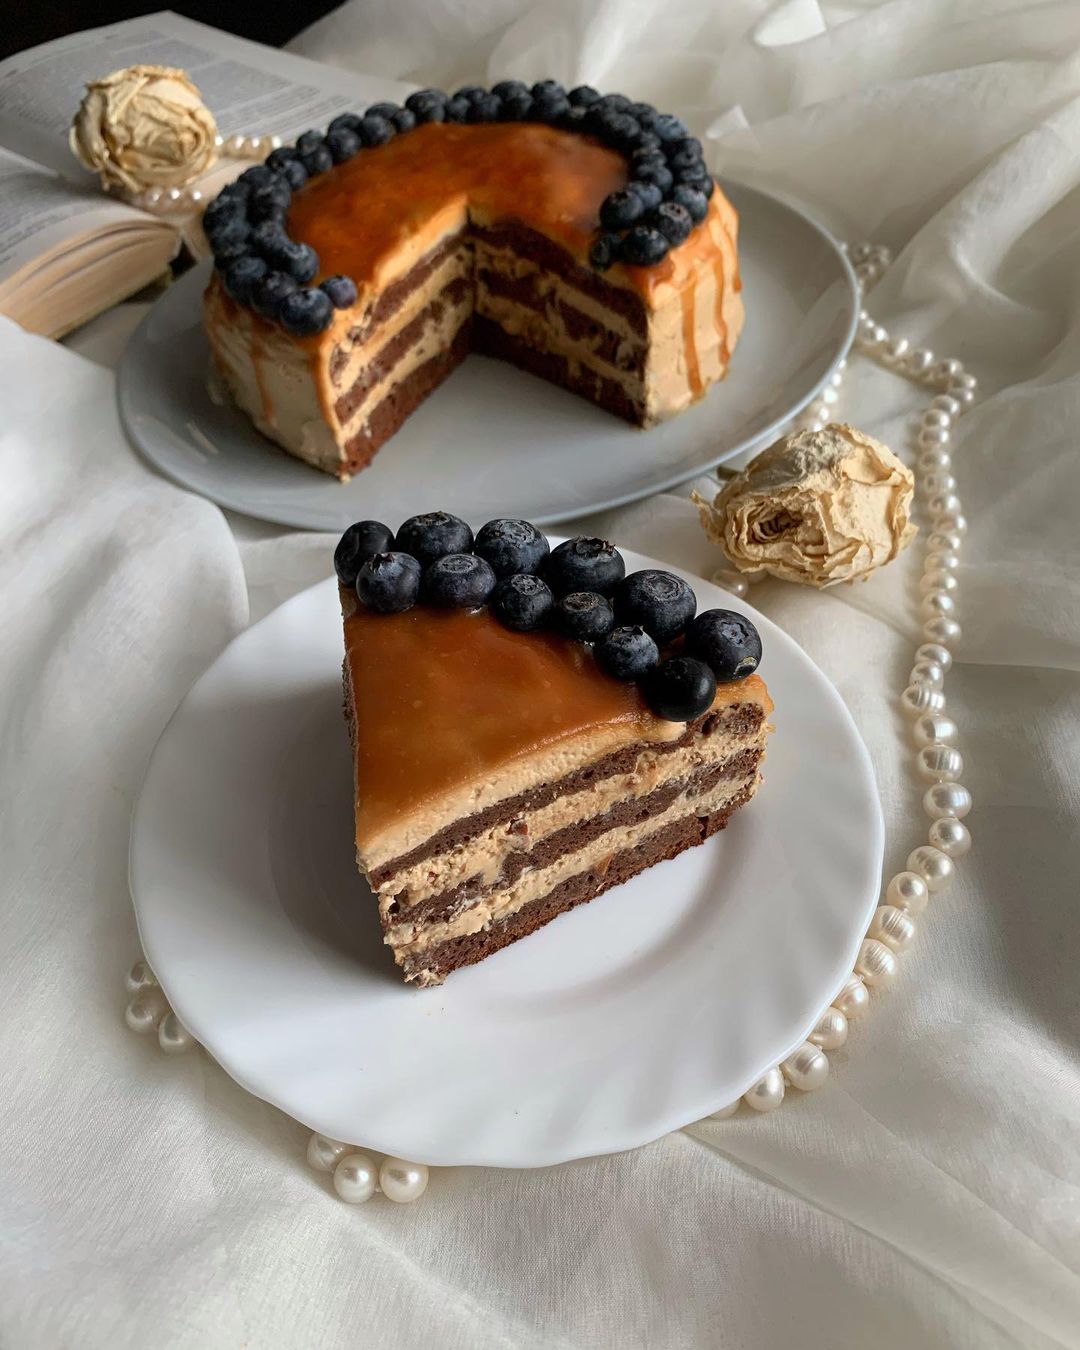
Fresh Berries: Add a pop of color and a burst of freshness by garnishing the cake with fresh raspberries, blueberries, or strawberries.
A Drizzle of Honey: A light drizzle of honey over the top can enhance the cake’s natural sweetness and bring out that rich honey flavor even more.
Edible Flowers: Decorate the top with edible flowers for an elegant and whimsical touch. Great for special occasions like birthdays and celebrations.
Pair with Tea: This honey cake goes exceptionally well with a cup of hot tea, making it a cozy dessert option for afternoon get-togethers.
Storage Tip: Store any leftovers in an airtight container in the fridge to keep the cake moist and delicious for up to 3 days.
Equipment
Choose a large bowl to easily mix all your ingredients without making a mess.
 YIHONG 7 Piece Mixing Bowls with Lids for Kitchen, Stainless Steel Mixing Bowls Set Ideal for Baking, Prepping, Cooking and Serving Food, Nesting Metal Mixing Bowls for Space Saving Storage
$27.99
$35.99
View details
Prime
best seller
 Pyrex Glass, 3-Piece, 3 PC Mixing Bowl Set
$17.53
View details
Prime
 REGILLER Stainless Steel Mixing Bowls (Set of 5), Non Slip Colorful Silicone Bottom Nesting Storage Bowls, Polished Mirror Finish For Healthy Meal Mixing and Prepping 1.5-2 - 2.5-3.5 - 7QT (Colorful)
$26.99
View details
Perfect for mixing the wet and dry ingredients seamlessly.
 OXO Good Grips 11-Inch Balloon Whisk
$10.93
$11.95
View details
Prime
best seller
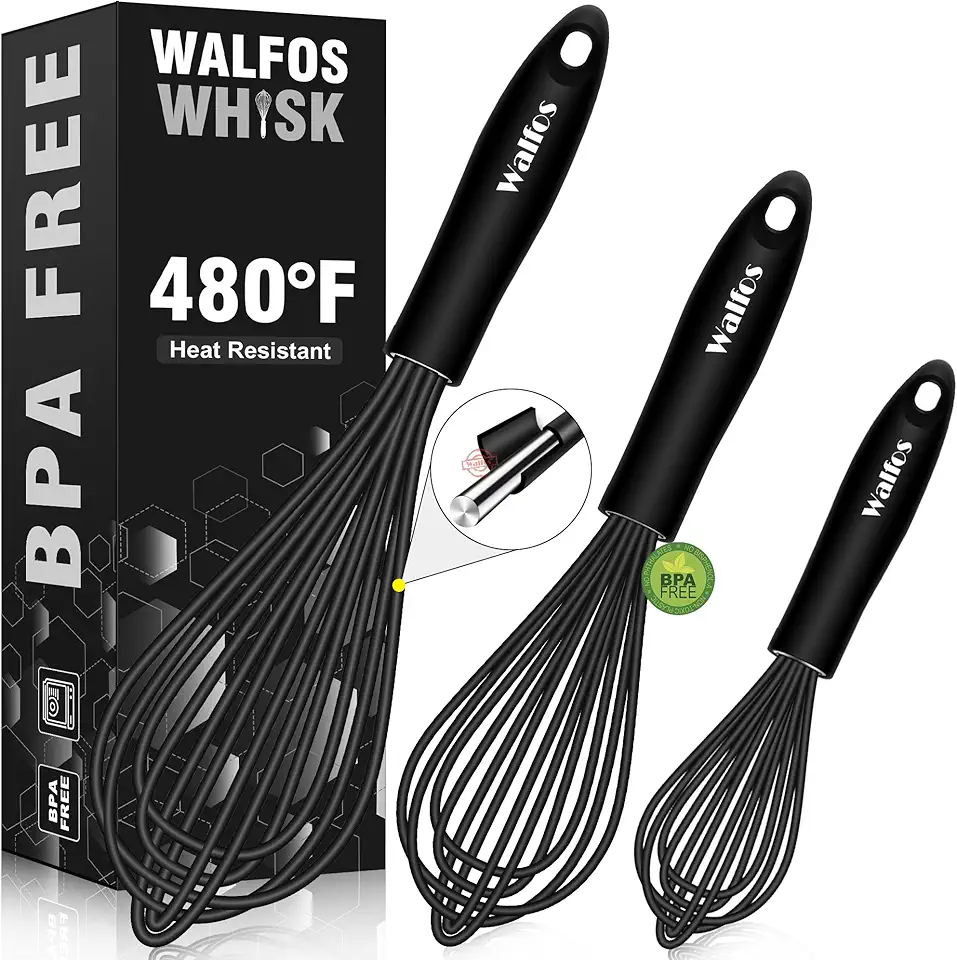 Walfos Silicone Whisk,Stainless Steel Wire Whisk Set of 3 -Heat Resistant 480°F Kitchen Whisks for Non-stick Cookware,Balloon Egg Beater Perfect for Blending,Whisking,Beating,Frothing & Stirring,Black
$11.89
$14.99
View details
Prime
 Pack of 2 Danish Dough Whisk Blender Dutch Bread Whisk Hook Wooden Hand Mixer Sourdough Baking Tools for Cake Bread Pizza Pastry Biscuits Tool Stainless Steel Ring 13.5 inches 0.22 lb/pcs…
$9.80
$14.99
View details
Vital for melting the butter and other ingredients just right without burning.
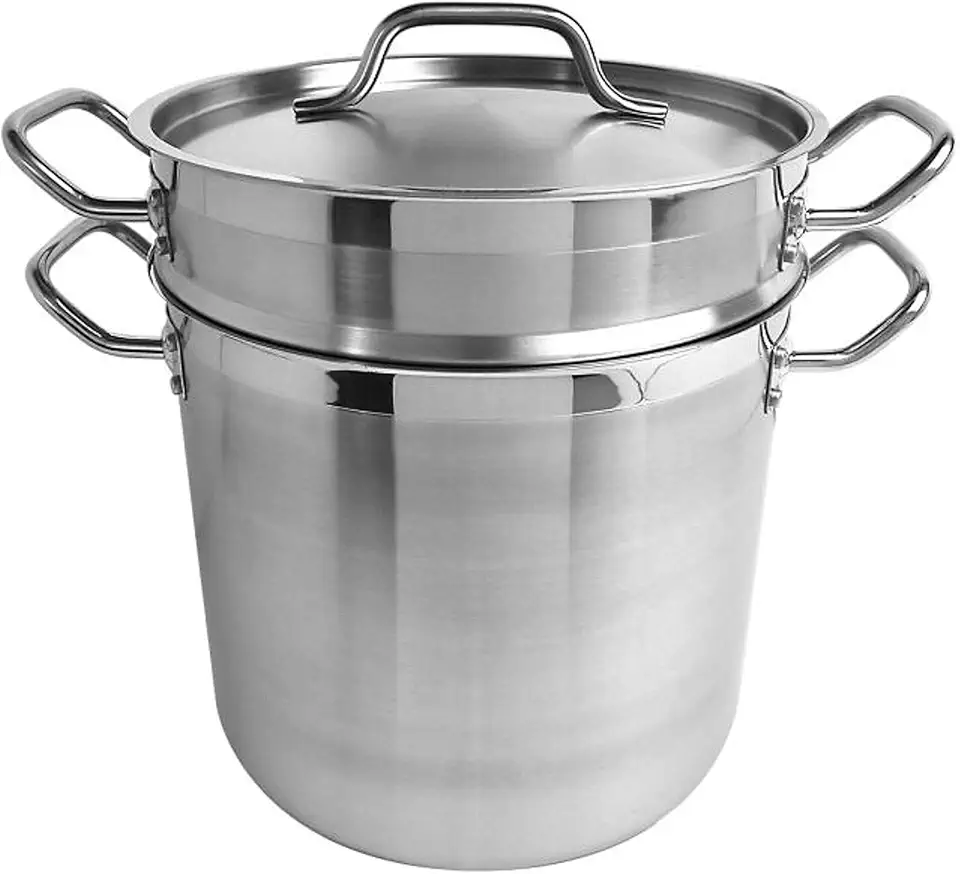 TrueCraftware-12 Quart Double Boiler Stainless Steel 3 Piece Set- Steam Melting Pot Stainless Steel Double Boiler Pot for Melting Chocolate Candy Butter and Cheese Dishwasher & Oven Safe
$138.08
View details
Prime
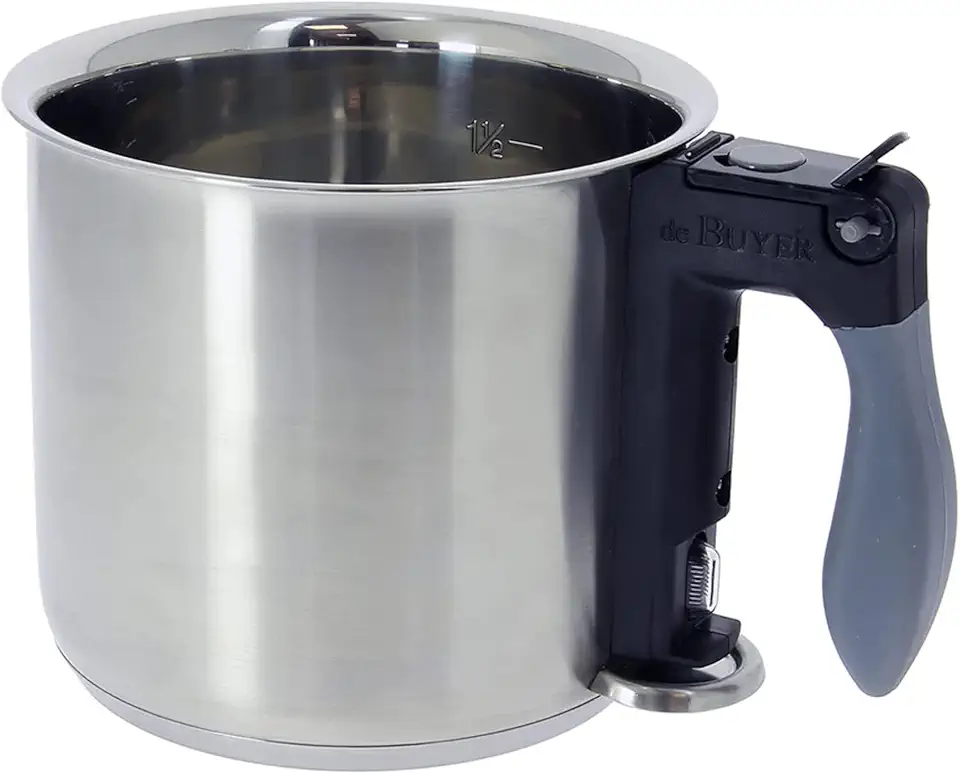 de Buyer Double Boiler Bain-Marie - 1.6 qt - Ideal for Cooking, Warming & Defrosting Delicate Foods, Including Custards & Sauces - Easy to Use
$105.00
View details
Prime
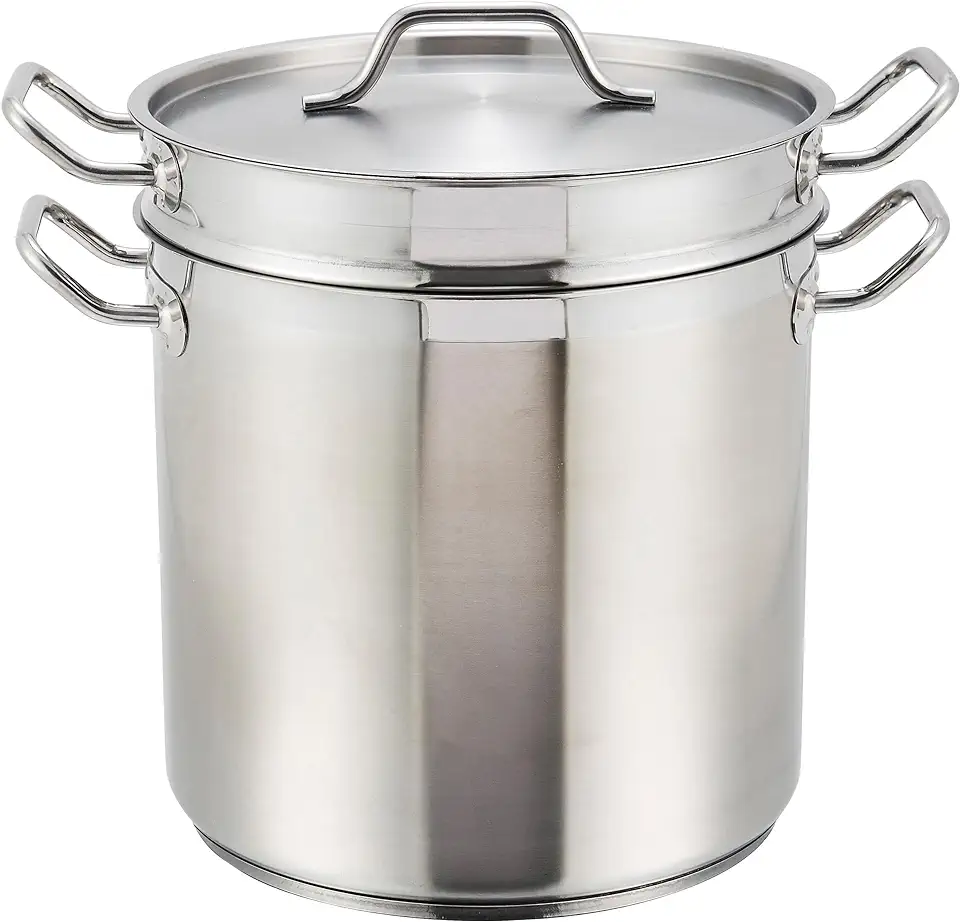 Winware Stainless DoubleBoiler, 16 Quart, stainless steel
$111.92
$125.10
View details
Ensure it’s preheated to 180°C (356°F) for perfect baking temperature.
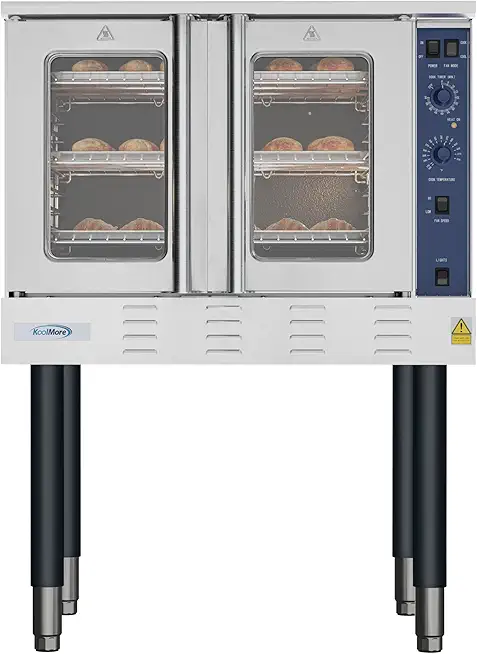 KoolMore 38 in. Full-Size Single Deck Commercial Natural Gas Convection Oven 54,000 BTU in Stainless-Steel (KM-CCO54-NG)
$3651.89
View details
Prime
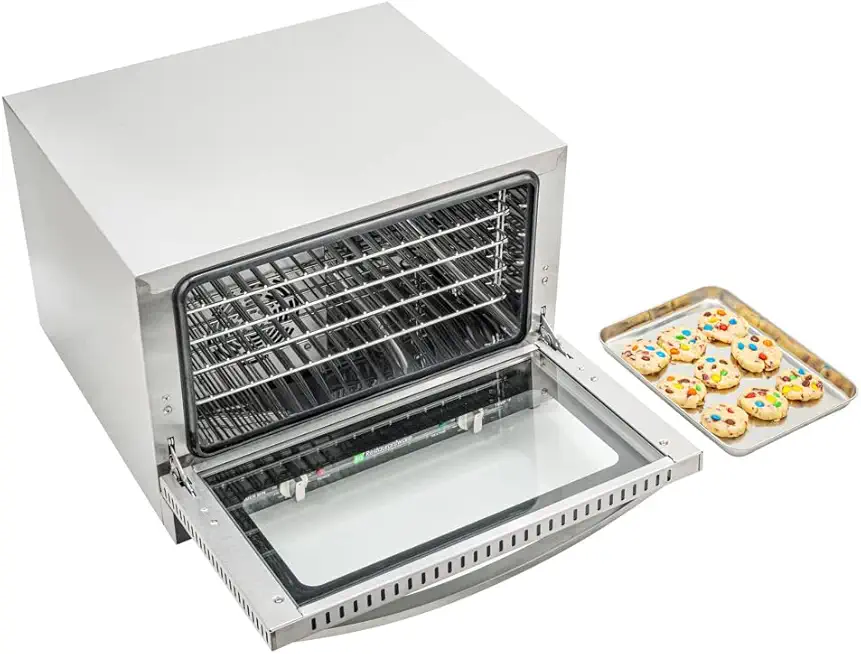 Restaurantware Hi Tek Half Size Convection Oven 1 Countertop Electric Oven - 1.5 Cu. Ft. 120V Stainless Steel Commercial Convection Oven 1600W 4 Racks Included
$1077.29
View details
Prime
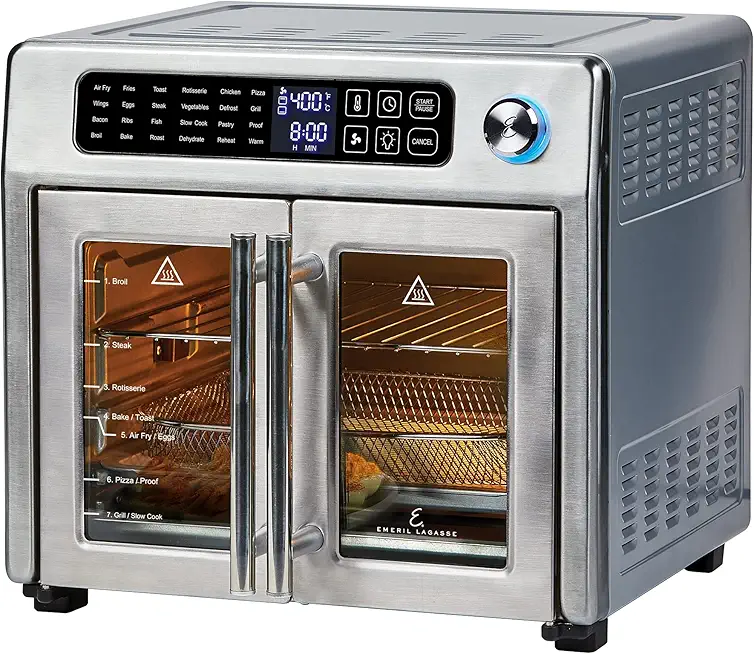 Emeril Lagasse 26 QT Extra Large Air Fryer, Convection Toaster Oven with French Doors, Stainless Steel
$189.99
View details
Non-stick is best, or use parchment paper to avoid sticking.
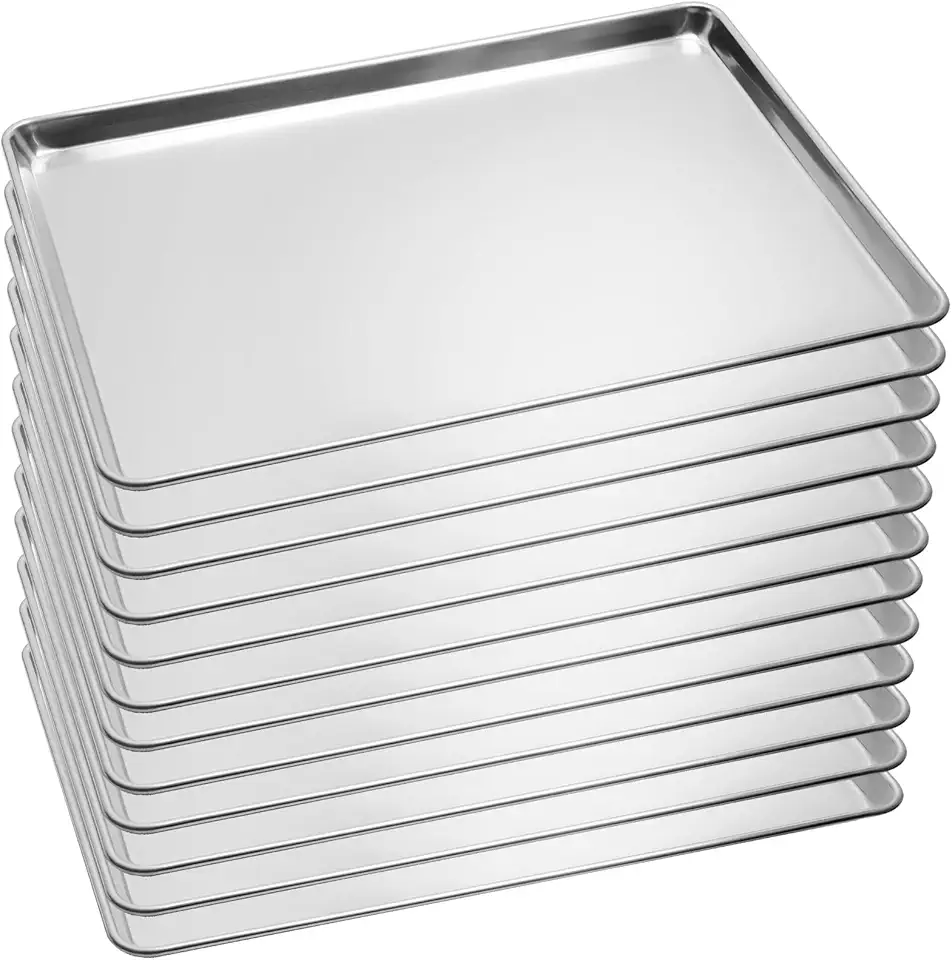 12 Pack Full Size Baking Sheet Pan Aluminum Commercial Pan for Oven Freezer Bakery Hotel Restaurant 26" × 18"
$188.99
View details
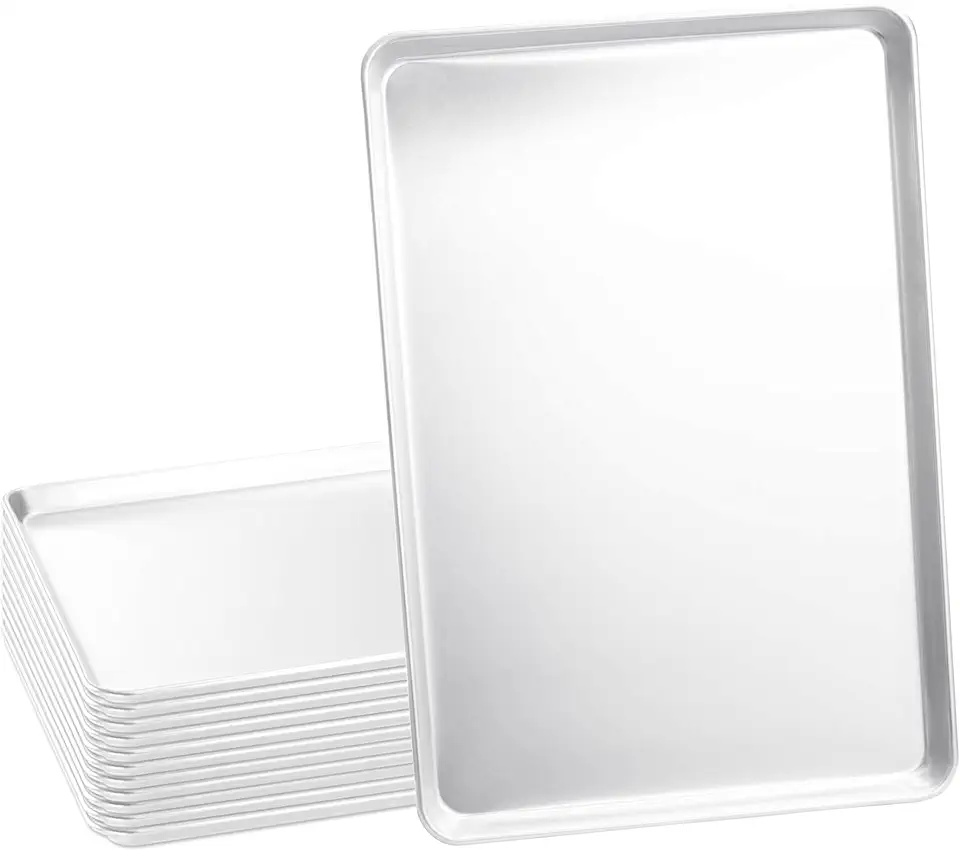 Tiger Chef Full Size 18 x 26 inch Aluminum Sheet Pan Commercial Bakery Equipment Cake Pans 19 Gauge 12 Pack
$134.99
View details
Prime
best seller
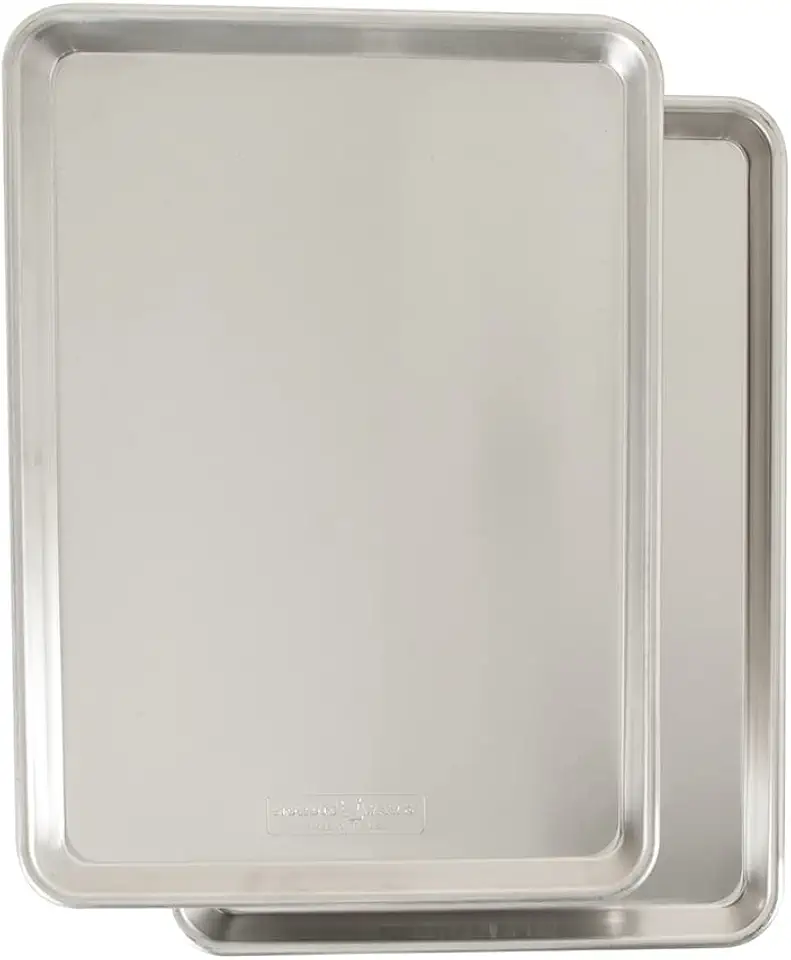 Nordic Ware Naturals Half Sheet, 2-Pack, Natural
$37.80
View details
To roll out the dough evenly for all layers.
 Farberware Classic Wood Rolling Pin, 17.75-Inch, Natural
$12.99
$13.99
View details
Prime
 Fox Run Polished Marble Rolling Pin with Wooden Cradle, 10-Inch Barrel, White
$20.88
View details
Prime
 French Rolling Pin (17 Inches) –WoodenRoll Pin for Fondant, Pie Crust, Cookie, Pastry, Dough –Tapered Design & Smooth Construction - Essential Kitchen Utensil
$9.99
View details
For whipping the cream to soft peaks quicker and more effectively.
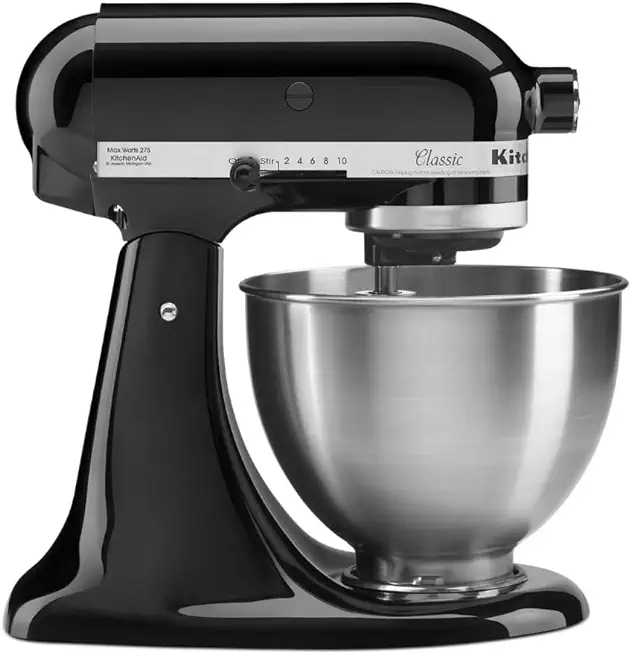 KitchenAid Classic Series 4.5 Quart Tilt-Head Stand Mixer K45SS, Onyx Black
$279.99
$329.99
View details
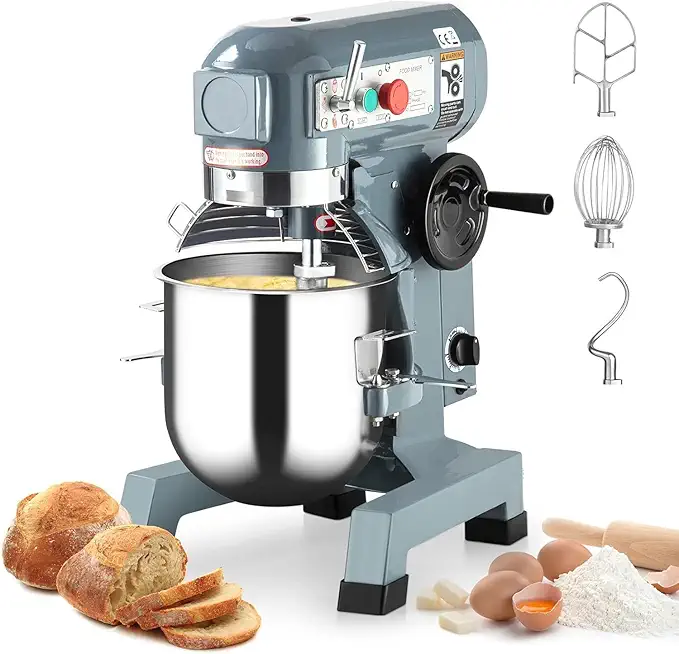 Commercial Stand Mixer, 15Qt Heavy Duty Electric Food Mixer, Commercial Mixer 600W with 3 Speeds Adjustable 130/233/415RPM, Stainless Steel Bowl, Dough Hook Whisk Beater Perfect for Bakery Pizzeria
$579.99
View details
Prime
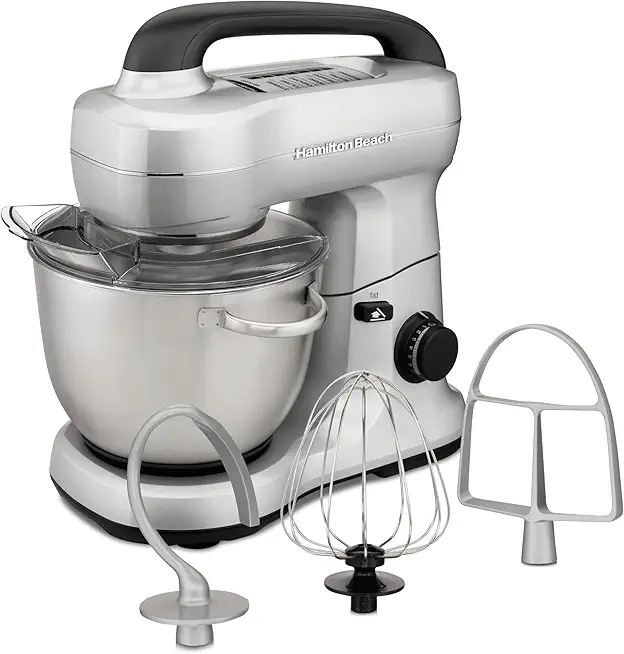 Hamilton Beach Electric Stand Mixer, 4 Quarts, Dough Hook, Flat Beater Attachments, Splash Guard 7 Speeds with Whisk, Silver
$95.99
$119.99
View details
Variations
**Gluten-Free and Vegan Variations** 🍯✨
If you have special dietary needs, don't worry! You can still enjoy this fantastic honey cake with a few tweaks:
Gluten-Free: Substitute the all-purpose flour with a 1:1 gluten-free flour blend. Almond flour can also work for a nutty twist.
Vegan: Replace eggs with flax eggs (1 tablespoon ground flaxseed mixed with 3 tablespoons water per egg) and use coconut cream or a dairy-free whipped topping instead of heavy cream.
Feel free to experiment with these variations to suit your specific requirements, and share the joy of this delightful cake with everyone!
Faq
- Why does my cake taste too dense?
Make sure to mix the ingredients well and don't overmix the batter. Additionally, ensure your baking soda is fresh.
- Can I use regular whipping cream instead of heavy cream for the frosting?
Heavy cream is recommended for that rich and stable texture, but regular whipping cream can work too. The frosting might be lighter and less stable.
- What’s the key to getting the caramel color right?
Keep the mixture on the double boiler and stir frequently. Patience is key, as it can take around 20-25 minutes.
- How can I make the cake layers even thinner?
Roll out the dough as evenly as possible and use a round cake ring to cut uniform circles before baking.
- Can I make these layers ahead of time?
Absolutely! You can bake the layers a day ahead and store them in an airtight container until you’re ready to assemble the cake.
- What should I do if my frosting isn't whipping up?
Ensure that all your equipment is cold, especially the bowl and whisk attachment. Also, the cream should be well-chilled.

![Dr. Oetker Whipping Cream Stabilizer, 0.35 Oz, With Moofin Golden Ss Spoon - Long-Lasting, Firm Texture For Desserts, Pies, Cakes, Tarts - Versatile Topping, Stiff Peaks, Holds Shape [Pack Of 3] Dr. Oetker Whipping Cream Stabilizer, 0.35 Oz, With Moofin Golden Ss Spoon - Long-Lasting, Firm Texture For Desserts, Pies, Cakes, Tarts - Versatile Topping, Stiff Peaks, Holds Shape [Pack Of 3]](https://1mincake.azureedge.net/affiliate/B0CWB5R2HV.jpg)
