Ingredients
Plastic Chocolate
Instructions
Step 1
Step 2
Step 3
Step 4
Step 5
Step 6
Step 7
Servings
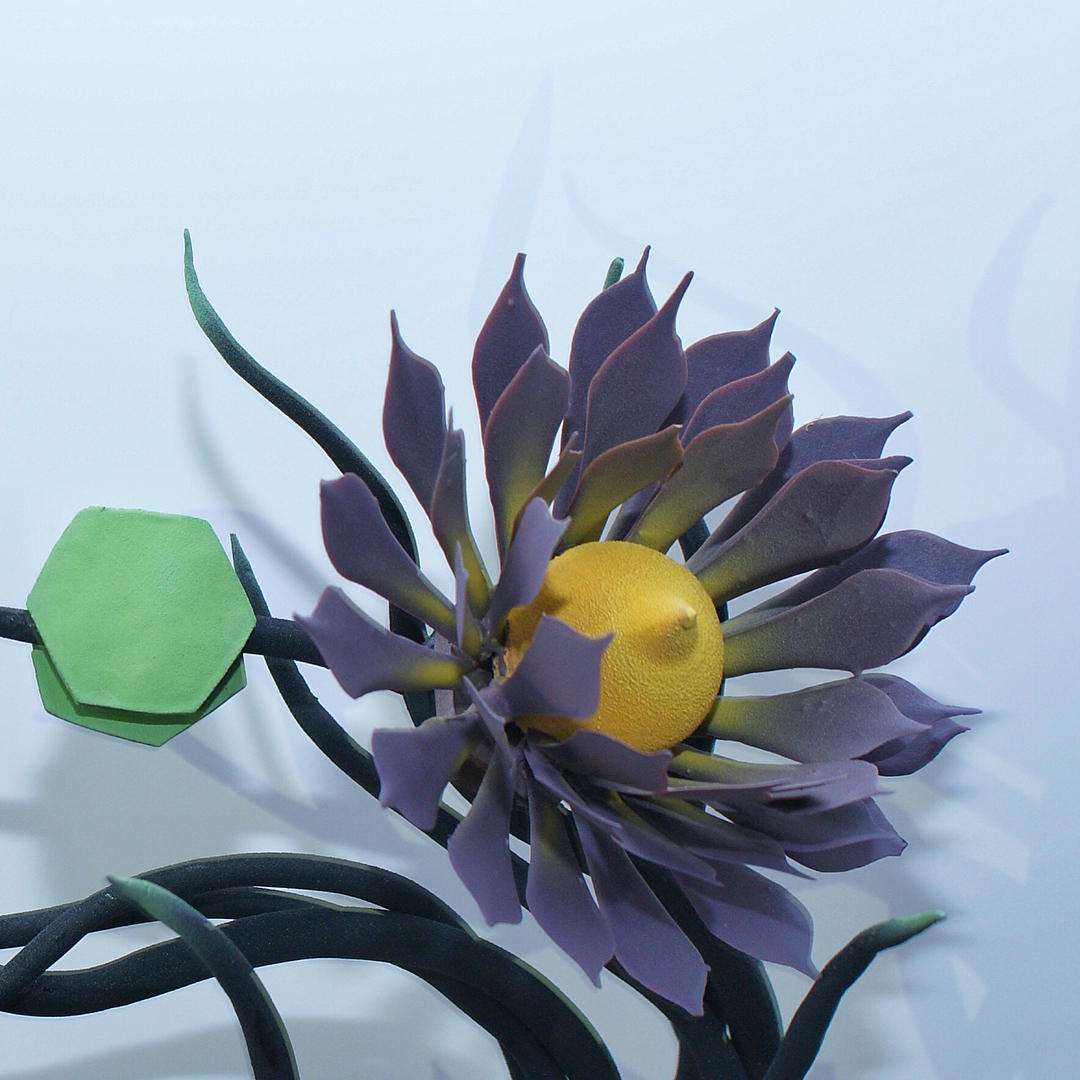
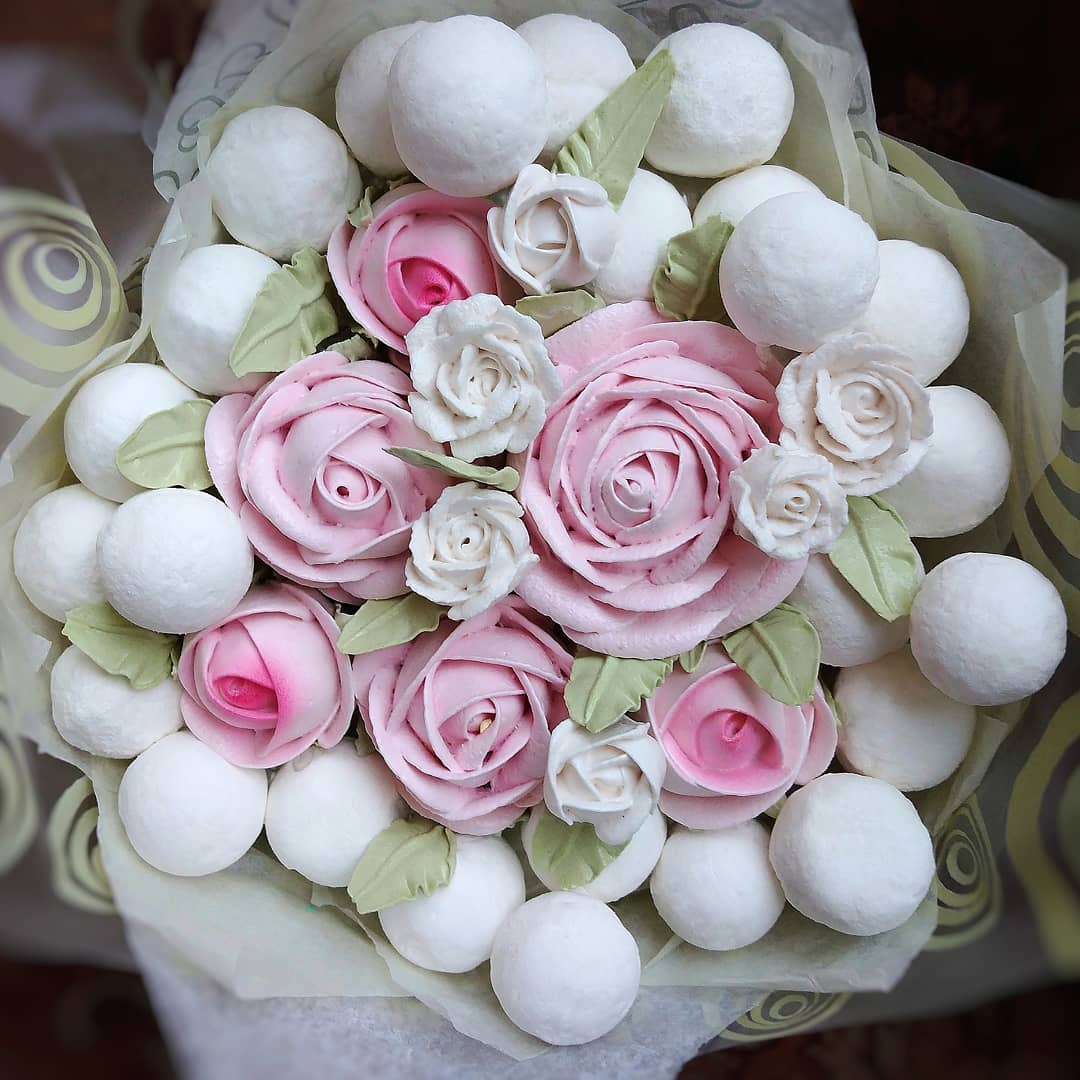
Your sculpted décor elements deserve to shine! 💫 Here are some fabulous serving suggestions to showcase your plastic white chocolate creations:
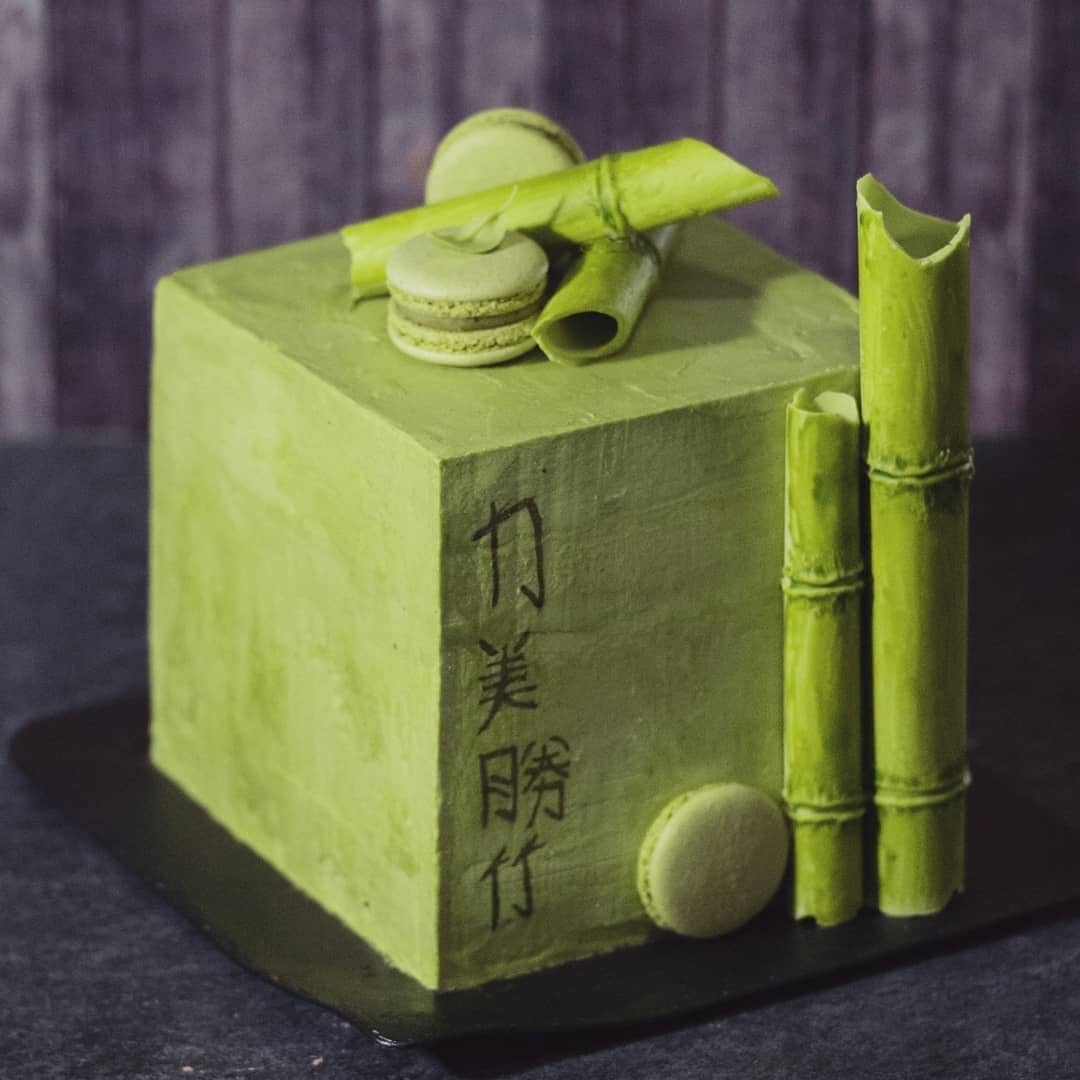
🎂 On Cakes: Top a simple cake with intricate white chocolate designs for an instant wow-factor. The beautiful, edible artwork will make any celebration unforgettable!
🧁 Cupcake Toppers: Add a touch of elegance to your cupcakes by placing mini chocolate sculptures on top – perfect for birthdays, weddings, or any special occasion.
🍨 Dessert Garnish: Dress up a dish of ice cream or a creamy dessert with delicate white chocolate decorations. The combination of textures will delight the senses.
☕ Coffee Decoration: Surprise your guests by adding a small chocolate art piece to their coffee saucer. It's those little details that leave a lasting impression.
Mix and match these ideas or come up with your own! The possibilities are endless with this versatile recipe.
Equipment
These are essential for melting your white chocolate evenly. If you use a microwave, heat in short increments to avoid scorching.
A stick blender works wonders for ensuring the coloring is fully integrated into the chocolate, offering a smooth and consistent paste.
This tool is ideal for mixing your ingredients without scratching your bowl and for scraping every last bit of deliciousness.
Use this to wrap your chocolate paste to keep it fresh while it stabilizes in the fridge.
Essential for the 12-hour stabilization period. Ensure it's not too cold to prevent your paste from becoming too hard.
Variations
Whether you have dietary restrictions or are just looking for healthier options, here are some gluten-free and vegan variations to try! 🌿✨
Gluten-Free: The original recipe is naturally gluten-free, so you're all set! Just make sure your white chocolate and glucose syrup carry a gluten-free certification.
Vegan: To create a vegan version, simply swap the white chocolate for a vegan alternative. Many brands offer delicious dairy-free white chocolate that works perfectly with this recipe. Also, verify that your glucose syrup is vegan-friendly.
These small tweaks can make a big difference, ensuring everyone can enjoy your beautifully sculpted chocolate décor. Bon appétit!
Faq
- Why did my chocolate paste turn lumpy?
This can happen if the chocolate wasn't melted evenly or if the glucose syrup wasn't mixed thoroughly. Make sure to blend well and heat gently.
- Can I use regular sugar instead of glucose syrup?
Unfortunately, regular sugar won't give you the same pliability and texture. Stick to glucose syrup for best results.
- How do I fix my paste if it becomes hard?
You can gently knead it to soften it up, or if it's very hard, give it a short burst of heat, but watch closely to avoid melting it.
- Can I add other colors to my paste?
Absolutely! Just make sure to use fat-soluble colors since water-based colors will cause the chocolate to seize up.
- What's the best way to store leftover paste?
Wrap it tightly in plastic wrap and keep it in an airtight container in the refrigerator. It should last a couple of weeks with no issues.
- How do I prevent my sculptures from melting at room temperature?
Keep them cool until just before serving. If your environment is very warm, work in short intervals and refrigerate as needed.

