Ingredients

Sponge Biscuit

  • 3 pc eggs
  • 150 grams (5.30 ounces) sugar
  • 0.5 tsp baking soda
  • 150 grams (5.30 ounces) vegetable oil (olive/sunflower)
  • 200 grams (7.05 ounces) grated pumpkin
  • 1 tsp cinnamon
  • 0.75 tsp nutmeg
  • 200 grams (7.05 ounces) flour

Pear Filling

  • 4 pc pears
  • 2 tsp butter
  • 1 Tbs sugar
  • 6 grams (0.20 ounces) gelatin

Chocolate Cream Mousse

  • 900 grams (31.75 ounces) cream cheese or mascarpone
  • 300 grams (10.60 ounces) cream 33%
  • 90 grams (3.15 ounces) milk chocolate
  • 90 grams (3.15 ounces) bitter chocolate
  • 16 grams (0.55 ounces) gelatin
  • 50 grams (1.75 ounces) powdered sugar

Equipment

  • Mixing Bowls

    These are essential for preparing your biscuit batter, pear filling, and chocolate cream mousse. Make sure you have a couple of large ones to work with ease.

  • Hand Mixer or Stand Mixer

    A good mixer will make combining your ingredients a breeze and help achieve the perfect texture.

  • Spatula

    Ideal for folding in delicate ingredients without overmixing.

  • Springform Pan (18 cm/7 inch)

    Perfect for baking and assembling your cake layers. Ensure it has a tight seal to avoid leaks.

  • Acetate Foil

    This will help you achieve clean, sharp edges on your cake when assembling.

  • Freezer

    A must for setting the mousse and pear filling layers. Make sure you have adequate space to place your cake.

Instructions

Step 1

Step 1: Preheat your oven to 180°C (356°F).

Step 2

Tip: Ensure your ingredients are at room temperature for a better mix.

Step 3

Step 2: In a large bowl, whisk the eggs with the sugar and baking soda until the mixture is white and fluffy.

Step 4

Tip: Use an electric mixer for a quicker and more consistent result.

Step 5

Step 3: Slowly add the vegetable oil while continuing to whip the mixture.

Step 6

Step 4: Add the grated pumpkin and mix well.

Step 7

Step 5: Sift the cinnamon, nutmeg, and flour into the bowl, then gently fold everything together with a spatula until smooth.

Step 8

Tip: Be gentle while folding to maintain the airiness of the batter.

Step 9

Step 6: Pour the batter into an 18cm (7 inch) diameter mold.

Step 10

Step 7: Bake in the oven for 40 to 45 minutes. Use a toothpick to check for doneness—it should come out clean.

Step 11

Tip: Let the sponge cool completely on a wire rack.

Step 12

Step 8: Once cooled, wrap the sponge in plastic film and refrigerate for a day.

Step 13

Step 9: After resting, slice the sponge into three even layers.

Step 14

Step 10: For the pear filling, start by soaking the gelatin in cold water at a ratio of 1:5.

Step 15

Step 11: Peel and dice the pears. Place them in a saucepan with the butter and cook on low heat until soft, which takes around 10 minutes.

Step 16

Tip: Stir occasionally to avoid sticking.

Step 17

Step 12: Add sugar and increase the heat to medium. Stir until the sugar dissolves.

Step 18

Step 13: Remove from heat and add the gelatin mass. Whisk until fully dissolved.

Step 19

Step 14: Divide the filling into two parts and place each in a separate ring, lined with plastic film, 16cm (6.3 inch) in diameter. Freeze for a day.

Step 20

Step 15: For the chocolate cream mousse, soak the gelatin in cold water at a ratio of 1:5.

Step 21

Step 16: Heat 180 grams (6.30 ounces) of cream to a boil and pour it over the chocolate and gelatin mixture. Let it sit for a couple of minutes then whisk until smooth.

Step 22

Step 17: Whip the cream cheese with powdered sugar and the remaining cream.

Step 23

Step 18: Add the chocolate emulsion and stir until smooth. Taste and add more powdered sugar if needed.

Step 24

Step 19: To assemble, wrap an 18cm (7 inch) ring with cling film and line the sides with acetate foil to avoid wrinkles.

Step 25

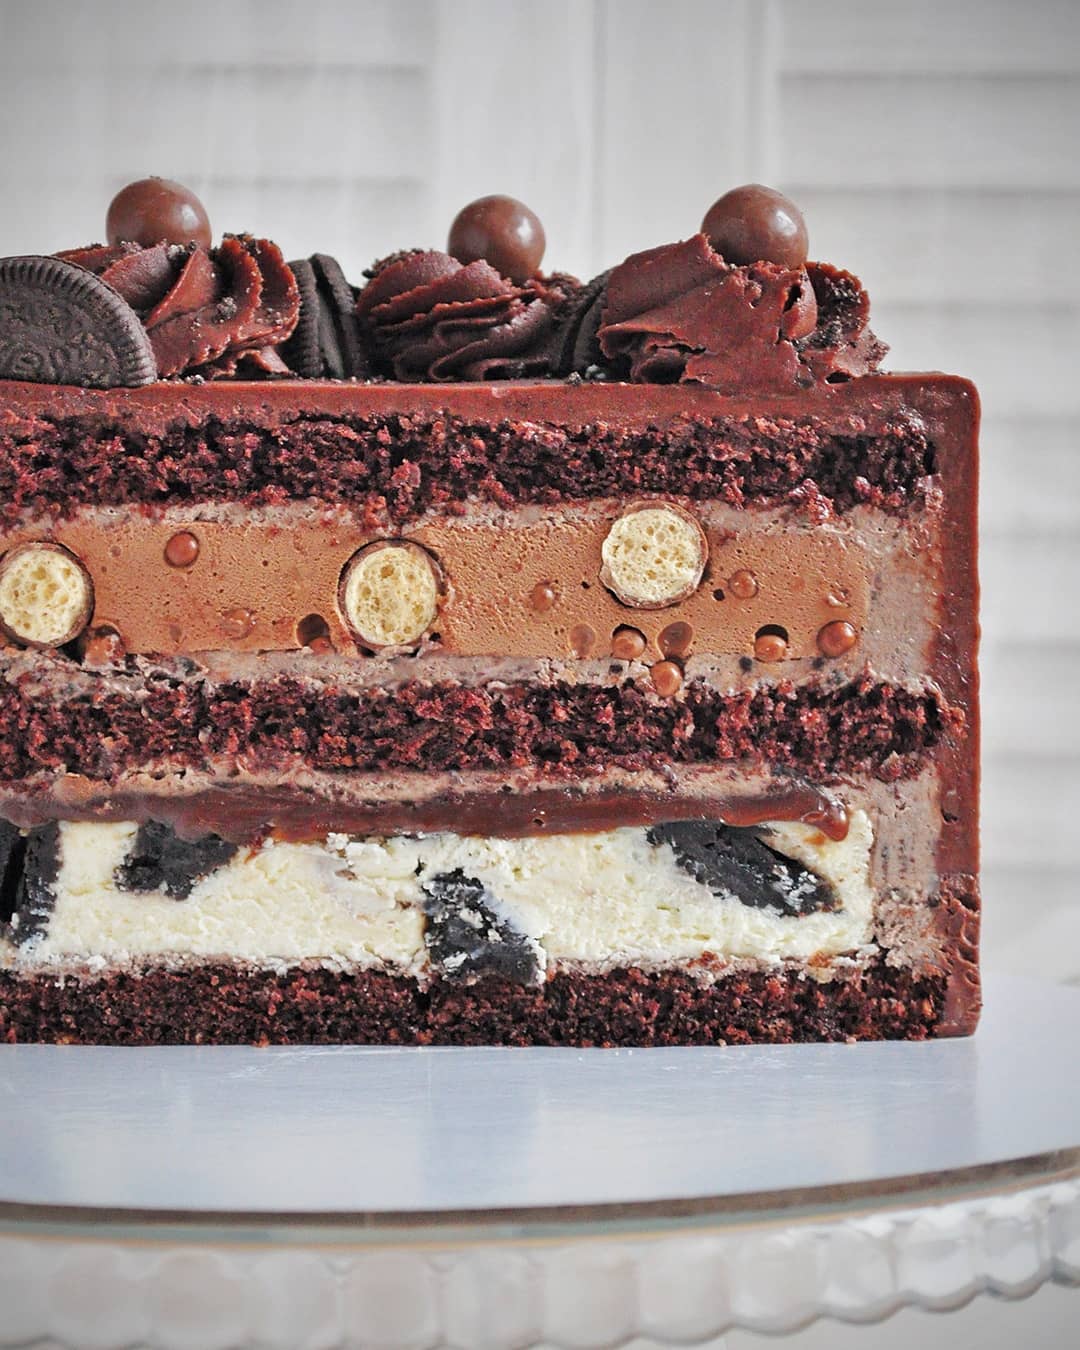
Step 20: Pour a bit of the cream mousse at the bottom, then layer as follows: cake layer, cream, pear filling, cream, second cake layer, cream, filling, cream, and finally, third cake.

Step 26

Tip: Make sure to fill the sides as you go to keep the layers even.

Step 27

Step 21: Cover the cake with foil and freeze overnight, preferably for 24 hours.

Step 28

Step 22: To demold, warm the ring with a hair dryer, then gently remove the acetate film.

Step 29

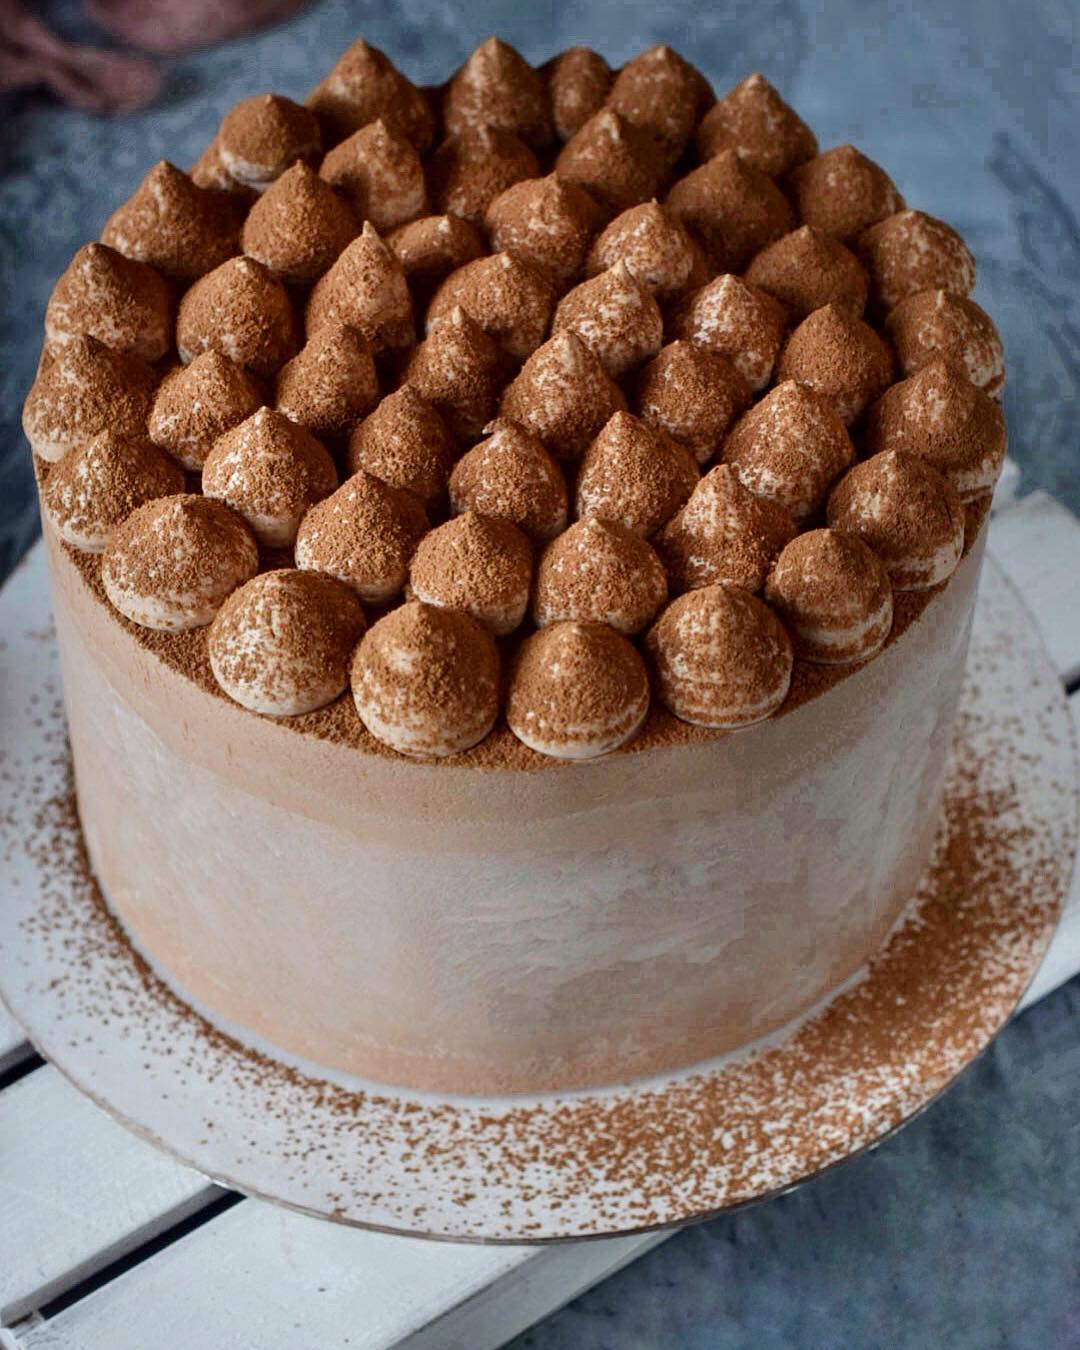
Step 23: Decorate as desired and enjoy!

Servings

Serving Suggestions & Ideas:

🍴Dinner Party Delight: Serve this cake as the grand finale to a sumptuous dinner party. The combination of pumpkin, pear, and chocolate will have your guests talking about dessert long after the evening is over. Pair with a glass of sweet dessert wine or a creamy cappuccino for an extra touch of elegance.

🌟 Festive Centerpiece: Make this cake the star of your holiday table. Its bold flavors and eye-catching appearance make it a fantastic centerpiece. Garnish it with edible gold leaf, powdered sugar, or fresh fruit for a festive touch.

🥳 Celebration Cake: Whether it’s a birthday, anniversary, or just because, this cake is perfect for any celebration. Cut into thin slices to allow guests to savor each layer, and watch the smiles spread as they take their first bite.

Don't forget to snap a photo before serving—this cake is Instagram-worthy! 📸🌟

Variations

Gluten-Free & Vegan Variations:

🍰 Gluten-Free: Swap out the regular flour for a high-quality gluten-free baking blend. Make sure to check the baking powder and other ingredients for gluten-free certification!

🥥 Vegan: Replace the eggs with flax eggs (1 tbsp ground flaxseed mixed with 2.5 tbsp water per egg), use dairy-free butter, and opt for a plant-based cream cheese and chocolate. You can also use agar-agar instead of gelatin for the filling and mousse layers.

These variations ensure everyone can enjoy a slice of this delectable cake without a worry. 🌿🍰

Faq

  • How can I ensure my sponge biscuit is light and fluffy?

    Make sure to whisk the eggs and sugar until the mixture is pale and voluminous. Be gentle when folding in the dry ingredients to keep the airiness intact.

  • Can I use canned pumpkin instead of fresh?

    Yes, you can use canned pumpkin puree. Just make sure to use plain puree, not pumpkin pie filling, which has added sugars and spices.

  • How do I know when the biscuit is baked through?

    Insert a toothpick into the center of the biscuit. If it comes out clean or with just a few crumbs, it's done!

  • Any tips for working with gelatin in the filling?

    Ensure you soak the gelatin properly and dissolve it completely in warm liquid to avoid lumps.

  • What's the best way to get clean slices when serving?

    Use a hot knife to slice the cake. Dip the knife in hot water and wipe it dry before each cut for neat, clean slices.

  • Can I make this cake ahead of time?

    Yes, this cake is perfect for making ahead. Assemble it the day before and keep it in the freezer. Thaw it in the fridge a few hours before serving for best results.

Nutrition facts

Pumpkin cake with chocolate & pears
Recipe Yield:Approximately 2.5 kg (88.00 ounces)
Calories:Calories per cake
Calories (Min - Max):3200 - 3400
Total Fat:200g
Saturated Fat:100g
Protein:50g
Total Carbohydrate:300g
Total Sugars:150g