Ingredients

Sponge Biscuit

  • 290 grams (10.2 ounces) cream 35%
  • 4 large eggs
  • 250 grams (8.8 ounces) sugar
  • 10 grams (0.35 ounces) vanilla sugar
  • 12 grams (0.42 ounces) baking powder
  • 220 grams (7.76 ounces) flour
  • 15 grams (0.53 ounces) cocoa powder
  • 12 grams (0.42 ounces) red gel dye

Creme

  • 250 grams (8.8 ounces) cream 35%
  • 100 grams (3.53 ounces) cream cheese
  • 1 tablespoon (7.5 grams) powdered sugar
  • Vanilla essence to taste

Equipment

  • Mixing Bowls

    A good set of mixing bowls is essential. Use one for whipping the egg whites, another for mixing the yolks, and a third for combining everything. Stainless steel or glass bowls are preferable.

  • Electric Mixer

    An electric mixer, either a stand or hand mixer, will save you a lot of time and effort when beating the eggs and whipping the cream. Make sure your beaters are clean and dry to achieve the best peaks.

  • Baking Ring Mold

    This is crucial for shaping your sponge biscuit. A 21cm (8.3 inch) diameter mold with a height of 8cm (3.1 inch) is recommended. Remember to line it well with foil and baking paper.

  • Pastry Bag

    Use a pastry bag for layering the crème evenly between the sponge pieces. You can also use it for adding decorative touches.

  • Wire Rack

    A wire rack allows for even cooling of your sponge biscuit, avoiding any soggy bottoms. Place it on a stable surface before pouring the dough into the baking ring mold.

  • Measuring Scale

    Accurate measurements ensure perfect results every time. A digital kitchen scale helps you measure ingredients down to the gram for precision.

Instructions

Step 1

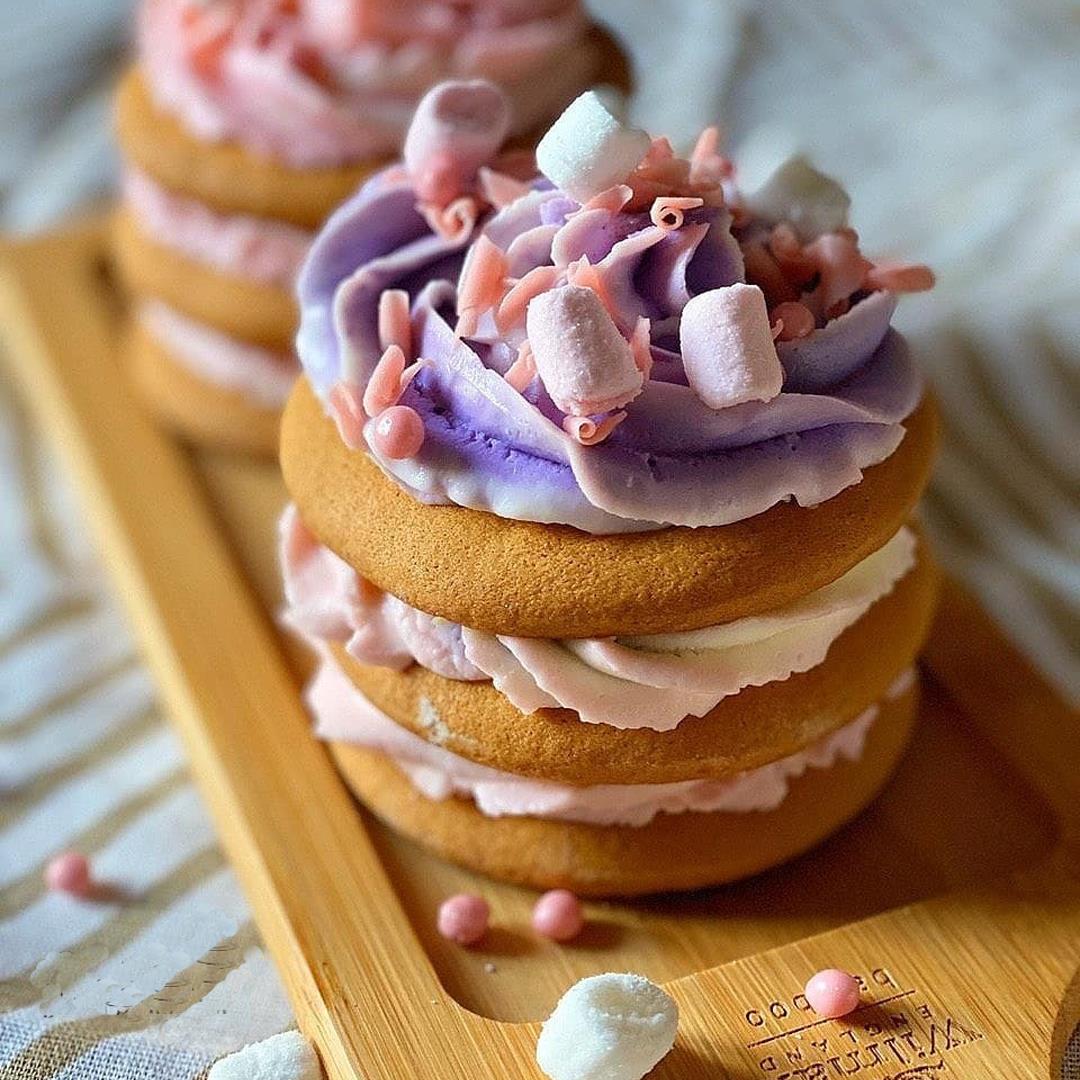
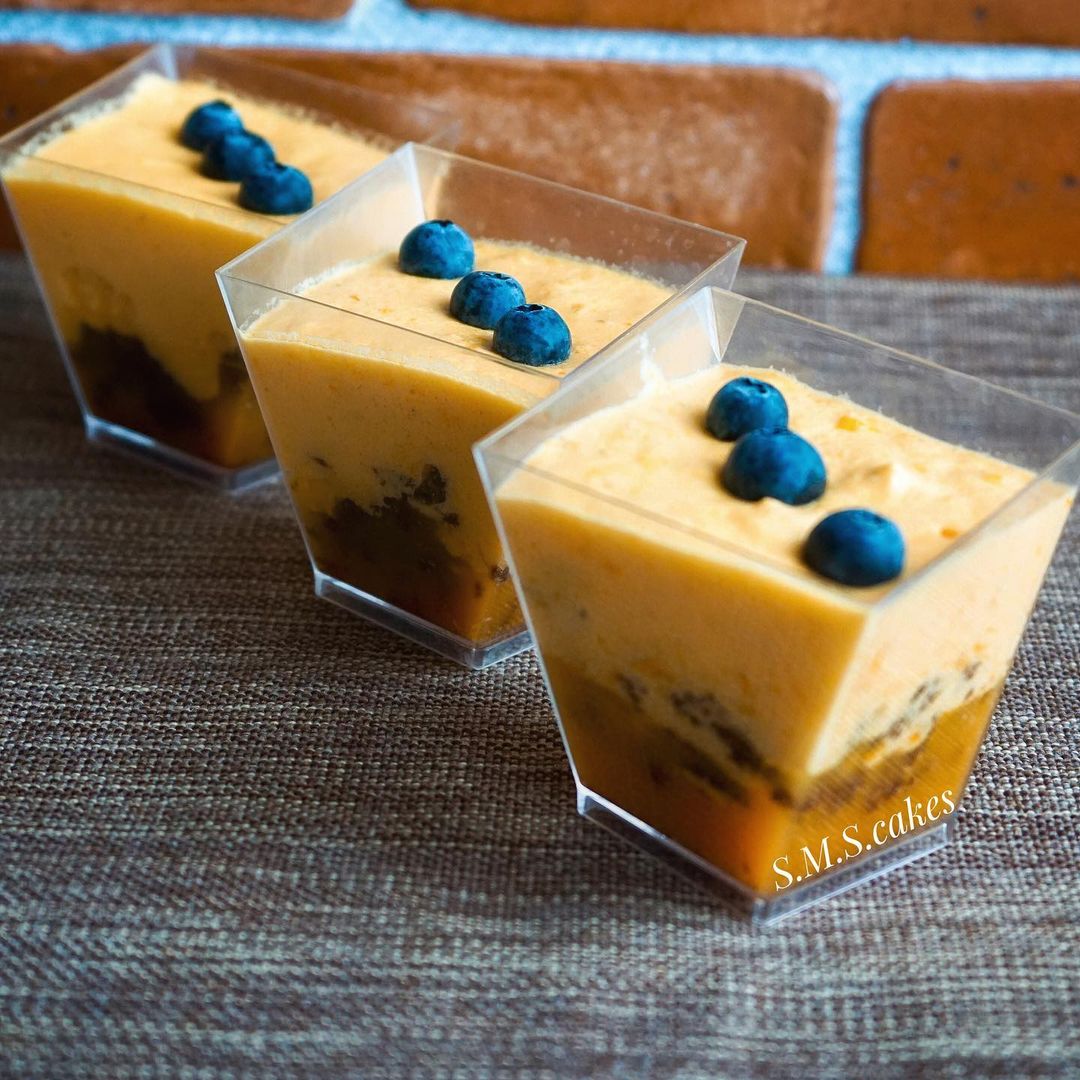
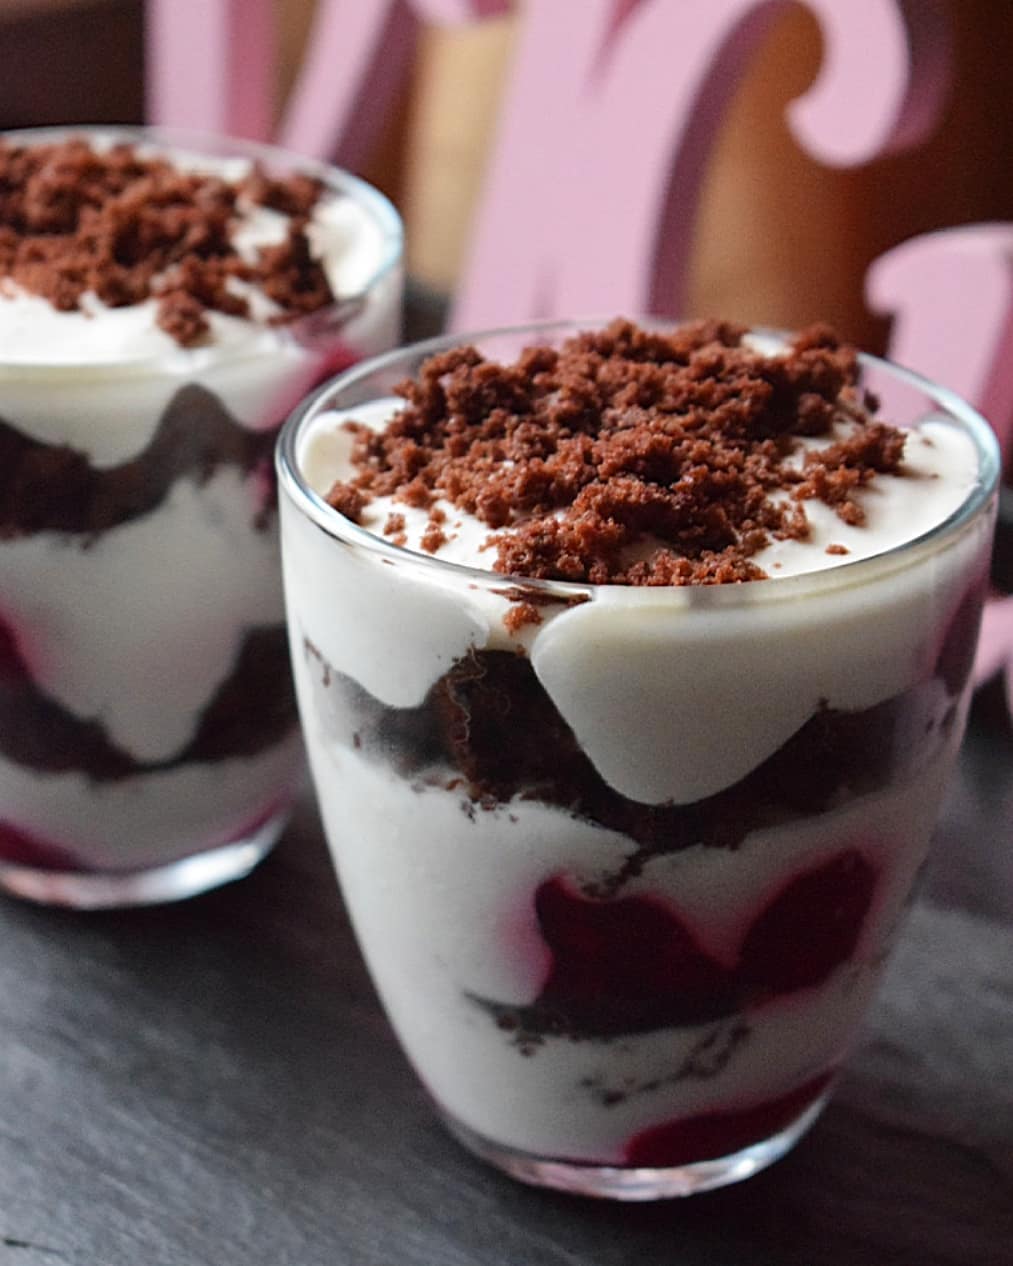
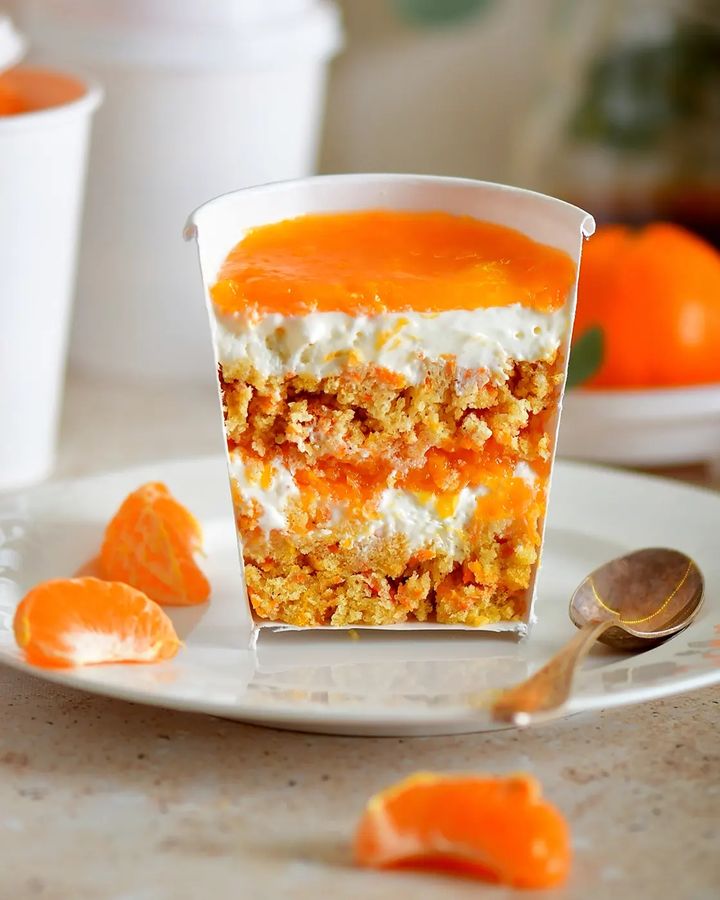
This recipe will show you how to make amazingly delicious Red Velvet trifles. Enjoy!

Step 2

If you have extra sponge cake crusts left after assembling the cake, here’s a delicious way to use them! Berries, light creme, vanilla, and a bit of cream cheese… Yummy!

Step 3

The following calculations are for a sponge biscuit 21cm (8.3 inches) in diameter and 8cm (3.1 inches) in height. Split the eggs into whites and yolks. Whip the whites with half of the sugar until stiff peaks form. In another bowl, whip the yolks with the remaining sugar and vanilla sugar until fluffy. Add the dye and mix.

Step 4

Tip: For the best results, ensure your mixing bowls and beaters are grease-free when whipping egg whites.

Step 5

Whisk the cream until thick, then fold it into the whipped yolk mixture. Sift the flour together with the baking powder and cocoa.

Step 6

Combine half of the whipped egg whites with the yolk mixture, then gently fold in the flour. Finish by folding in the remaining egg whites. Use a spatula, being careful not to deflate the batter.

Step 7

Tip: Folding in the whites gently will help maintain the cake's light and airy texture.

Step 8

Pour the batter into a baking ring mold lined with foil on the bottom and a circle of parchment paper inside. Cover the top of the batter with a sheet of foil and place it on an oven rack.

Step 9

Bake the sponge biscuit in a preheated oven at 170°C (338°F) for about 1 hour and 20 minutes, or until a skewer inserted in the center comes out dry. Cool the biscuit in the mold to room temperature, then wrap it in foil and refrigerate overnight or for at least 7-8 hours.

Step 10

Tip: Cooling the cake completely before cutting helps to reduce crumbs and makes for cleaner layers.

Step 11

Once cooled, cut the sponge cake into 4 layers. Each layer can be used to make approximately 4 trifles (each 250 grams | 8.80 ounces).

Step 12

Place all the creme ingredients in a bowl and whip until thick.

Step 13

Tip: Chill your bowl and beaters before whipping the cream for the best results.

Step 14

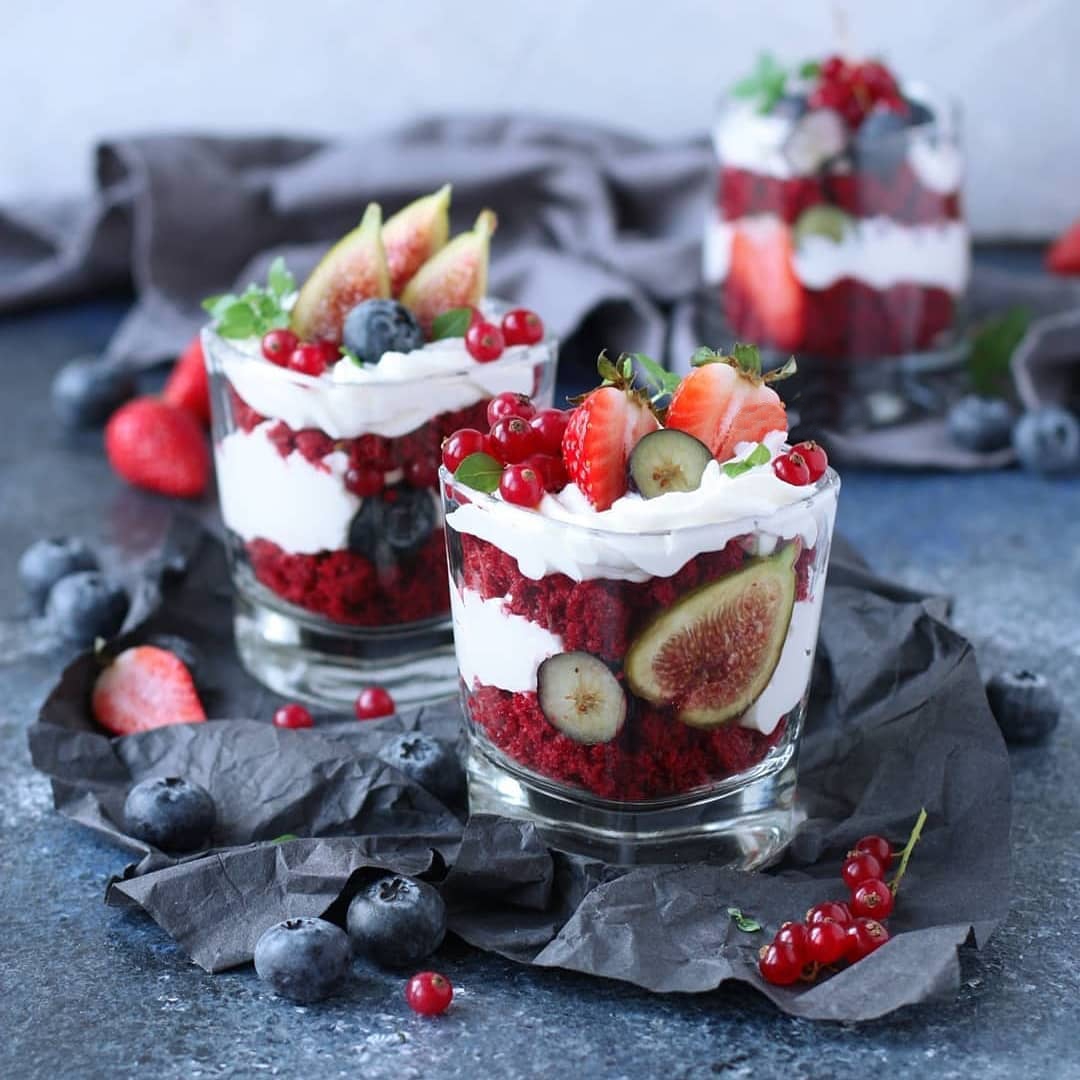
Transfer the whipped creme to a pastry bag and use it to layer the sponge cake pieces. Decorate the trifles with berries and let them set in the fridge for a while before serving.

Step 15

Enjoy your homemade Red Velvet trifles!

Servings

Picture this: a sunny afternoon, laughter echoing through the air, and a picnic blanket spread with an assortment of mouthwatering delights. Among them, glistening like a ruby treasure trove, are your Red Velvet trifles. These trifles aren't just a dessert; they’re an experience. Serve these trifles layered with fresh raspberries and blueberries, turning each bite into a juicy, creamy explosion of flavors. For an added visual flair, sprinkle some edible gold dust on top. They're perfect as an indulgent ending to a family dinner or a sweet surprise at a garden party. Want to elevate it even further? Pair these trifles with a chilled glass of rosé or a hot cup of Earl Grey tea. The subtle floral notes of the tea or the fruity zing of the rosé will complement the rich, velvety texture of the trifles, making your taste buds do a little happy dance. Enjoy the moment, savor each layer, and bask in the glow of dessert perfection!

Variations

For a gluten-free version, simply substitute the flour in your sponge biscuit with a gluten-free flour blend. Make sure it’s a blend that's designed for baking to get the best texture and rise. Everything else in the recipe remains the same! If you’re aiming for a vegan version, replace the cream with coconut cream (make sure it’s thick) and choose a vegan cream cheese. For the sponge, you can use aquafaba (chickpea brine) to whip up instead of egg whites and replace the egg yolks with a flaxseed or chia seed gel. Use plant-based food dye and ensure all your ingredients are certified vegan.

Faq

  • Why is my sponge biscuit not rising properly?

    This could be due to under-whipped egg whites or over-mixing the batter. Make sure to achieve stiff peaks with the egg whites and fold them in gently.

  • How do I prevent my sponge biscuit from being dry?

    Bake the sponge biscuit at the recommended temperature and for the specified time. Over-baking can lead to a dry texture.

  • Can I make the crème in advance?

    Yes, you can prepare the crème a day in advance. Keep it refrigerated in an airtight container and give it a quick whisk before using.

  • What’s the best way to cut the sponge biscuit?

    Use a serrated knife and ensure the biscuit is fully cooled and stabilized in the fridge. This helps achieve clean layers without crumbs.

  • How can I make my trifles look more presentable?

    Utilize a clear trifle bowl to showcase the beautiful layers. Garnish with fresh berries and mint leaves for an added touch of elegance.

  • What’s the secret to a perfectly fluffy crème?

    The key is to use cold cream and equipment. Chill your mixing bowl and beaters in the fridge for about 15 minutes before whipping.

Nutrition facts

Red velvet trifles
Recipe Yield:16 trifles
Calories:per trifle
Calories (Min - Max):350 - 400
Total Fat:25g
Saturated Fat:15g
Protein:4g
Total Carbohydrate:30g
Total Sugars:20g