Ingredients

Dough

100 grams (7 tablespoons) butter
230 grams (1 cup plus 2 tablespoons) sugar
1 large egg
1 large egg yolk
240 grams (1 cup) buttermilk
70 grams (5 tablespoons) vegetable oil
370 grams (2 3/4 cups) flour
20 grams (3 tablespoons) cocoa powder
1/2 teaspoon baking soda
1 teaspoon leavening agent (baking powder)
Red food dye (as needed)
We recommend:

Instructions

Step 1

Step 1: Combine the softened butter and sugar. Whisk until smooth. Make sure the butter is at room temperature to ensure a smooth mixture.

Step 2

Step 2: One at a time, beat in the egg and egg yolk. Whip until fluffy. Incorporate each egg fully before adding the next for best results.

Step 3

Step 3: Add the buttermilk and vegetable oil. Whisk until soft. Ensure ingredients are well-mixed but not over-beaten.

Step 4

Step 4: In a separate bowl, combine flour, baking soda, baking powder, and cocoa. Stir well. Sift the dry ingredients to avoid clumps.

Step 5

Step 5: Add half of the dry ingredients to the egg mixture and stir. Repeat with the remaining flour mixture. Stir until combined. Do not overmix, as this may make the dough tough.

Step 6

Step 6: Add red food dye. Stir until smooth. Adjust the dye amount to get the desired color intensity.

Step 7

Step 7: Preheat the oven to 347°F (175°C). Preheating is crucial to ensure even baking.

Step 8

Step 8: Pipe the dough onto prepared baking sheets using a pastry bag, or use a spoon to make even circles about 6cm (2.36 inches) in diameter. Use parchment paper or a silicone mat to avoid sticking.

Step 9

Step 9: Bake in a preheated oven for 12-15 minutes. Let the cookies cool. Check for doneness by lightly pressing the cookies; they should spring back.

Step 10

Step 10: For the filling, combine room temperature butter and powdered sugar. Whisk for 2-3 minutes. Softened butter will blend more easily with the sugar.

Step 11

Step 11: Add the cream cheese. Whisk for another minute. Make sure the cream cheese is also at room temperature to prevent lumps.

Step 12

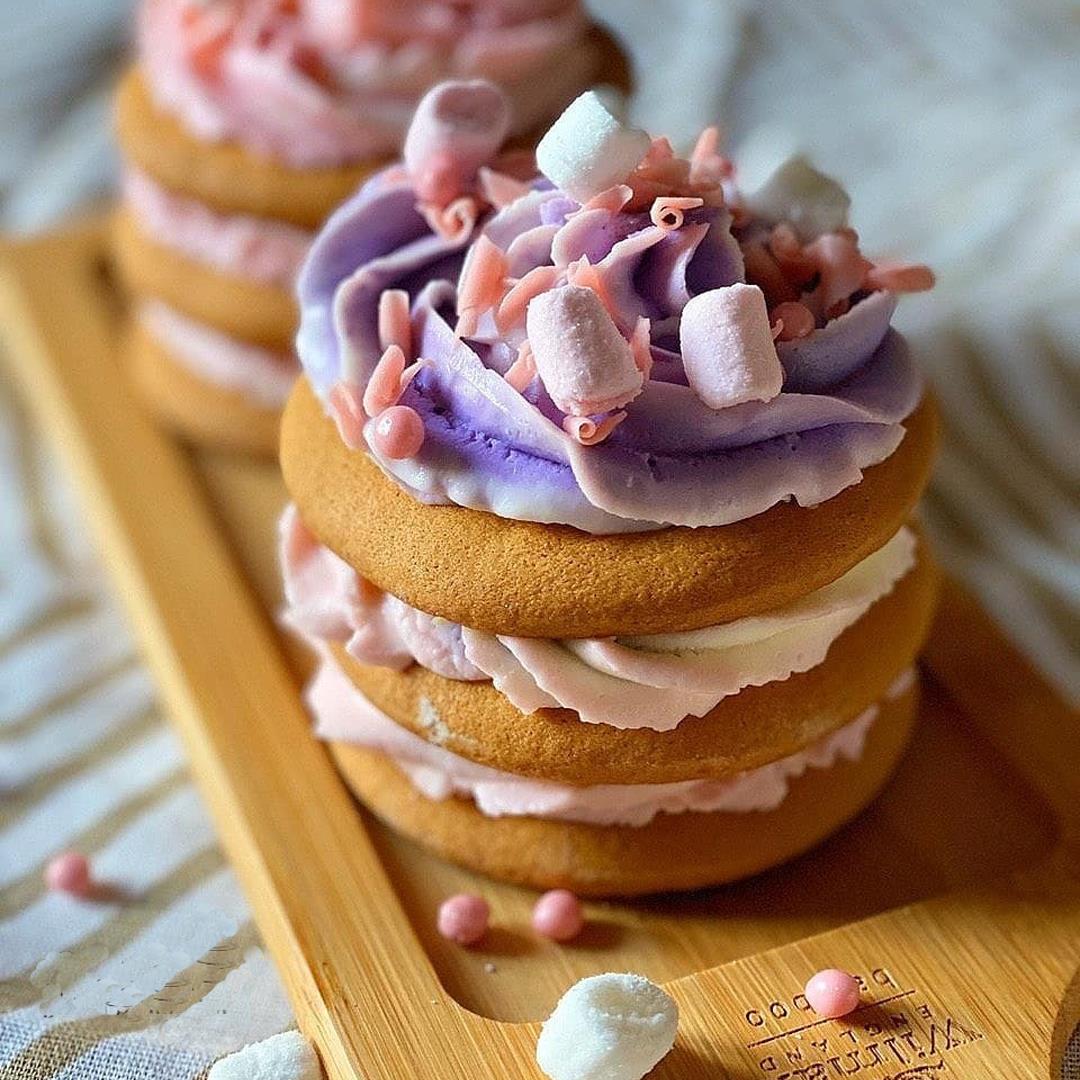
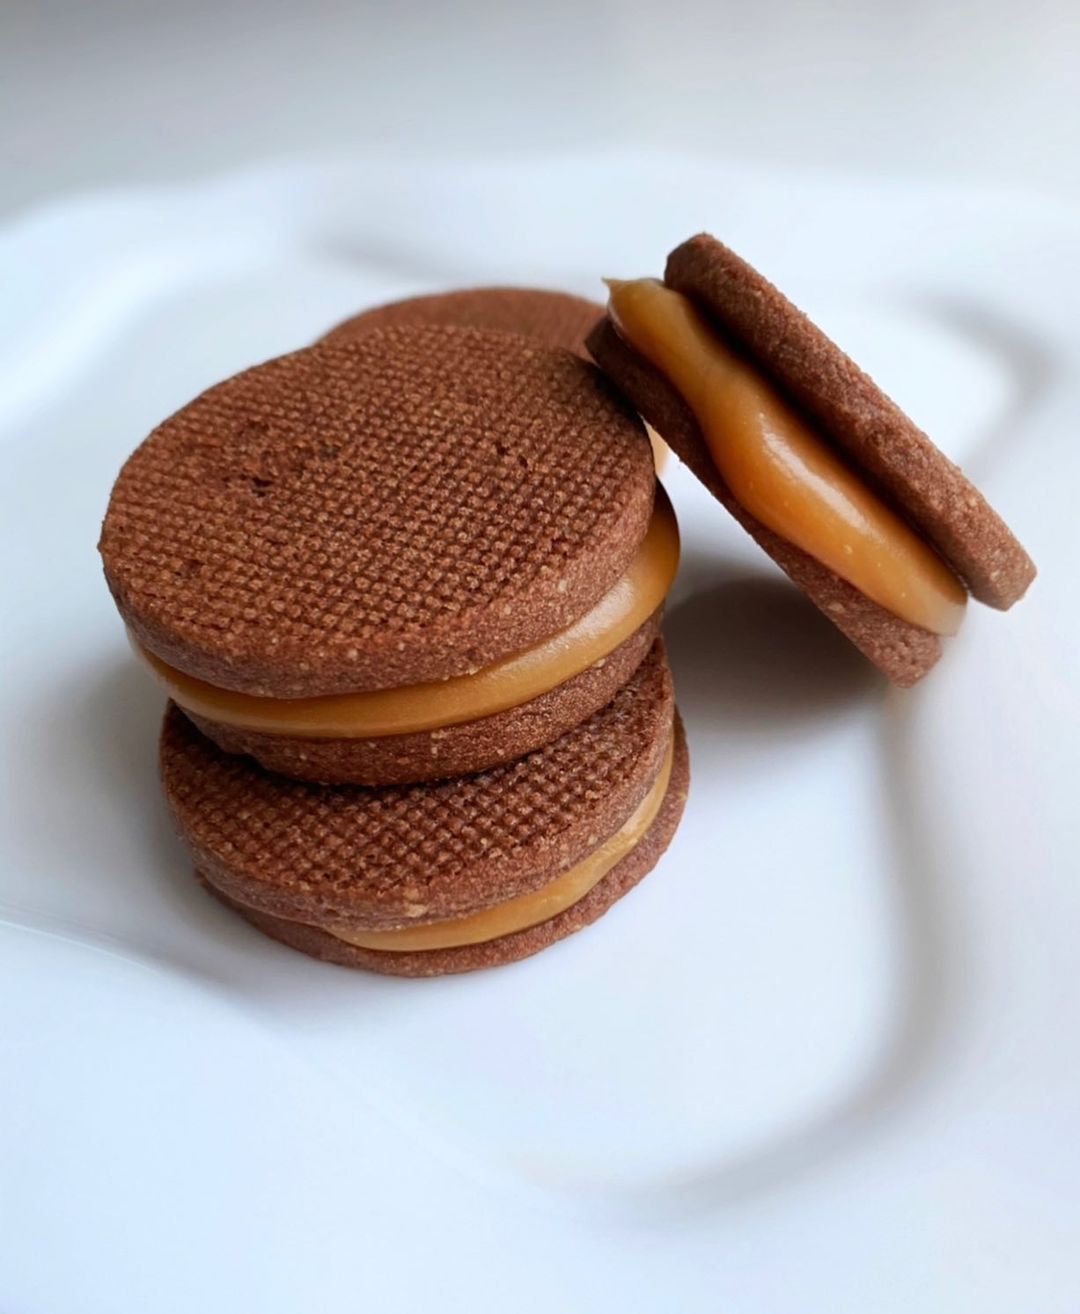
Step 12: Put filling on one cookie and sandwich the second cookie on top. Repeat with each pair and place them in the refrigerator for 2 hours. This set time in the refrigerator helps the filling to firm up.

Servings

Get ready to wow your guests with some delightful serving suggestions! 💁‍♀️ **Pair it with Coffee or Tea**: These pastries are the perfect companion to your morning coffee or afternoon tea. ☕ Add a sprinkle of cocoa on top for extra flair. **Afternoon Delight**: Serve these beauties as part of an indulgent afternoon snack. 🕒 Add a side of fresh berries and a dollop of whipped cream for a touch of elegance. **Party Platter**: Hosting a gathering? 🎉 Create a stunning dessert platter with these pastries as the star. Surround them with an assortment of nuts, candies, and mini fruit tarts. Your guests will marvel at the spread! **Dressed Up for Dessert**: For a more formal spin, serve with a scoop of vanilla ice cream and a drizzle of chocolate syrup. 🍨 Garnish with mint leaves for color contrast.

Equipment

Mixing Bowls

You’ll need at least two mixing bowls – one for wet ingredients and one for dry. Get bowls with a non-slip base for easy mixing.

We recommend:

Variations

Let's get creative! Whether you're embracing a gluten-free lifestyle or going vegan, here's how to tweak this recipe: **Gluten-Free Version**: Swap out the regular flour for **gluten-free flour**. Make sure to add an extra 1/2 teaspoon of xanthan gum to help bind the ingredients. 💪 Enjoy the same texture with none of the gluten! **Vegan Delight**: Replace the butter with **coconut oil** and use a **flax egg** instead of the regular egg. For the buttermilk, **soy milk mixed with a teaspoon of lemon juice** works wonders! 🌱 The filling can be made vegan-friendly by using **vegan cream cheese** and **vegan butter**.

Faq

  • How do I prevent my pastries from spreading too much during baking?

    Chill the dough for 30 minutes before baking. This helps maintain their shape.

  • Can I make the dough ahead of time?

    Absolutely! Store it in the fridge for up to 24 hours or freeze it for up to a month. Thaw before using.

  • What's the best way to get a smooth filling?

    Ensure that both the butter and cream cheese are at room temperature before mixing. Beat them well to avoid lumps.

  • Can I use a different type of food dye?

    Yes, gel food dye works well and provides vibrant colors without altering the consistency of the dough.

  • How can I make my pastries extra moist?

    Don't overbake them! Check a minute before the suggested time and opt for buttermilk to add moisture.

  • Can these pastries be stored at room temperature?

    For the best texture and flavor, store them in the fridge and let them sit at room temperature for a few minutes before serving.

Nutrition facts

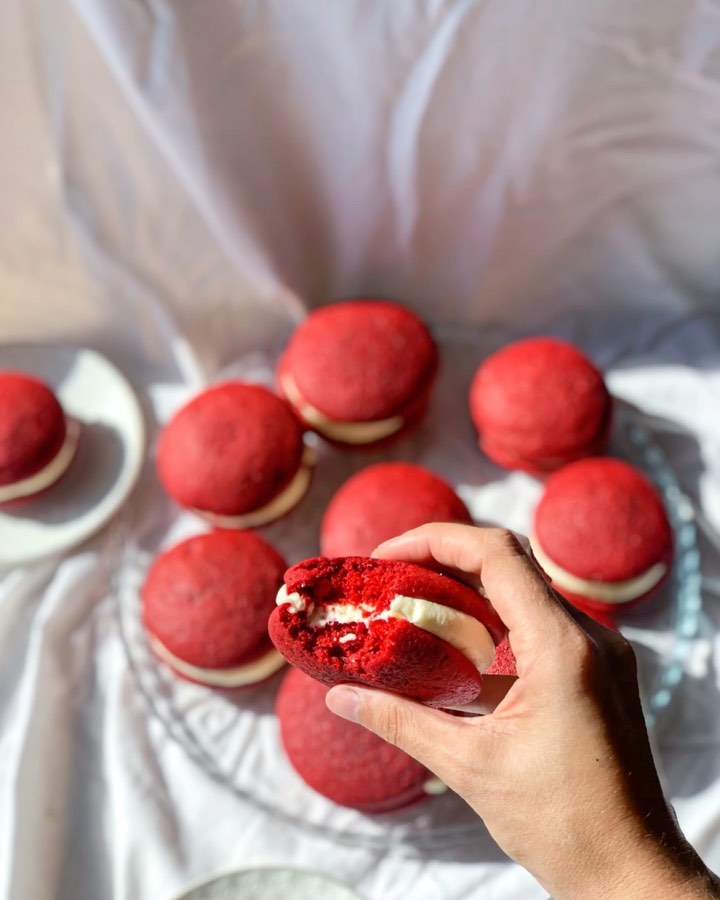
Red Velvet whoopie pies with cream cheese filling
Recipe Yield:12 servings
Calories:Calories per serving
Calories (Min - Max):380 - 400
Total Fat:24g
Saturated Fat:14g
Protein:5g
Total Carbohydrate:37g
Total Sugars:25g