Ingredients
Marshmallow Base
Syrup
Instructions
Step 1
Step 2
Step 3
Step 4
Step 5
Step 6
Step 7
Step 8
Step 9
Step 10
Servings
Equipment
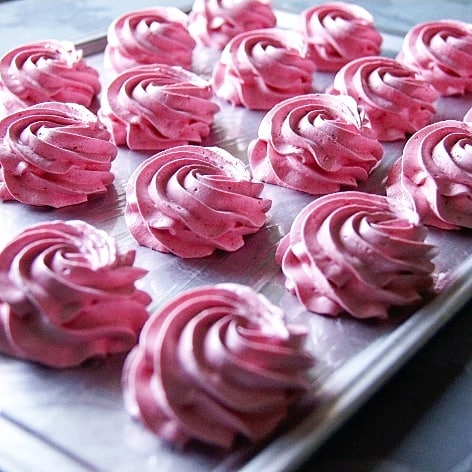
Essential for forming the marshmallows into perfect shapes. Tip: Ensure your pastry bag is clean and dry before use.
Perfect for cooking the syrup evenly. Tip: A heavy-bottomed saucepan prevents the syrup from burning.
Ideal surfaces for marshmallows to set. Tip: Silicone mats can be reused, making them an eco-friendly option.
An absolute must for whipping the ingredients to fluffy peaks. Tip: Use a whisk attachment for best results.
Ensures the syrup reaches the correct temperature. Tip: Digital thermometers are more accurate and easier to read.
Variations
Faq
- How do I prevent my marshmallows from becoming too sticky?
Ensure they dry out properly by letting them set for the full 10-14 hours. Rolling them in powdered sugar mixed with a bit of cornstarch can also help reduce stickiness.
- Can I make these marshmallows without a stand mixer?
Yes, you can use a hand mixer, although it might take a bit longer to achieve the fluffy peaks needed.
- Why is it important to heat the syrup to 110C (230F)?
Heating the syrup to this temperature ensures it will set correctly and stabilize the marshmallows.
- Can I use a different flavor instead of red wine?
Absolutely! Feel free to experiment with juices or flavored syrups to create a different taste profile.
- How can I store these marshmallows?
Store them in an airtight container at room temperature. Avoid refrigerating as it can make them too sticky.
- What’s the best way to incorporate food coloring without affecting the texture?
Add a few drops of gel food coloring when you mix the syrup into the whipped mass. Gel coloring is concentrated and won't alter the texture.

