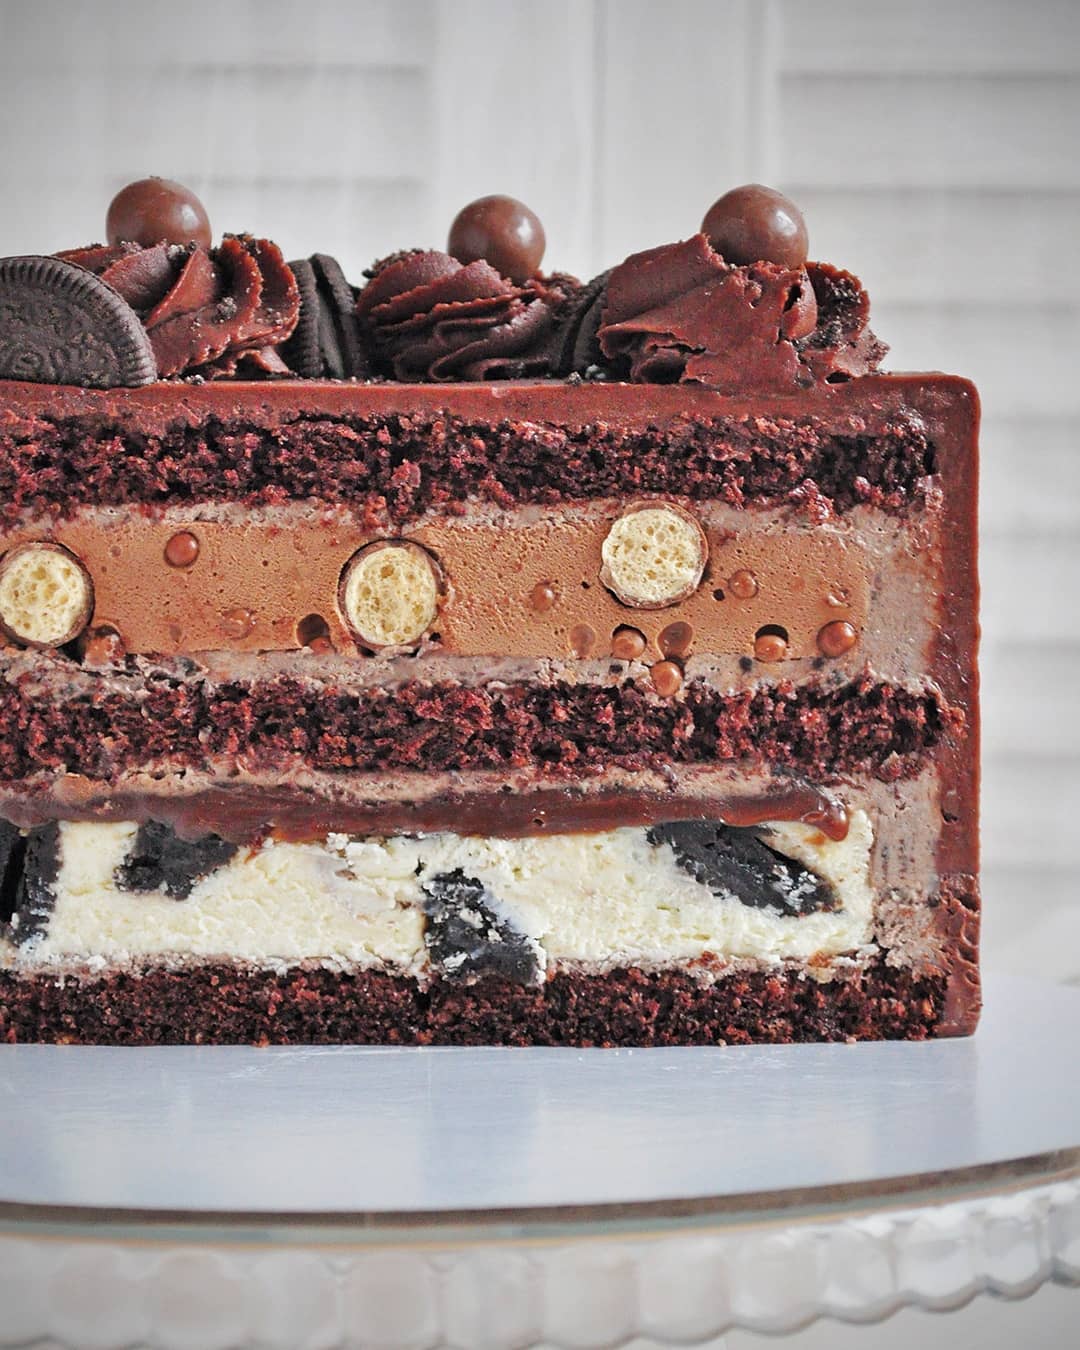
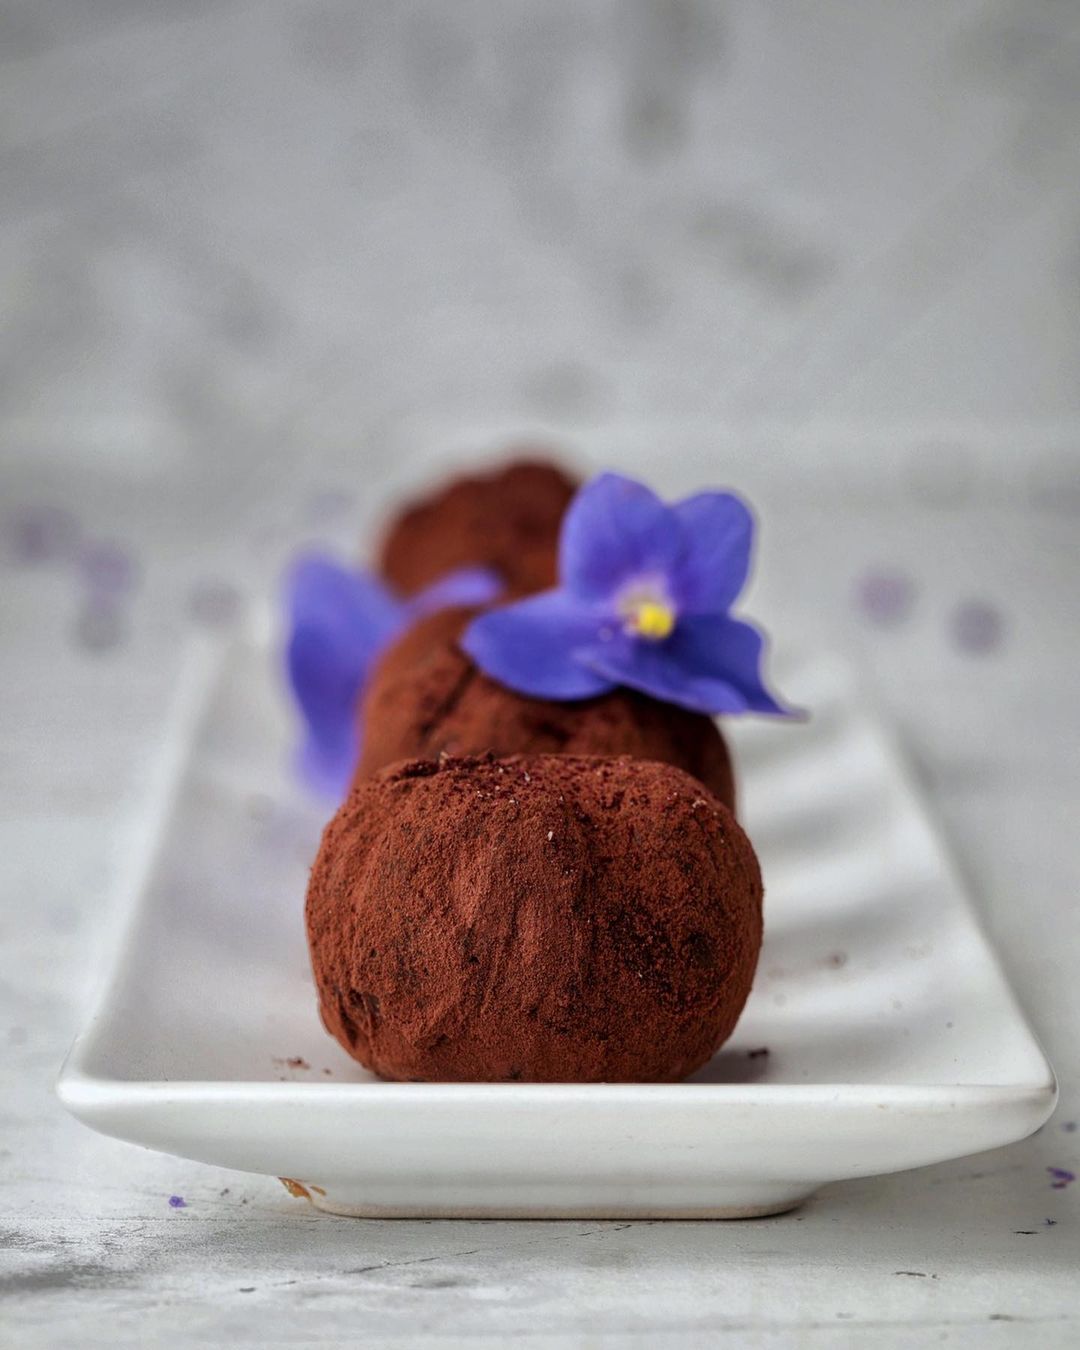
Ingredients

Chocolate Biscuit

  • 3 eggs
  • 100 grams (3.5 ounces) sugar
  • 25 grams (0.9 ounces) cocoa
  • 40 grams (1.4 ounces) flour
  • 30 grams (1.1 ounces) chopped nuts
  • 20 milliliters (4 teaspoons) vegetable oil
  • 1 teaspoon baking powder

Chocolate Cream

  • 180 grams (6.3 ounces) milk chocolate
  • 350 grams (12.3 ounces) cream cheese
  • 60 milliliters (4 tablespoons) whipping cream
  • 2 tablespoons cocoa
  • 20 grams (0.7 ounces) powdered sugar

Soaking

  • 1 tablespoon cocoa
  • 70 milliliters (4.7 tablespoons) milk
  • 10 grams (0.35 ounces) vanilla sugar

Equipment

  • Mixing Bowls

    Use different sizes to mix ingredients separately and efficiently.

  • Hand Mixer/Stand Mixer

    Essential for whipping egg whites and cream to perfect peaks.

  • 14cm (5.50 inch) Rings/Baking Sheet

    Helps shape your cake layers or provides flexibility to cut out desired dimensions.

  • Sieve

    Ensure all dry ingredients are smooth and free from lumps by sifting them.

  • Spatula

    Ideal for gently folding ingredients to retain airiness.

Instructions

Step 1

1. Separate the egg whites from the yolks. Make sure no yolk gets mixed with the whites to achieve the perfect whipping consistency.

Step 2

2. Beat the egg whites to soft peaks, gradually adding the sugar. Ensure the sugar is added slowly to help the whites stabilize and make stiff peaks easily.

Step 3

3. Continue to whisk until stiff peaks form. You should be able to hold the bowl upside down without the whites falling out.

Step 4

4. In a separate bowl, add sugar to the yolks and beat until the mixture becomes bright and creamy. Using room-temperature eggs will yield better results.

Step 5

5. Combine the yolk mixture with the beaten egg whites, folding gently with a spatula. Be careful not to deflate the mixture too much while folding.

Step 6

6. Add the chopped nuts, then sift the flour with cocoa and baking powder into the mixture. Stir gently until just combined.

Step 7

7. Pour in the vegetable oil and continue to stir gently. Make sure the oil is evenly incorporated into the batter.

Step 8

8. Pour the batter into a 14 cm (5.5 inch) ring or spread it evenly on a baking sheet to cut out the desired cake layers later.

Step 9

9. Bake at 338°F (170°C) for 18 minutes. Avoid opening the oven door to prevent the cake from collapsing.

Step 10

10. Leave the cake in the switched-off oven for another 10 minutes, then remove it from the oven and allow it to cool completely.

Step 11

11. Melt the milk chocolate and allow it to cool. Cool to room temperature to avoid melting the cream cheese.

Step 12

12. Add the cream cheese and whipping cream to the cooled melted chocolate and whip until smooth. Make sure the cream cheese is at room temperature for a smooth blend.

Step 13

13. Add cocoa powder and powdered sugar to the mixture, and whisk until fully combined.

Step 14

14. Combine cocoa, milk, and vanilla sugar in a saucepan and heat until dissolved. Allow to cool.

Step 15

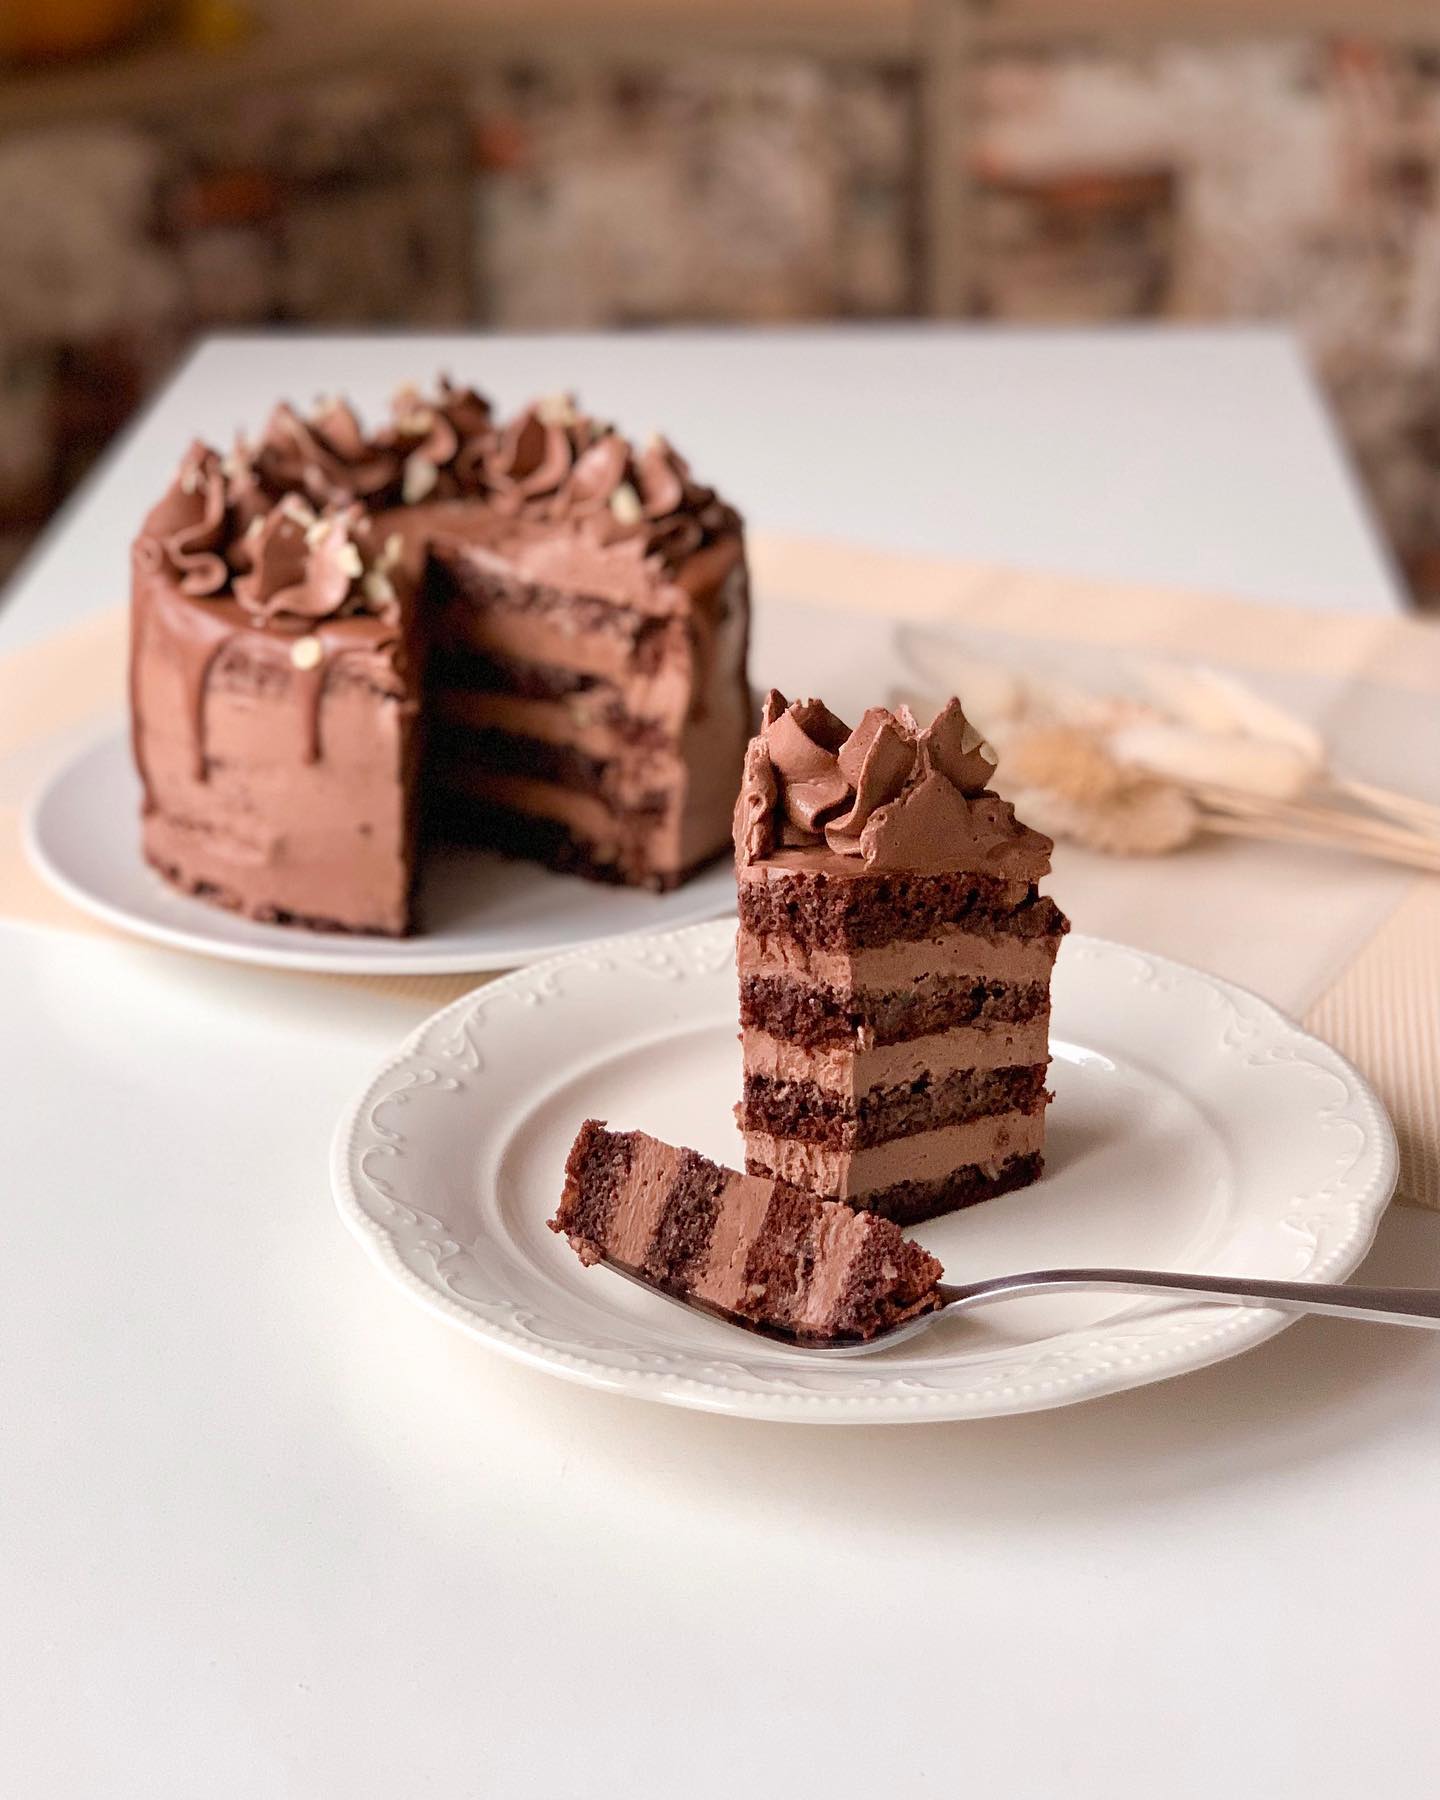
15. Soak the biscuit with the cocoa milk mixture, then apply the first layer of cream. Repeat with another biscuit layer and cream, making rough alignment with the remaining cream.

Step 16

16. Refrigerate the cake for 4 hours. This will allow the layers to set and flavors to meld.

Step 17

17. Decorate with drips of milk chocolate and use a nozzle to create decorative elements with the remaining cream.

Servings

✨ This delightful chocolate biscuit pastry isn't just a dessert; it's an experience! Serve it chilled on a fancy platter to make its presentation pop. Sprinkle some powdered sugar on top or add a few edible gold leaves for a touch of elegance.

🧁 Fancy a little extra flair? Pair this pastry with a scoop of vanilla bean ice cream or a dollop of whipped cream on the side. Fresh berries like raspberries or strawberries can also provide a fresh contrast to the rich chocolate flavors.

🍹 For a beverage pairing, a glass of dessert wine or a frothy cappuccino complements the pastry's flavors beautifully. Or go non-alcoholic with a warm cup of hot cocoa topped with a marshmallow cloud.

Whether it's a cozy family night, a fancy dinner party, or a romantic date night, this pastry is your go-to dessert to bring smiles to everyone's faces. Bon appétit! 🍴

Variations

Gluten-Free Variation: Swap out the flour with a gluten-free flour blend in the same measurement for a celiac-friendly treat without compromising on taste or texture.

🍰 Vegan Variation: Replace eggs with a flaxseed egg substitution (1 tablespoon of ground flaxseed + 3 tablespoons of water = 1 egg), use vegan cream cheese and whipping cream, opt for dark chocolate, and swap milk with a plant-based alternative like almond or soy milk. The flavors will still be rich and indulgent! 🌱

Faq

  • Why did my egg whites not reach stiff peaks?

    Ensure your mixing bowl and beaters are completely clean and free of any grease, as fat can prevent the whites from whipping properly.

  • Can I use regular chocolate instead of milk chocolate?

    Yes, you can use regular or dark chocolate; just note that it may alter the sweetness and flavor slightly.

  • How can I cut the cake layers evenly?

    Use a serrated knife and mark the cake layer's perimeter before cutting to ensure even layers.

  • Can I make the cream in advance?

    Yes, you can prepare the cream a day in advance and store it in the refrigerator until you're ready to use it.

  • How do I make perfect drips from milk chocolate?

    Melt the chocolate gently over a double boiler and let it cool slightly before applying to prevent over-melting the cake surface.

  • What's the best way to decorate the cake?

    Use a piping nozzle for precise decoration and get creative with patterns and designs for a professional finish.

Nutrition facts

Rich and moist brownie cake
Recipe Yield:8 servings
Calories:Per Serving
Calories (Min - Max):450 - 500
Total Fat:30g
Saturated Fat:15g
Protein:8g
Total Carbohydrate:40g
Total Sugars:25g