Ingredients

Muffins

100 grams (3.5 ounces) raw chickpeas
183 grams (6.5 ounces) banana
35 grams (1.2 ounces or about 2.3 tablespoons) plant milk (any)
50 grams (1.8 ounces or about 1/4 cup) cane sugar
50 grams (1.8 ounces or about 1/4 cup) soft coconut butter (not melted)
20 grams (0.7 ounces or about 1/4 cup) cocoa powder
63 grams (2.2 ounces or about 1/2 cup) corn flour

Instructions

Step 1

1. Soak the chickpeas in cold water overnight or for at least 6 to 8 hours. Tip: Soaking helps to reduce cooking time and makes the chickpeas easier to digest.

Step 2

2. Rinse the chickpeas and cook them until tender. Tip: You can use a pressure cooker to speed up the cooking process.

Step 3

3. While the chickpeas are still warm, place them in a blender along with the banana, plant milk, cane sugar, coconut butter, and cocoa powder. Blend until you achieve a smooth and silky texture. Tip: Scrape down the sides of the blender as needed to ensure everything is well mixed.

Step 4

4. Transfer the mixture to a bowl and add 5 tablespoons of sifted corn flour. Mix well until fully combined. Tip: Sifting the corn flour helps to avoid lumps and ensures a smoother batter.

Step 5

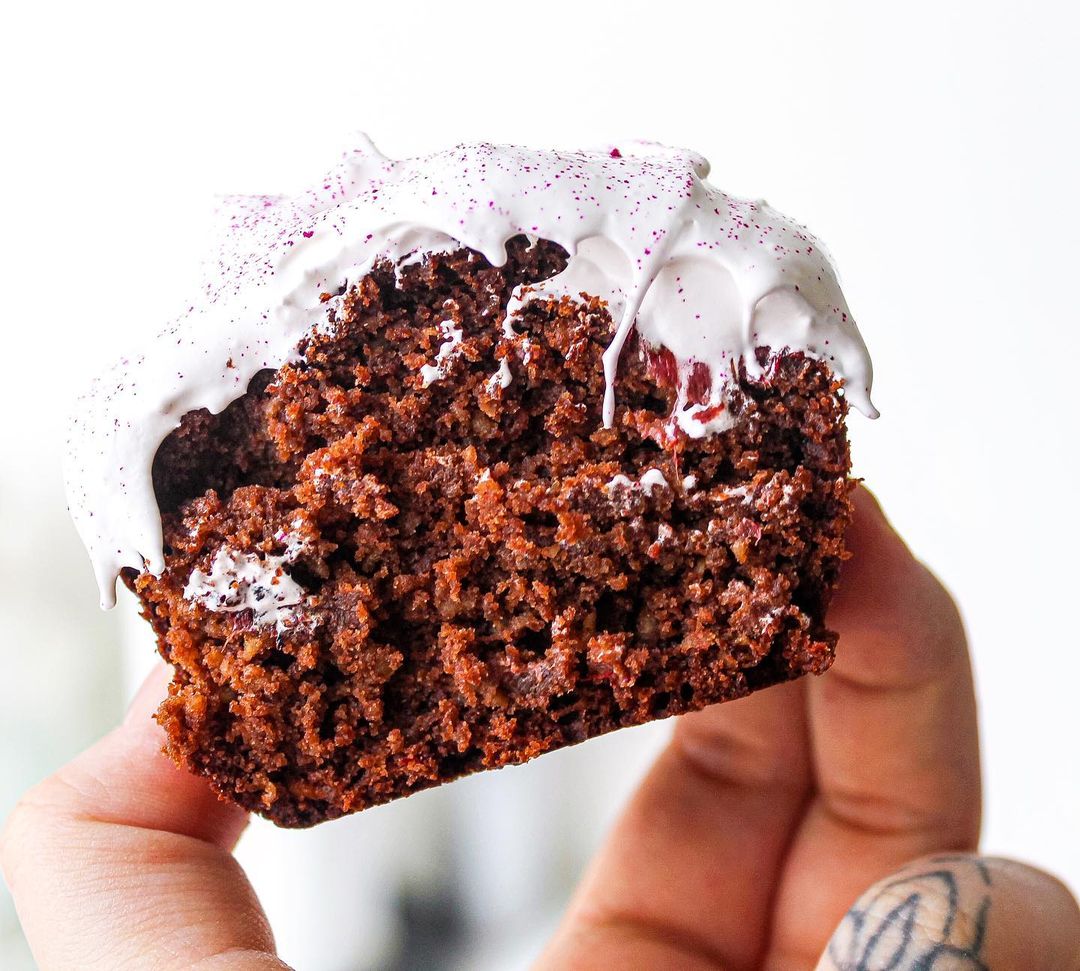
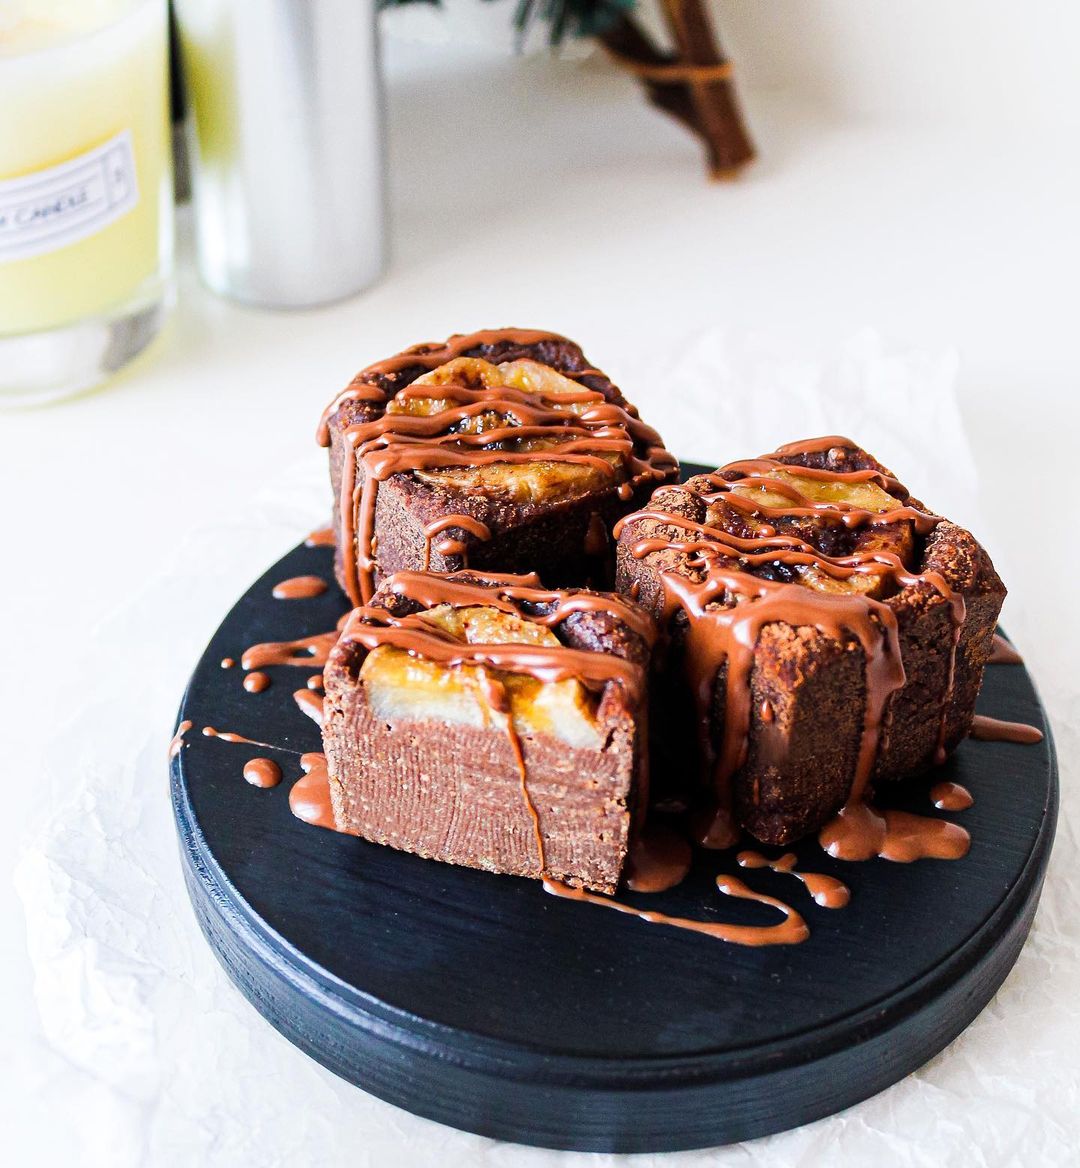
5. Pour the batter into a pastry bag and pipe it into several small or one large silicone or metal mold. Decorate the top with chopped bananas and gently press them into the batter. Sprinkle with coconut or cane sugar to get a caramelized crust. Tip: If you don't have a pastry bag, you can spoon the batter into the molds.

Step 6

6. Preheat the oven to 180°C (356°F). Bake the muffins for 15-20 minutes using the top-bottom mode. Tip: Check for doneness by inserting a toothpick into the center of the muffins; it should come out clean.

Step 7

7. Allow the muffins to cool completely. If you used silicone molds, remove the muffins after they have cooled. If using silicone square molds, place them in the freezer for another half hour to facilitate easier removal. Tip: Cooling the muffins in the freezer helps them firm up and makes removal easier.

Step 8

8. For a finishing touch, cover the muffins with vegan chocolate mixed with cocoa or coconut butter in a 2:1 ratio. Use a pastry bag or a mini bottle for an even application. Tip: This chocolate topping will harden more slowly, giving you more control during application.

Servings

These muffins are perfect served warm with a drizzle of vegan chocolate or a scoop of your favorite dairy-free ice cream. For a fantastic breakfast treat, pair them with a cup of freshly brewed coffee or a soothing herbal tea. Hosting a weekend brunch? Arrange the muffins on a stylish platter with fresh fruit slices and a sprinkling of powdered sugar for a visually appealing and mouth-watering spread. Don't forget to include a variety of spreads like coconut butter or almond butter to add an extra hint of indulgence. These muffins also make an excellent after-school snack for kids, keeping them fueled until dinner with tasty, wholesome ingredients.

Equipment

Blender

Make sure to use a high-speed blender for a smooth and silky muffin batter. A regular blender might leave chunks, which could affect the texture.

Mixing Bowls

Different sizes are useful for mixing dry and wet ingredients separately. Stainless steel or glass bowls work best for easy cleaning.

Silicone or Metal Molds

Silicone molds are fantastic for easy removal of muffins, whereas metal molds provide better heat distribution. Always grease metal molds to prevent sticking.

Pastry Bag

Ideal for transferring batter to molds without mess. If you don't have a pastry bag, use a ziplock bag with a corner cut off.

Variations

To create a gluten-free version, simply replace the corn flour with an equal amount of gluten-free flour blend. For a vegan twist, ensure that all your ingredients, like plant milk and chocolate, are certified vegan. You can also substitute the cane sugar with coconut sugar or Jerusalem artichoke syrup for a natural sweetness without compromising the taste. If you prefer a nutty flavor, try adding a handful of crushed nuts or seeds to the batter for some extra crunch.

Faq

  • What can I use instead of a pastry bag?

    If you don't have a pastry bag, you can easily use a ziplock bag with a corner cut off or even spoon the batter directly into the molds.

  • Can I use canned chickpeas instead of dried?

    Yes, you can use canned chickpeas. Make sure to rinse them thoroughly to remove excess sodium and reduce the cooking time accordingly.

  • How do I know when the muffins are done?

    You can test them by inserting a toothpick into the center. If it comes out clean, the muffins are ready!

  • Can I freeze these muffins?

    Absolutely! These muffins freeze well. Once cooled, place them in an airtight container and freeze. Thaw at room temperature or reheat in the oven before serving.

  • How do I prevent muffins from sticking to the molds?

    If you're using metal molds, generously grease them beforehand. For silicone molds, ensure they are completely cool before removing the muffins.

  • What's the best way to store these muffins?

    Store them in an airtight container at room temperature for up to 3 days or in the refrigerator for up to a week. For longer storage, freezing is recommended.

Nutrition facts

Silky muffins
Recipe Yield:12 muffins
Calories:Approximately 130 calories per muffin
Calories (Min - Max):120 - 140
Total Fat:5g
Saturated Fat:2g
Protein:3g
Total Carbohydrate:18g
Total Sugars:10g