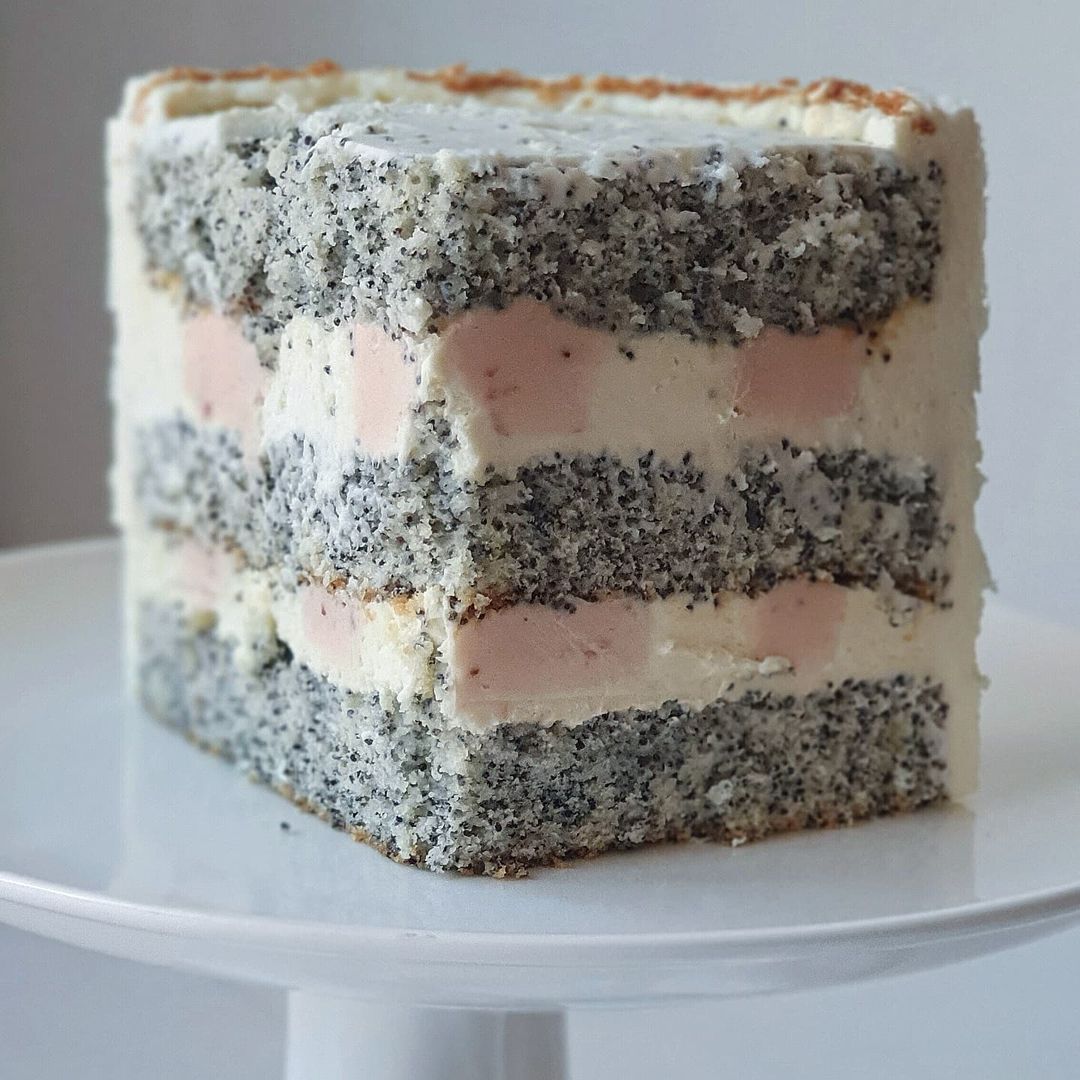
Ingredients
Sponge Biscuit
Cottage Cheese Filling
Watermelon Jelly
Instructions
Step 1
Step 2
Step 3
Step 4
Step 5
Step 6
Step 7
Step 8
Step 9
Step 10
Step 11
Step 12
Step 13
Step 14
Step 15
Step 16
Step 17
Step 18
Step 19
Step 20
Step 21
Step 22
Step 23
Step 24
Step 25
Step 26
Step 27
Step 28
Step 29
Step 30
Step 31
Step 32
Step 33
Step 34
Step 35
Servings
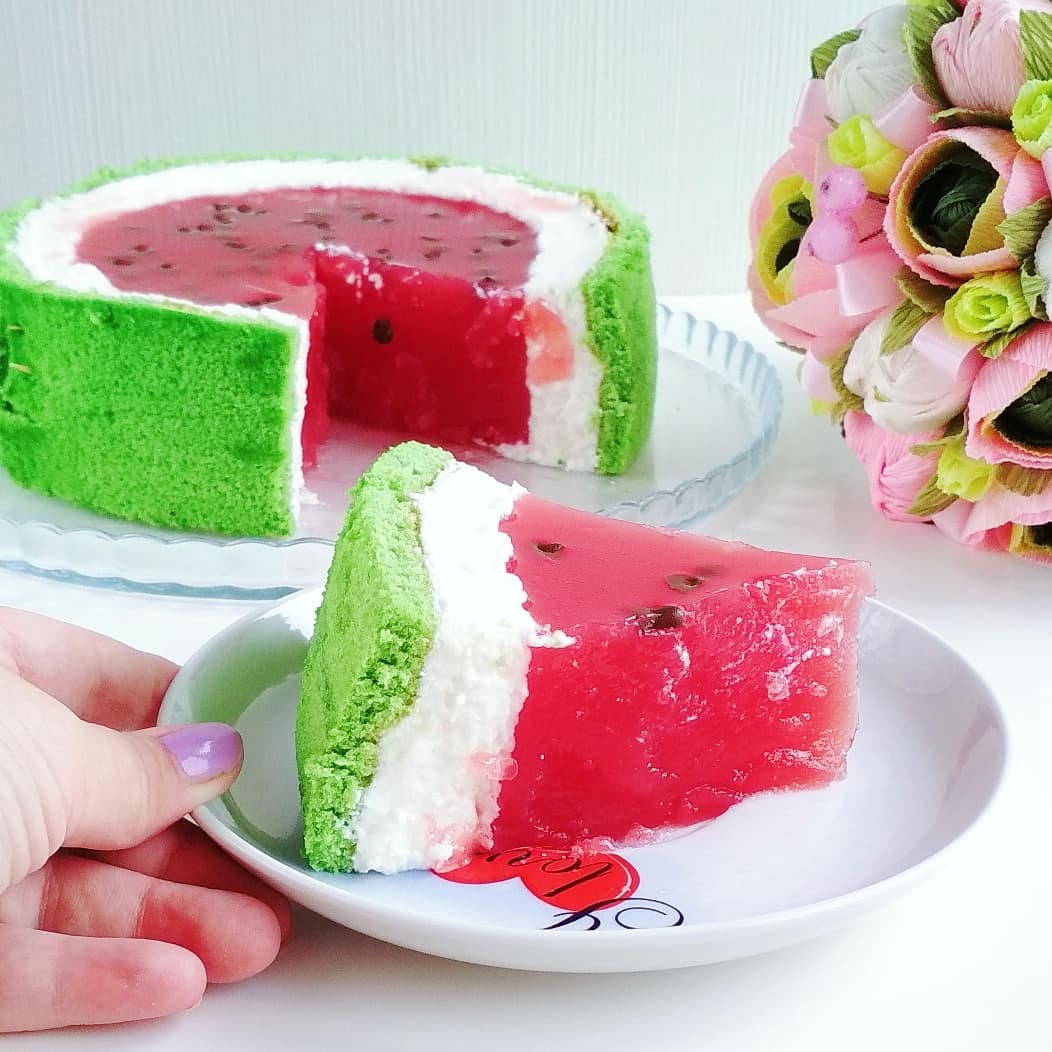
Your beautiful watermelon-jelly sponge cake is the highlight of any table! For a stunning presentation, place it on a large, elegant serving plate. ⏲️ Remember to keep the cake refrigerated until serving to maintain the perfect texture.
Serving with a side of fresh mint leaves adds a refreshing touch to each slice. 🍃 For an extra indulgent twist, drizzle a bit of melted dark chocolate over each slice - the slight bitterness wonderfully contrasts the sweet, fruity flavors! 🍫
Pair this dessert with a chilled glass of sparkling water or a fruity summer cocktail for a refreshing finish to your meal. 🍸 Whether you're hosting a backyard barbecue or a sophisticated dinner party, this cake will be the talk of the event!
Equipment
Ensure your tray is the right size to bake the sponge evenly. Using a non-stick tray can help you avoid sticking issues!
Essential for preventing the sponge from sticking to the tray. Cut it to fit the tray perfectly for the best results.
Perfect for creating smooth mixtures. Remember to pulse gently to avoid over-blending!
Ideal for shaping your cake. Wrapping the ring with plastic wrap can help in easy release later.
Useful for sifting the dry ingredients and for the watermelon juice. A fine mesh sieve works best!
Ensures your cake sets properly in the freezer without taking on any unwanted freezer odors.
Variations
Want to make this delightful cake gluten-free? Simply replace the flour with your favorite gluten-free flour blend. Make sure your baking powder is gluten-free as well for best results!
To create a vegan version, swap out the eggs for a commercial egg replacer or a mix of flaxseed meal and water. Use agar-agar powder instead of gelatin, and opt for vegan yogurt and dairy-free cream cheese for the filling. 🌱
Feel free to get creative with these variations - whether you're catering to dietary preferences or just experimenting, there's always room for delicious innovation! 🎉
Faq
- How do I know when the sponge biscuit is baked properly?
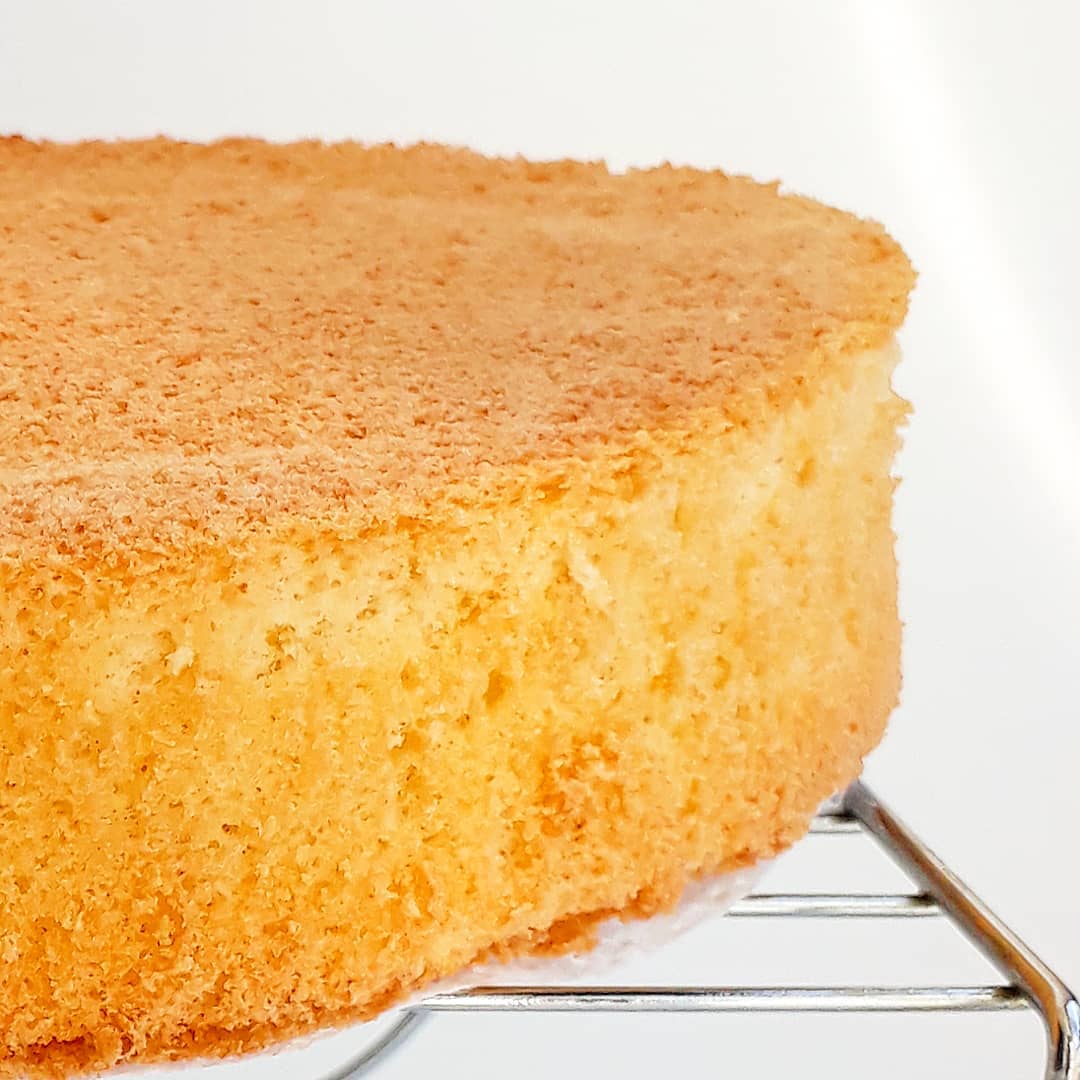
Check with a toothpick; it should come out clean from the center of the sponge, or press gently - it should spring back.
- Can I freeze the cake after assembling?
Yes, you can freeze the entire cake. Just ensure it's well-wrapped to prevent freezer burn. Thaw overnight in the fridge before serving.
- How do I get the sponge strips to stand upright?
Make sure to cut even strips and press them gently against the sides of the cake ring. If needed, use a bit of the filling to 'glue' the strips in place.
- What can I use instead of a cake ring?
If you don't have a cake ring, you can use a springform pan - just line the sides with parchment paper for easy removal.
- Can I use a different fruit for the jelly?
Absolutely! Feel free to experiment with fruits like mango, raspberry, or peach. Just ensure to adjust the sugar and gelatin amounts accordingly.
- What's the best way to achieve a smooth gelatin layer?
Pour the gelatin mixture slowly and evenly. Use a spoon to help guide and spread it gently to avoid air bubbles.

