Ingredients
Cookie layer
Caramel cream
Ganache
Instructions
Step 1
Step 2
Step 3
Step 4
Step 5
Step 6
Servings
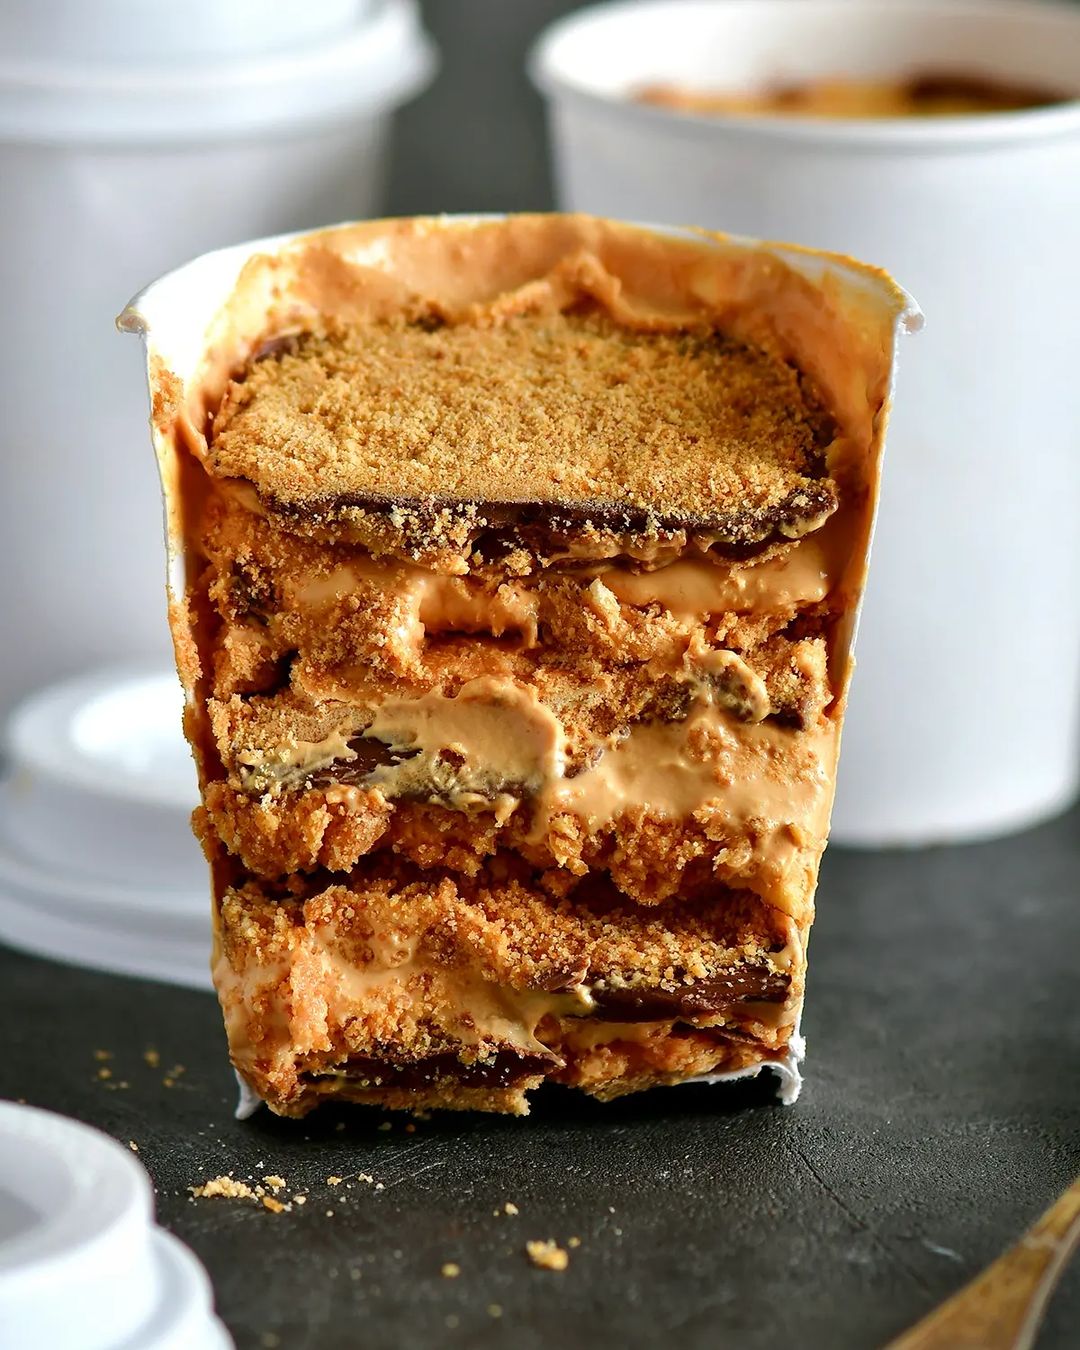
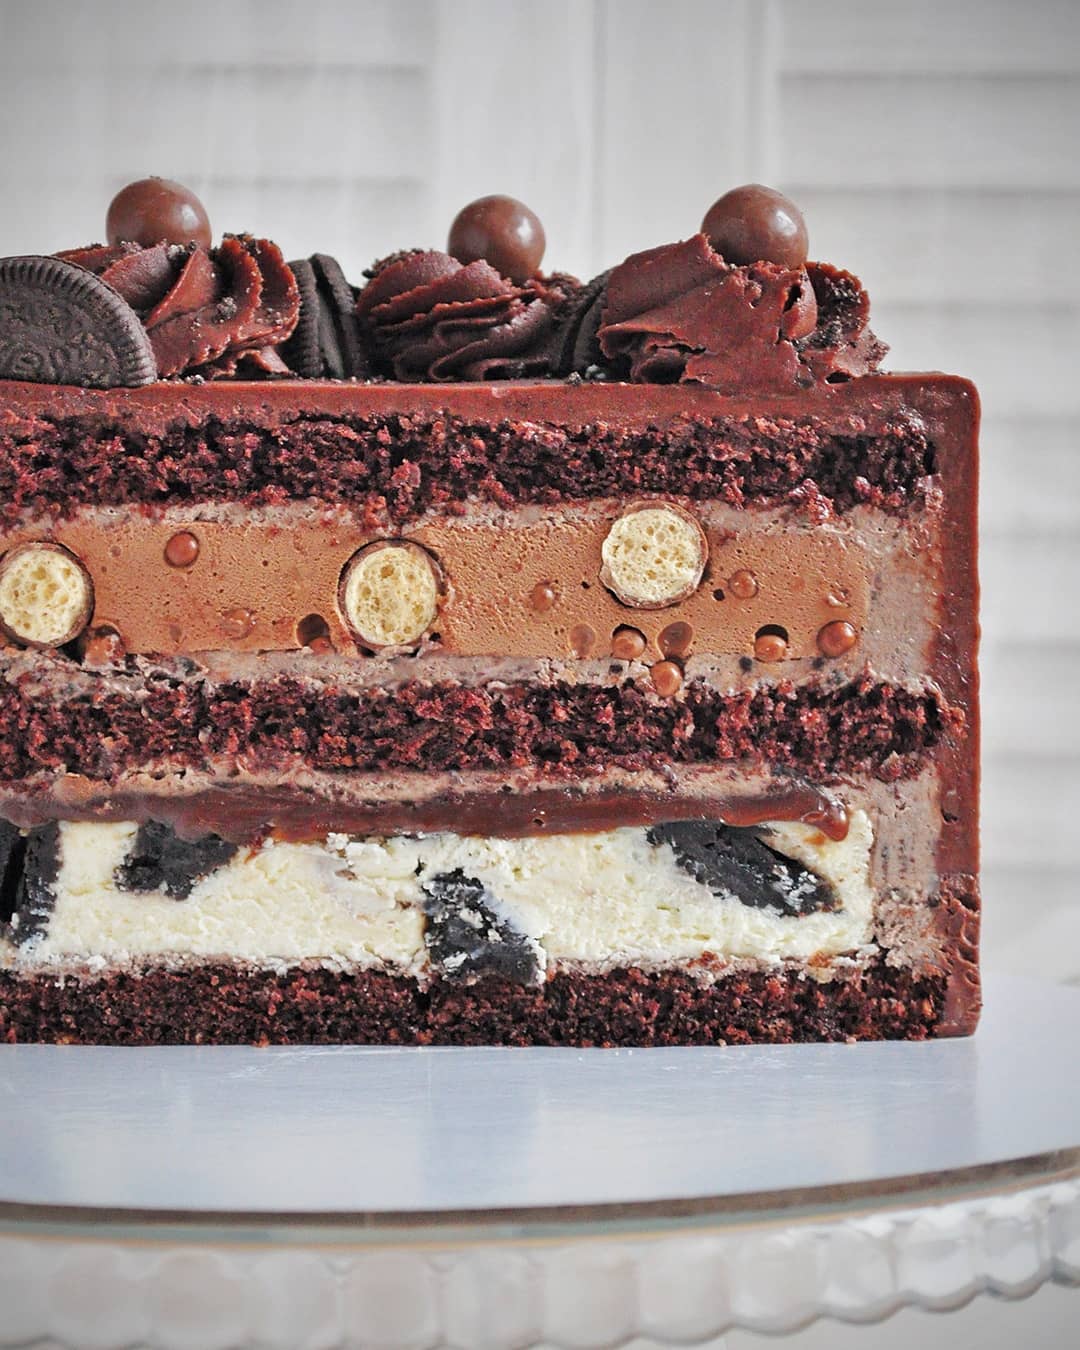
🥄 **Indulge in a single serving**: This pastry is perfectly portioned for individual servings, making it easy to enjoy anytime without overindulging. Serve it straight from the freezer for a delightful, cool treat, or let it sit for a few minutes for a softer experience.
🍹 **Pair with beverages**: This rich and sweet delight pairs wonderfully with a hot cup of coffee or a cold glass of milk. For an adult twist, try serving it with a glass of sweet dessert wine or a creamy liqueur to enhance the flavors.
🎉 **Perfect for gatherings**: These pastries are great for parties and special occasions. Arrange them beautifully on a tray, and garnish with fresh berries or mint leaves for extra color and flavor. Your guests will be coming back for seconds!
Equipment
Essential for grinding sugar cookies into fine crumbs. Pro tip: Pulse in short bursts to avoid overheating the motor.
Make sure to have a medium-sized bowl for the cookie mix and a larger one for the cream. Clean bowls ensure better whipping results!
Helps achieve a fluffy caramel cream by beating the boiled condensed milk with chilled cream. No hand fatigue here!
Used for heating whipping cream to make the ganache. Be patient and let the cream come to a gentle boil.
Great for spreading cream and ganache layers smoothly. A silicone spatula works best.
Used to set each layer before adding the next. Set a timer to avoid over-freezing.
Variations
🌾 **Gluten-Free Option:** Use gluten-free cookies instead of regular sugar cookies. Make sure to check the packaging to ensure there are no traces of gluten.
🌱 **Vegan Variation:** Swap the butter with vegan butter or coconut oil, and use plant-based whipping cream. Opt for a vegan condensed milk made from coconut milk and a high-quality vegan chocolate for the ganache.
These variations are just as tasty and ensure that everyone can enjoy this delightful treat! 🌟
Faq
- What if I don't have a food processor?
You can place the cookies in a ziplock bag and crush them with a rolling pin until they become fine crumbs.
- Can I use a hand whisk instead of an electric mixer?
Yes, but it will take longer and require more effort. Ensure your cream is very cold to achieve the right consistency.
- How do I ensure my ganache doesn't separate?
Make sure your whipping cream isn't too hot when you add the chocolate. Stir gently and patiently until fully combined.
- What if my caramel cream is too runny?
Chill it in the fridge for a bit until it thickens up before using it in the layers.
- Can I make this ahead of time?
Absolutely! You can prepare these pastries a day in advance and store them in the fridge. They also freeze well if you want to keep them longer.
- How to achieve that smooth, professional look?
Use a spatula to spread each layer evenly and give a quick chill in the freezer to set each layer before adding the next.

