Ingredients
Sponge Cake
Frosting
Glaze
Instructions
Step 1
Step 2
Step 3
Step 4
Step 5
Step 6
Step 7
Step 8
Step 9
Step 10
Step 11
Step 12
Step 13
Step 14
Step 15
Step 16
Step 17
Step 18
Step 19
Step 20
Servings
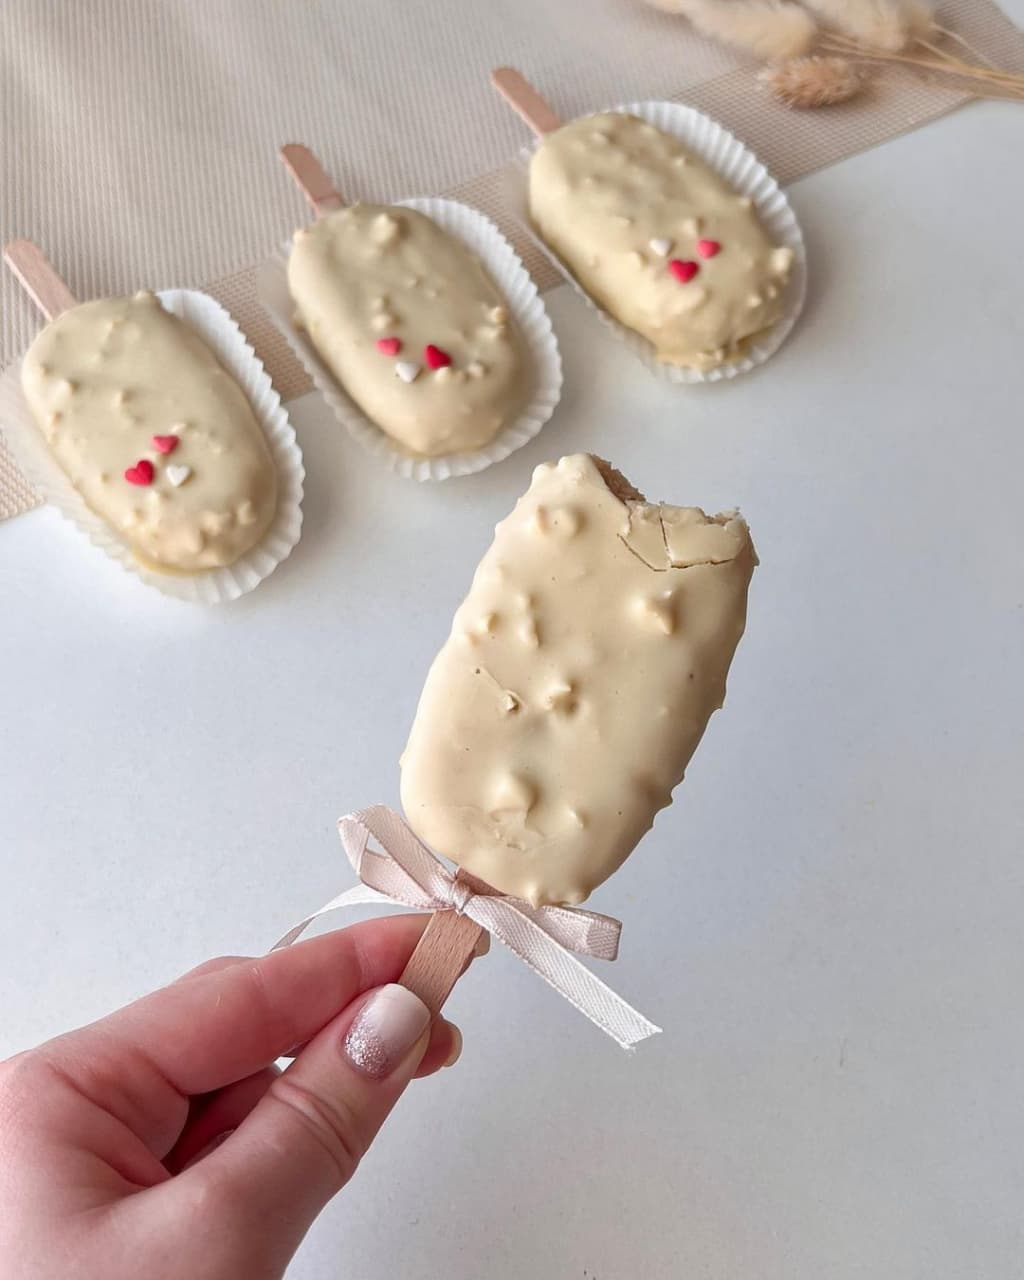
Serving Suggestions and Ideas:🧁
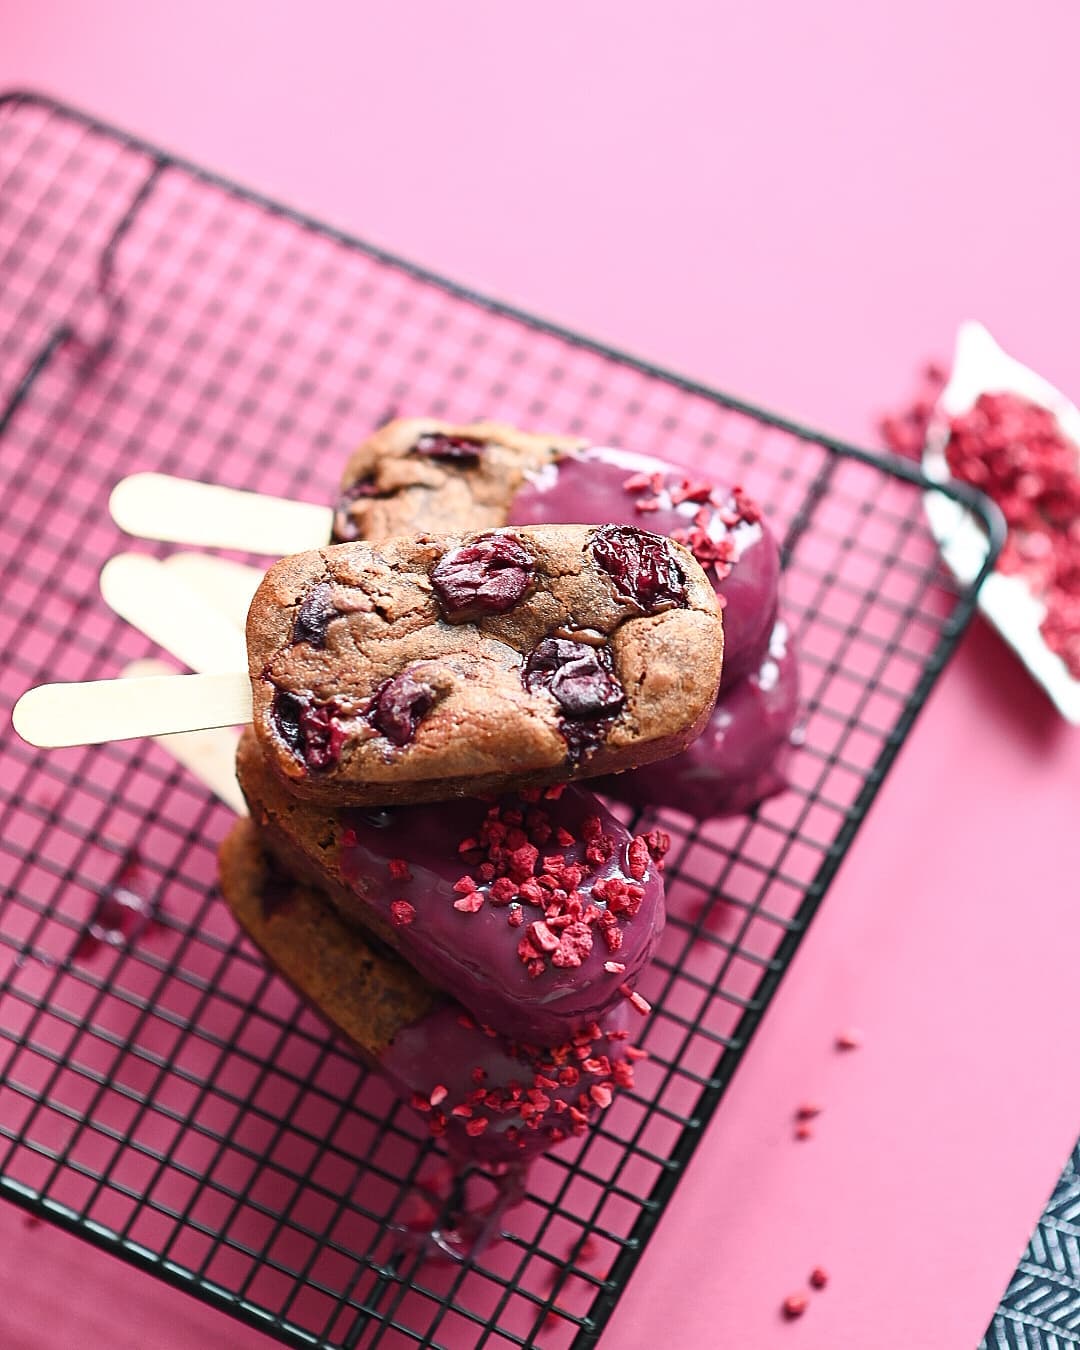
Transform your cakesicles into a fabulous dessert spread by pairing them with a colorful assortment of fresh fruits 🍇🍓. The tangy berries, citruses, and juicy grapes complement the rich flavor of the white chocolate-glazed creations.
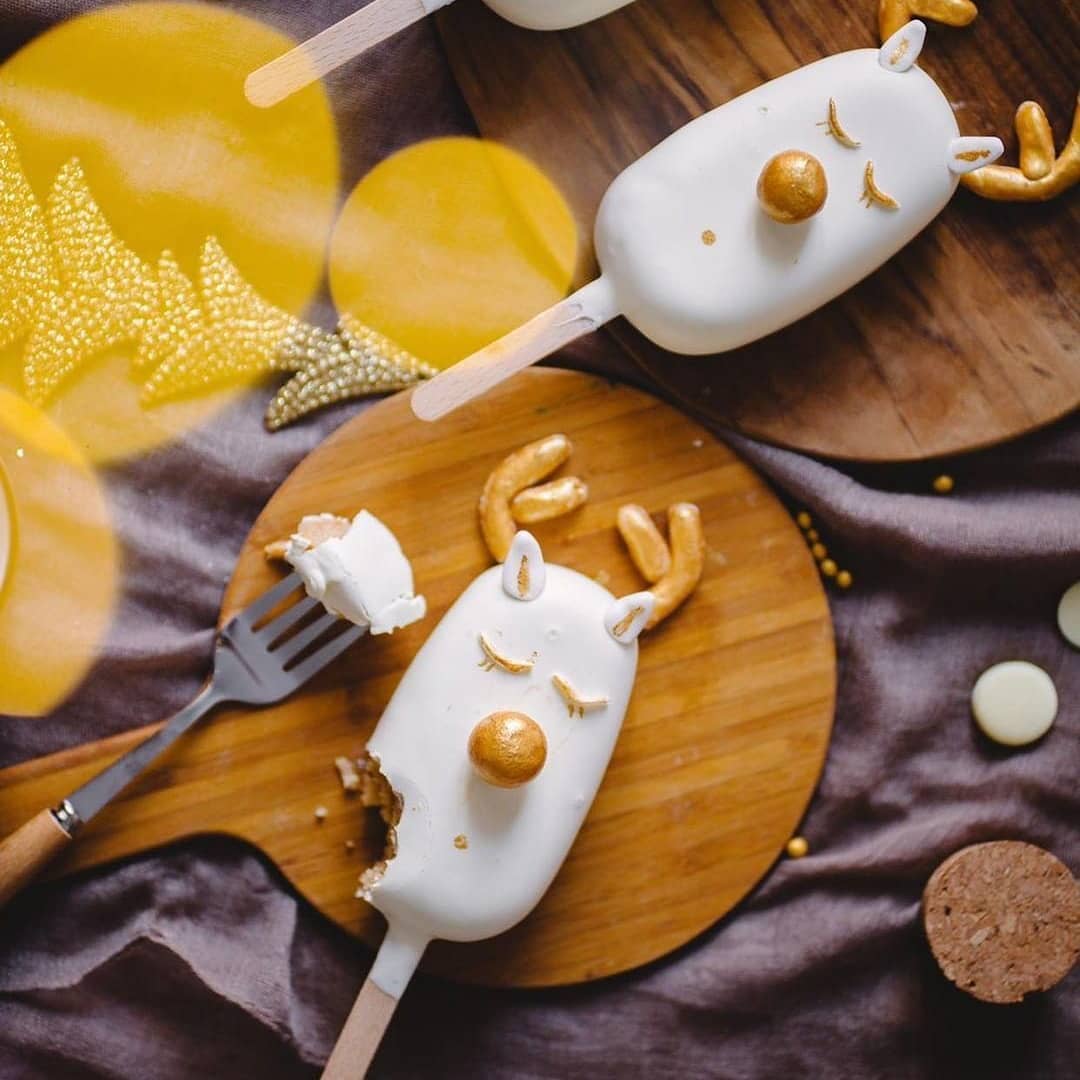
Spark up the fun by adding a variety of toppings such as colored sprinkles, edible glitter, or even mini marshmallows. Each cakesicle can be a unique delight!
If you're hosting a get-together, set up a DIY cakesicle bar where guests can decorate their own. Include bowls filled with different nuts, crushed candies, and drizzles of dark and milk chocolate 🍫.
For an extra touch of elegance, serve these cakesicles on a tiered cake stand. They will look as good as they taste, promising to be the centerpiece of your dessert table!
Equipment
Use a variety of sizes to separate wet and dry ingredients with ease.
Essential for achieving the perfect cake batter consistency. Start slow to avoid splashes!
This tool ensures your flour and baking powder are well combined and lump-free. A must for a smooth batter!
Ideal for baking the sponge cake. Ensure it's non-stick for easier removal.
These are vital for shaping your cakesicles. Don't forget the sticks!
Perfect for melting white chocolate without burning it. Use a double boiler for more control.
Variations
Gluten-Free:✨
Substitute the all-purpose flour with a high-quality gluten-free flour blend. Ensure it contains xanthan gum to maintain the spongy texture. Follow the same recipe steps for delicious, gluten-free cakesicles.
Vegan:🌱
Replace eggs with a flaxseed meal (1 tbsp flaxseed meal + 3 tbsp water equals one egg). Swap the milk with plant-based milk like almond or soy, and use vegan cream cheese and white chocolate for the frosting and glaze. These adjustments will keep the cakesicles vegan-friendly without compromising on taste.
Faq
- Can I make the sponge cake without an electric mixer?
Yes, you can mix the batter manually with a whisk, but it will require more effort to achieve the same fluffy texture.
- What can I do if I don't have popsicle molds?
You can use small cups or even muffin tins as an alternative; just remember to insert the sticks before freezing.
- How can I tell if my sponge cake is baked through?
Use a toothpick to poke the center of the cake. If it comes out clean, the cake is done.
- Is there a way to prevent the white chocolate from cracking?
Ensure the cakesicles are not too cold when dipping into the glaze; this helps prevent temperature shock which can cause cracks.
- Can I use dark chocolate for the glaze?
Absolutely! Dark chocolate can be a wonderful, slightly less sweet alternative to white chocolate.
- How long can I store the cakesicles?
Stored in an airtight container in the fridge, they will stay fresh for up to 5 days. For longer storage, freeze them and they will last up to a month.

