Ingredients
Pie
Instructions
Step 1
Mix the semolina, sugar, flour, and baking powder together in a large bowl. Make sure the dry ingredients are well-combined to ensure an even texture in your pie.
Step 2
Peel the apples and grate them, or chop them finely. Add cinnamon to the apples if you wish. Cinnamon adds a warm, spiced flavor that complements the apples perfectly.
Step 3
Divide the dry mixture into 5 equal parts; then, divide the grated apples into 4 equal parts. Dividing the mixtures evenly ensures that each layer is consistent.
Step 4
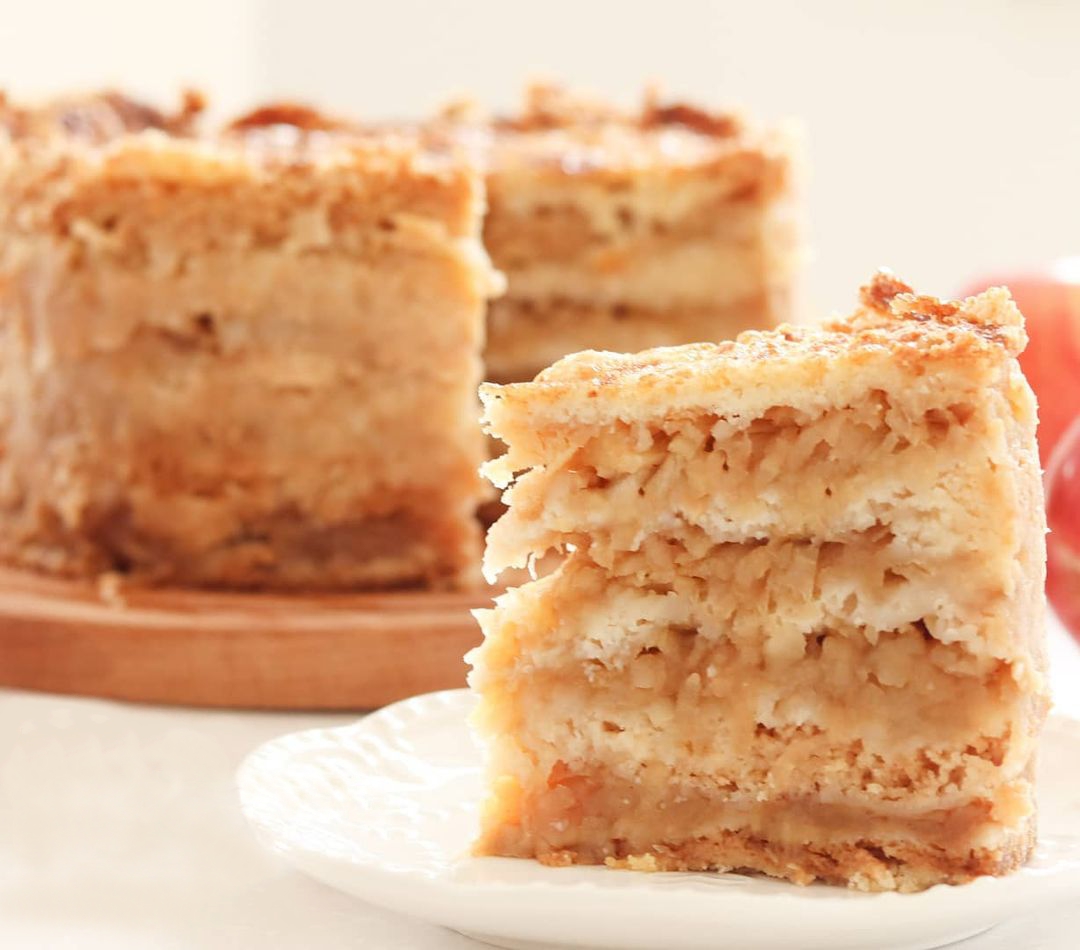
Wrap the bottom of an 18 cm (7 inch) pie mold with foil. Alternate the layers starting and ending with the dry mixture: dry mix - apples - dry mix - apples - dry mix - apples - dry mix - apples - dry mix. Wrapping the mold with foil helps in easy removal of the pie once it's baked.
Step 5
Rub the cold butter over the top layer. Using cold butter helps to form a crispy and rich top crust.
Step 6
Bake the pie at 170°C (338°F) for about 1 hour and 30 minutes. Cover the pie with foil if it browns too quickly. Keep an eye on the pie in the last 30 minutes to prevent over-browning.
Step 7
Allow the pie to cool completely before removing it from the mold. Cooling helps the pie to set and makes it easier to slice.
Servings
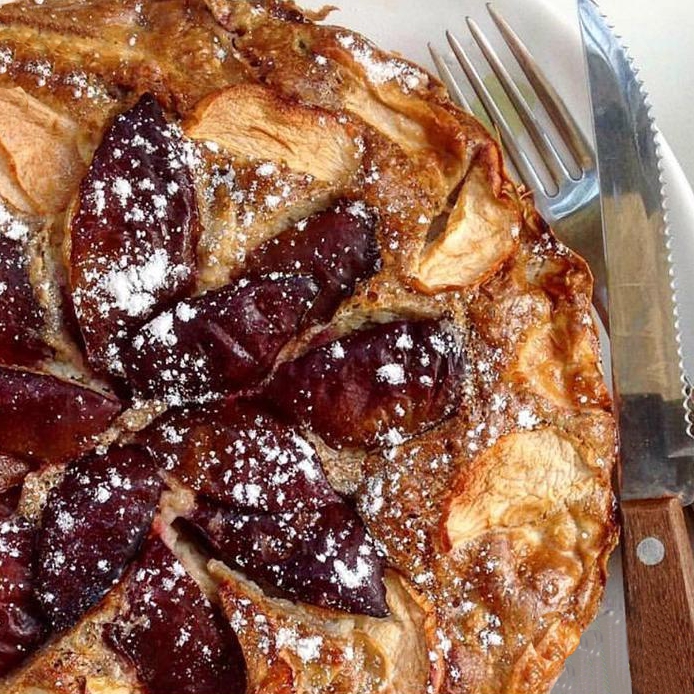
🍏 This apple pie is incredibly versatile when it comes to serving. One of my favorite ways to enjoy this pie is slightly warm with a generous scoop of creamy vanilla ice cream. The cold creaminess of the ice cream paired with the warm, spiced apple filling creates an irresistible contrast. If you’re in the mood for something a bit more comforting, drizzle some caramel sauce over your slice for an extra touch of indulgence. 🍯
Hosting a brunch? 🍳 Serve each slice with a dollop of Greek yogurt and a sprinkle of granola for a crunchy twist. The tanginess of the yogurt complements the sweetness of the pie beautifully. For a larger gathering, why not create a dessert platter? 🍽️ Arrange slices of the apple pie with other mini-desserts like brownies and fruit tartlets. This will impress your guests visually and give them a variety of flavors to enjoy.
Equipment
Keep different sizes handy for mixing ingredients without any mess.
Use it to grate the apples finely for a smooth texture in your filling.
Ensure it's oven-safe and preferably non-stick for easy removal of the pie.
Wrap the bottom of the pie dish and cover the pie during baking to prevent over-browning.
A must-have to safely handle hot equipment.
Essential for allowing your pie to cool evenly and thoroughly.
Variations
🥧**Gluten-Free Variation**: Replace the regular flour with a gluten-free flour blend. Ensure that the baking powder you use is gluten-free as well. Also, double-check your vanilla sugar for any hidden gluten ingredients. This variation will allow you to enjoy the deliciousness of apple pie without the gluten!
🌱**Vegan Variation**: Substitute the butter with vegan margarine or coconut oil. Opt for a plant-based vanilla sugar or simply add a splash of vanilla extract. This variation will keep all the flavors intact while making the recipe vegan-friendly. Remember to check that your baking powder is also vegan!
Faq
- Why did my pie turn out too dry?
Make sure you are not overbaking the pie. Covering it with foil initially can also help retain moisture.
- How can I prevent my apples from turning brown?
Squeeze a bit of lemon juice over the grated apples to keep them fresh and vibrant in color.
- Can I use a different type of fruit?
Yes! This recipe is versatile. Try using pears or a mix of berries for a different twist.
- What’s the best way to store leftovers?
Wrap the pie tightly in plastic wrap or foil and store it in the refrigerator. It can last up to 3 days.
- Can I make the pie ahead of time?
Absolutely. Bake the pie, let it cool completely, and store it in the fridge. Serve it slightly warmed for best results.
- How do I get a perfectly crispy pie crust?
Ensure that the butter is very cold when you rub it on top and avoid overmixing the dough to preserve its flakiness.

