Ingredients
The base
Creamy layer
Cherry layer
Instructions
Step 1
Step 2
Step 3
Step 4
Step 5
Step 6
Servings
**Serving Suggestions and Ideas**
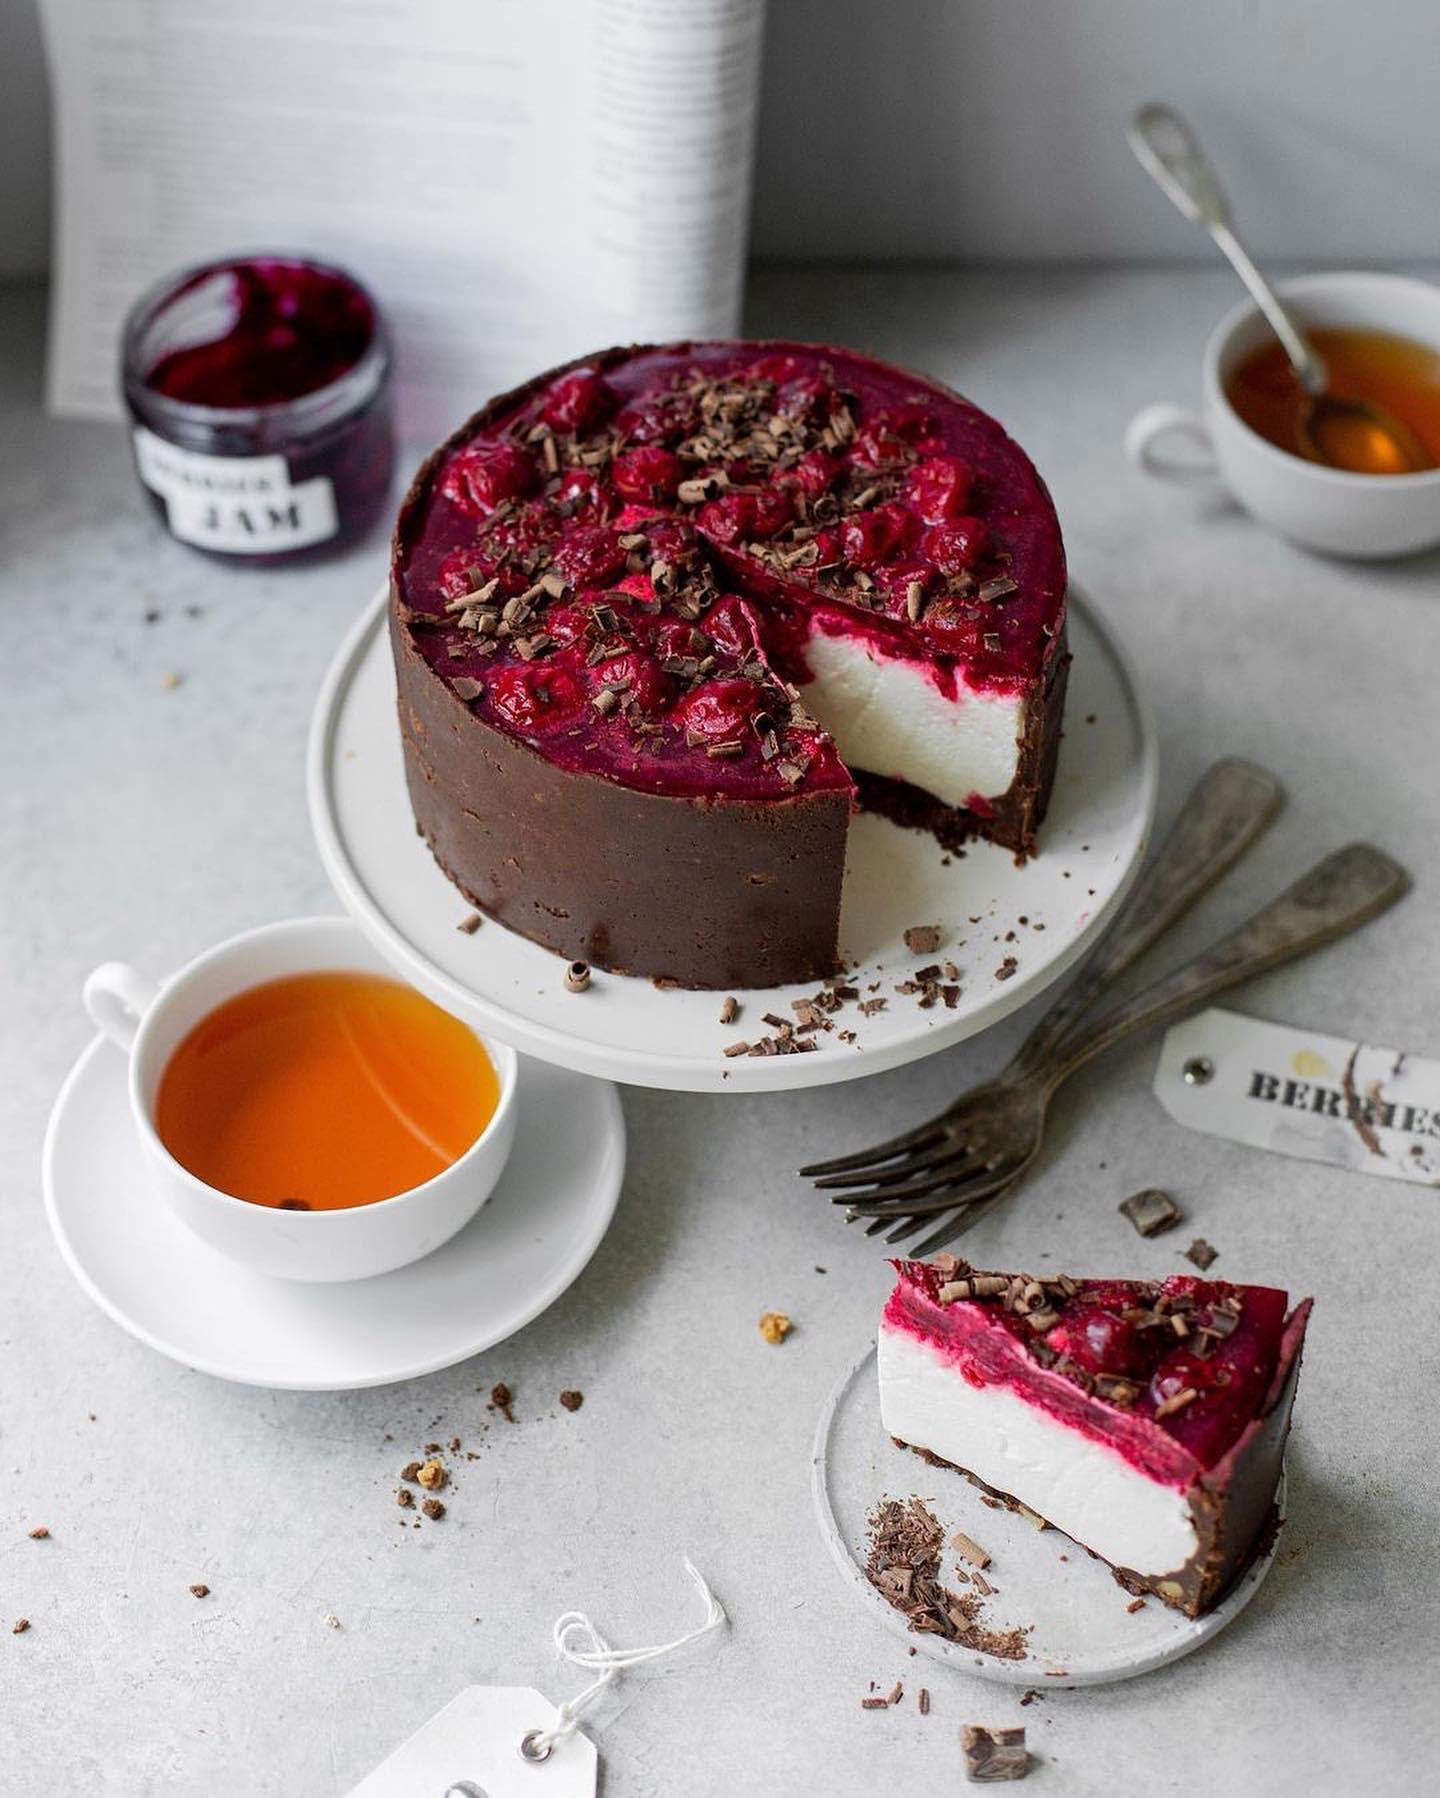
This Cherry Cheesecake is a showstopper! But why stop there? Dress it up with an additional drizzle of homemade chocolate syrup for that extra layer of indulgence. 🍫
Having a party? Cut the cheesecake into neat squares and serve them as bite-sized delights on a colorful tray—perfect for mingling! 🎉
Feeling fancy? Add a small dollop of real whipped cream to each slice before serving. Garnish with a mint leaf for that restaurant-quality finish! 🌿
If you’re enjoying this cheesecake on a cozy evening, pair it with a hot cup of coffee or tea. The contrasting temperatures will make every bite a burst of flavor and joy. ☕🍰
For a twist, consider adding a splash of maraschino cherries around the edges as a bright and sweet enhancement to the overall presentation! 🍒
Equipment
This specific size allows for the perfect layering and even cooking of your cheesecake. Ensure it’s non-stick for easy removal.
Having separate bowls will help you keep the ingredients organized without making a mess.
A hand mixer helps achieve a thicker, smoother creamy layer, while a whisk can also get the job done with a little extra arm work!
Perfect for scraping down the sides of the bowls to ensure every bit of your delicious mix is used.
Use it for preparing the cherry topping, ensuring it's deep enough to prevent spills.
Make sure you have enough space as the base and creamy layer need time to set in the freezer, followed by the final stabilizing in the fridge.
Variations
**Gluten-Free and Vegan Variations** 🌾🌱
Going gluten-free? No problem! Swap out the chocolate cookies for a crushed blend of gluten-free graham crackers or oats to keep the crunch without the gluten. Don’t forget to check the labels to ensure they are certified gluten-free! 🍪
Veganizing this delight is easier than you think! Use dairy-free butter and vegan chocolate for the base. For the creamy layer, replace the whipping cream with coconut cream and the cream cheese with cashew cream or vegan cream cheese. Opt for agar-agar instead of gelatin for the perfect vegan gel! 🥥🧀
And for the cherry layer, make sure your agar and other ingredients are plant-based. Enjoy all the taste without any compromise! 🍒🌱
Faq
- How do I know when my creamy layer is thick enough?
The creamy layer should hold peaks and have a smooth, thick consistency. If you’re using a hand mixer, this usually takes 4-5 minutes of mixing.
- What should I do if my gelatin clumps together?
If gelatin clumps, gently reheat it while stirring to dissolve the clumps before adding it to the creamy layer. Be careful not to overheat it!
- Can I use fresh cherries instead of frozen?
Absolutely! Fresh cherries can be used, but make sure to pit them first. You might need to adjust the sugar amount based on their sweetness.
- Can I make the cheesecake in advance?
Yes, this cheesecake actually tastes better after sitting in the fridge for at least a day, as the flavors meld together beautifully.
- What’s the best way to remove the mold?
Run a warm knife around the edges before attempting to remove the mold. This will help release the cheesecake without any tears.
- How can I add a twist to the cherry layer?
Adding a splash of kirsch (cherry liqueur) can elevate the cherry layer with an adult twist. Just ensure all added liquid is cooked down properly to maintain the texture.
