Ingredients

Cheesecake

  • 200 grams (7 ounces) cream cheese
  • 55 grams (2 ounces or 1/4 cup) sugar
  • 115 grams (4 ounces) bitter chocolate
  • 75 grams (2.6 ounces or 1/3 cup) whipping cream
  • 1 large egg
  • chocolate for decorating (quantity as needed)

Equipment

  • Mixing Bowl

    Choose a large bowl that gives you plenty of room to mix all ingredients without spilling.

  • Silicone Molds

    Silicone molds are perfect for ensuring your cheesecake pops come out easily without sticking. Make sure to lightly grease them before use.

  • Electric Mixer

    An electric mixer will save you time and ensure your cheesecake mixture is perfectly smooth.

  • Baking Tray

    A sturdy baking tray for placing your molds and ensuring even baking.

  • Freezer

    Make sure your freezer has enough space to place your molds flat to avoid spilling.

  • Microwave or Double Boiler

    For melting your chocolate smoothly, without burning, to drizzle or dip your cheesecake pops.

Instructions

Step 1

1. Prepare the Ingredients: Mix all the ingredients until you have a smooth and consistent mixture. Ensure that all ingredients are at room temperature for easier mixing.

Step 2

2. Fill the Molds: Spread the mixture evenly into silicone molds. Using a silicone spatula makes spreading easier and ensures you get every bit of the mixture.

Step 3

3. Insert the Sticks: Insert sticks into the center of each mold. Insert them perpendicularly for better support when the cheesecakes are frozen.

Step 4

4. Bake: Preheat your oven to 212-230°F (100-110°C). Place the molds in the oven. Bake the cheesecakes in a water bath for 1.5 hours. Place another baking sheet with water on the bottom of the oven to create steam. Avoid opening the oven door frequently to maintain consistent temperature.

Step 5

5. Cooling: When the cheesecakes have set and start to come away from the mold, remove them from the oven and allow them to cool completely. Patience pays off here; rushing the cooling process can affect the texture.

Step 6

6. Freeze: Place the cooled cheesecakes in the freezer until they are completely frozen. Freezing them makes them easier to handle during the decorating process.

Step 7

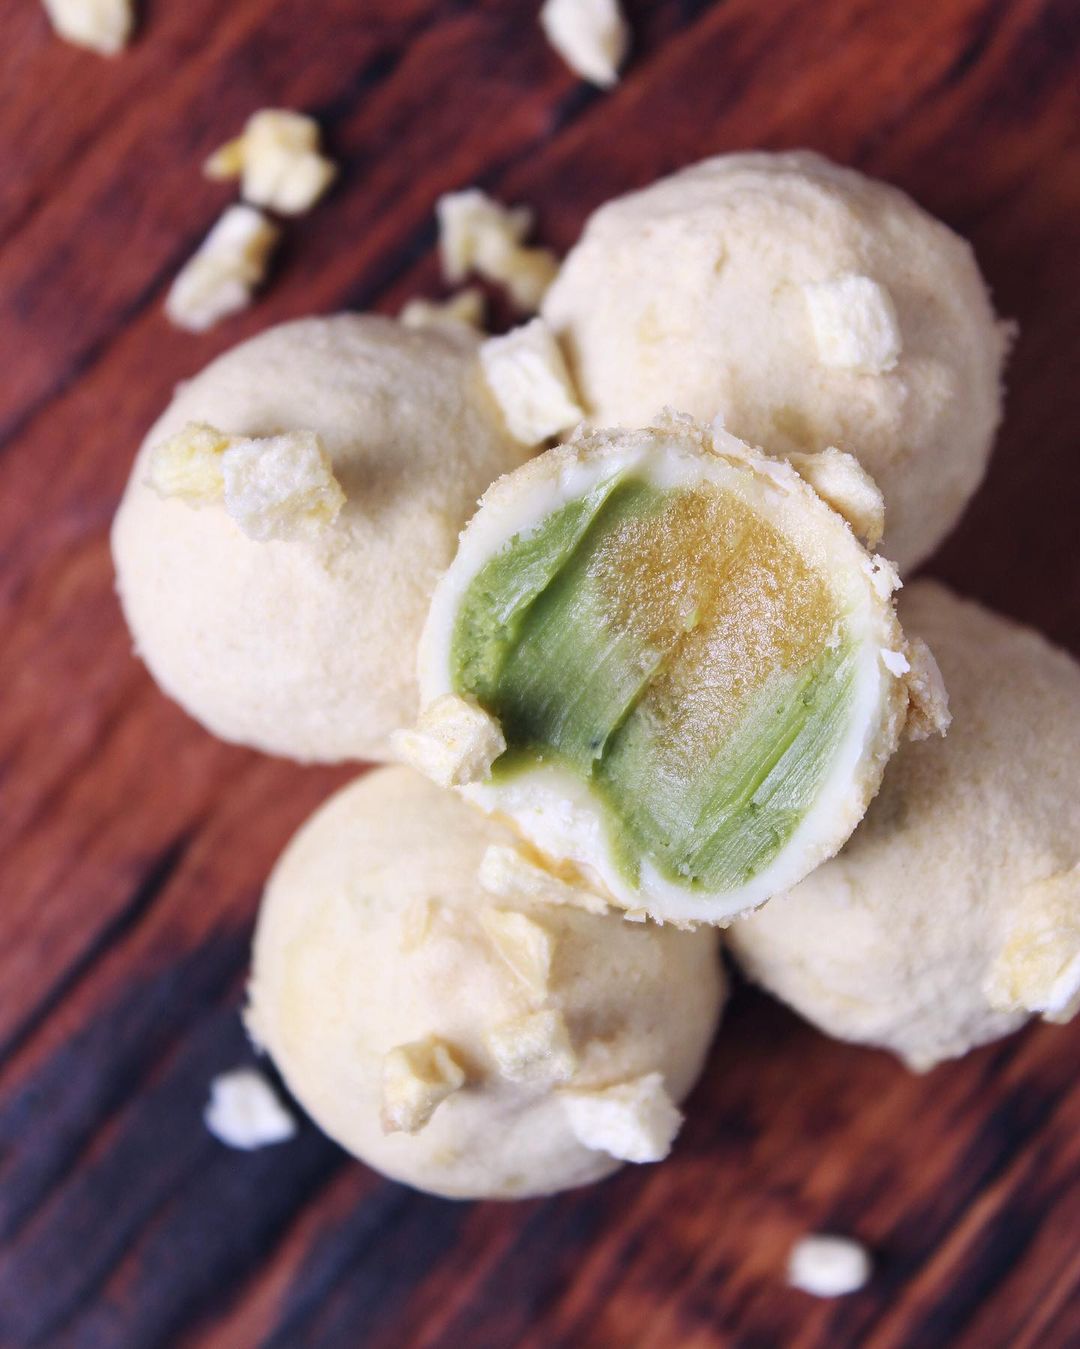
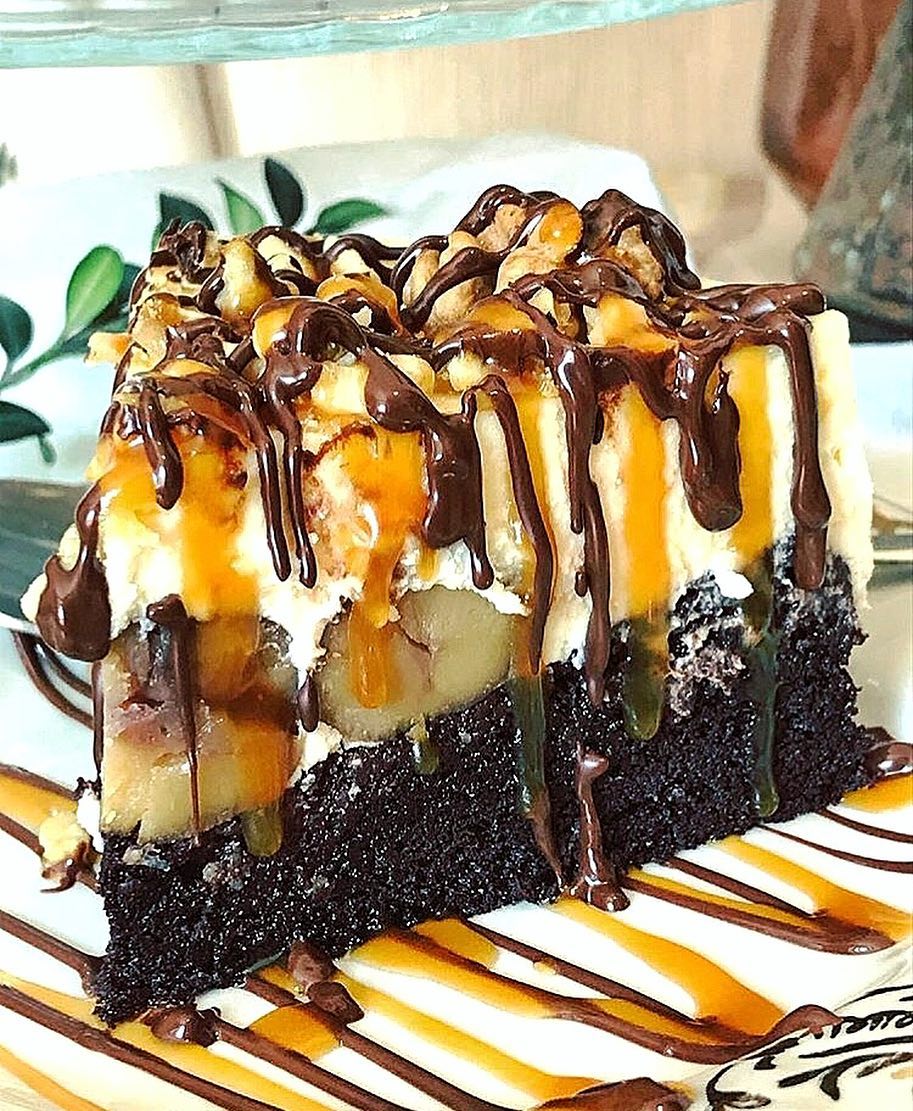
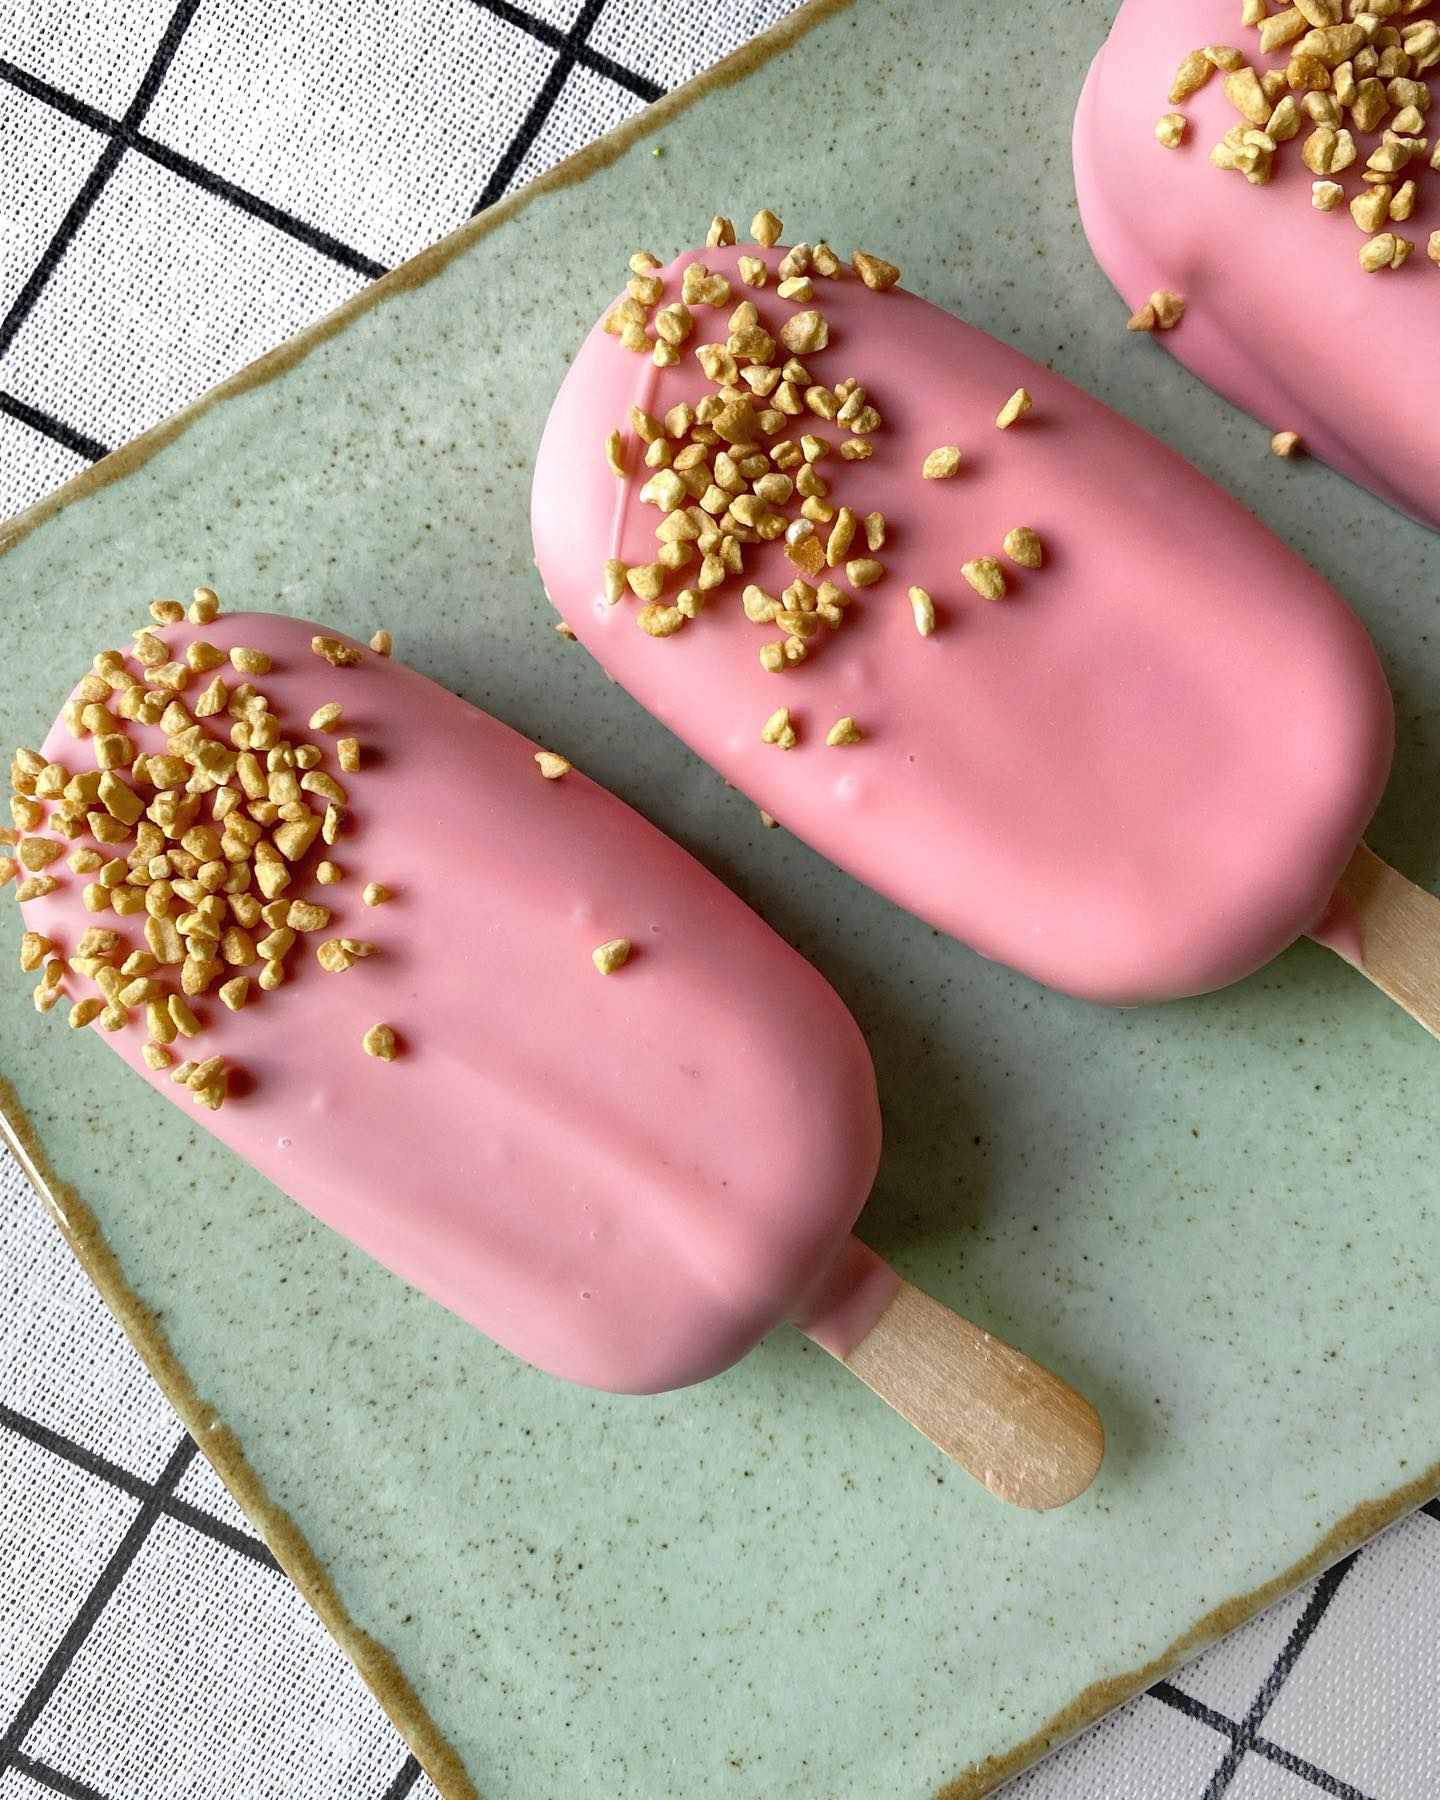
7. Decorate: Drizzle with melted chocolate or dip the pops into it. Allow the chocolate to harden before serving. You can use white, milk, or dark chocolate depending on your preference.

Servings

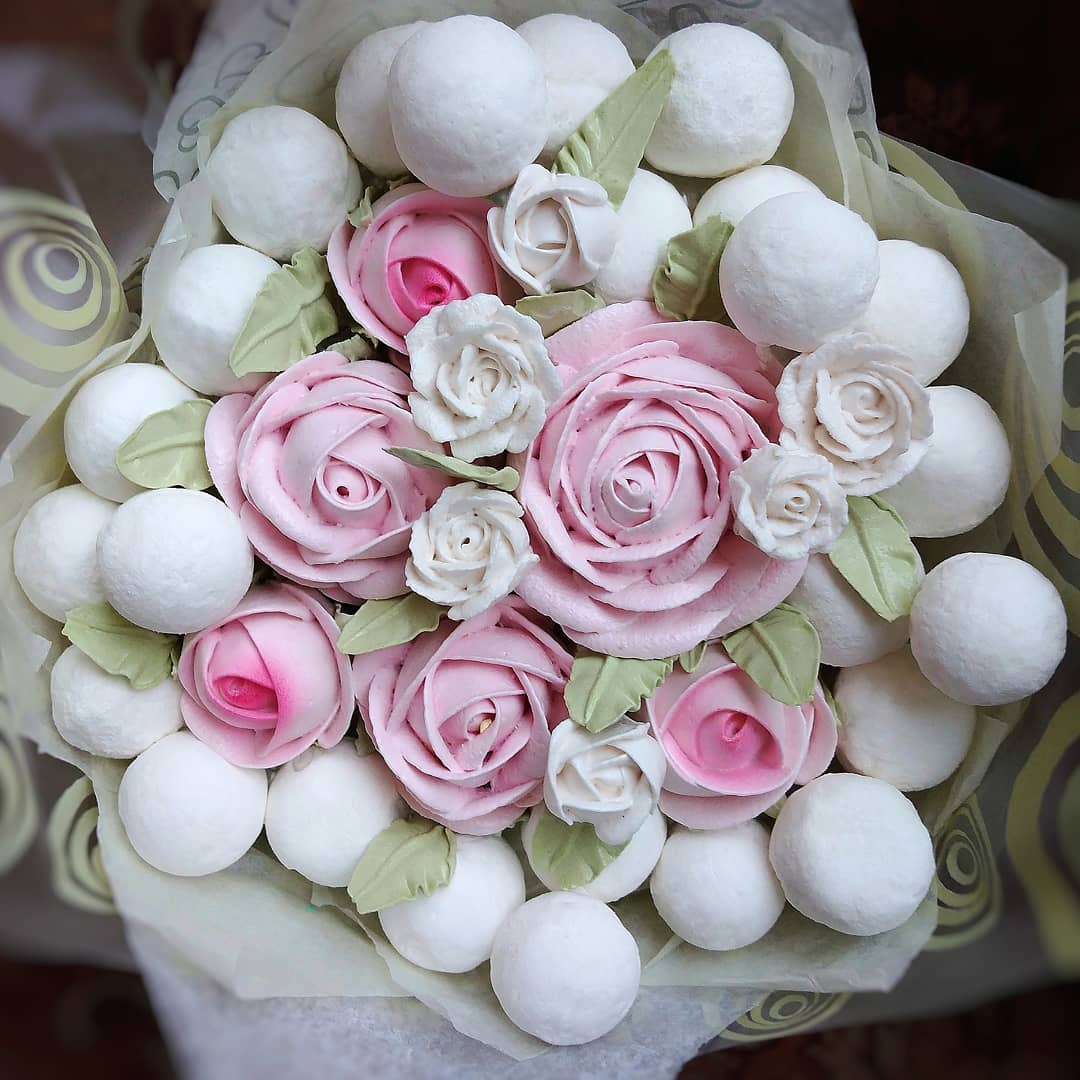
Serving these cheesecake pops is where the fun *really* begins. Imagine a lavish dessert spread at your next gathering 🍰✨. Arrange your cheesecake pops on a pretty platter and sprinkle with extra chocolate shavings for that gourmet touch. For a whimsically **chic presentation**, try serving them in individual mini garden pots filled with crumbled graham crackers to look like "dirt"—perfect for garden tea parties 🌸🍵. If you're feeling creative, make a dessert *bouquet* by sticking the pops into a Styrofoam block covered with colorful tissue paper. And here’s an idea that’s sure to wow: set up a *DIY cheesecake pop bar* where guests can dip their pops into assorted toppings like crushed nuts, sprinkles, and mini marshmallows. The possibilities are endless! 🍫🎉

Variations

Gluten-Free Variation 🌾🚫: To make these cheesecake pops gluten-free, simply ensure that all ingredients used (such as chocolate and other optional toppings) are certified gluten-free. Many brands offer gluten-free chocolates and flavorings.


Vegan Variation 🌱💚: For a vegan twist, swap the cream cheese for a plant-based cream cheese alternative, and use vegan whipping cream. Replace the egg with a flaxseed egg (1 tablespoon ground flaxseed mixed with 2.5 tablespoons water) and choose vegan-certified chocolate to keep the recipe plant-based.

Faq

  • Do I need to use silicone molds, or can I use a regular baking dish?

    Silicone molds are highly recommended as they make it much easier to remove the cheesecake pops. However, if you don’t have silicone molds, you can use a well-greased regular baking dish and cut the cheesecake into squares after freezing.

  • Why do I need to bake the cheesecakes in a water bath?

    A water bath helps to keep the temperature around the cheesecakes steady and gentle, which prevents cracks and ensures a creamy texture.

  • How can I prevent my chocolate from burning while melting it?

    Using a microwave, melt the chocolate in short bursts of 15-20 seconds, stirring in between each burst. Alternatively, use a double boiler for gentle, even melting.

  • Can I use white chocolate instead of bitter chocolate?

    Absolutely! White chocolate can be a delicious substitute and will offer a sweeter, creamier flavor. Just be sure to melt it carefully as it can burn more easily than darker chocolates.

  • Can I add flavors to the cheesecakes? If so, how?

    Definitely! You can add extracts like vanilla, almond, or citrus to the mixture. Be sure to mix them evenly into the cream cheese before baking to ensure a balanced flavor.

  • How long in advance can I prepare these cheesecake pops?

    You can make the cheesecake pops up to a week in advance. Keep them stored in an airtight container in the freezer, and dip them in chocolate right before serving for the best taste and texture.

Nutrition facts

Chocolate cheesecake sundae
Recipe Yield:6 servings
Calories:Per serving
Calories (Min - Max):250 - 300
Total Fat:18g
Saturated Fat:11g
Protein:5g
Total Carbohydrate:21g
Total Sugars:20g