Ingredients
Dough
Custard
Instructions
Step 1
Step 2
Step 3
Step 4
Step 5
Step 6
Step 7
Step 8
Step 9
Step 10
Step 11
Step 12
Step 13
Step 14
Step 15
Step 16
Step 17
Servings
Serving Suggestions and Ideas 🥄
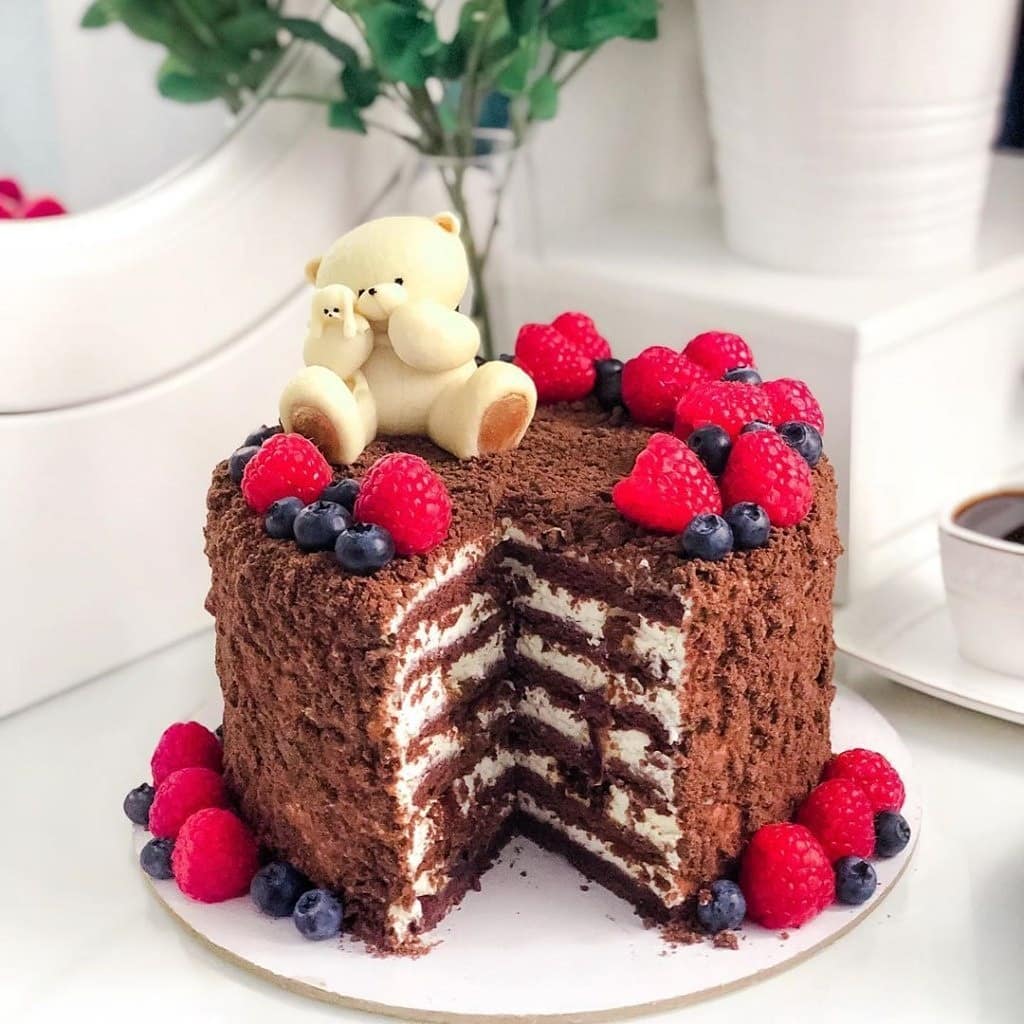
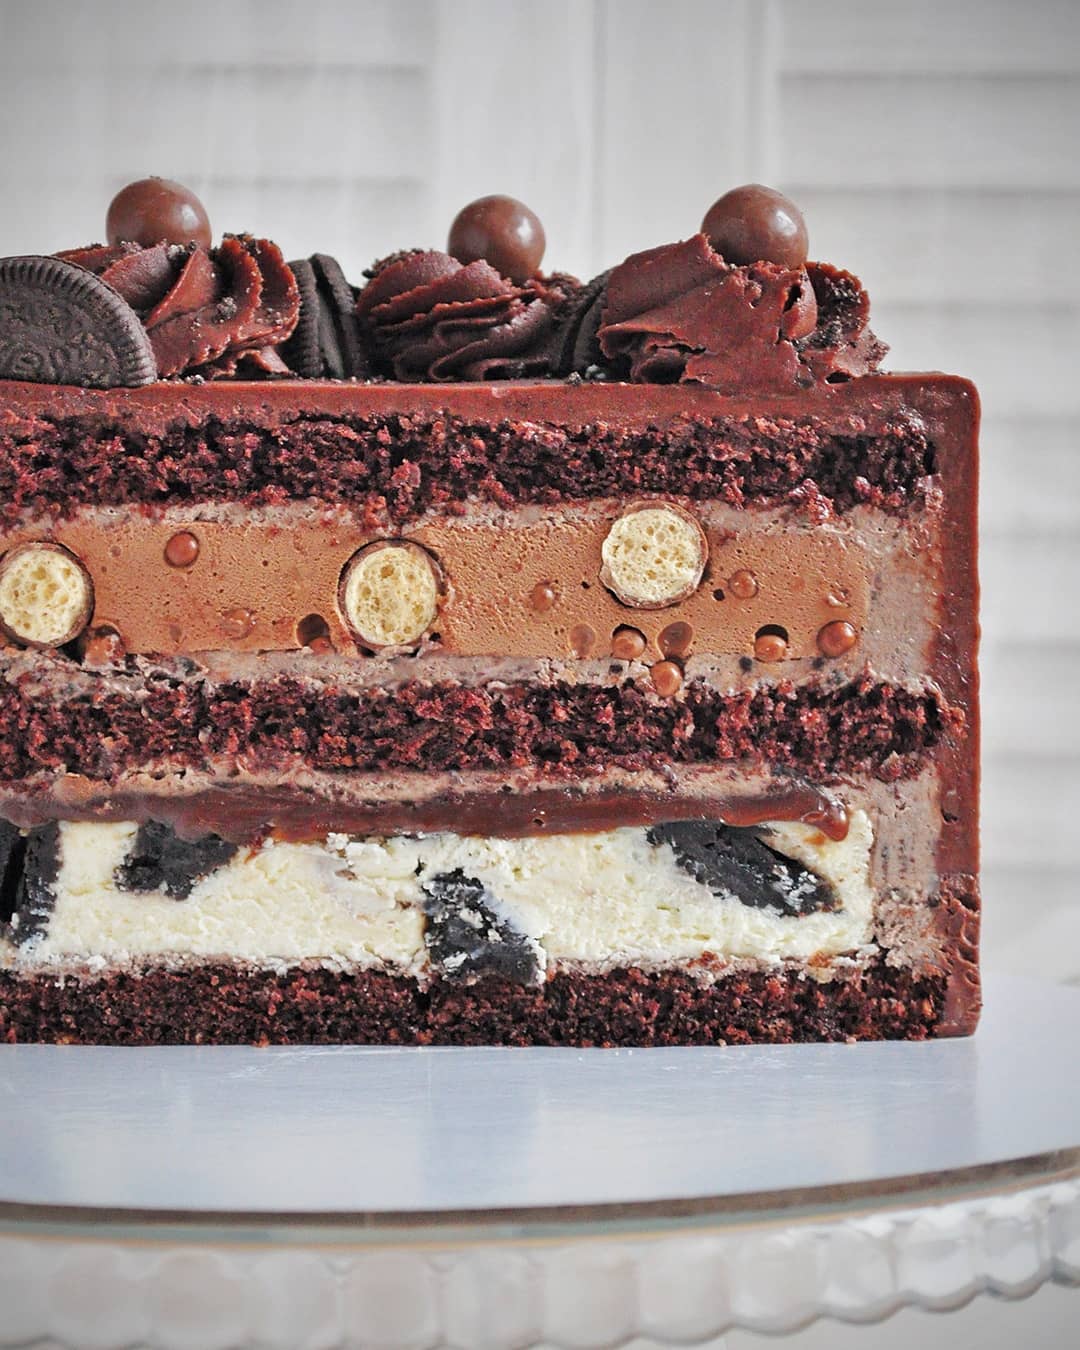
This Honey Chocolate Cake is a showstopper on any dessert table. But why stop there? Slice it up and serve with a scoop of vanilla bean ice cream for a delightful contrast between the warm cake and the ice-cold treat. 🍨
For a more sophisticated touch, try dusting the top with cocoa powder or drizzle some melted dark chocolate for that extra oomph. 🍫 Add a sprinkle of shaved almonds for a bit of crunch and flair. 🌰
Taking it to the next level? Serve alongside a cup of your favorite herbal tea or a robust espresso to balance the sweetness. 🫖☕️ You can even make mini versions of this cake for individual servings at a tea party or brunch. The possibilities are endless and each bite will leave your guests craving more!
Equipment
Choose a large, heatproof mixing bowl for combining your ingredients. It needs to be sturdy as you'll be using it over a water bath.
A balloon whisk works best for aerating your egg-honey-sugar mix. You’ll want to achieve a smooth, fluffy consistency.
Use a fine mesh sieve to ensure your flour and cocoa are lump-free. This helps create a smooth dough.
A non-stick rolling pin makes it easier to roll out your dough to the desired thickness without sticking.
A ring mold keeps your cake layers uniform. Use one that's 19-20 cm (7.5 to 8 inches) in diameter for best results.
An often overlooked "tool", your refrigerator is essential for setting the dough and cream filling properly.
A hand mixer helps you achieve that perfectly whipped custard quicker than manual whisking.
Variations
Gluten-Free and Vegan Variations 🌱
🚫🌾 Gluten-Free: For a gluten-free version, simply swap out the regular flour for a gluten-free all-purpose flour blend. Ensure that your baking soda is also certified gluten-free.
🥥🍯 Vegan: To make this cake vegan, replace the eggs with flax eggs (1 tbsp ground flaxseed and 3 tbsp water per egg, let it sit for 15 minutes). Use vegan butter instead of regular butter and opt for coconut cream and almond milk in place of heavy sour cream and cream. Substitute honey with agave syrup or maple syrup for that sweet, sticky goodness!
Experimenting with these variations ensures that everyone can enjoy this delicious treat without worrying about dietary restrictions. Happy baking!
Faq
- How do I know if my dough is the right consistency?
The dough should be soft and a bit sticky, but firm enough to shape into a "sausage" for rolling.
- Can I make the custard filling in advance?
Yes, you can prepare the custard ahead and store it in an airtight container in the fridge for up to two days.
- What's the best way to incorporate the flour without lumps?
Sift the flour before adding it to the wet mixture and add it gradually while mixing continuously.
- How do I ensure evenly baked cake layers?
Roll out the dough evenly and use a ring mold for uniform layers. Rotate the baking tray halfway through the baking time if needed.
- Can I use a stand mixer instead of a hand mixer for the custard?
Absolutely, a stand mixer with a whisk attachment works perfectly to achieve a fluffy, smooth custard.
- What's the trick to getting a smooth final coat of cream?
Use an offset spatula to spread the cream evenly and smoothly over the cake. Chilling the cake layers first helps in achieving a neat finish.

