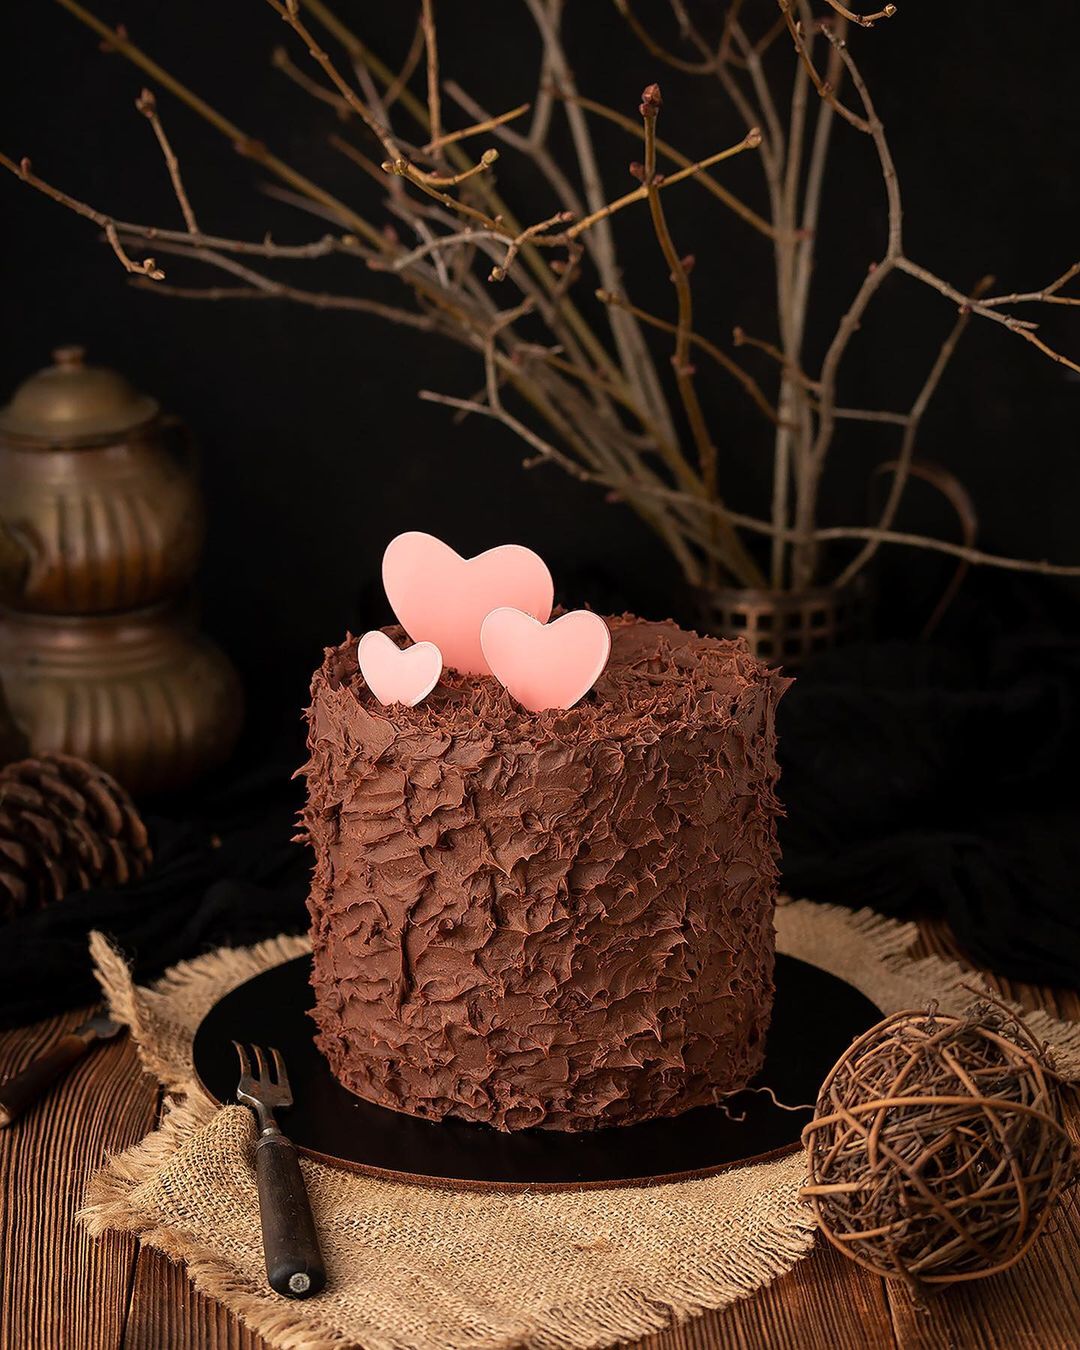
Ingredients
Shortcrust base
Chocolate cheese filling
Chocolate ganache
Instructions
Step 1
In a bowl, grind the butter with the powdered sugar and brown sugar, then add the egg. Ensure the butter is at room temperature for easier mixing. Sift the cocoa and flour into the mixture, add a pinch of salt, and whisk all the ingredients until smooth. Do not whip the mixture! Roll the dough into a ball, wrap it in plastic wrap, and refrigerate for 1 to 2 hours. Refrigerating the dough helps to set the butter and makes it easier to roll out.
Once chilled, roll out the dough to a thickness of 0.5 cm (0.2 inch) and bake it in a preheated oven at 180°C (356°F) for 10 to 15 minutes. Allow the chocolate shortcrust pastry to cool completely, then grind it in a blender and mix with chopped cashews.
Next, add the melted chocolate (or melted butter) to achieve a workable consistency and mix well. Form the cheesecake base with sides in a detachable ring mold, remembering to cover the bottom with parchment paper. To save time, you can freeze the base for 30 minutes instead of baking it. If using butter instead of chocolate, you should bake the base for 15 minutes.
Step 2
Grind the cream cheese with brown sugar and cocoa until well combined. Add the eggs and mix gently using a whisk or silicone spatula.
Melt the cream and milk chocolate together in the microwave in short pulses or over a water bath, then add them to the cheese mixture and mix well. Do not use a mixer to maintain the texture. Stir in the chopped nuts if desired.
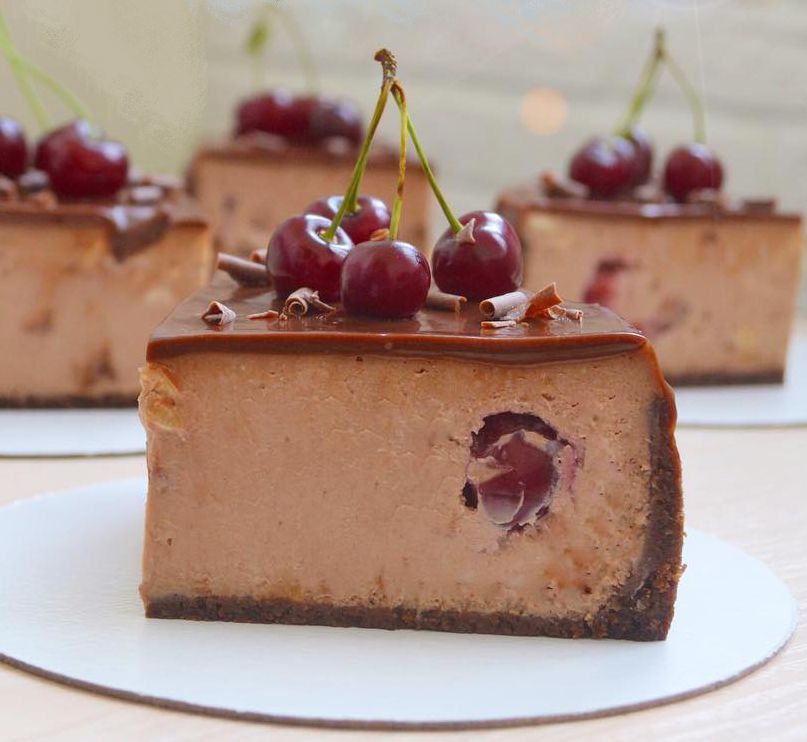
Lightly sprinkle the pitted cherries with cornstarch and spread half of the cheese filling on the baked or frozen shortcrust base. Place the cherries on top, then cover them with the remaining cheese filling.
Step 3
Bake the cheesecake in a preheated oven at 110-130°C (230-266°F) for 2 hours. It's important to use a water bath for even baking.
Once baked, let the cheesecake cool completely in the oven with the door slightly open. After cooling, refrigerate the cheesecake for at least 8 hours to set.Cooling slowly prevents cracks from forming on the surface.
Step 4
Melt the milk chocolate and cream together in the microwave, stirring with a silicone spatula until smooth. Pour the ganache over the cooled cheesecake before serving.
For an elegant finish, decorate with additional chopped cashews or a sprinkle of cocoa powder.
Servings
🍰 Ready to serve this heavenly Chocolate Cheese Cheesecake? Here are a few serving suggestions to make your dessert experience even more delightful:
**Classic Elegance:** Serve chilled, garnished with extra chopped cashews and a few fresh pitted cherries on top. For added flair, sift a bit of cocoa powder over the surface. Your guest will feel like they’re dining in a fancy patisserie.
**Whipped Cream Bliss:** Top each slice with a dollop of freshly whipped cream and a drizzle of melted chocolate. A sprinkle of sea salt can add a surprising touch of sophistication.
**Fruit Lover’s Paradise:** Serve the cheesecake with a side of fresh berries or berry compote. The tartness of the fruit contrasts beautifully with the rich, creamy flavors.
**Picnic Ready:** Pre-slice the cheesecake and place each piece into individual parchment squares for easy grabbing at an outdoor event. Don't forget to bring disposable forks and napkins. 🌞
**Hot-Drink Pairing:** Serve a slice with a hot cup of coffee, tea, or hot chocolate. The richness of the cheesecake pairs incredibly with warm beverages. ☕
Equipment
This mold helps you achieve the perfect cheesecake shape and allows for easy removal without any mess. Opt for a non-stick version for best results.
A silicone spatula is perfect for mixing ingredients smoothly without scratching your bowls or pans. Plus, it's super easy to clean!
You'll need a blender to grind the pastry base into the perfect consistency. Make sure it's powerful enough to handle nuts!
To melt chocolate and cream efficiently, a microwave or double boiler will be your best friends. Keep the temperatures low to avoid burning the chocolate.
Line your ring mold with baking parchment to ensure nothing sticks and the cheesecake slides out smoothly.
Variations
Want to make your Chocolate Cheese Cheesecake gluten-free or vegan? Here’s how:
**🌾 Gluten-Free:** Swap the regular flour with an equal amount of gluten-free flour mix. Ensure all your other ingredients, like chocolate and cocoa, are certified gluten-free to avoid any cross-contamination.
**🌱 Vegan:** For the base, replace the butter with coconut oil and the egg with a flaxseed egg (mix 1 tablespoon of ground flaxseed with 3 tablespoons of water and let sit for 10 minutes). For the filling, use a vegan cream cheese, like cashew-based or tofu-based cream cheese, and replace the eggs with a mixture of 1 tablespoon of cornstarch mixed with 2 tablespoons of water per egg. Coconut cream can replace dairy cream, and ensure you use vegan chocolate.
Faq
- How do I avoid a soggy base for my cheesecake?
Make sure your base is thoroughly cooled before adding the cheese filling. Also, baking the base slightly will help prevent it from getting soggy.
- Can I substitute the cashew nuts with another type of nut?
Absolutely! You can use almonds, pecans, or even walnuts as alternatives. Each nut will add a slightly different flavor and texture.
- What’s the purpose of the water bath for baking the cheesecake?
A water bath helps to maintain an even oven temperature and prevents the cheesecake from cracking. It ensures your cheesecake remains smooth and creamy.
- Can I speed up the cooling process in the fridge?
A quick cooling process can sometimes affect the texture. It's best to let the cheesecake cool gradually to maintain its smooth, creamy consistency.
- How can I get a smooth chocolate ganache topping?
Make sure to melt the chocolate and cream on low heat, stirring constantly. Pour it over the cheesecake while it's still slightly warm, and use a spatula to spread it evenly.
- Can I prepare parts of this recipe in advance?
Yes! You can prepare the shortcrust base a day before and store it in the refrigerator. The cheesecake also benefits from being made a day ahead, allowing flavors to further develop.

