Ingredients
Raspberry Purée
Sweeteners and Thickeners
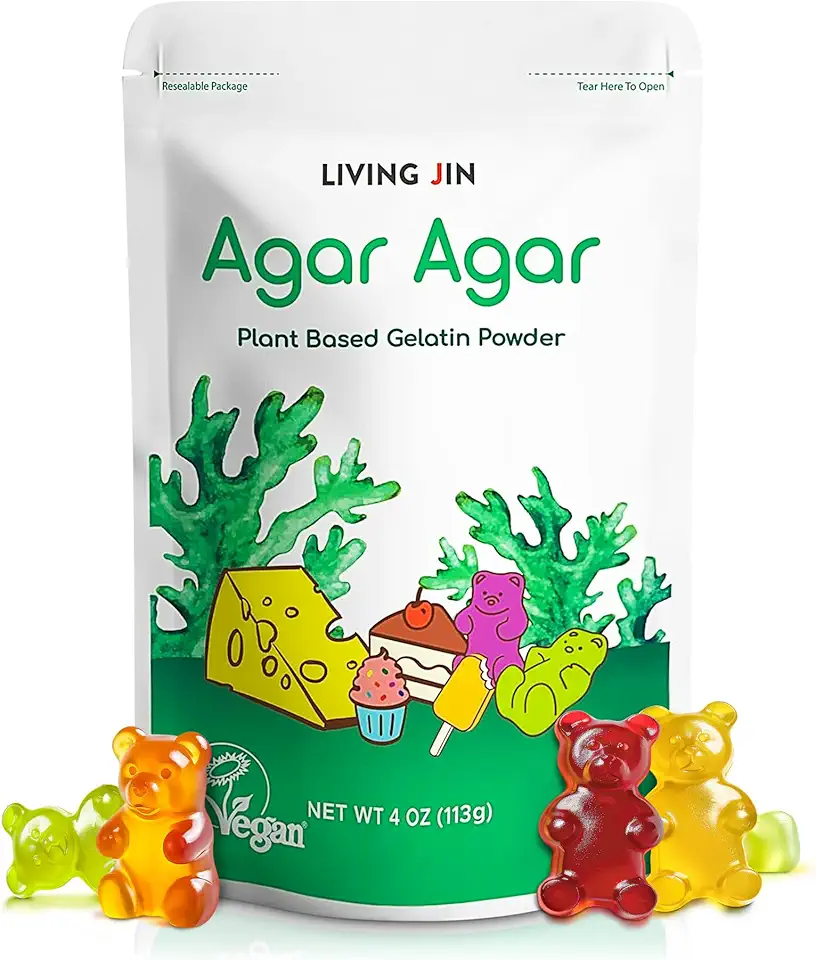 LIVING JIN Agar Agar Powder (4oz) Vegan Gelatin Substitute, Certified Gluten-free, Non-GMO, 100%, Sugar-free, Halal, Desserts, 100% Natural Red Algae
$14.99
View details
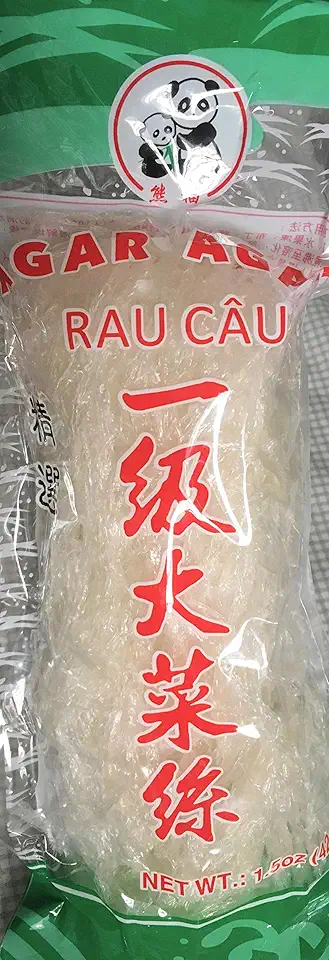 Agar Agar thread sticks 1.5 oz (42g) Not Powder Form_AB
$7.99
View details
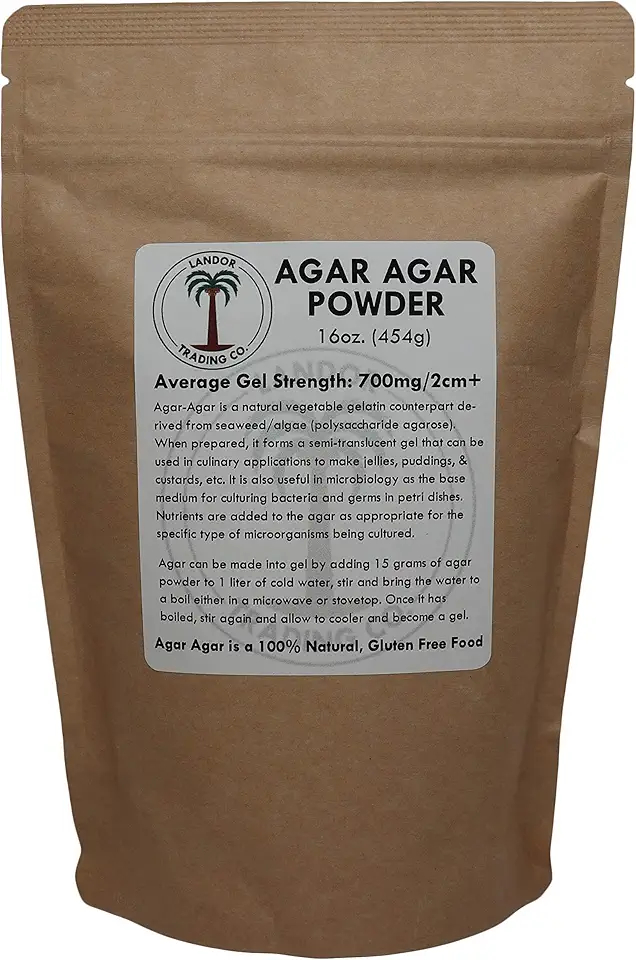 Agar Agar Powder - 1 Pound - Average Gel Strength
$44.99
View details
Instructions
Step 1
Start by making the raspberry purée. To do this, simply pass the thawed raspberries through a sieve to remove the seeds. You should end up with a smooth, rich purée that highlights the sweet and tangy flavor of the raspberries.
Step 2
In a medium saucepan, combine the raspberry purée with topinambour syrup and agar-agar. Stir the mixture well until all ingredients are fully integrated. This blend will provide a great balance of sweetness and a perfect texture.
Step 3
Next, heat the saucepan over medium heat. Bring the mixture to a gentle boil while constantly stirring. This process activates the agar-agar, so it is crucial to keep mixing to prevent sticking or burning. Once boiling, allow it to simmer for another minute before removing it from the heat.
Step 4
Carefully pour the hot raspberry mixture into molds of your choice. Let it cool slightly at room temperature before transferring it into the refrigerator. Chill for at least 5 hours, allowing the jam to set properly and achieve that perfect jelly-like consistency.
Step 5
After chilling, your raspberry jam is ready to be served! Gently remove the jam from the molds with care to preserve its shape. Use this beautiful and flavorful jam to elevate your desserts and treats. Enjoy the fresh taste of homemade raspberry jam in all your favorite recipes!
Servings
Go ahead and get creative, and don’t forget to tag your delicious creations on social media! 📸
Equipment
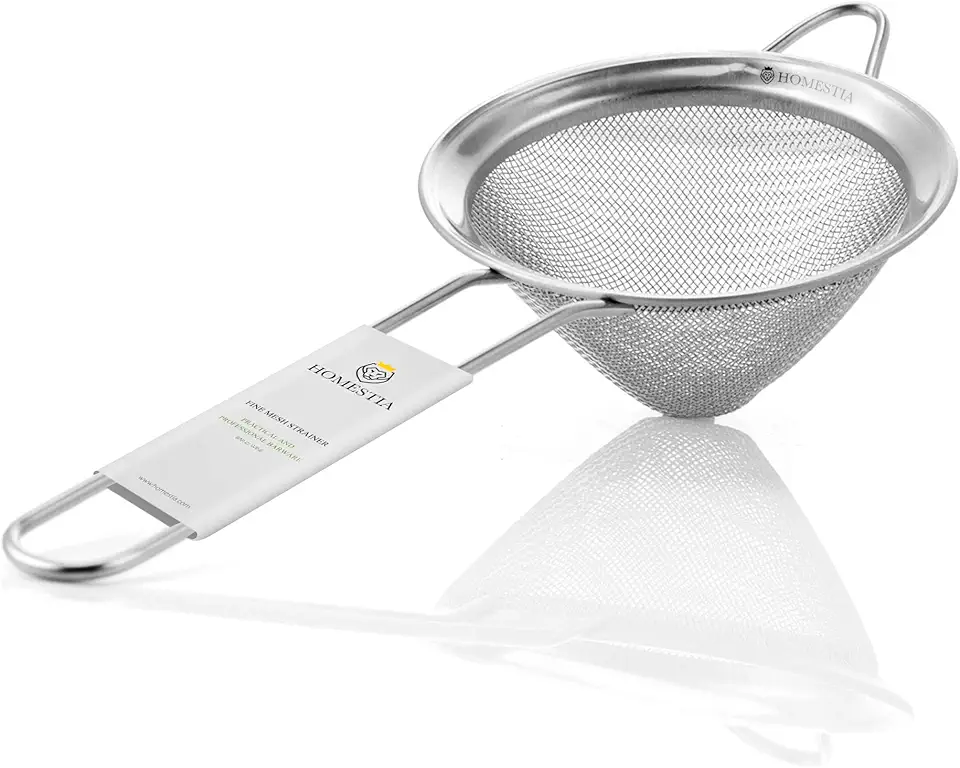
Essential for straining the seeds out of the raspberry puree, this tool ensures your jam is smooth and luscious. A little tip: consider using a spatula to help push the puree through the sieve easily!
This is where the magic happens! Use a medium-sized saucepan to combine your raspberry puree, syrup, and agar-agar. Make sure it has a thick bottom to avoid burning your jam for perfect results!
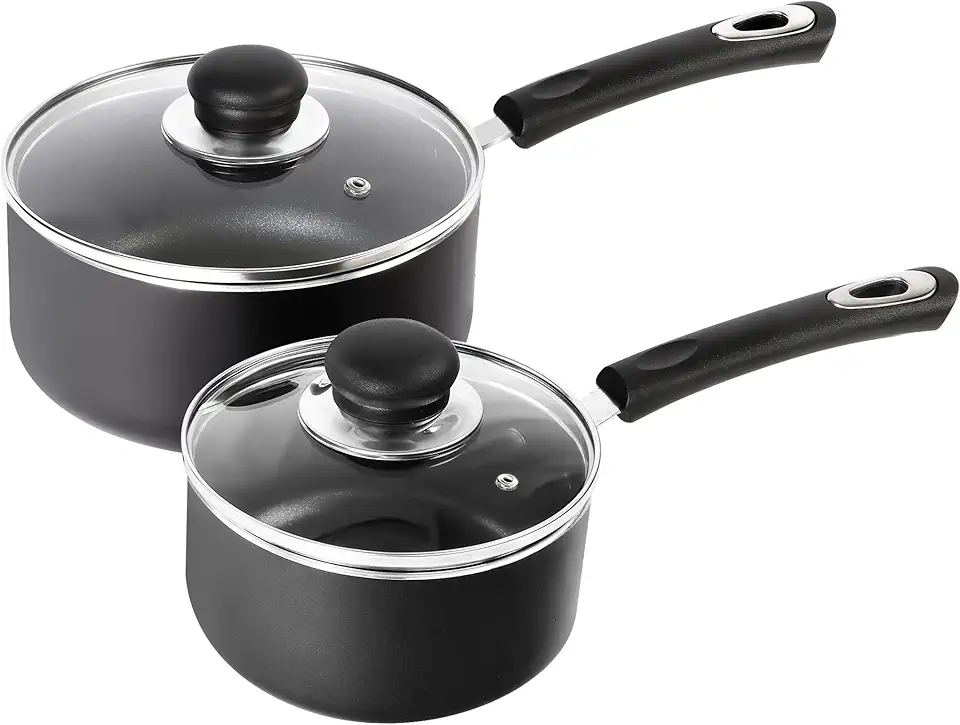 Utopia Kitchen Nonstick Saucepan Set with Lid, 1 Quart and 2 Quarts Multipurpose Pots Set for Home Kitchen or Restaurant (Grey-Black)
$25.99
$39.99
View details
Prime
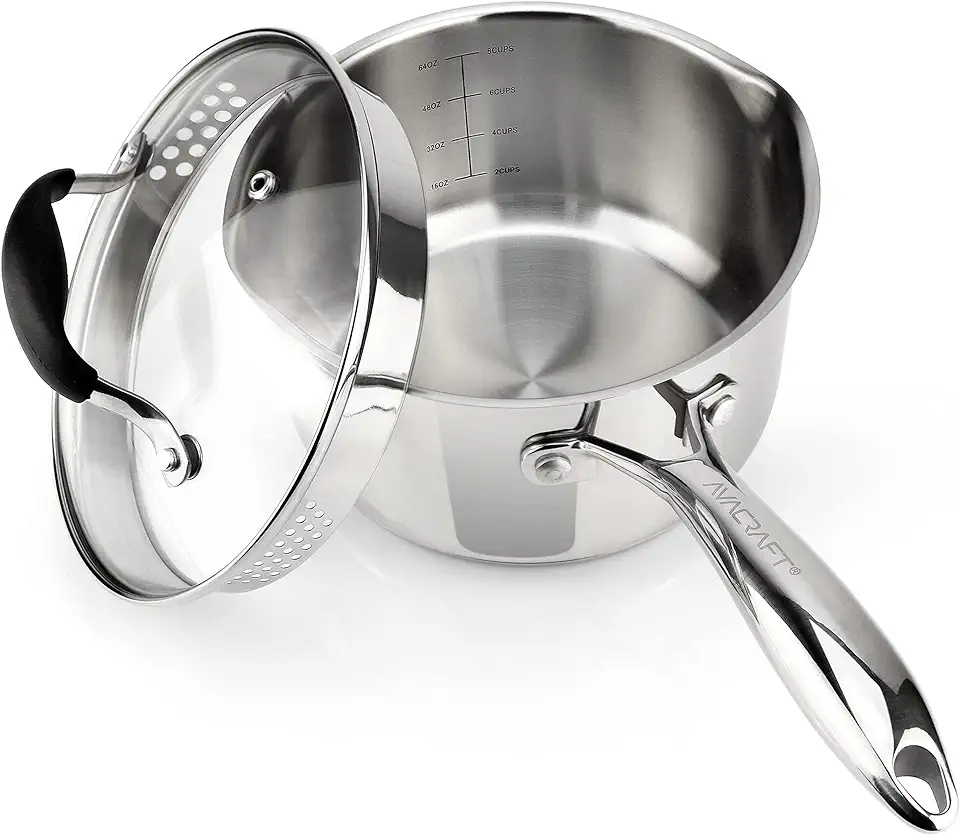 AVACRAFT Stainless Steel Saucepan with Glass Strainer Lid, Two Side Spouts for Easy Pour with Ergonomic Handle, Multipurpose Sauce Pot (Tri-Ply Capsule Bottom, 2.5 Quart)
$48.50
View details
Prime
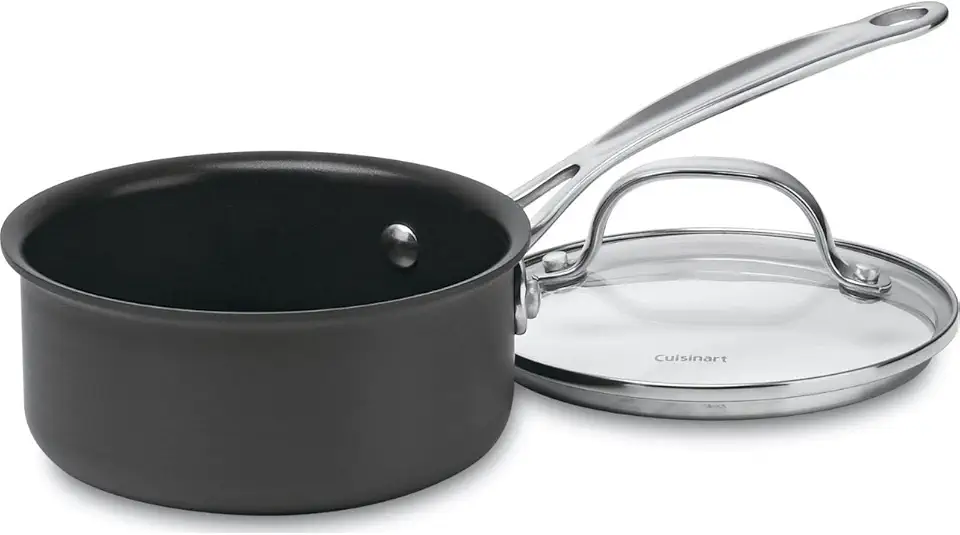 Cuisinart 1-Quart Saucepan, Chef's Classic Nonstick Hard Anodized Saucepan w/Cover, 619-14
$19.95
View details
Ideal for shaping your jam into fun and unique designs. They are flexible and allow easy removal of the jelly once it’s set. Pro tip: lightly grease them to avoid any sticking!
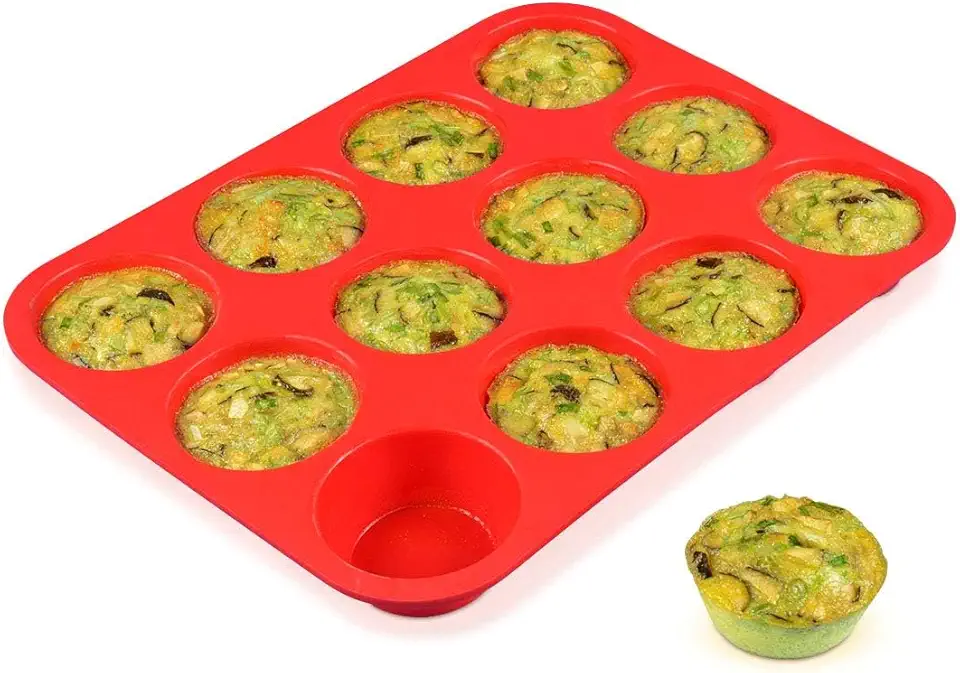 CAKETIME 12 Cups Silicone Muffin Pan - Nonstick Cupcake Pan 1 Pack Regular Size Silicone Mold for Baking
$9.98
$13.99
View details
Prime
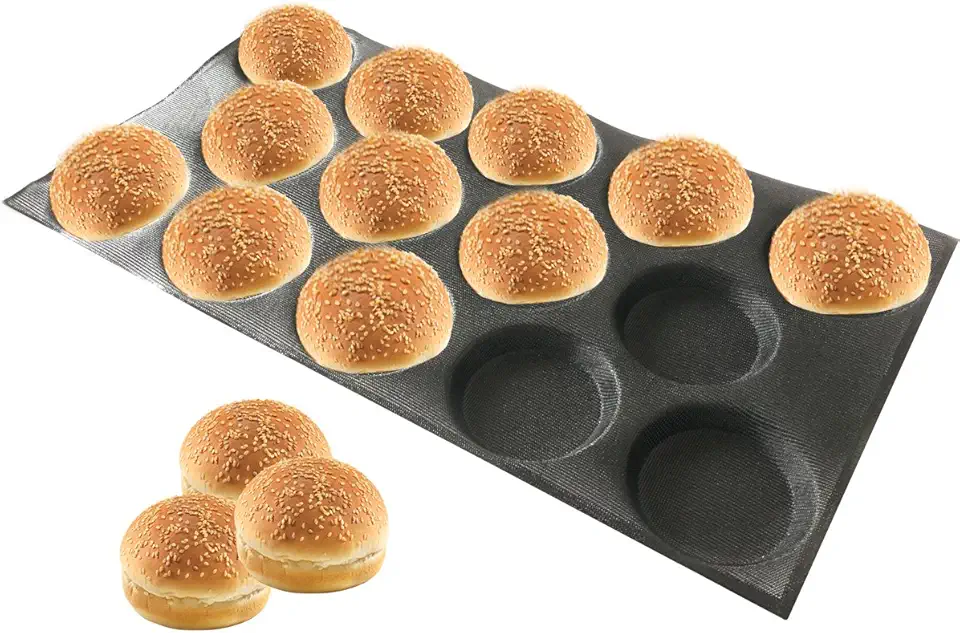 Bluedrop Silicone Hamburger Bread Forms Perforated Silicone Bakery Molds Tartlets Pita Moulds Sheets Food Grade for Industrial Large Size
$49.00
View details
Prime
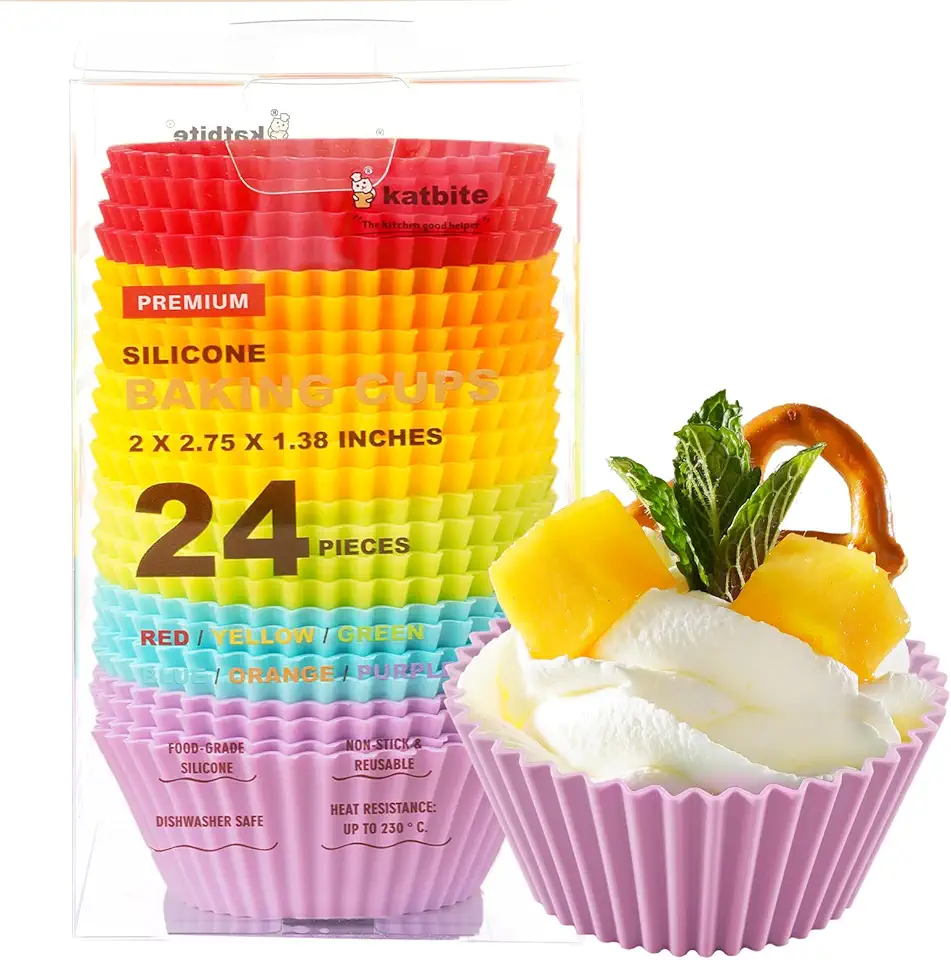 Katbite Reusable Silicone Baking Cups 24 Pack - Non-stick Muffin Cupcake Liners Set, Thick & Heavy Duty Cupcake Molds - Perfect for Party Halloween Christmas Bakery Supplies, Multicolor
$9.99
$15.99
View details
Variations
For a **vegan variation**, simply swap out the syrup for another plant-based sweetener like agave syrup or maple syrup. You'll end up with a delightful jam that everyone can enjoy, and it still retains that luscious raspberry flavor! Don't hold back; indulge in the vibrant world of berries!
Faq
- Q: How do I know when my jam is ready?
A: The jam is ready once it thickens and coats the back of a spoon. You can also do a cold plate test; place a small amount on a cold plate and see if it holds its shape when cooled!
- Q: Can I use frozen raspberries instead of fresh?
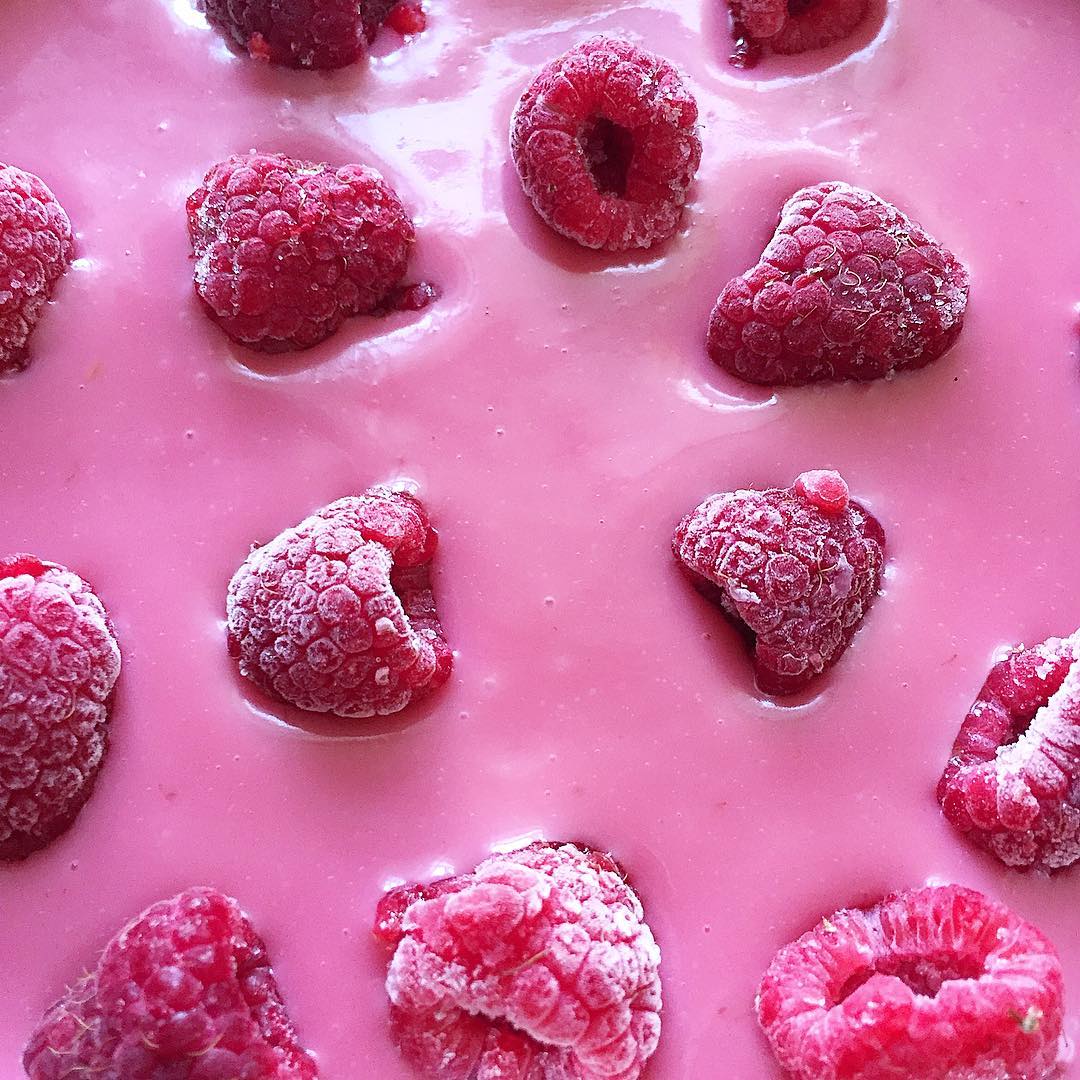
A: Absolutely! Frozen raspberries work perfectly for this recipe. Just thaw and strain them to get that silky puree.
- Q: How can I adjust the sweetness of my jam?
A: You can always reduce or increase the amount of syrup according to your taste. Always remember to start with a smaller amount, and taste as you go!
- Q: What can I substitute for agar-agar?
A: If you don't have agar-agar on hand, you can substitute it with gelatin, but this will not keep it vegan. Make sure to adjust the amount as they have different gelling properties!
- Q: Can I store this jam, and how long does it last?
A: Yes, you can store your jam in an airtight container in the fridge for about 1-2 weeks. If you plan to keep it longer, consider canning it!
- Q: Can I add other fruits in this recipe?
A: Absolutely! You can mix in other berries like blueberries or strawberries for a delightful combo. Just remember to adjust the sweetness according to your fruit choice!

