Ingredients

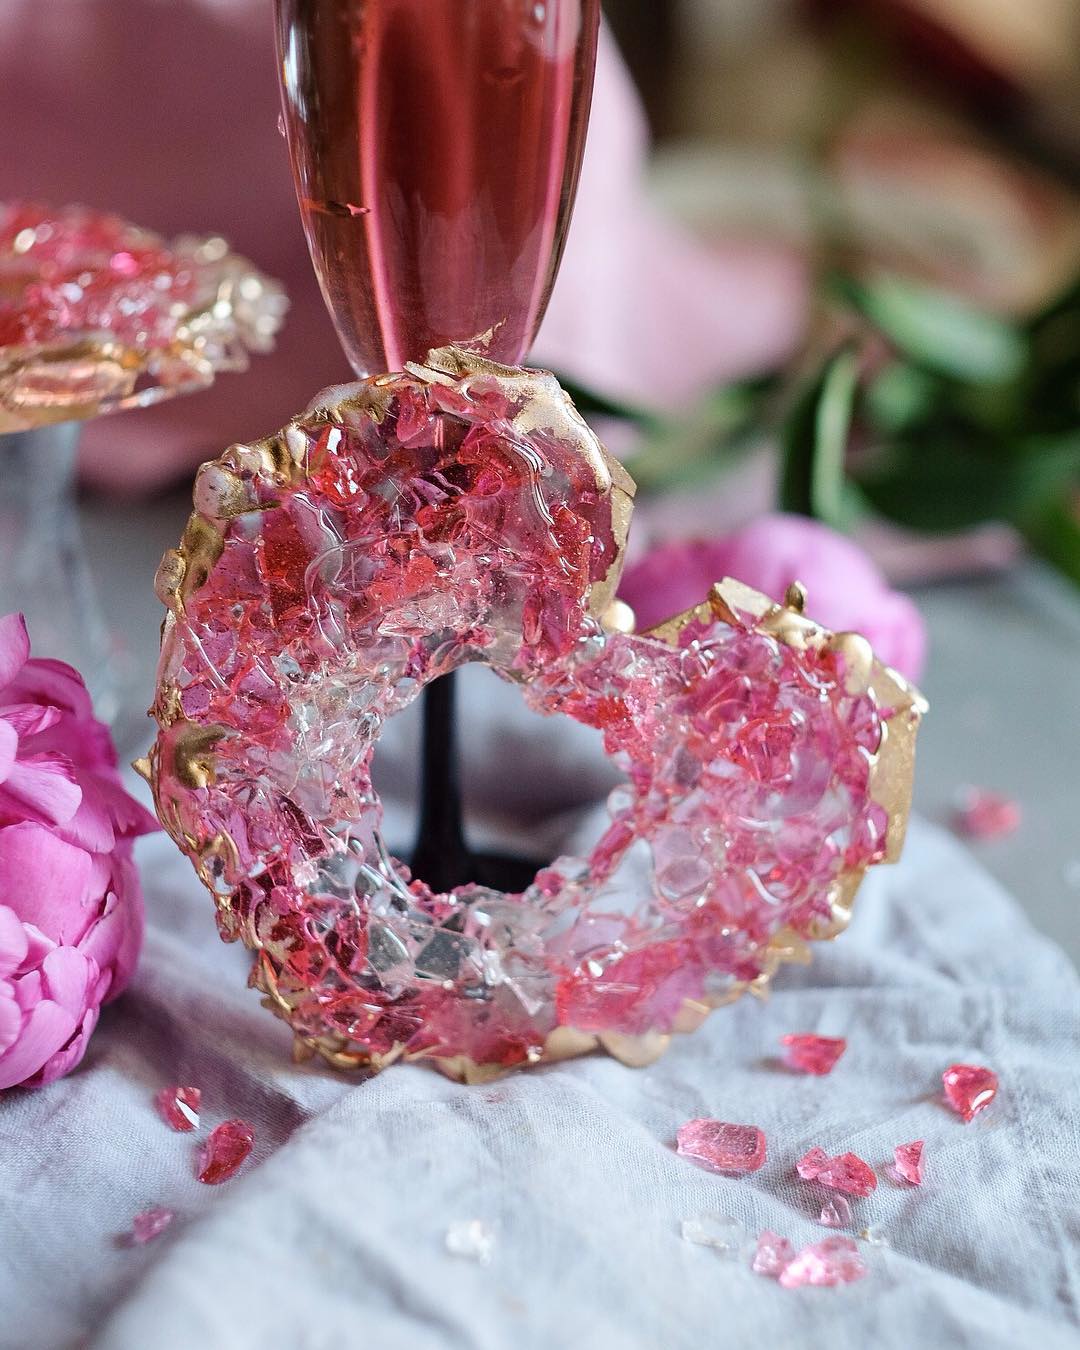
Isomalt Heart

  • 200 grams (7.05 ounces) isomalt
  • Gel water soluble food coloring, to taste

Equipment

  • Stewpan

    A medium-sized stewpan will help you evenly melt the isomalt. Make sure it's heavy-bottomed to prevent burning.

  • Immersion Thermometer

    This is essential for monitoring the temperature of the isomalt so you don’t overcook or undercook it.

  • Silicone Mats

    Use two silicone mats to pour and cool the isomalt; they are non-stick and heat-resistant, perfect for this recipe.

  • Silicone Spatula

    The flexibility of a silicone spatula allows you to easily manage the hot isomalt without sticking.

  • Wooden Skewers

    These are perfect if you want to turn your isomalt heart into a cake topper. Opt for sturdy skewers that can hold the weight.

  • Cold Water

    Prepare a saucepan of cold water in advance to help quickly cool down the isomalt.

Instructions

Step 1

Gather and prepare your tools: 200 grams (7.05 ounces) isomalt, a stewpan, a spoon, an immersion thermometer, gel water soluble food coloring to taste, 2 silicone mats, a silicone spatula, a regular spoon, wooden skewers (if you plan to use the heart as a cake topper), and a heavy object like a kitchen hammer, rolling pin, or knife handle.

Step 2

Prepare a silicone mat and a saucepan of cold water in advance; the diameter of these tools should be larger than the diameter of the saucepan.

Step 3

Tip: Having these tools ready ahead of time will make the process smoother.

Step 4

Melt the isomalt over medium heat and bring it to a temperature of 180-190°C (356-374°F).

Step 5

Tip: Stir occasionally to ensure even melting and prevent burning.

Step 6

Remove the saucepan from the heat and place its bottom in the cold water for about 10 seconds, until the bubbles disappear.

Step 7

Tip: The less isomalt you have in the saucepan, the less time you need to keep it in the cold water.

Step 8

Pour some of the clear isomalt onto the silicone mat.

Step 9

Color the remaining isomalt in the saucepan, adding gel food coloring in increments until the desired color intensity is achieved. Create 3-5 isomalt puddles on the mat, ranging from transparent to dark pink.

Step 10

Tip: If you prefer a matte finish, you can add some titanium dioxide to the isomalt.

Step 11

Let the isomalt puddles cool completely, then cover them with another silicone mat and gently break them into pieces. Avoid chopping the isomalt too finely.

Step 12

Arrange the isomalt fragments in the shape of a heart on the mat.

Step 13

Carefully fill in the gaps between the shards with a little clear isomalt using a spoon to keep the edges of the shards intact.

Step 14

Allow the heart to cool down completely.

Step 15

Once cooled, you can skewer the heart with a wooden skewer if you plan to use it as a cake topper.

Step 16

Voila! Your isomalt heart is ready.

Servings

So, you’ve created this stunning isomalt heart and now you’re wondering, what’s next? Here are some ideas that will make this delightful treat a showstopper at your gathering: Picture this: your beautifully crafted isomalt heart sitting atop a fluffy and cream-rich cake. The clear or colored heart will stand out amazingly against traditional frostings like vanilla, chocolate, or even a tangy lemon. Imagine guests’ eyes lighting up as they see this elegant topper, a true testament to your baking prowess. Not into cakes? No problem! You can place these isomalt hearts on dessert platters featuring an array of mini cakes, cupcakes, or even luxurious chocolate truffles. The mix of textures and colors can transform a standard dessert table into a visual and gustatory feast. If you’re feeling extra fancy, use the isomalt heart as a unique centerpiece for your dinner table. Surround it with assorted fruits, sprigs of mint, and edible flowers. Your table will not only look Instagram-worthy but will also bring a touch of elegance to your dining experience. An excellent pro tip: wrap these delicate hearts individually in clear cellophane bags tied with a satin ribbon, turning them into impressive edible gifts or party favors. Your guests will remember the love and effort you put into creating these charming treats.

Variations

For those looking for gluten-free and vegan options, worry not! To make gluten-free isomalt hearts, simply stick to the original recipe as it’s naturally gluten-free! Isomalt and gel water-soluble food coloring are free from gluten, making it safe and enjoyable for those with gluten intolerance. For a vegan twist, you still follow the same original steps as the recipe does not contain any animal-derived ingredients. Always ensure that your food coloring is also vegan-friendly, as some colorings might have animal-based additives. Most gel-based food colors are vegan, but double-check the label just to be sure.

Faq

  • How do I know when the isomalt is ready to use?

    Use an immersion thermometer. The isomalt should be heated to 180-190°C (356-374°F).

  • Can I use regular food coloring instead of gel?

    No, it's best to use gel water-soluble food coloring as it mixes better with the isomalt.

  • How do I manage the temperature effectively?

    Always use an immersion thermometer and be prepared to quickly cool down the isomalt by placing the saucepan in cold water.

  • My isomalt keeps getting cloudy. What can I do?

    Make sure to remove all bubbles by cooling the saucepan in cold water for about 10 seconds before pouring.

  • How can I prevent the isomalt from sticking to the mat?

    Silicone mats are non-stick, but if you still experience sticking, make sure they are thoroughly clean and dry before use.

  • Can I store isomalt hearts for future use?

    Yes, you can store them in airtight containers to protect them from moisture and humidity.

Nutrition facts

ISOMALT HEART STEP BY STEP INSTRUCTIONS
Recipe Yield:1 isomalt heart
Calories:Low
Calories (Min - Max):0 - 0
Total Fat:0
Saturated Fat:0
Protein:0
Total Carbohydrate:100
Total Sugars:0