Ingredients

Dough

  • 2 eggs (2 large eggs)
  • 160 grams (5.65 ounces) sugar
  • 1.5 teaspoons baking soda
  • 70 grams (2.45 ounces) butter
  • 2 tablespoons (14 grams) cocoa powder
  • 2 tablespoons (30 grams) honey
  • 1 gram (0.05 ounces) vanillin
  • 400 grams (14.10 ounces) flour

Custard

  • 500 milliliters (16.90 fluid ounces) milk
  • 4 egg yolks
  • 4 tablespoons (32 grams) flour
  • 100 grams (3.55 ounces) sugar
  • 100 grams (3.55 ounces) chocolate
  • 0.5 grams (0.02 ounces) vanillin
  • 100 grams (3.55 ounces) butter
  • 200 grams (7.05 ounces) chopped walnuts

Glaze

  • 100 grams (3.55 ounces) dark chocolate
  • 2 tablespoons (30 milliliters) vegetable oil

Equipment

  • Mixing Bowls

    You'll need several of these for different stages of preparation. Glass or stainless steel bowls work best.

  • Whisk and Spatula

    A whisk for combining ingredients smoothly and a spatula for ensuring no delicious mixture goes to waste.

  • Rolling Pin

    Essential for rolling out the dough to even thicknesses. A non-stick rolling pin will make your life easier.

  • Baking Paper

    Use parchment paper to roll out and bake the dough to avoid sticking.

  • Oven and Baking Trays

    A standard oven preheated to 200C (392F) and baking trays lined with parchment paper are necessary for perfectly baked layers.

  • Saucepan

    For heating the custard ingredients smoothly without burning.

  • Round Cake Ring

    Helps to shape and hold the cake layers while they set in the fridge.

  • Blender and Mixer

    A blender ensures a smooth custard, and a mixer whips the custard to perfection.

Instructions

Step 1

Step 1: Mix the eggs with honey, sugar, baking soda, and butter in a bowl. Place the bowl over a pot of simmering water, creating a water bath, and heat until the sugar dissolves and the mixture starts to foam.

Step 2

Tip: Stir constantly to prevent the eggs from scrambling.

Step 3

Step 2: Remove the mixture from the water bath. Add cocoa powder and vanillin, and mix well.

Step 4

Tip: Sifting the cocoa powder before adding helps prevent lumps.

Step 5

Step 3: Sift the flour and gradually add it to the mixture, kneading until a dough forms. The dough will be sticky and viscous.

Step 6

Tip: Use a spatula or your hands dusted with flour to handle the sticky dough.

Step 7

Step 4: Cover the dough with plastic wrap and let it rest for 2 to 3 hours at room temperature.

Step 8

Tip: Resting allows the dough to become more manageable and easier to roll out.

Step 9

Step 5: Roll out the dough on baking paper to a thickness of about 3mm (0.15 inch). Cut out circles approximately 20cm (7.9 inches) in diameter. You should be able to get 10-11 layers.

Step 10

Tip: Use a round cake tin or a plate as a guide for cutting out the circles.

Step 11

Step 6: Preheat the oven to 200°C (392°F). Bake each layer for about 4 minutes or until slightly browned.

Step 12

Tip: Watch closely as they bake quickly. Rotate the baking sheet halfway for even browning.

Step 13

Step 7: For the custard, break the chocolate into small pieces and allow the butter to reach room temperature.

Step 14

Tip: Use high-quality chocolate for a richer flavor.

Step 15

Step 8: In a saucepan, mix 400 milliliters of milk with sugar and bring to a boil over medium heat.

Step 16

Tip: Stir occasionally to prevent the milk from scorching at the bottom.

Step 17

Step 9: In a separate bowl, mix the remaining 100 milliliters of milk with the egg yolks, vanillin, and flour. Blend until smooth to eliminate any lumps.

Step 18

Tip: Use a whisk or blender for a smooth mixture.

Step 19

Step 10: Gradually pour the egg-flour mixture into the boiling milk, stirring continuously. Cook until the mixture thickens and starts to bubble.

Step 20

Tip: Lower the heat if the mixture thickens too quickly to prevent burning.

Step 21

Step 11: Remove the custard from heat and add the chocolate pieces. Stir until completely melted and combined.

Step 22

Tip: If needed, blend the custard for a smoother consistency.

Step 23

Step 12: Allow the custard to cool to room temperature, then add the softened butter and whip with a mixer until light and fluffy.

Step 24

Tip: Cover the custard with plastic wrap placed directly on its surface to prevent a skin from forming.

Step 25

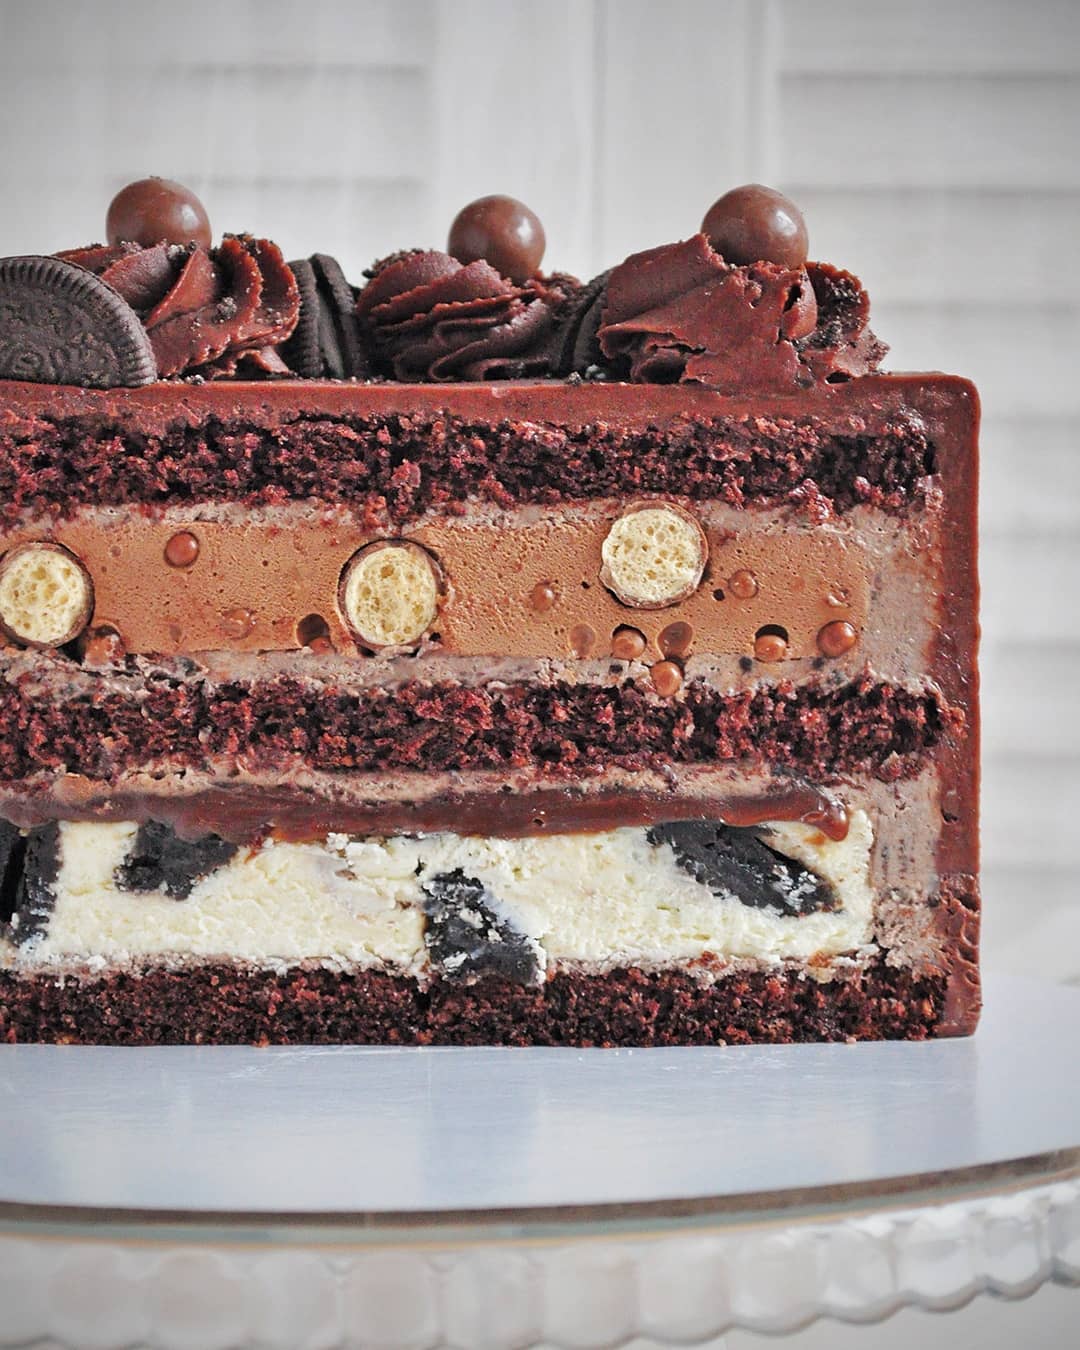
Step 13: Assemble the cake by spreading 3 to 4 tablespoons of custard between each layer and sprinkling with chopped walnuts. Reserve some custard and one cake layer for decorating the sides and top.

Step 26

Tip: Press each layer lightly to ensure even distribution of custard.

Step 27

Step 14: Once assembled, encase the cake in a ring or wrap it tightly with plastic wrap. Refrigerate for several hours or overnight.

Step 28

Tip: Refrigerating helps the cake to set and the flavors to meld together.

Step 29

Step 15: To make the glaze, melt the dark chocolate with the vegetable oil over low heat or in the microwave in 20-second intervals, stirring until smooth.

Step 30

Tip: Allow the glaze to cool slightly before pouring to avoid melting the custard.

Step 31

Step 16: Pour the chocolate glaze over the top of the cake and use the reserved custard to coat the sides. Crush the reserved cake layer and sprinkle the crumbs on the sides for decoration.

Step 32

Tip: For a clean finish, apply the glaze starting from the center and moving outward.

Step 33

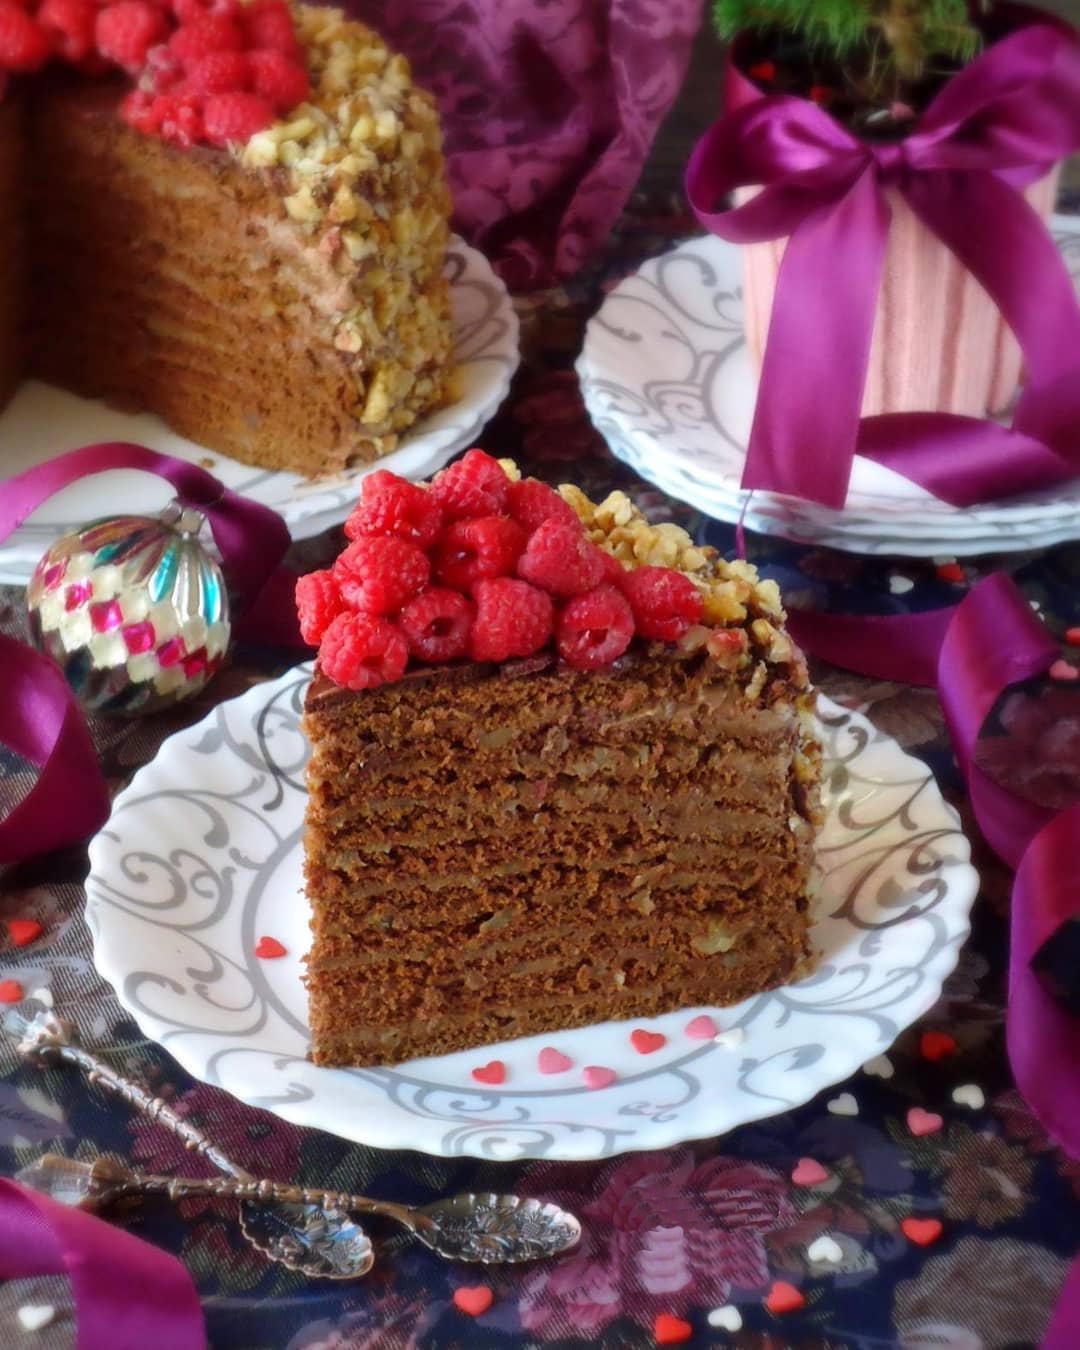
Step 17: Decorate as desired and serve. Enjoy this rich and decadent honey cake!

Servings

Imagine this: you've just finished making this beautiful honey cake with custard, and now it's time to serve. How do you make an experience out of it? First, consider presentation. Place your cake on a gorgeous cake stand to elevate (literally and figuratively) the whole setup. If you're planning a festive gathering, why not pair the cake slices with a scoop of vanilla ice cream on the side? The warm, rich custard and moist cake layers pair splendidly with the cold ice cream, offering a delightful contrast in textures and temperatures. For a more intimate tea-time treat, serve this cake alongside a hot cup of Earl Grey or chamomile tea. The aromatic tea will enhance the subtle honey and vanilla notes in the cake. You might also want to add a small bowl of fresh berries like raspberries or strawberries. These not only add a burst of color but also provide a fresh and slightly tangy counterpoint to the sweet, creamy custard and chocolate glaze. Feeling a bit more adventurous? Try garnishing the cake with edible flowers or a sprinkle of cocoa powder. This is an easy way to add a touch of elegance without much effort. And let's not forget about leftovers – if there are any! The cake gets even better the next day as the flavors meld, making it a perfect make-ahead dessert for just about any occasion. Enjoy your festivity or casual tea time with this delightful cake, and see how it brings a smile to everyone's faces!

Variations

For our friends with dietary restrictions, this honey cake with custard can be easily adapted. To make it gluten-free, simply swap out the regular flour for a gluten-free flour blend. Make sure the blend you choose is suitable for baking to achieve a similar texture. For a vegan version, the modifications are straightforward too. Replace the eggs with a suitable egg substitute like flax or chia seeds mixed with water. Instead of butter, use a plant-based butter. Swap out the milk with almond or soy milk to keep the custard rich and creamy. A good quality dairy-free dark chocolate will replace the regular chocolate seamlessly. With these substitutions, you can still enjoy a luscious, delectable cake that's both vegan and gluten-free.

Faq

  • How do I know when the cake layers are done?

    The cake layers should be slightly golden and firm to the touch after baking for about 4 minutes at 200C (392F).

  • What if my custard turns out lumpy?

    If your custard ends up lumpy, don't worry! Just blend the mixture until smooth using a handheld blender.

  • Can I prepare the custard in advance?

    Yes, you can make the custard ahead of time. Store it in the fridge with plastic wrap pressed against the surface to prevent a skin from forming.

  • How do I avoid the dough sticking when rolling it out?

    Chill the dough for about 30 minutes and roll it out between sheets of baking paper to prevent sticking.

  • Can I add other nuts or fillings to the cake?

    Absolutely! Feel free to incorporate other nuts like almonds or hazelnuts, or even dried fruits for added texture and flavor.

  • How long will this cake last?

    The cake can be stored in an airtight container in the fridge for up to 5 days. It's actually even more delicious when the flavors have had time to meld.
Nutrition facts

LADY’S CAPRICE HONEY CAKE
Recipe Yield:12 servings
Calories:approximately 450-550 calories per serving
Calories (Min - Max):450 - 550
Total Fat:28g
Saturated Fat:12g
Protein:6g
Total Carbohydrate:50g
Total Sugars:30g