Ingredients
Pudding
Instructions
Step 1
Step 2
Step 3
Step 4
Step 5
Step 6
Step 7
Step 8
Step 9
Servings
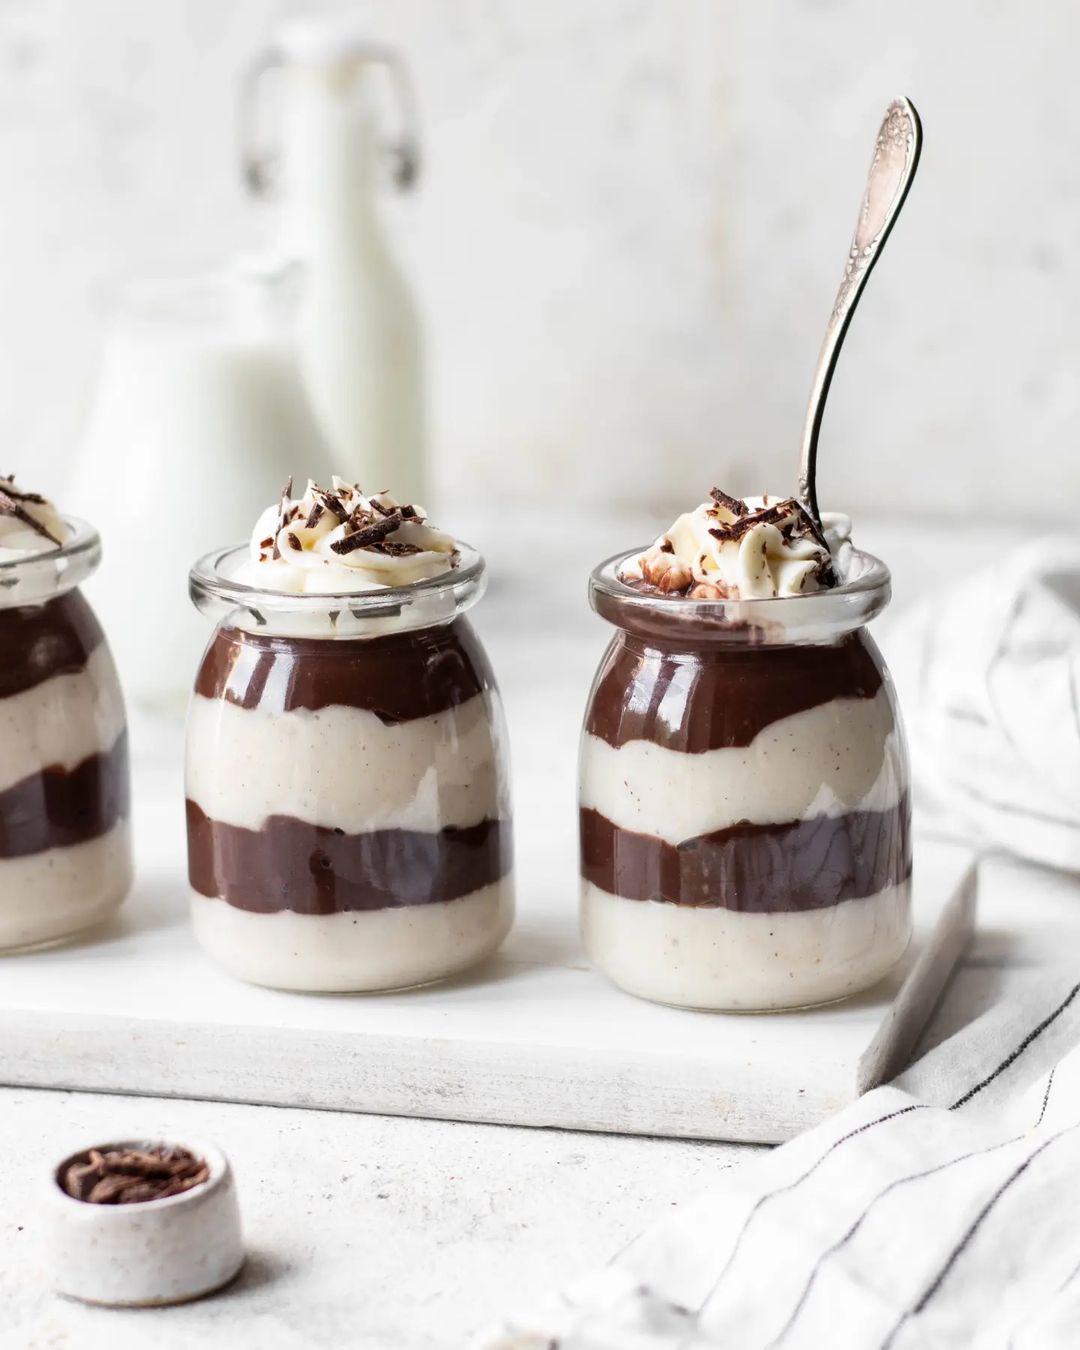
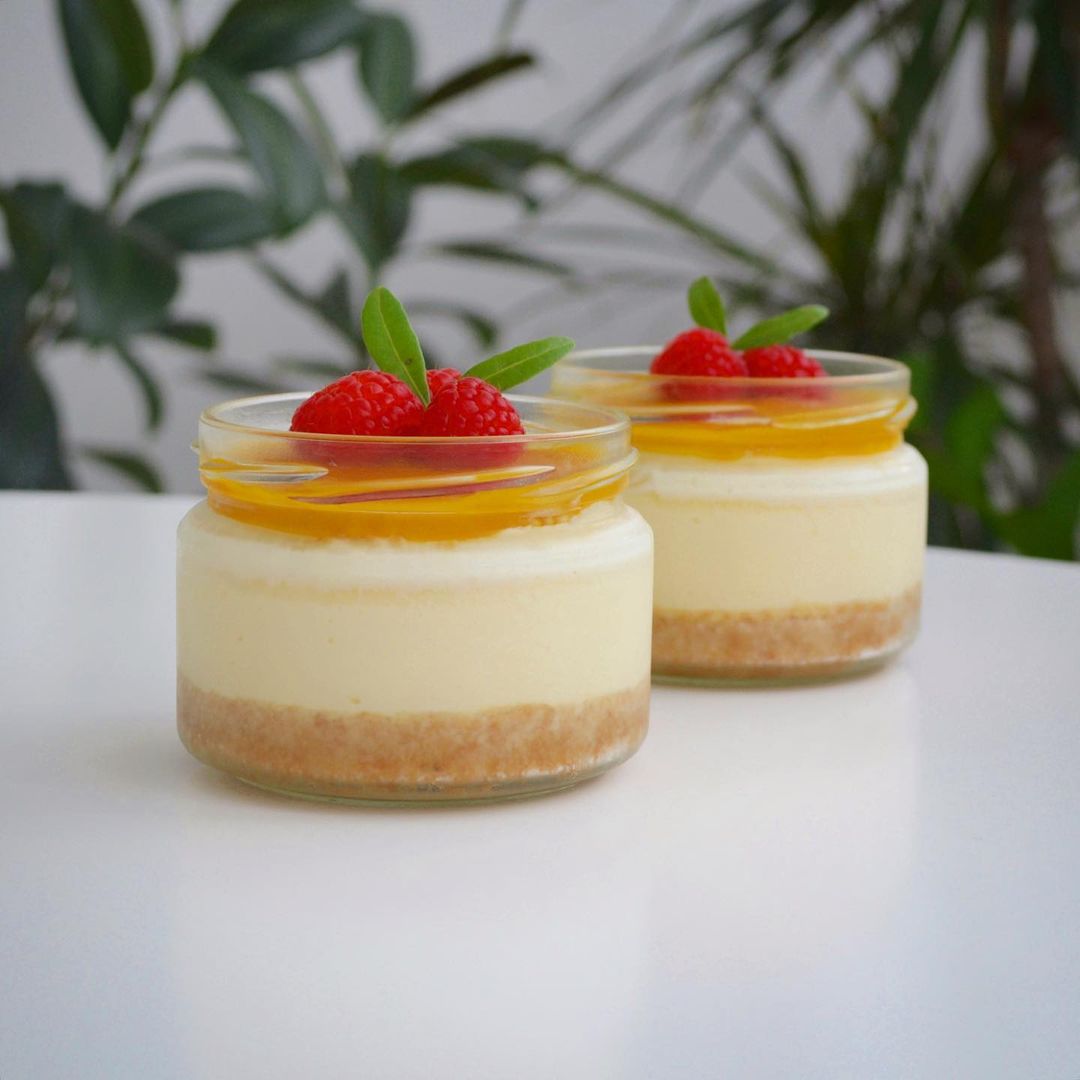
Get creative with your serving ideas! 🍽️ Layer the pudding in elegant glass cups and top each layer with fresh whipped cream and a sprinkle of cocoa powder for a touch of finesse. Add a few toasted hazelnuts on top for a delicious crunch. For a more rustic approach, serve in mason jars for a cute, photogenic treat that’s perfect for picnics or casual gatherings.
Hosting a party? Create a **pudding bar** where guests can add their toppings—fresh berries, chopped nuts, shredded coconut, or even a drizzle of caramel sauce. This interactive way to serve dessert not only looks stunning but also makes your guests feel special.
If you’re in the mood for a cozy night in, enjoy this pudding layered in a big bowl, wrapped in a blanket with your favorite book or movie. 🍿📖 The combination of chocolate and hazelnut is sure to warm your heart!
Equipment
A good quality heavy-bottomed saucepan will ensure even heating and prevent your pudding from burning.
A whisk is crucial for mixing the pudding smoothly and avoiding lumps. Opt for a silicone-coated whisk to protect your saucepan's surface.
A silicone spatula will help you scrape every last bit of the delicious pudding from the pan.
You’ll need separate bowls for each pudding layer. Choose bowls with a pouring spout for easier handling.
An essential to chill the pudding layers for a perfect set.
Variations
Looking for gluten-free options? No problem! 🌾✨ **Substitute the flour** with an equal amount of a gluten-free all-purpose flour blend. All other ingredients are naturally gluten-free, so you can enjoy this dessert worry-free.
Going vegan is easy with a few simple swaps. 🌱🥛 Use **plant-based milk like almond or oat milk** instead of cow’s milk. Replace the **butter with vegan margarine**, ensuring it’s one that you love the taste of. **Vanilla sugar** can also be found in vegan varieties or made at home. Opt for a vegan **hazelnut paste**; a quick check on the label should confirm its vegan status.
Faq
- How do I prevent my pudding from getting lumpy?
Always add the milk gradually while constantly whisking the flour and sugar mixture to avoid lumps. If lumps do form, you can use an immersion blender to smooth it out.
- Can I use low-fat milk?
Yes, you can use low-fat milk, but keep in mind that the pudding will be slightly less creamy than if you use full-fat milk.
- How long should the pudding be chilled between layers?
You should refrigerate each layer for about 10 minutes until it sets before adding the next layer to keep them from mixing.
- Is there a substitute for hazelnut paste?
If you can’t find hazelnut paste, you can make your own by blending toasted hazelnuts until smooth, or use a chocolate-hazelnut spread like Nutella.
- How can I ensure a perfect texture?
Make sure to stir the pudding mixture constantly while it’s cooking, and allow it to cool slightly to ensure a silky-smooth texture.
- Can I make this pudding ahead of time?
Absolutely, you can prepare the pudding and store it in the refrigerator for up to 2 days. Just make sure to cover it tightly with plastic wrap or a lid.

